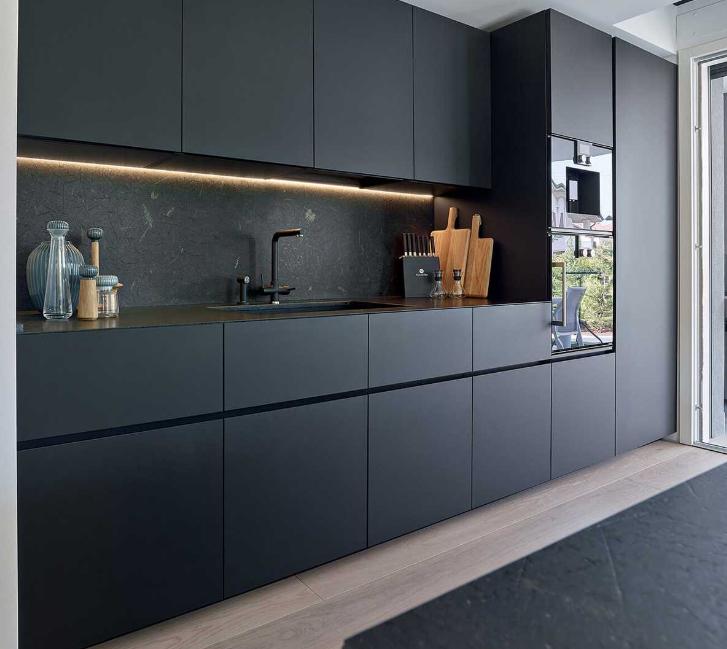
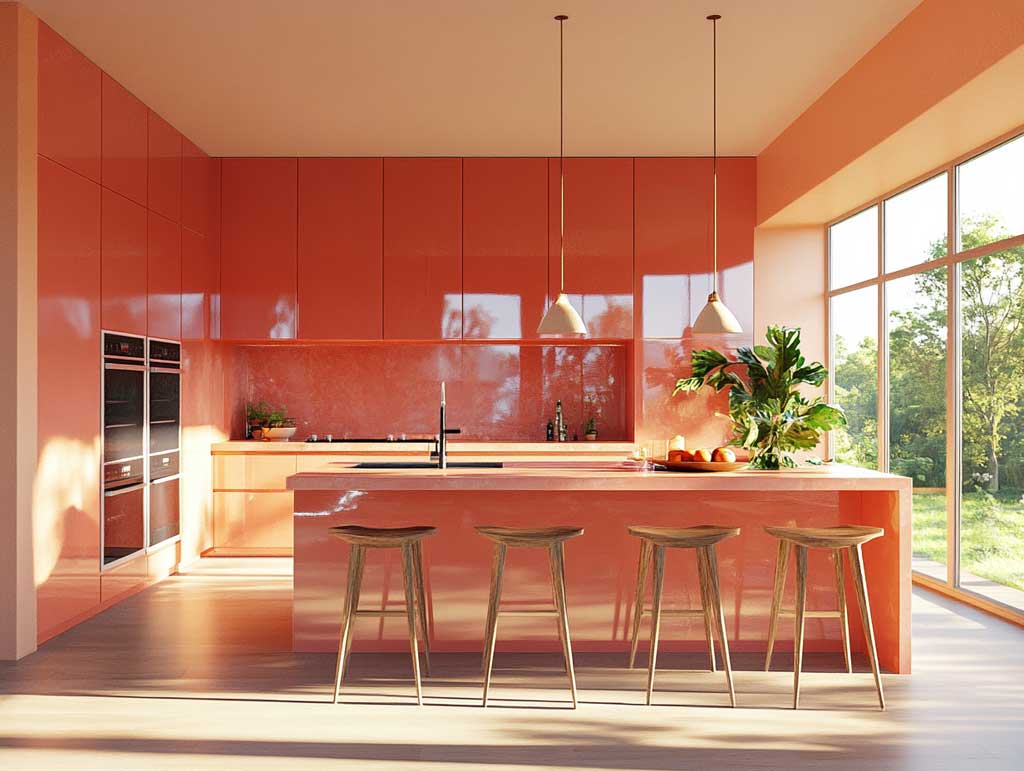
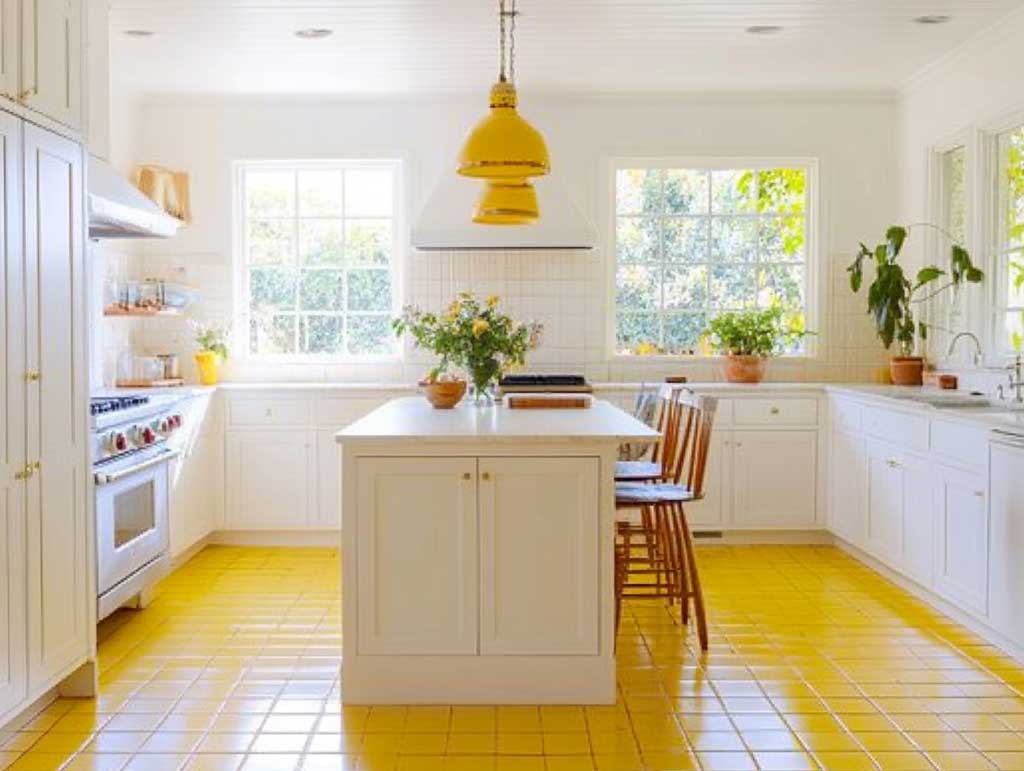
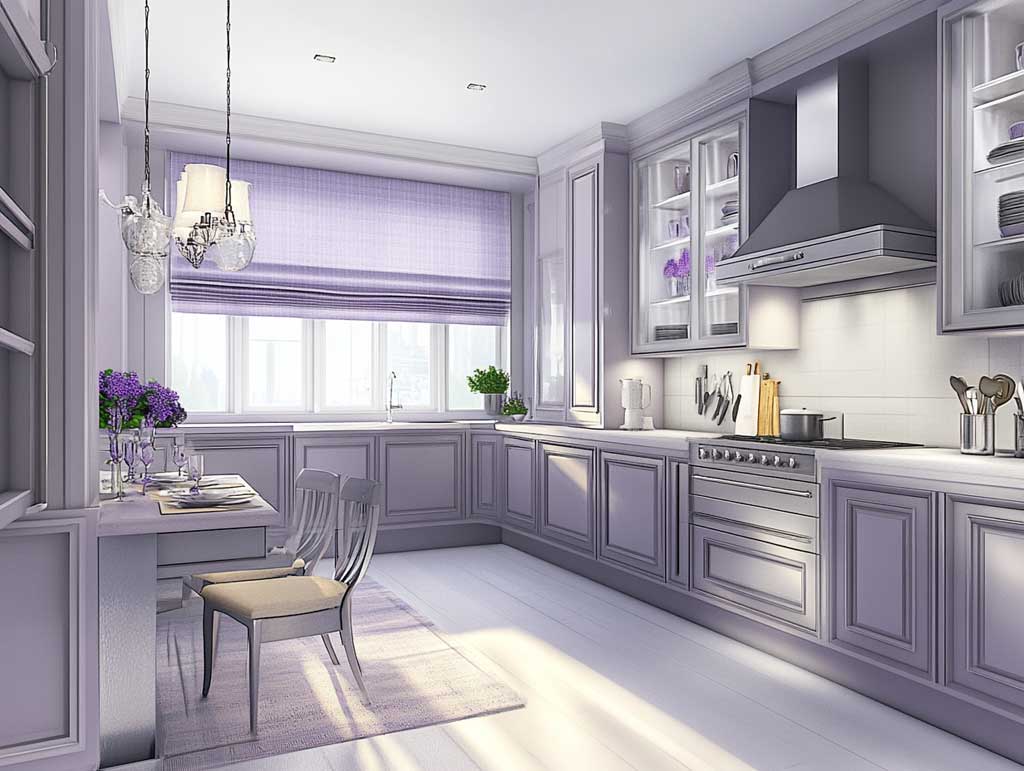
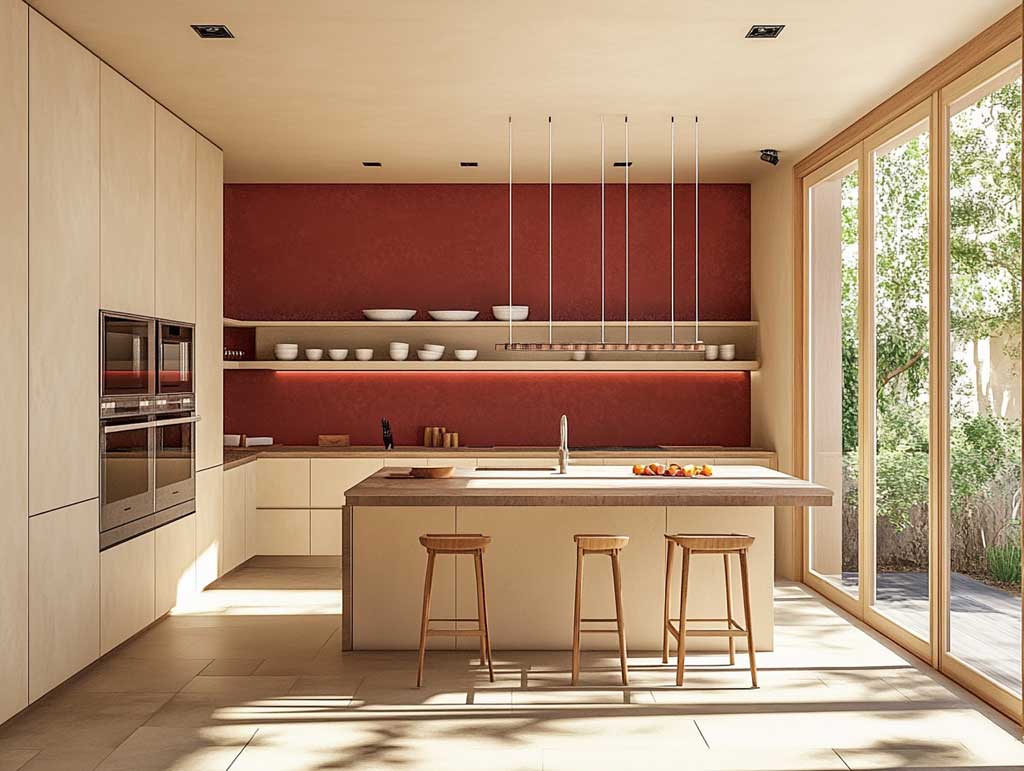
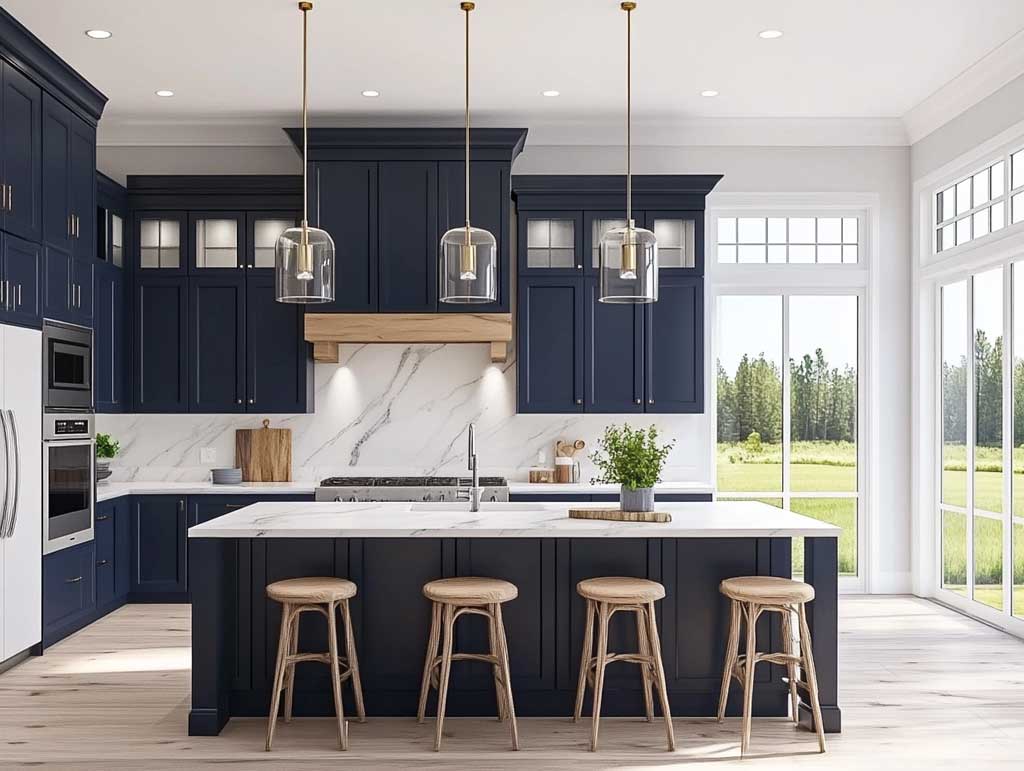
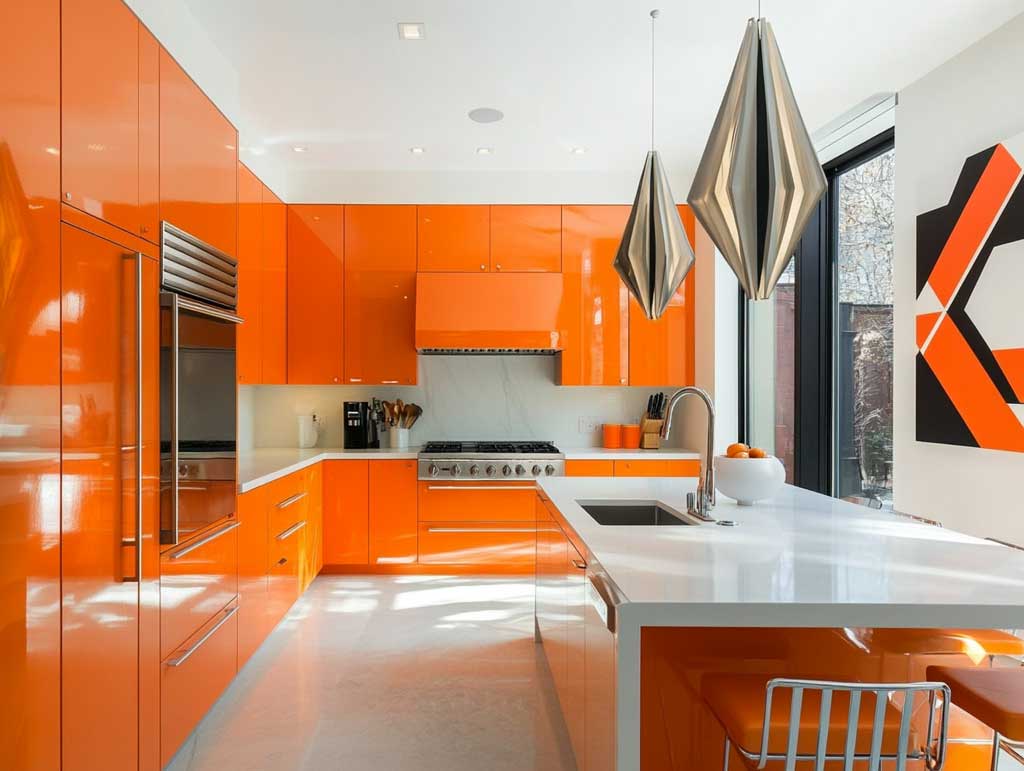
Painting your kitchen cabinets is one of the most affordable ways to give your kitchen a stunning makeover. Instead of spending thousands on a remodel, a fresh coat of paint can breathe life into tired or outdated cabinets. This simple DIY project will save you money and give your space a new look that reflects your personal style.
Whether you’re refreshing standard wall cabinets or transforming your kitchen island cabinets, knowing the steps to painting kitchen cabinets is key to achieving a durable, professional finish. From choosing the right materials to prepping and painting like a pro, this guide will walk you through the entire process. Before diving into the details, let’s cover the important things you need to know before getting started.
What You Need to Know Before Painting Cabinets
Painting kitchen cabinets can feel overwhelming for beginners, but with the right approach, it’s a manageable and rewarding task. Here’s a quick breakdown to help you prep like a pro:
- Check Your Cabinets
Not all cabinets are created equal. Wood and wood-laminate cabinets are ideal for painting, but laminate cabinets can be tricky. Some laminates don’t hold paint well and need a bonding primer.
- Be Ready to Invest Time
Painting cabinets isn’t a quick job. It involves cleaning, sanding, priming, painting, and letting everything dry. Rushing these steps will leave you with uneven or peeling paint. Block off a few days on your calendar—good results take time.
- Set Up Your Workspace
Pick a well-ventilated area and cover surfaces with drop cloths. A dust-free, organized workspace will make the job easier and ensure a flawless finish.
- Choose the Right Paint
Go for semi-gloss or satin finishes—they’re durable, easy to clean, and stand up to kitchen messes. High-quality paint and primer are worth the investment.
- Plan Your Budget
Expect to spend $100–$200 on supplies like paint, primer, brushes, and sandpaper. If painting laminate or detailed cabinets feels overwhelming, professional help might be worth considering.
Step 1: Gather Your Supplies
Learning how to paint kitchen cabinets like a pro starts with having the right supplies. High-quality materials make all the difference in achieving a professional finish that lasts. Here’s a quick checklist of essentials you need to prepare to set yourself up for success:
- Painter’s Tape: Go for high-quality tape that peels off cleanly.
- Degreaser (like TSP): Essential for removing kitchen grease and grime.
- Wood Filler: Choose a fast-drying filler that’s easy to sand.
- Sandpaper: Use 60-grit for heavy sanding and 360-grit for smoothing surfaces. An orbital sander speeds up the process.
- Primer: Select an all-surface primer for strong adhesion, especially for laminate cabinets. Ready-mixed options save time.
- Paint: Semi-gloss or satin finishes are best for durability and easy cleaning in kitchens.
- Brushes and Rollers: Opt for angled brushes for corners and foam rollers for a smooth, streak-free finish.
- Drop Cloths: Protect floors and countertops from drips and splatters.
For beginners, spray-paint equipment can save time and deliver a flawless finish, but traditional tools work well if used carefully.
Step 2: Prep Your Workspace
A well-prepared workspace makes the painting process smoother and helps you avoid costly mistakes. Start by clearing out your kitchen. Empty the cabinets and remove items from countertops to give yourself room to work. Move furniture away from your workspace to prevent accidental paint splatters.
Protect your surfaces by laying down durable drop cloths or plastic sheeting. Use painter’s tape to cover edges, walls, and fixtures to keep paint only where you want it. Pay extra attention to hardware like hinges and handles if they can’t be removed.
Ensure your space is well-ventilated to minimize paint fumes. Open windows, use fans, or work with a respirator if needed. Good lighting is also crucial. Bright, even lighting helps you spot imperfections and ensures a uniform finish.
Step 3: Remove and Label Hardware
Take off cabinet doors, drawers, and hardware to ensure an even paint finish. Unscrew hinges and handles carefully, and place all screws and small pieces into labeled bags for easy reassembly.
As you remove each door or drawer, label it using painter’s tape and a marker. Write the location (e.g., “Upper Left 1”) on the tape and attach it to the inside edge or back where the paint won’t touch. For extra clarity, sketch a quick map of your kitchen to match labels to their original positions.
Spare yourself from headaches when it’s time to reassemble your cabinets by keeping all hardware and labeled components together in one place, like a storage box or zippered bag.
Step 4: Clean and Sand Surfaces
Grease and grime can ruin your paint job. Old cabinets, especially those with existing paint, often have built-up oils, dirt, or residue that can prevent new paint from adhering properly. Use a degreaser or warm, soapy water with a sponge to scrub every surface, focusing on handles and edges where buildup is the worst. For stubborn spots, products like Krud Kutter can cut through grease effectively. Let everything dry completely before sanding.
Sanding is essential for repainting cabinets with existing paint. Glossy surfaces repel paint, leading to peeling or uneven finishes. Sanding removes this sheen and smooths out imperfections, ensuring a solid base for the new layer. Use 100-150 grit sandpaper to roughen glossy finishes, ensuring the paint adheres properly. For detailed areas or edges, sanding blocks are great for beginners. After sanding, wipe down all surfaces with a clean, damp cloth to remove dust.
Step 5: Prime the Cabinets
Primer is essential for a smooth, long-lasting finish. It seals the wood, fills small imperfections, and ensures the paint adheres evenly, preventing peeling or chipping later. This step is especially important for custom kitchen cabinets, which often feature unique finishes or intricate designs that need extra care. Priming also creates a uniform base, especially when transitioning from dark to light colors or covering old stains.
For beginners, choose a high-quality bonding primer like Zinsser B-I-N or Kilz Premium. These products dry quickly and stick to various surfaces, including wood and laminate. Use a foam roller for large, flat surfaces and an angled brush for corners and detailed edges. Allow the primer to dry fully before moving on to painting for the best results.
Step 6: Paint the Cabinets
Latex paints are popular for their quick drying times and low odor, making them beginner-friendly. However, oil-based paints provide a smoother, more durable finish, which is ideal for high-traffic areas like cabinets. For a balanced look that complements modern kitchen designs, opt for satin or semi-gloss finishes. These resist stains and are easy to clean.
Painting cabinets is all about patience and technique. Follow these steps to get professional results:
- Apply Thin Coats: Use a foam roller for flat surfaces and an angled brush for edges. Thin layers prevent drips and ensure even coverage.
- Let Each Coat Dry: Allow at least 24 hours between coats for latex paint and 48 hours for oil-based paint.
- Avoid Brush Strokes: Keep a light hand and always brush in the same direction as the wood grain.
- Paint Cabinet Doors and Drawers Separately: Lay them flat to avoid drips and rotate them after each coat dries for even coverage.
- Sand Between Coats: Lightly sand with fine-grit sandpaper to smooth out imperfections before applying the next layer.
Step 7: Reassembly and Final Touches
Wait at least 24-48 hours to let the paint dry fully before reassembling your cabinets. For best results, give the paint up to a week to cure completely, especially for heavy-duty use. Rushing this step can lead to smudges or chips.
When reattaching doors and drawers, ensure all hardware is clean and aligned correctly. Tighten screws firmly but avoid over-tightening, which could damage the new paint. Keep a small brush or matching paint pen handy for touch-ups on any nicks or scratches that might occur during reassembly. A final wipe-down of surfaces ensures your newly painted cabinets look polished and ready for use.
Your DIY Transformation Awaits
Painting your kitchen cabinets transforms your space without the high cost of a full renovation. With the right tools, preparation, and attention to detail, you can achieve a professional finish that elevates the look of your kitchen. Don’t shy away from experimenting with colors or finishes that complement your personal style and overall kitchen design. Now it’s your turn to tackle this rewarding DIY project and create the kitchen you’ve always envisioned.
