LED panel design is the one interior decision that changes how every other element in the room reads — and most people treat it like an afterthought. I’ve seen $15,000 living rooms ruined by a single flat 600×600 panel in the wrong color temperature. The difference between a room that feels designed and one that feels finished is almost always the ceiling plane. You’ll notice it the moment you walk in.
Every room in this article uses LED panels as the primary design move — bedrooms, living rooms, dining areas, kitchens. Each section pulls a different trick. Not all of them work for every space, and I’ll tell you exactly which ones don’t.
Quick Scan
- Bedroom LED panels: backlit vs flush-mount, which actually reads warmer
- Living room panels: how to avoid the hospital ceiling problem
- Dining area: why color temperature matters more than brightness
- Simple LED panel design for minimalist spaces that aren’t boring
- Kitchen and workspace setups with zero shadow zones
- What panels cost, which brands to trust, and what to skip
Bedroom LED Panels That Don’t Look Like an Interrogation Room
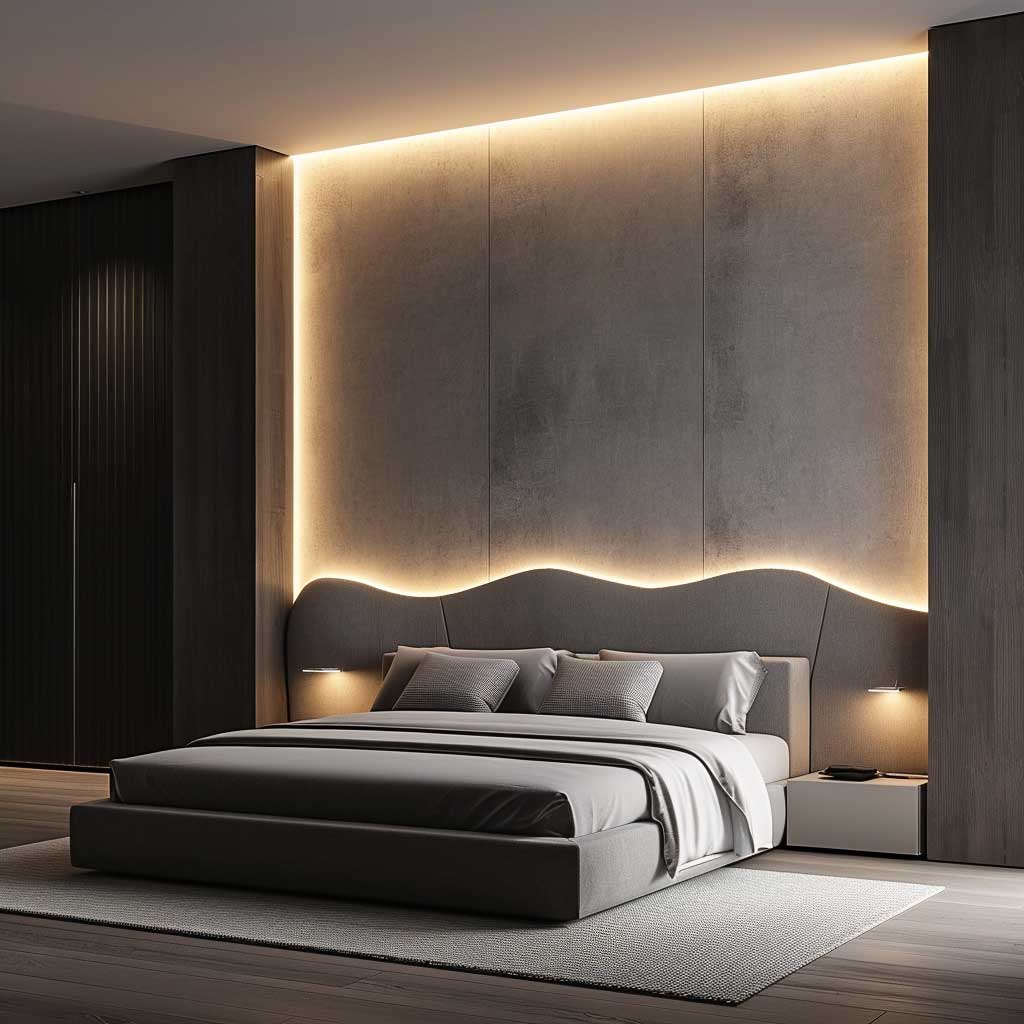
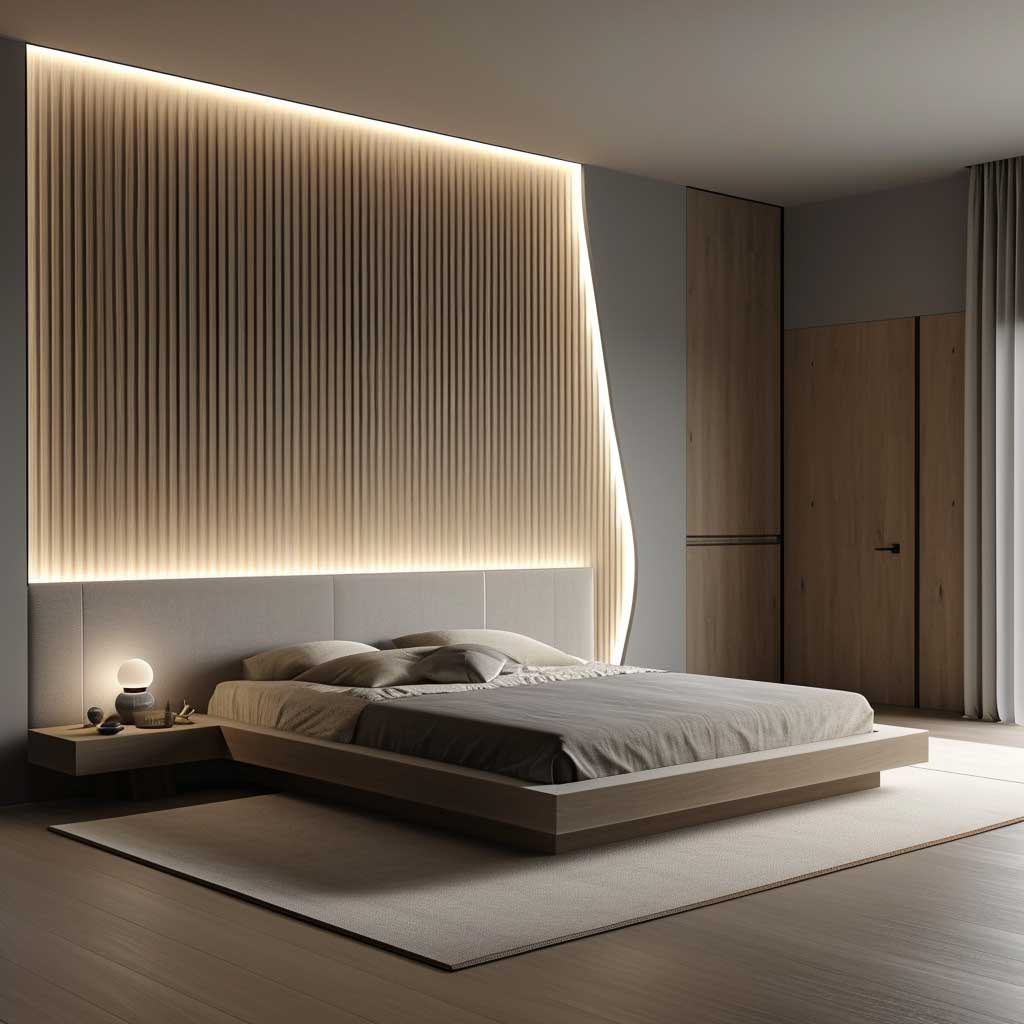
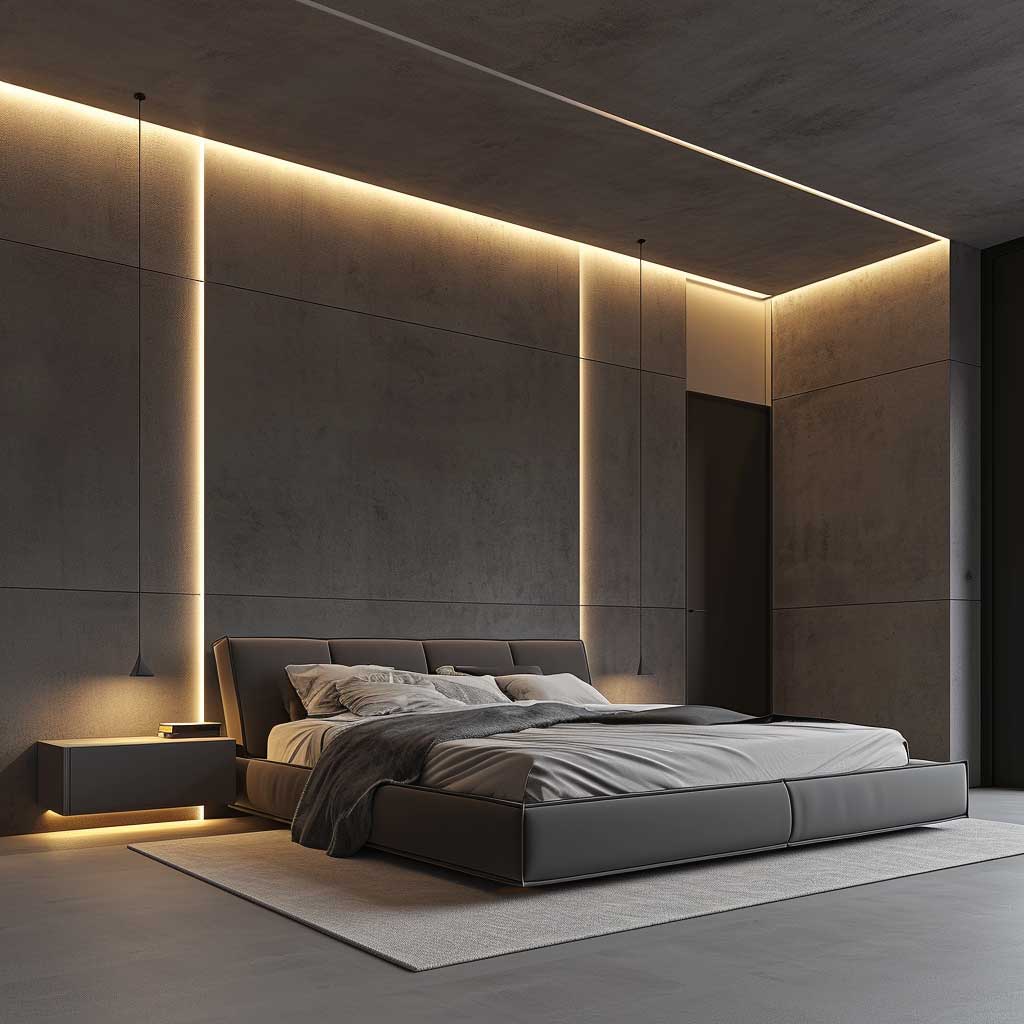

The first mistake I made with bedroom LED panels was buying a 4000K daylight panel and wondering why I couldn’t fall asleep. Bedrooms need 2700K–3000K. That’s non-negotiable. Philips CoreLine and Signify both make panels in that range for under $40 a unit, and the difference in how the room feels at 10 PM is dramatic — think candlelit dinner versus fluorescent office.
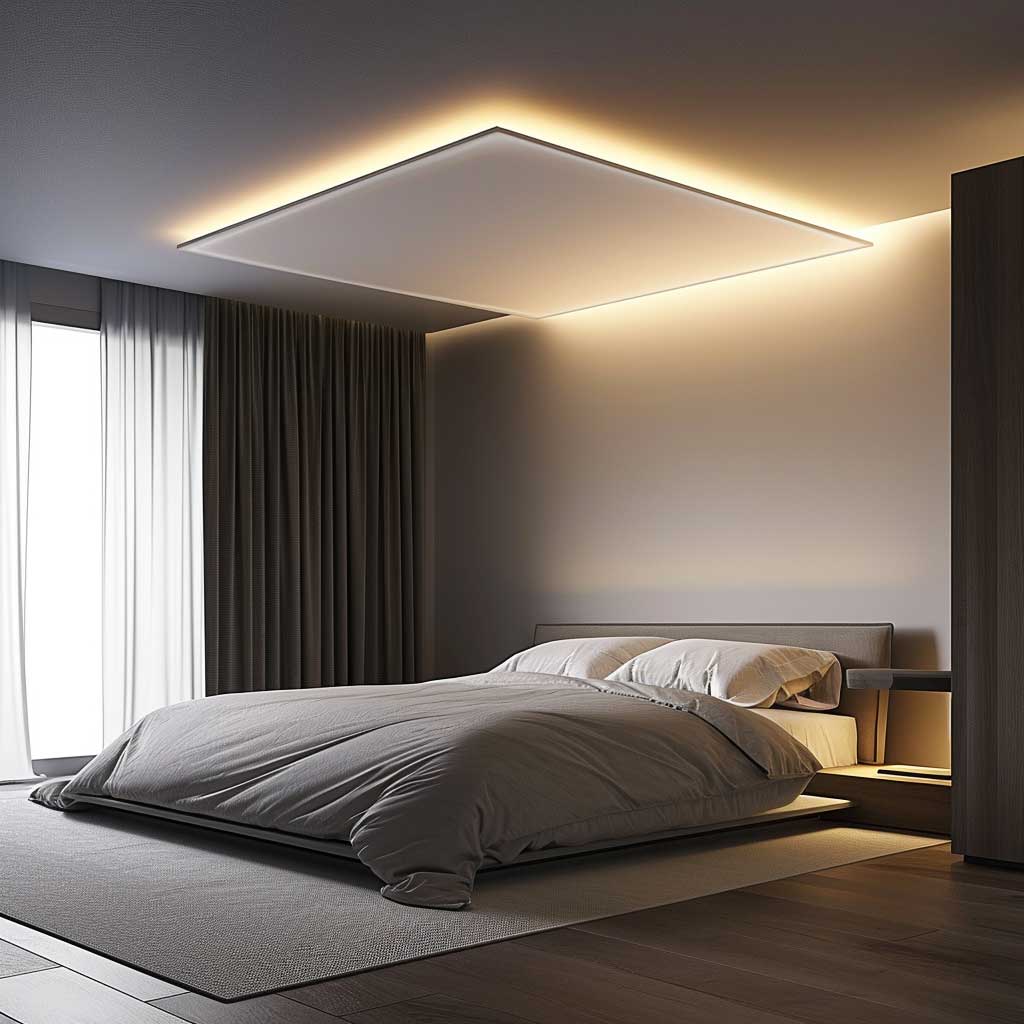
Backlit panels placed in a false ceiling cove are the move here. The light bounces off the upper wall and fills the room indirectly. You never see the source. I installed two Lithonia EPANL 24-inch units in my own bedroom and have not touched a bedside lamp since. Direct panels centered on the ceiling work against you — they flatten every shadow and make the room feel like a fitting room.
What doesn’t work? Single large panel, dead center, no dimmer. It’s the lighting equivalent of a white painted brick wall — technically fine, completely characterless. If you’re locked into a single panel by your electrical layout, at minimum add a dimmer switch. Lutron Caseta dimmers run around $60 and are compatible with most LED drivers. Without a dimmer, you’re choosing between “operating table” and “off.”

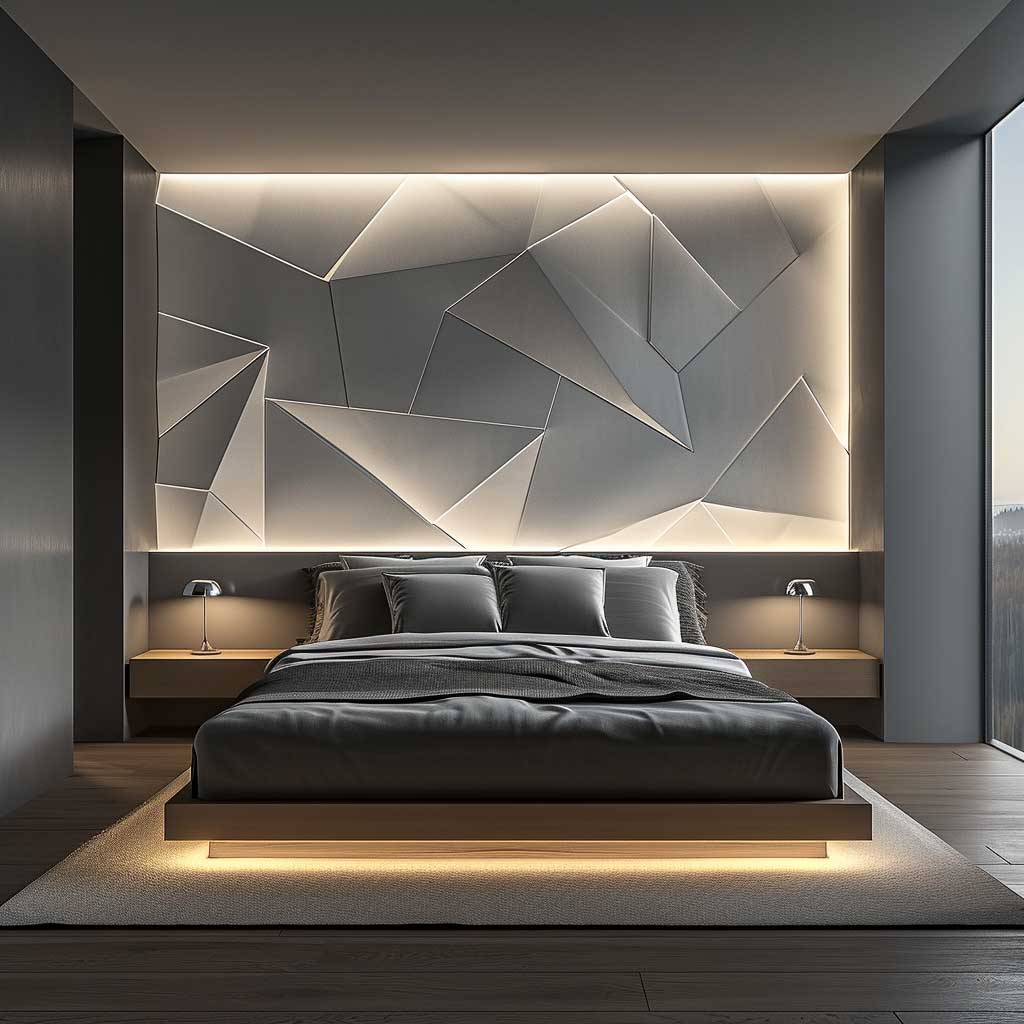
Can you use color-changing RGBW panels in a bedroom? Yes, but I’d steer toward tunable white only — CCT-adjustable panels that shift from warm to cool. RGBW panels from brands like Govee or Lifx look impressive in product photos and feel like a nightclub at home. Tunable white from Acuity Brands or RAB Lighting costs more upfront ($80–$150 per panel) but reads as a proper designed space rather than a gaming setup.
LED panels also cut power draw to roughly 30–40W for a panel that replaces a 150W traditional fixture. Over a year in a frequently used bedroom, that’s a real number on your electricity bill. Energy savings aside, the longer lifespan — typically 50,000 hours — means you’re not climbing a ladder every two years to swap bulbs.
Living Room LED Panel Design Without the Hospital Ceiling
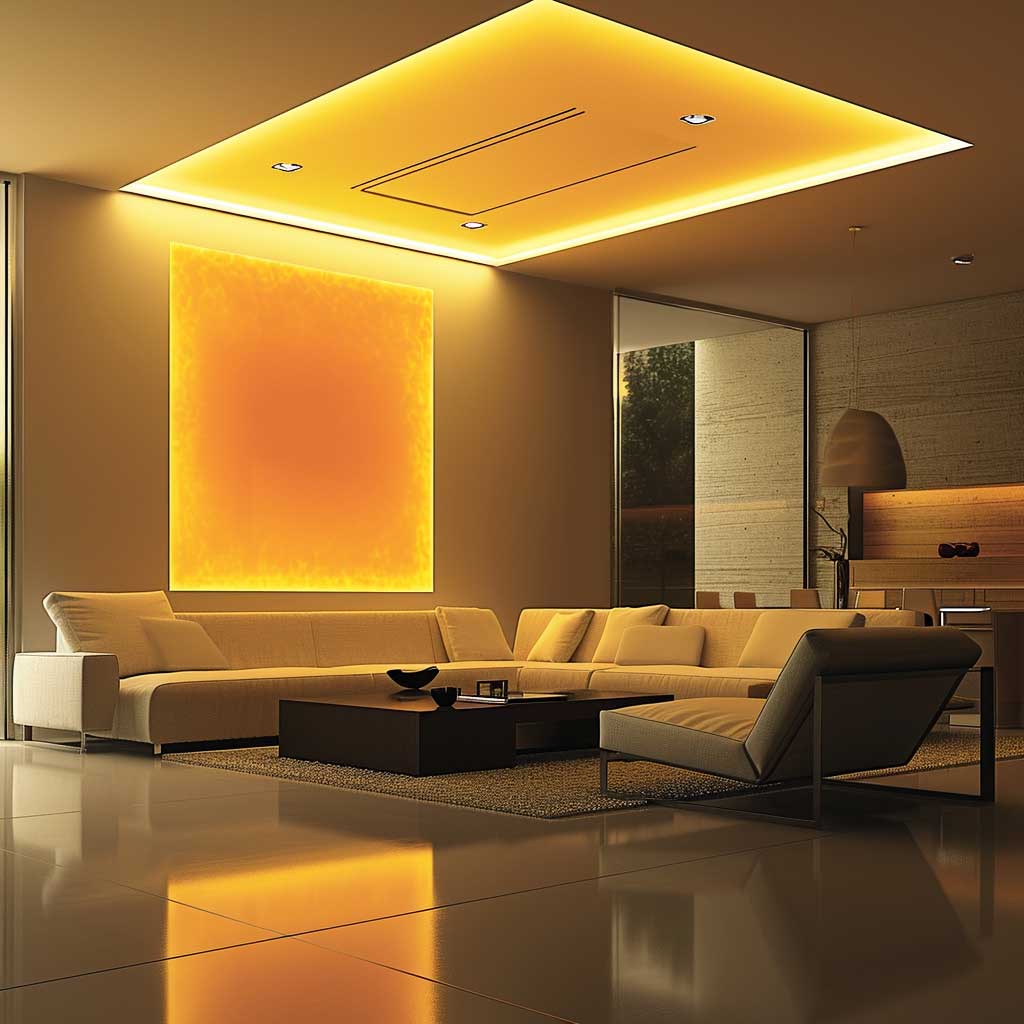
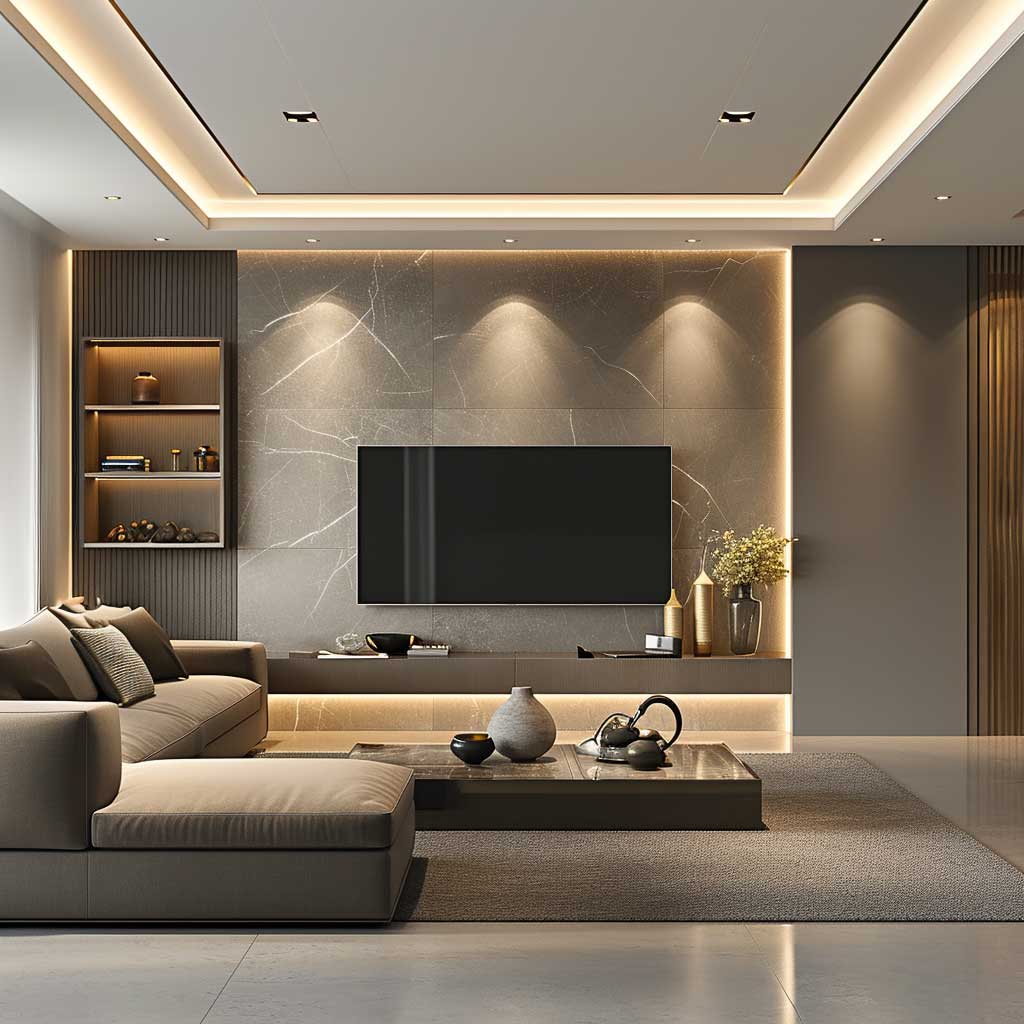
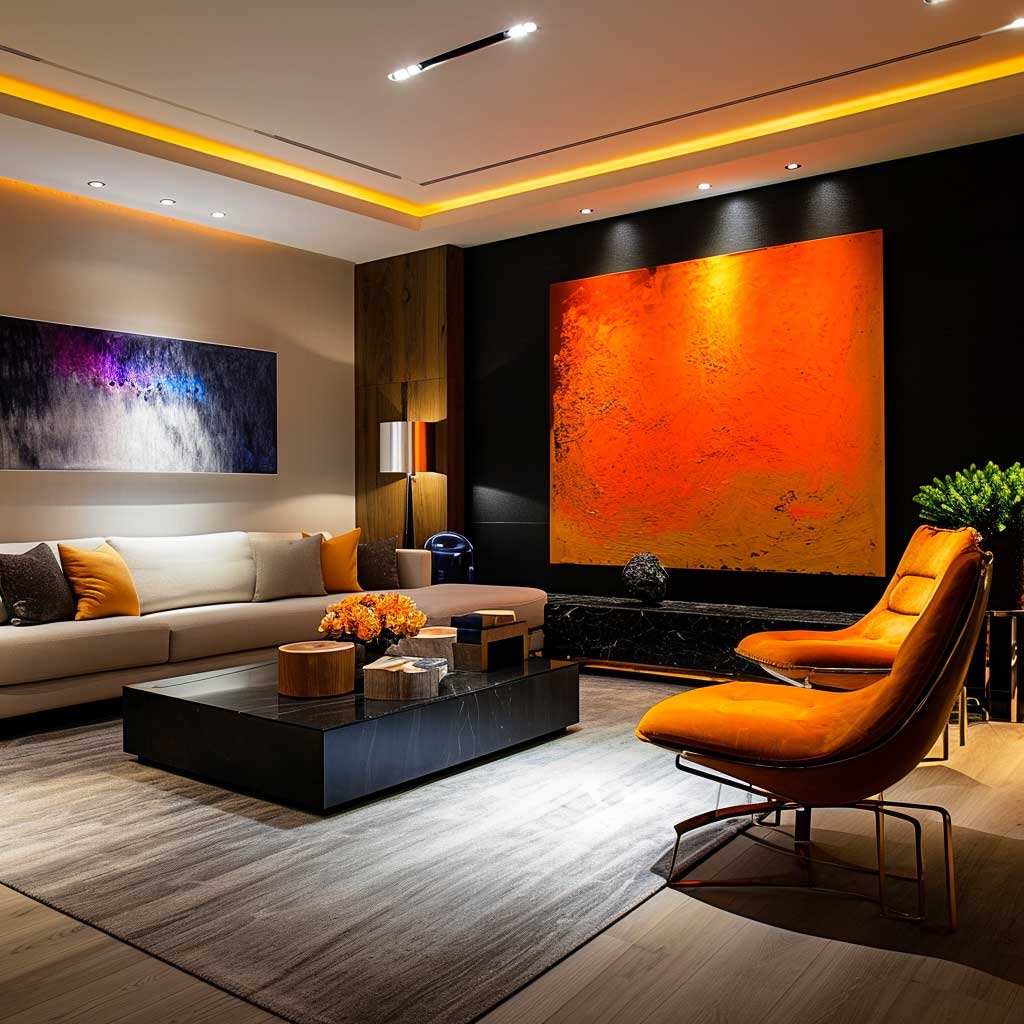
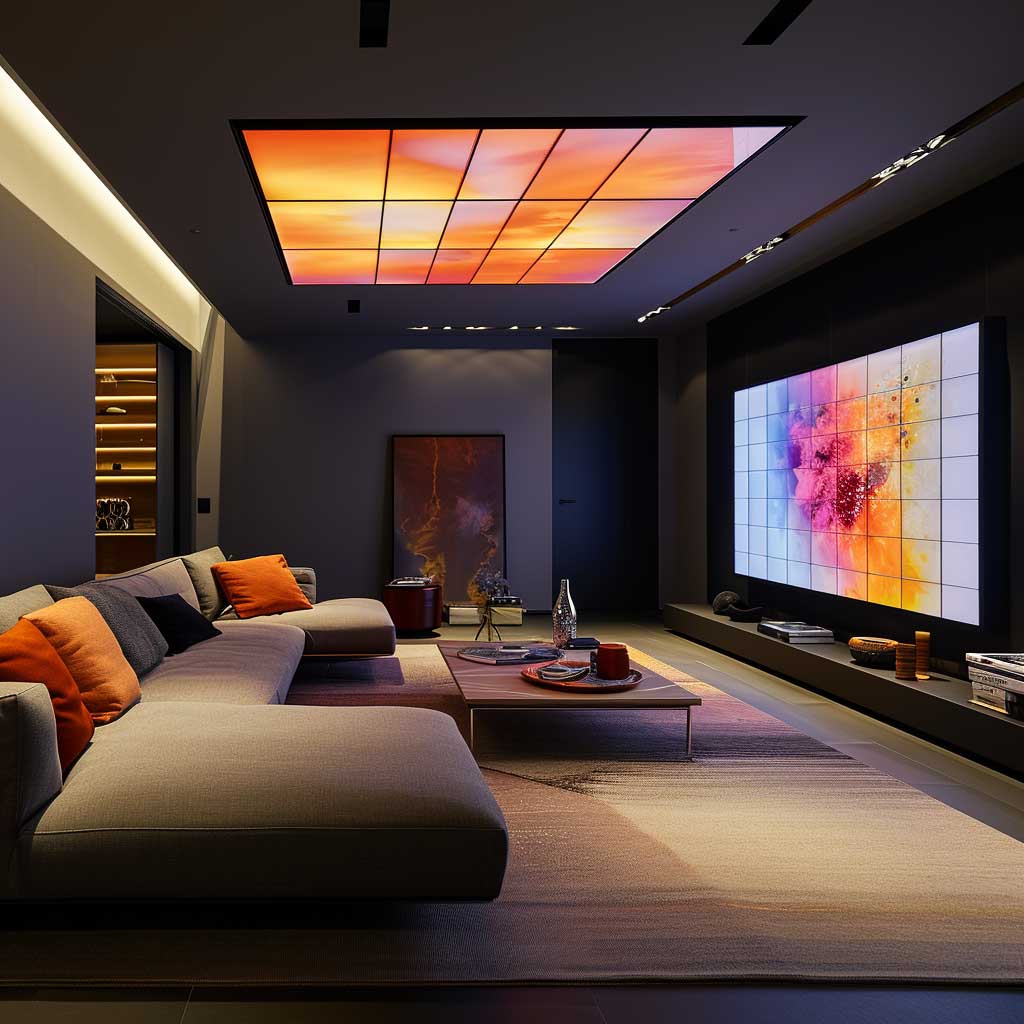
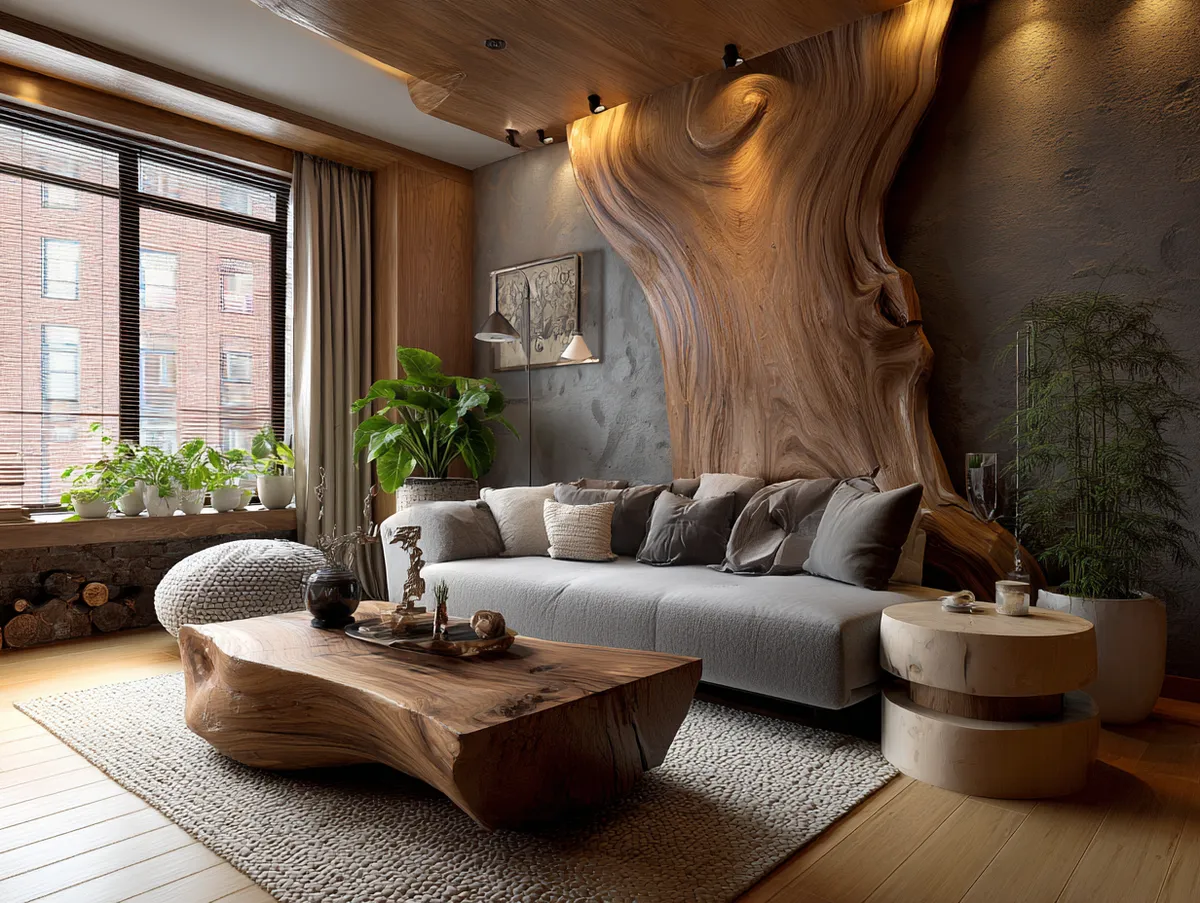
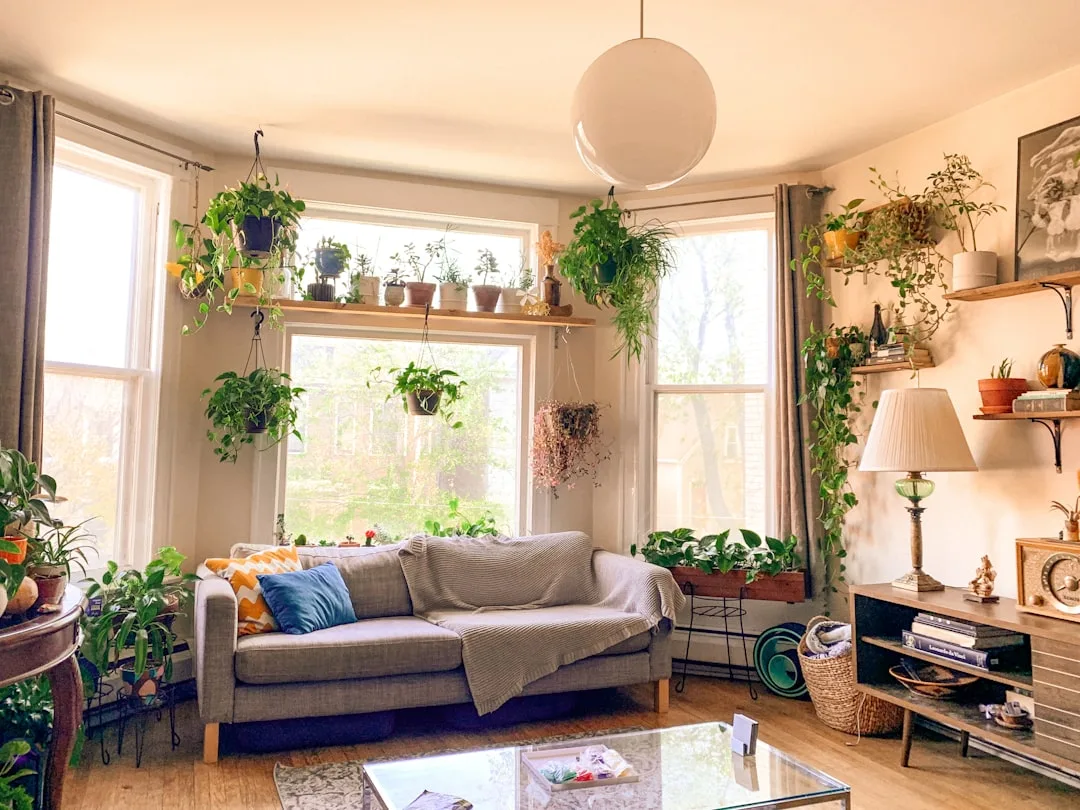
Living rooms punish bad LED panel placement more than any other room. The problem is uniformity — a grid of four identical panels at equal spacing looks exactly like a commercial office dropped into your home. I stole this trick from a designer I worked with: offset the panel layout asymmetrically and use different sizes. A large 600x1200mm panel over the seating area plus two 300x600mm panels near the entrance reads as intentional. Four matching 600x600mm panels reads as a suspended ceiling tile job.
You need a focal anchor that isn’t just the TV wall. LED panels let you create that on the ceiling itself. A recessed panel cluster over the sofa zone, framed by a slightly lowered gypsum cove, pulls the eye upward and gives the room a sense of architecture it didn’t have before. Panels from the Philips Ledinaire range (roughly $55–$80 each) fit standard suspension systems and come with driver compatibility for most Lutron and Legrand dimmer systems.
The anit-advice here is strong: avoid flush-mounting a single large panel at the exact center of the room. It’s the default contractor move and it makes every living room look like it’s waiting for furniture to arrive. If your budget is tight, one well-placed 600x600mm panel at 3000K with a proper dimmer does more for the room than four cheap daylight panels installed by someone who wasn’t thinking about design.
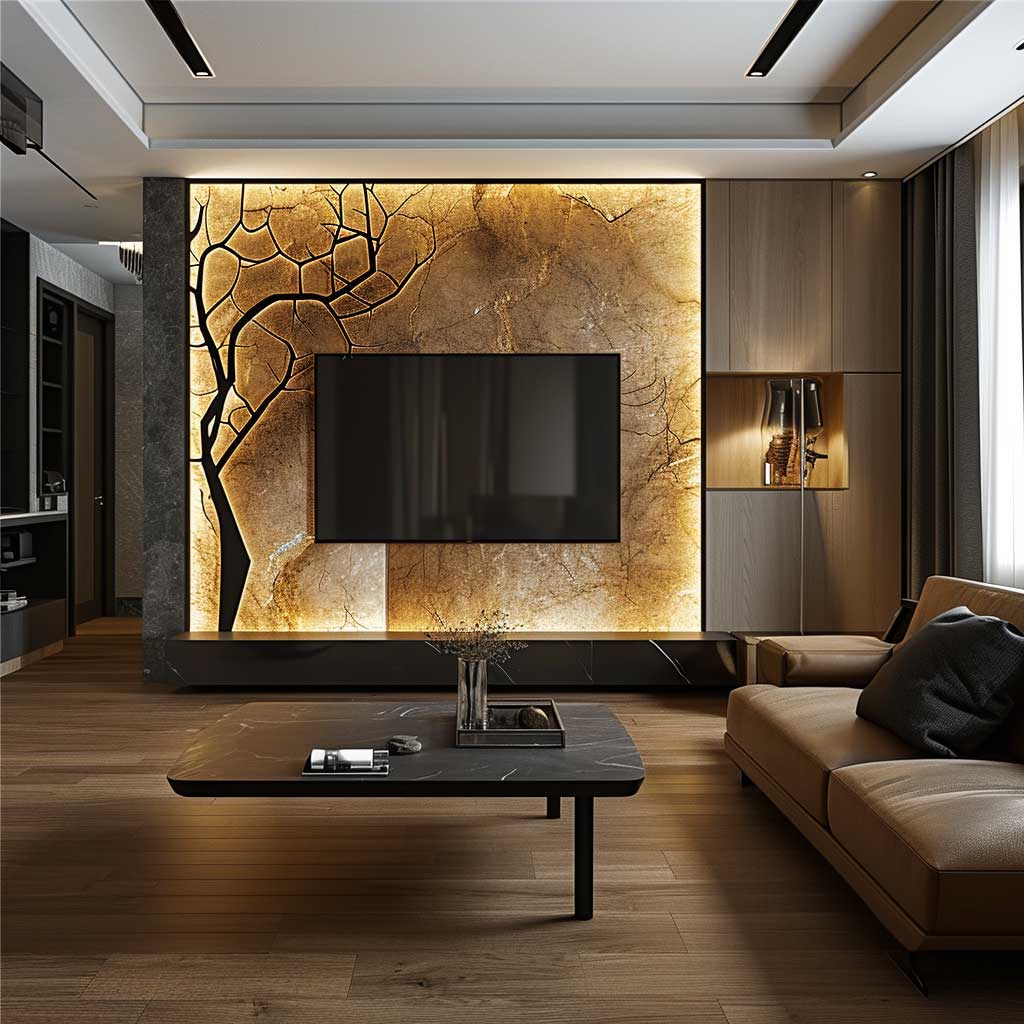
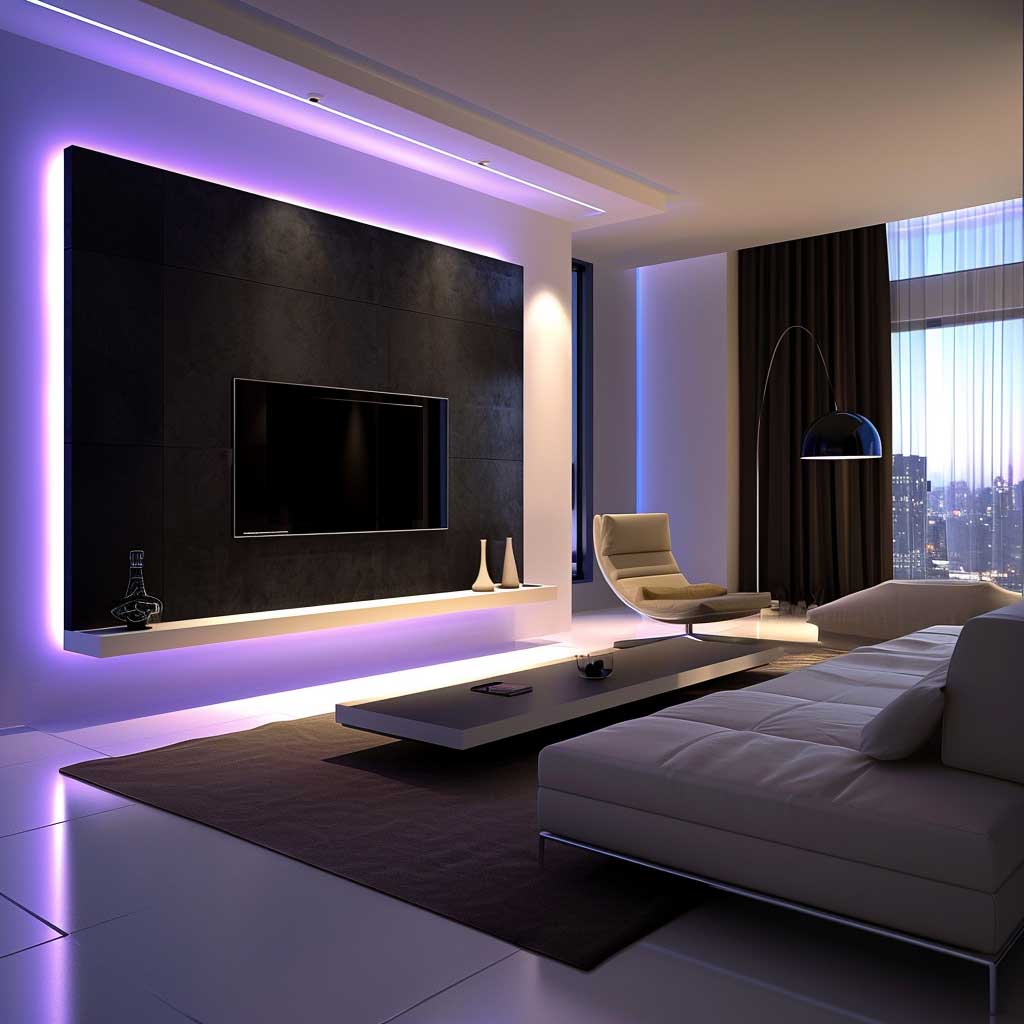
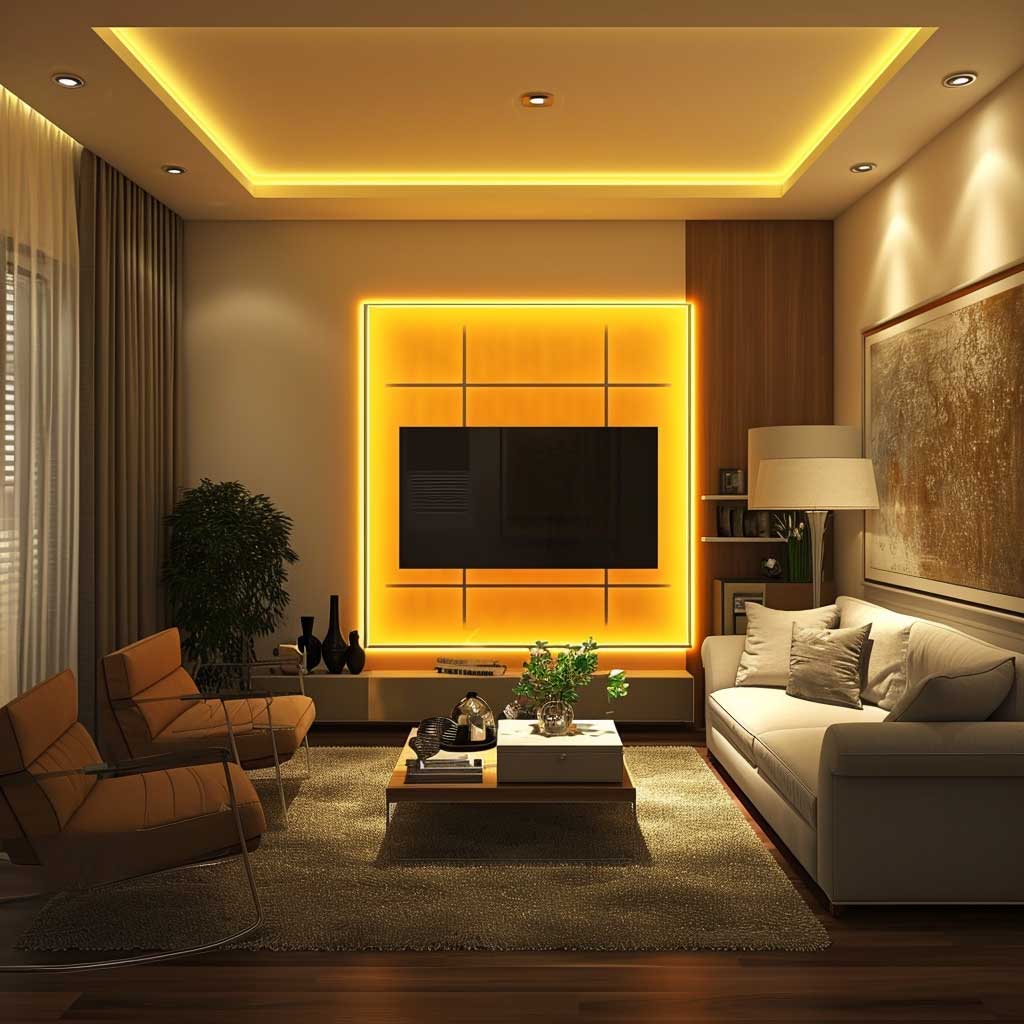
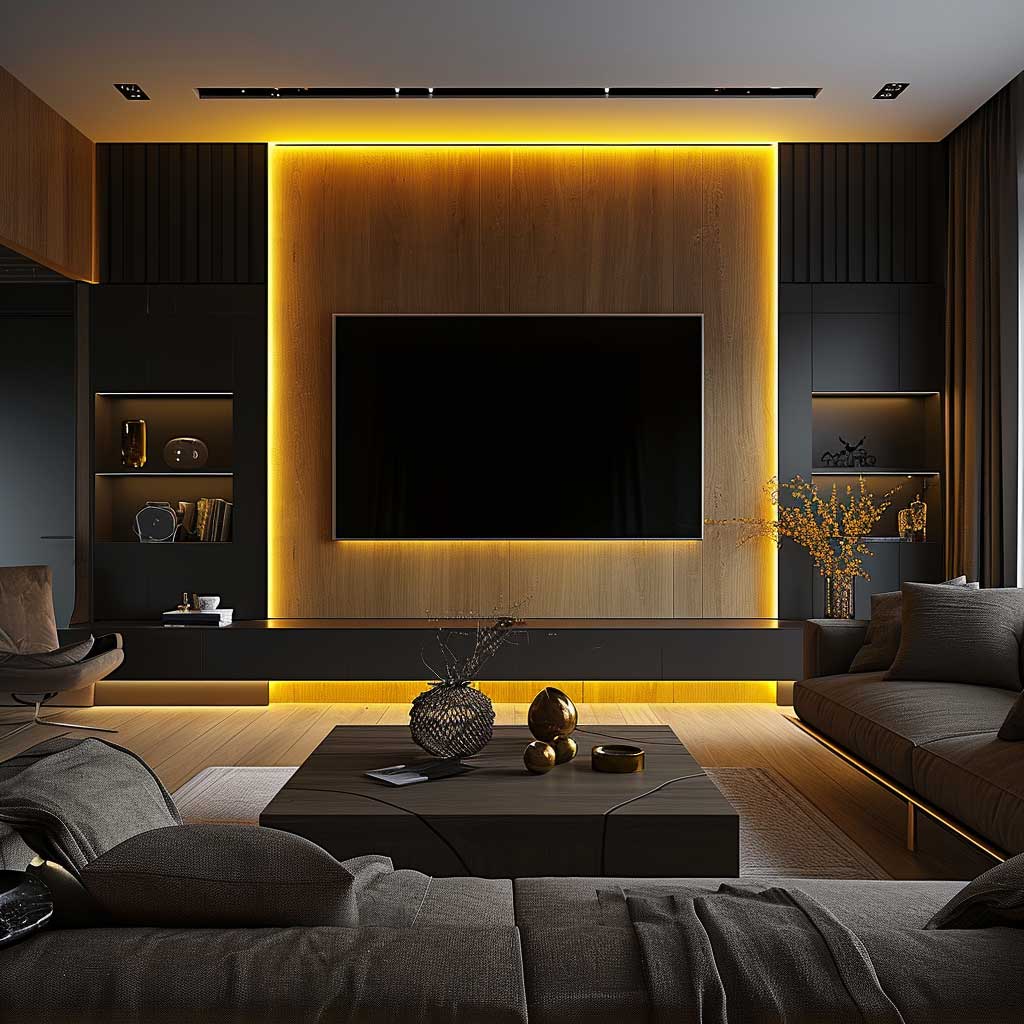
For hosting and atmosphere switching, LED panels with a 1–100% dimming range are worth the extra $20–$30 per unit. Modern living room ceiling designs increasingly treat the panel layout as a design element, not just infrastructure. That shift in thinking is what separates spaces that photograph well from ones that actually feel good to be in.
Energy draw in a fully paneled living room sits around 80–120W total for a typical 25 square meter space using modern DALI-dimmable units. Traditional downlights doing the same job run 300–400W. The math over three years pays for the upgrade easily.
Don’t Do This with LED Panels
- 4000K or 5000K in a bedroom or living room. It triggers alertness. Save cool white for kitchens and bathrooms where you actually need task accuracy.
- No dimmer on a bedroom panel. You’ll hate it by week two. Dimmers aren’t optional — they’re the difference between a lighting system and a light switch.
- Centering one panel in a large room. It creates a dark halo at the room perimeter and looks unfinished regardless of how expensive the panel is.
- RGBW color panels in a dining room. Colored light on food is universally unflattering. Even a slight blue cast makes food look unappetizing. Warm white only over the table.
- Mismatched panel brands with different CRI ratings. Two panels from different manufacturers in the same ceiling will render colors slightly differently. Buy all panels in a space from one line.
Dining Area LED Panel Design Where Color Temperature Is the Whole Strategy
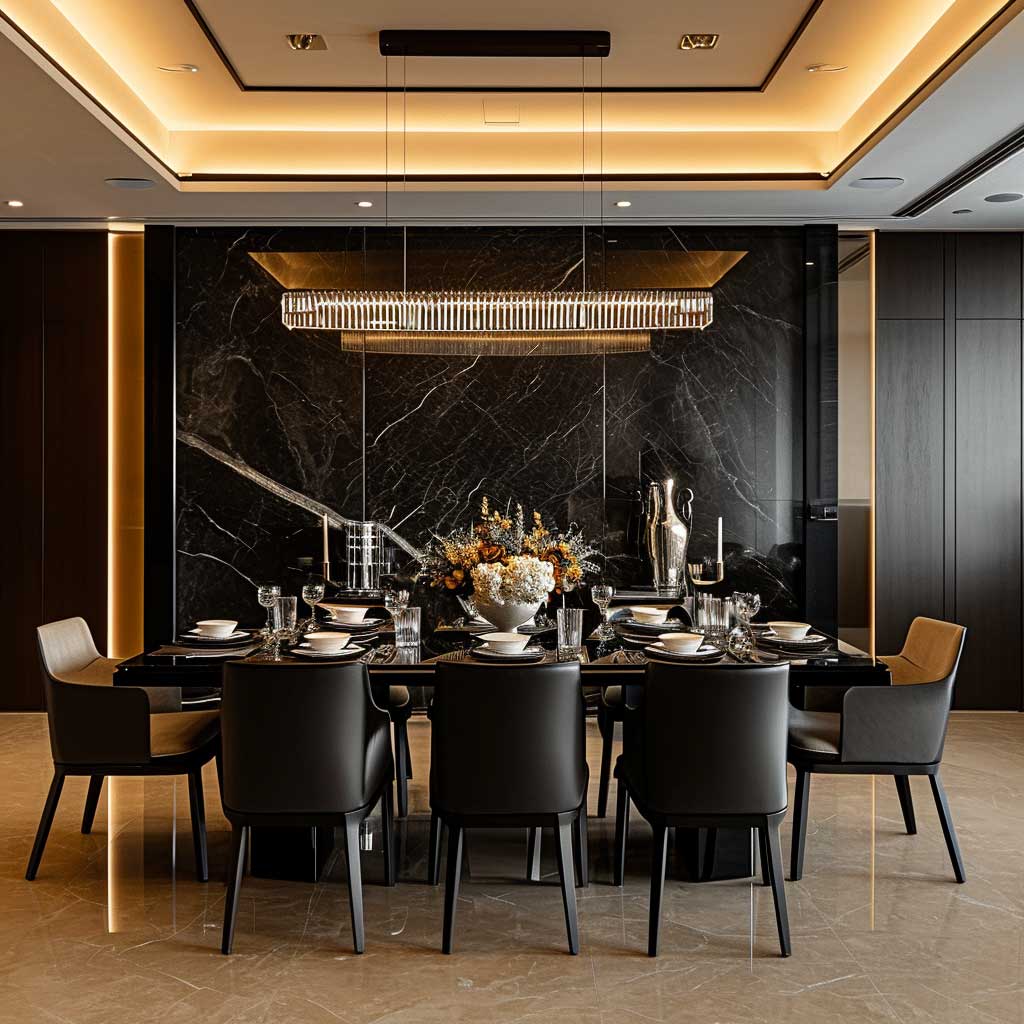
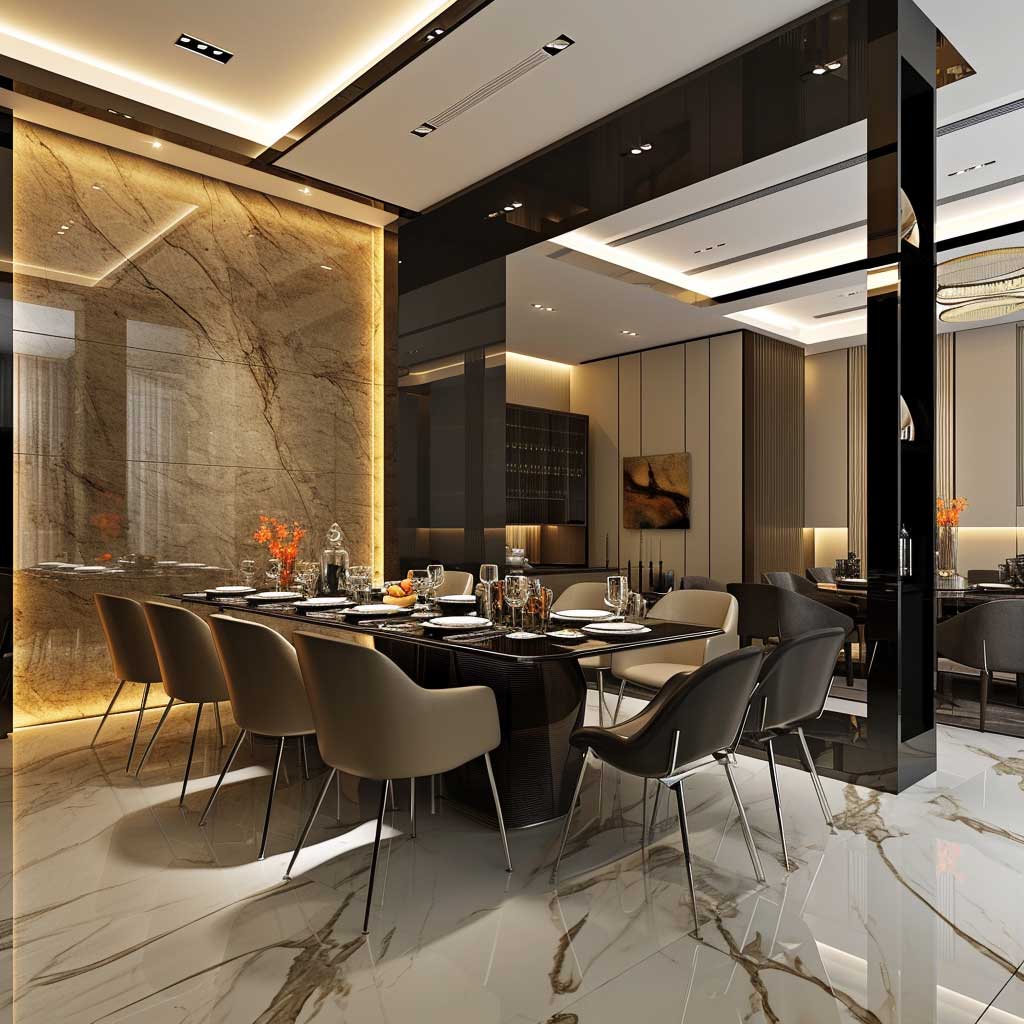
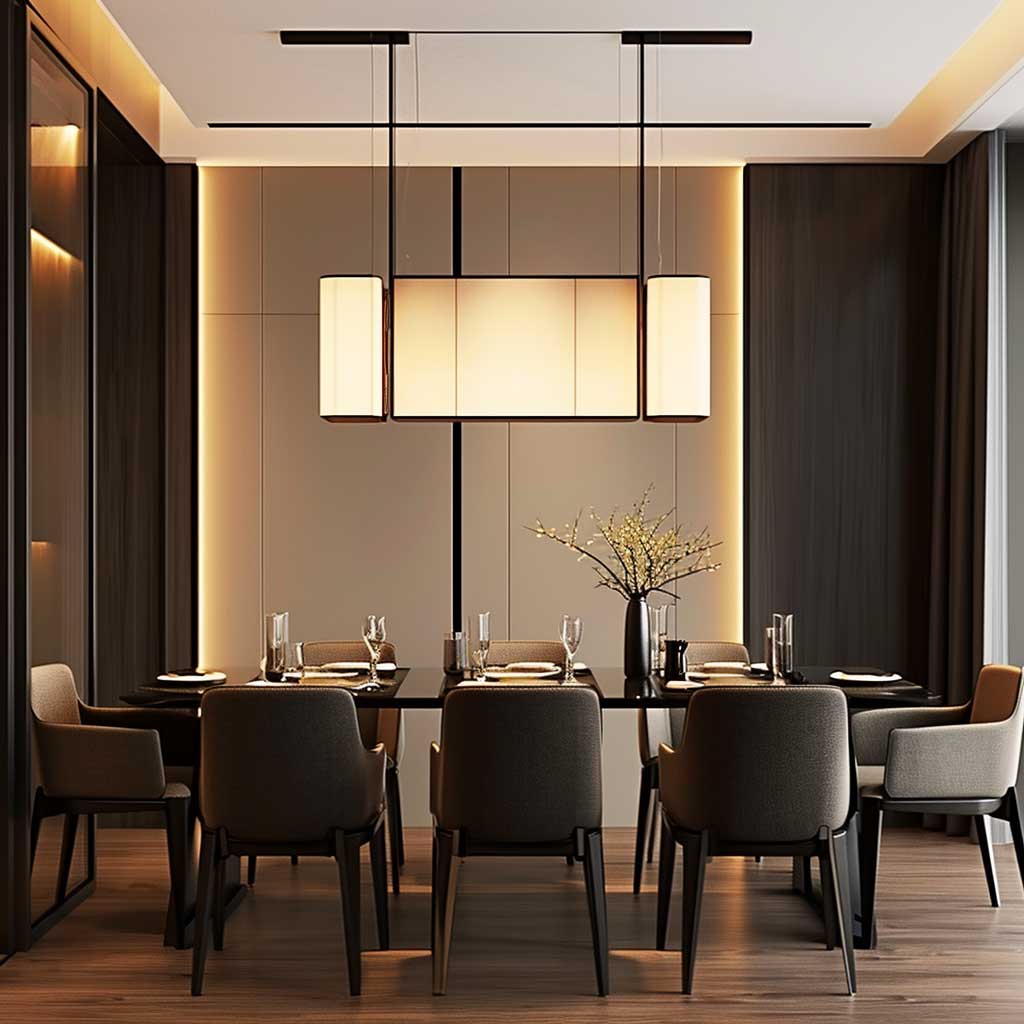
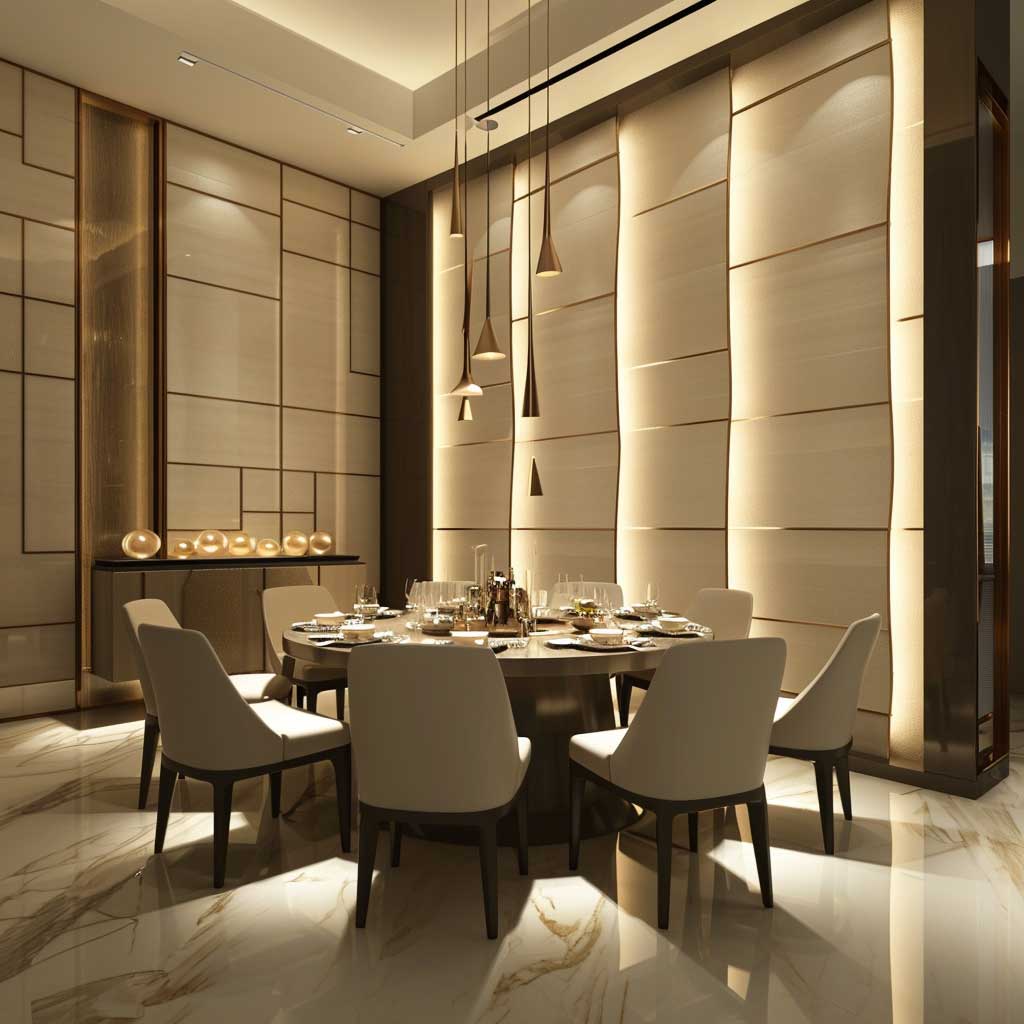
My go-to rule for dining LED panels is 2700K, CRI 90+, and a dimmer that goes to 10% without flickering. The CRI number matters here more than anywhere else in the house — it’s what makes a roast chicken look golden rather than grey. Panels with CRI below 80 are fine for utility spaces. Over a dining table, they make everything look slightly wrong and you won’t know why until you swap them.
Placement matters as much as color temperature. A panel directly above the table surface concentrates the light where food and faces are — that’s correct. Perimeter panels filling the whole room evenly kill the intimacy. Think of it like restaurant lighting design: the table is lit, the edges of the room are dim. That contrast is doing work. A single 600x600mm Ledvance Slim panel ($45–$65) mounted directly above the table at 2700K will outperform a full ceiling of cheaper cool-white units every time.
For adjustable dining atmospheres, CCT-tunable panels that shift from 2700K (romantic dinner) to 3500K (homework at the table) give you the range without buying two separate lighting systems. Osram DALI Slim panels offer this at around $90–$120 per unit. Worth it if your dining room doubles as a workspace.
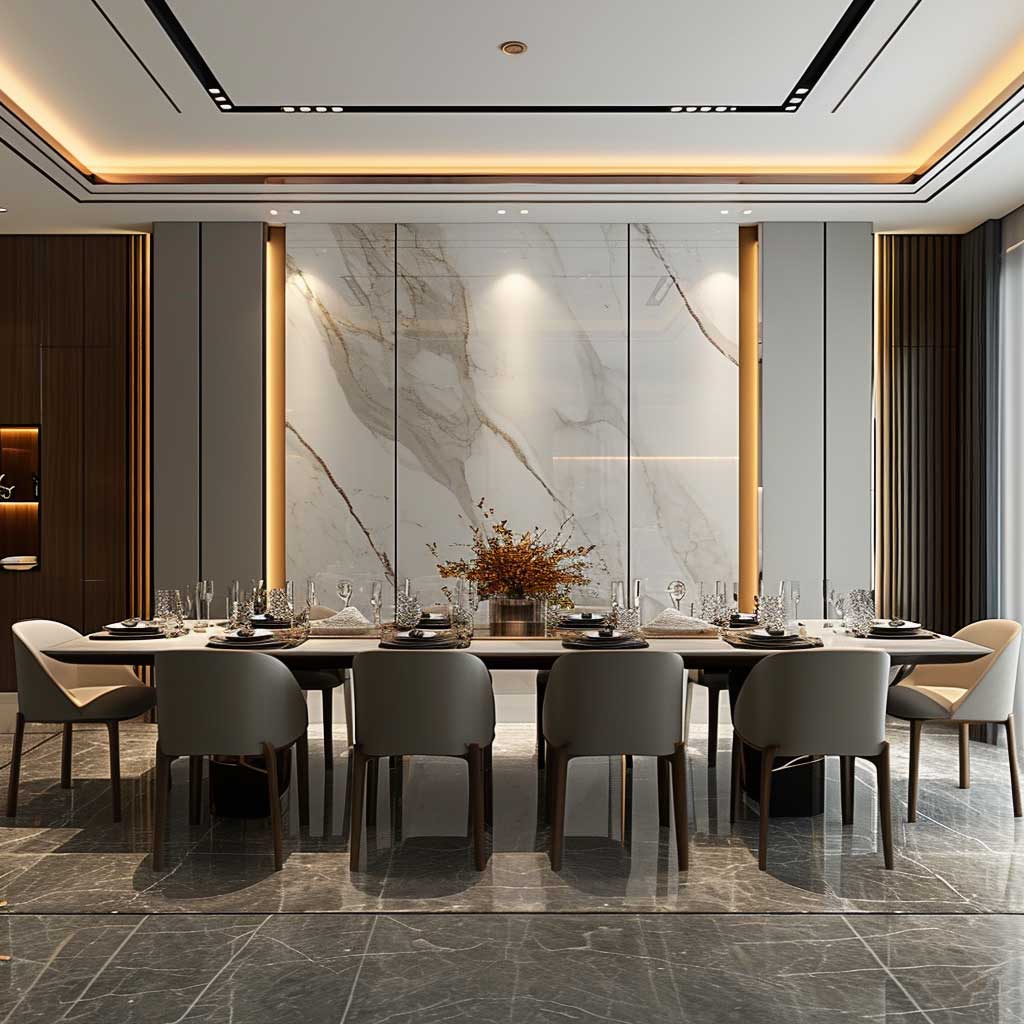
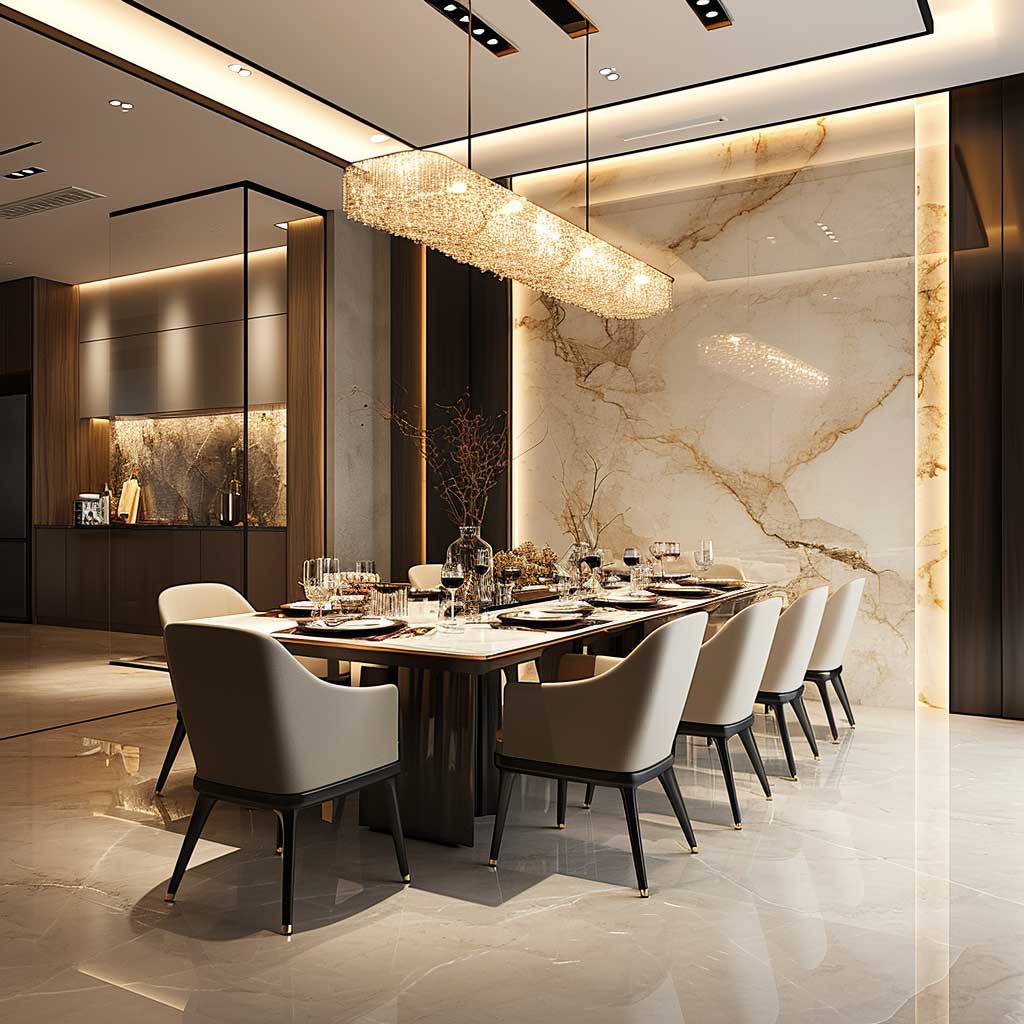
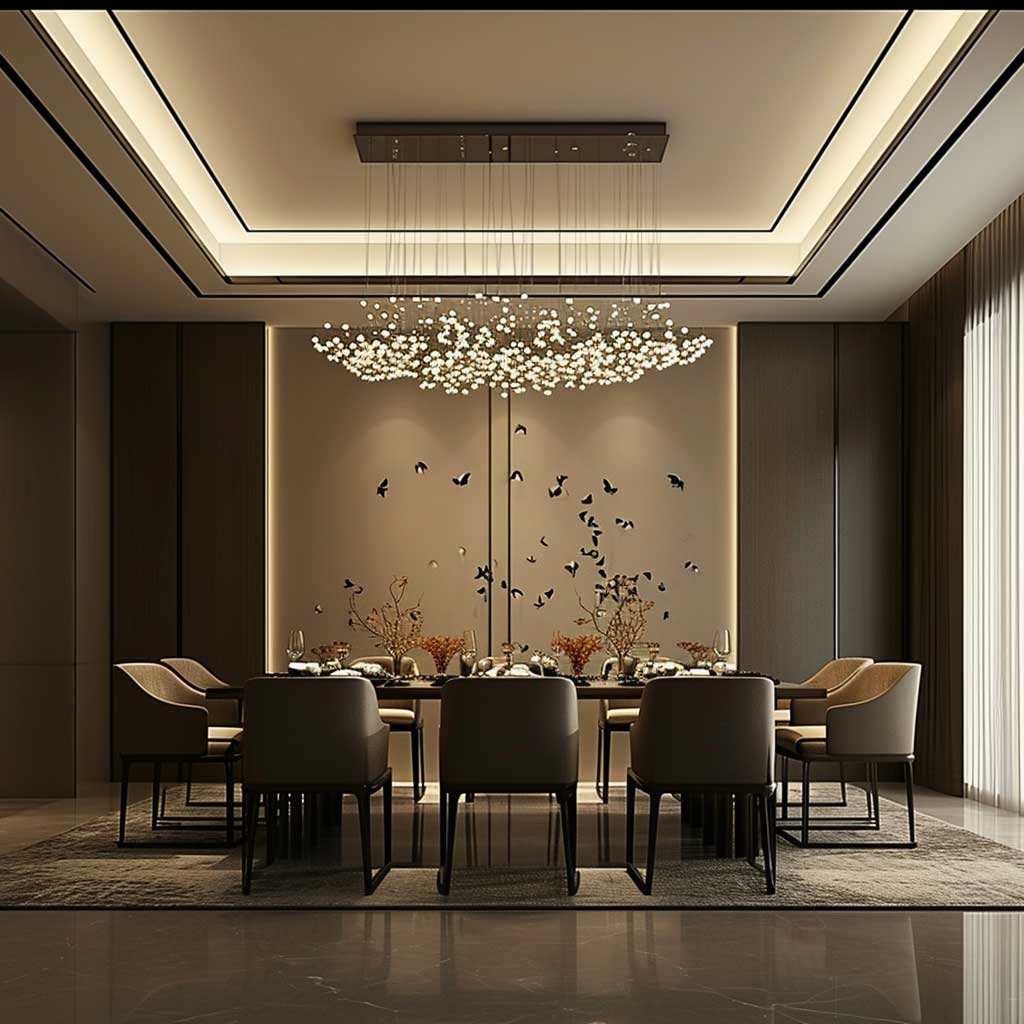
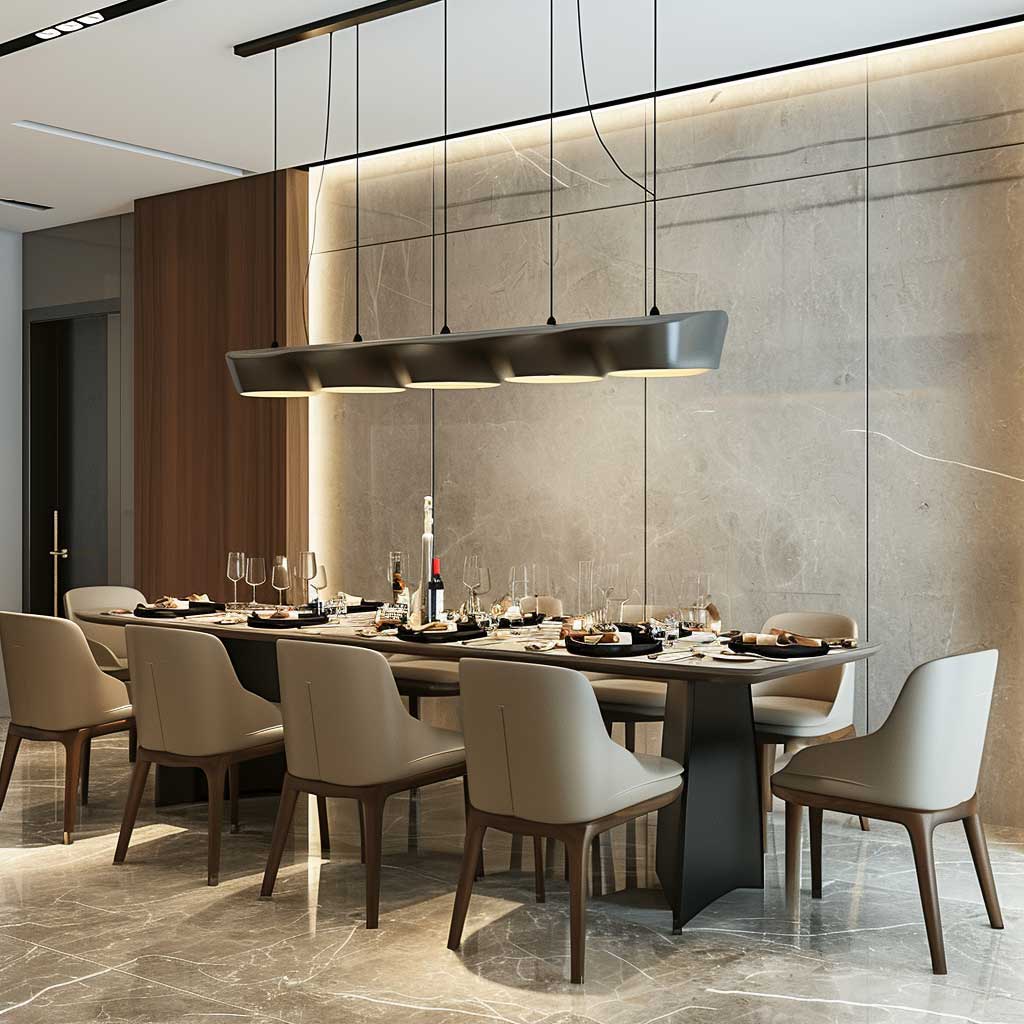
The design failure I see most often in dining areas is a panel installation that prioritizes even coverage over focal depth. Uniformly lit rooms feel cafeteria-like regardless of the furniture quality. The panel is a tool for shaping attention — use it to say “the table matters” and let the rest of the room recede slightly. That’s not a technical decision. It’s a design one.
LED efficiency gains in dining areas are real but secondary to the aesthetic argument. A 40W panel replacing a 150W incandescent pendant matters. It matters less than the fact that your dinner guests look good under 2700K CRI 90+ and look tired under 4000K CRI 75. Get the color right first, count the watt savings second.
Simple LED Panel Design Where Less Light Does More
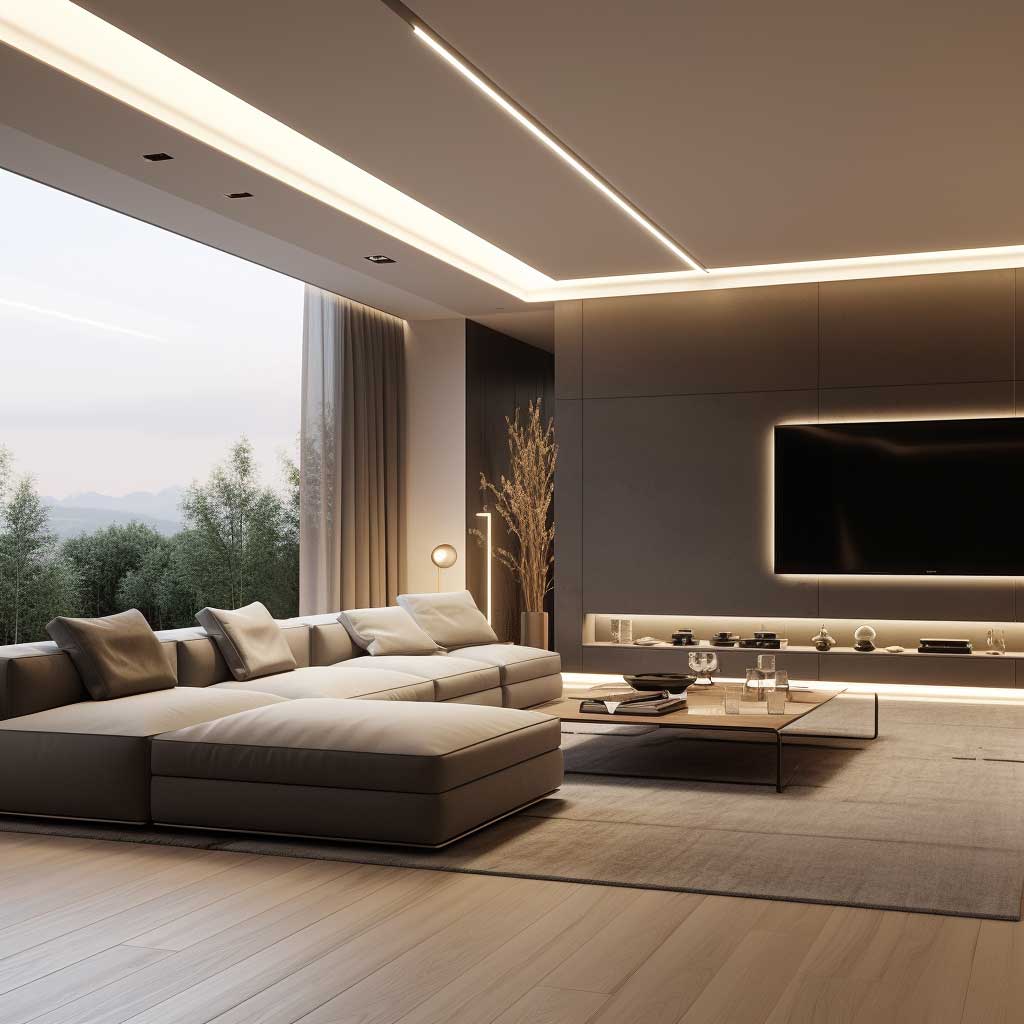
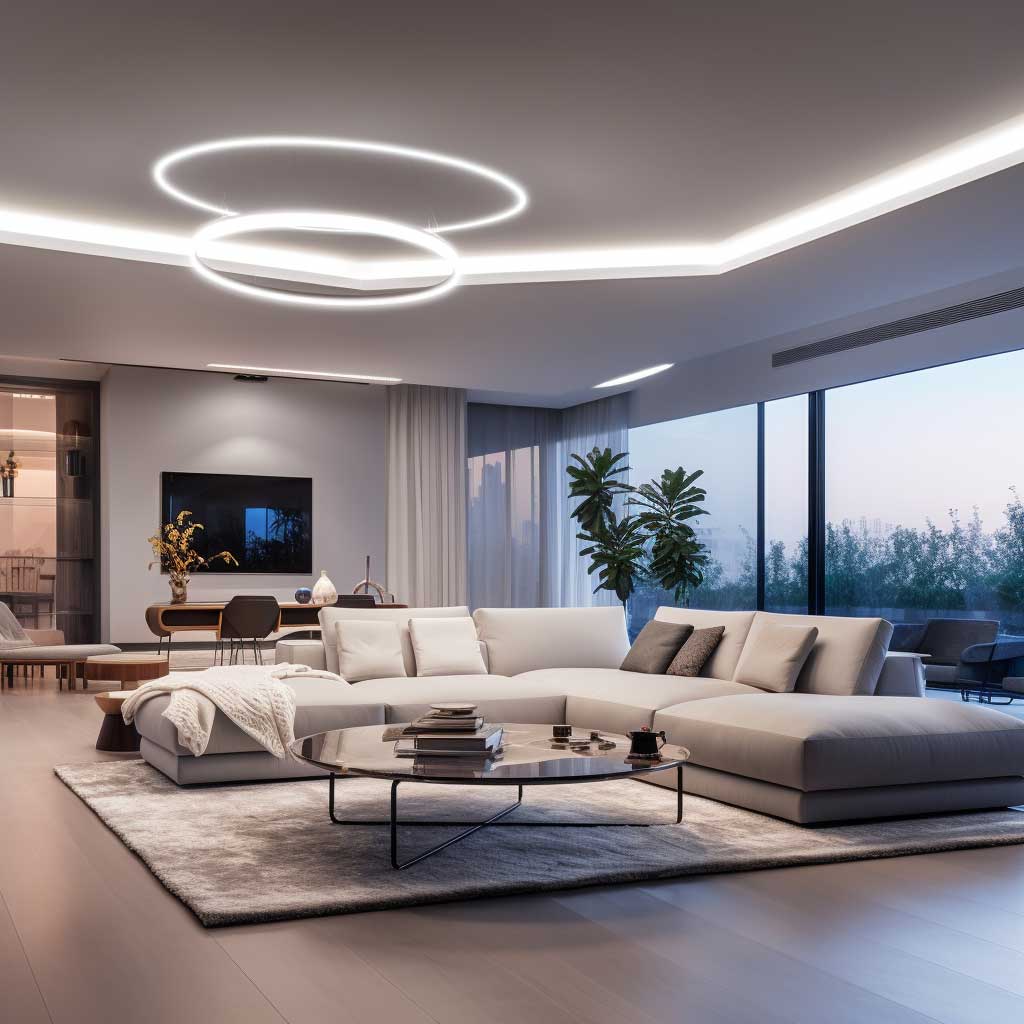


Simple LED panel design is not a compromise position — it’s a deliberate one. The rooms here use a single flush-mount panel as the sole overhead source, and the rooms work because everything else in the design is doing its job. A panel that disappears into the ceiling is the goal. You want people to comment on the room, not the fixture.
The geometry here is doing everything. A panel that’s perfectly flush — no reveal gap, no visible frame shadow — disappears into the ceiling plane the way a well-fitted cabinet disappears into a wall. Brands like Zumtobel and Tridonic make ultra-slim surface panels with frame widths under 15mm that genuinely vanish. They cost $100–$180 per unit but the invisible result is worth the price difference over a $30 contractor panel with a visible 20mm chrome edge.
What reads as “simple” in these photos is not minimal effort. It’s maximum restraint. Every panel is sized for the room — not undersized and floating awkwardly, not oversized and dominant. The rule I use: a single panel should cover roughly 10–15% of the room’s ceiling area for a balanced result. Smaller and it reads like you ran out of budget. Larger and it becomes the subject of the room rather than the support for it.
Maintenance advantage of simple flat panels is real. No trim rings, no recessed housings to vacuum, no edge shadows that accumulate dust visibly. A damp cloth across a flush-mount panel takes 30 seconds. That’s not nothing if you’re doing it twice a year for the next 15 years.
Minimalist Bedroom Panels That Pull Off the Sleep-and-Work Balance
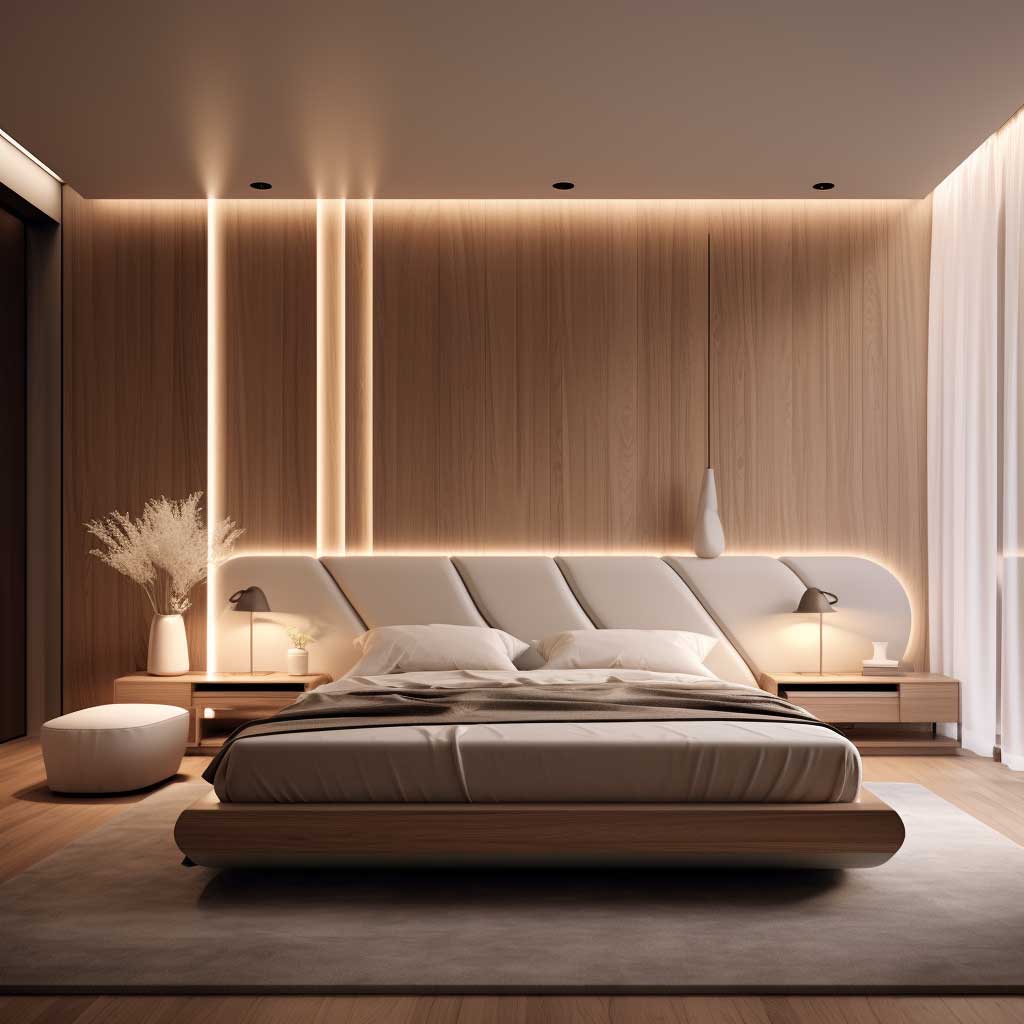
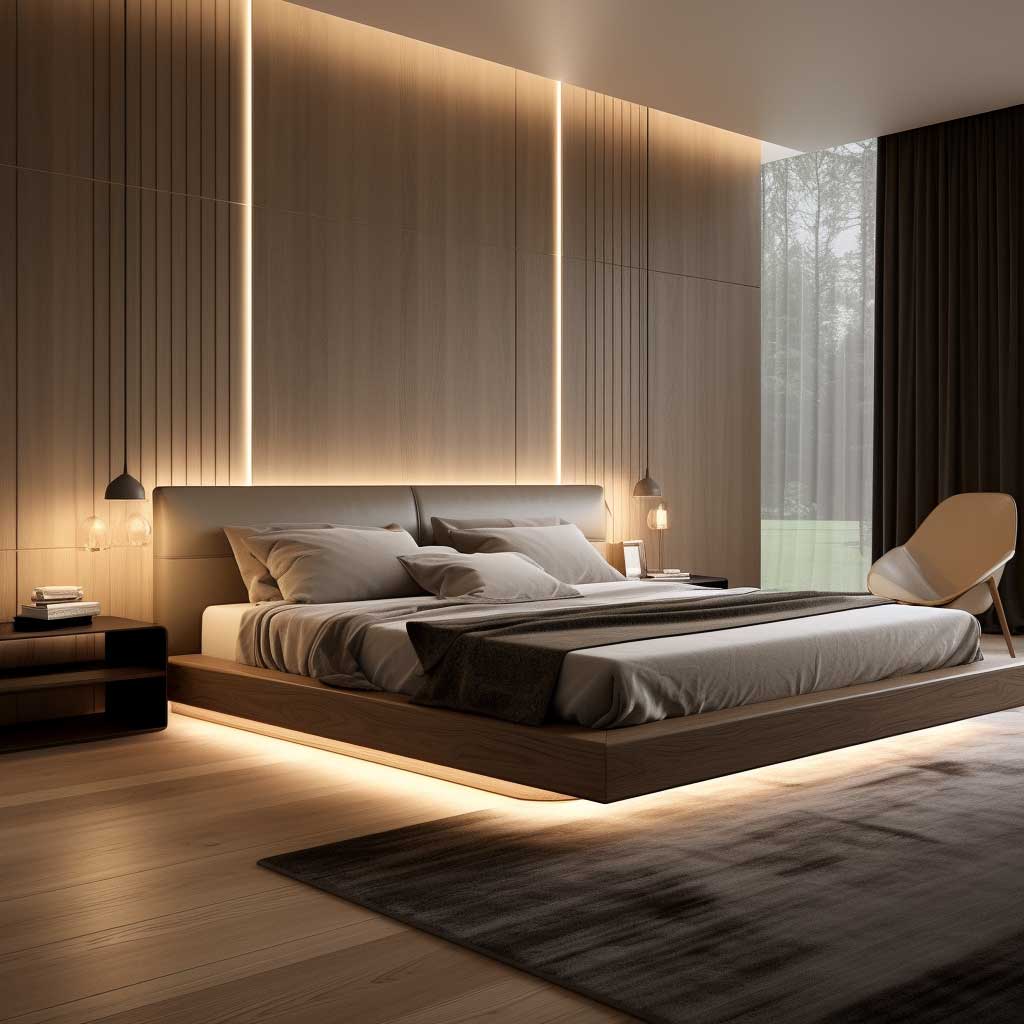
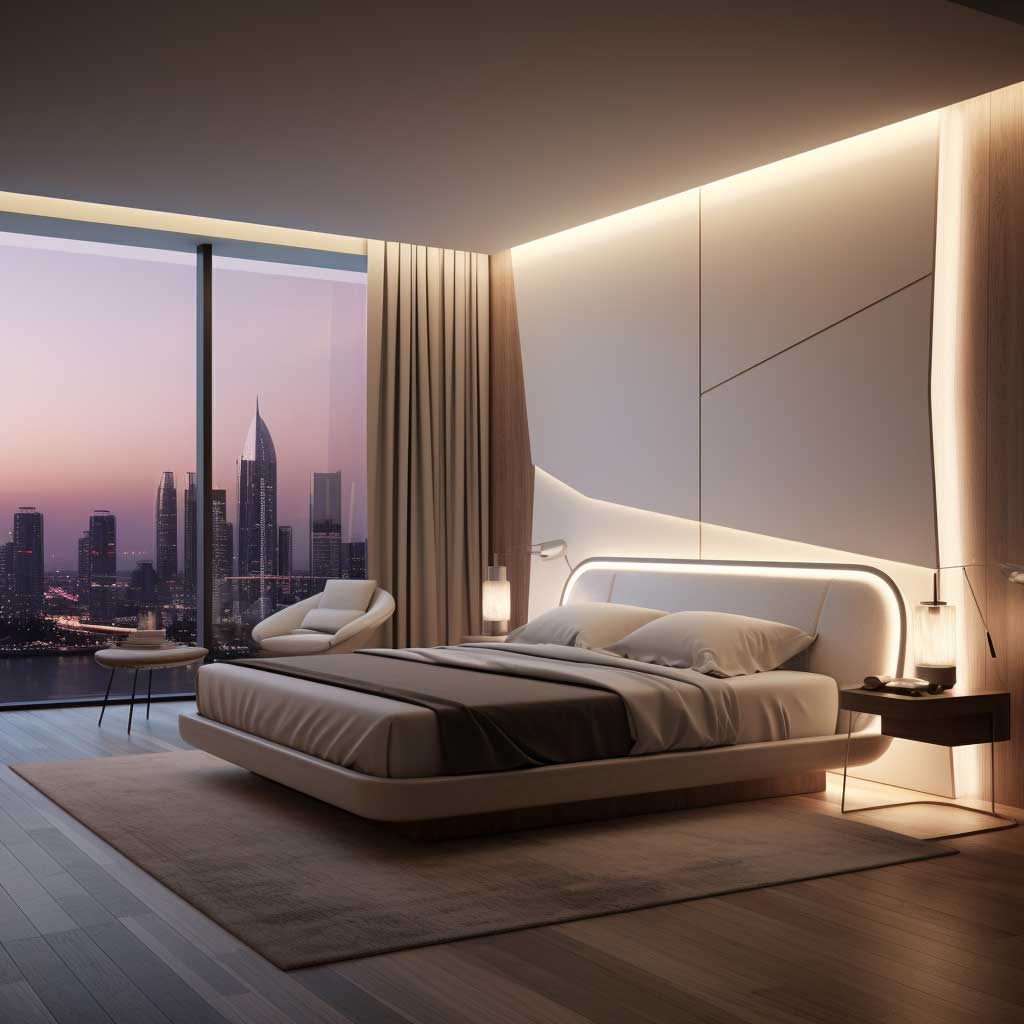

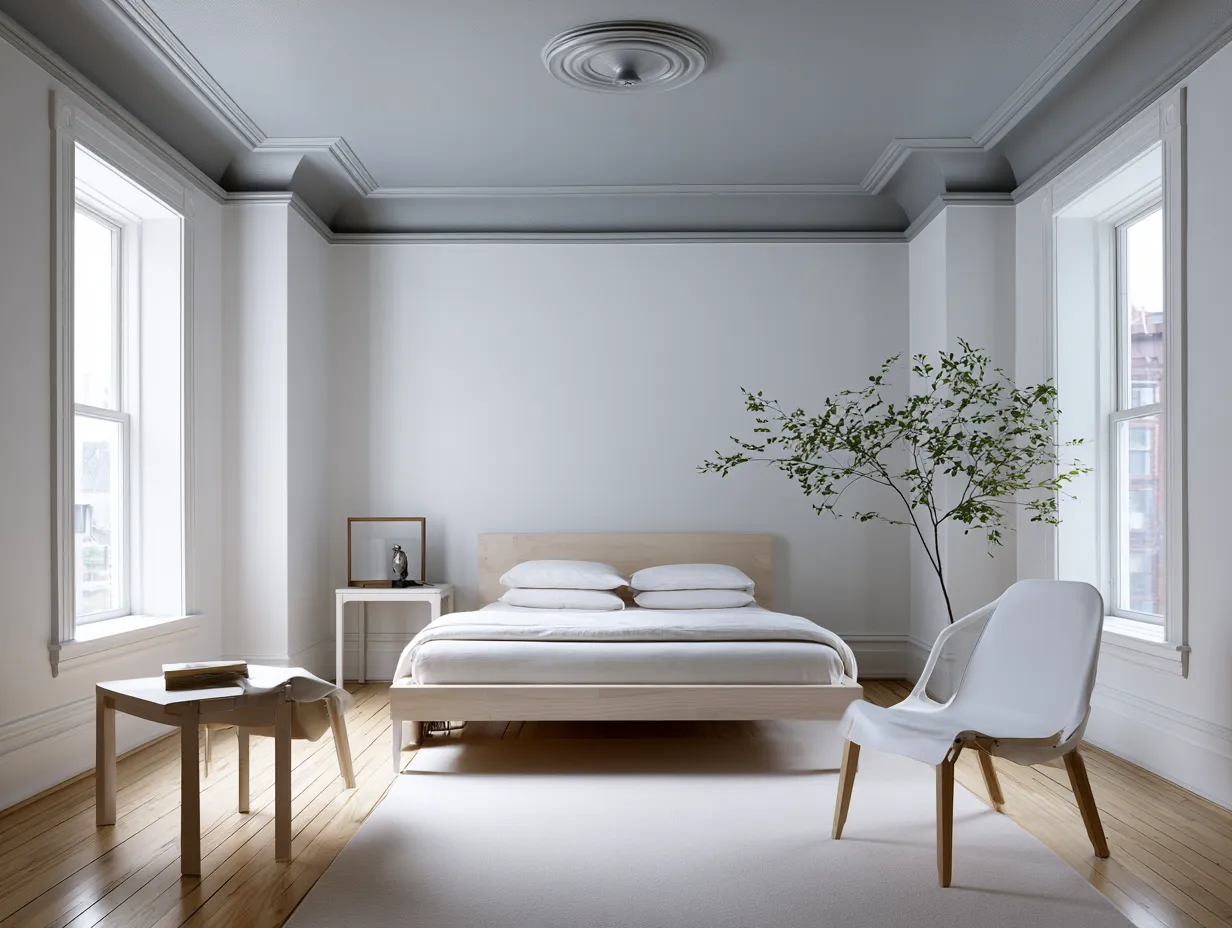
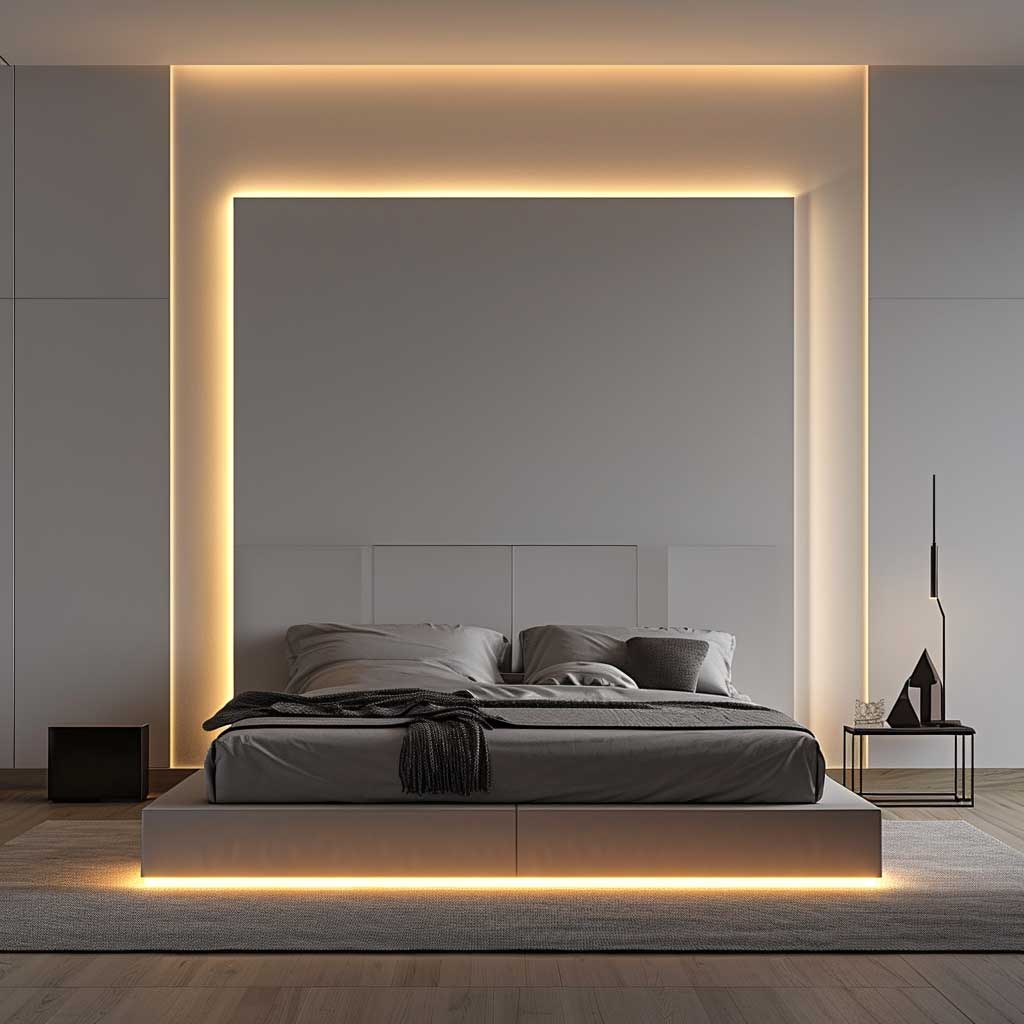
The bedrooms in this section use a single square panel — no cove, no layers, no secondary fixtures — and they read as complete. That only works when the panel color temperature and the room’s surface palette are calibrated together. Warm white panels (2700K) against off-white walls and natural wood tones create a reading that feels intentional. The same panel against cool grey walls and chrome hardware reads cold and clinical.
CCT-tunable panels solve the bedroom/workspace dual-use problem cleanly. At 6 AM when you’re working from bed, shift to 4000K. At 10 PM before sleep, drop to 2700K at 20% brightness. The Philips CertaDrive-compatible tunable panels handle this with a standard 0–10V dimmer and cost around $70–$100 per unit. I own two of these in my own setup and have not touched the color temperature manually since I set a schedule in the Lutron app.
Adaptability is what makes a simple square panel work across design styles — Japandi, Nordic, contemporary, even transitional. The panel itself is neutral. The room around it carries the style. That’s a feature, not a limitation. A panel that draws attention to itself in a minimalist bedroom is a panel that made the wrong design decision.
What doesn’t hold up here: using a single panel without any supplementary light layer at all. One overhead source creates top-down illumination with no fill, which produces unflattering shadows on faces and leaves lower furniture in relative dark. Add one table lamp at $30–$50 from IKEA RANARP or similar. The panel and the lamp together, both at 2700K, is the combination that works. Just the panel alone is not.
Kitchen and Workspace LED Panels That Eliminate Shadow Zones

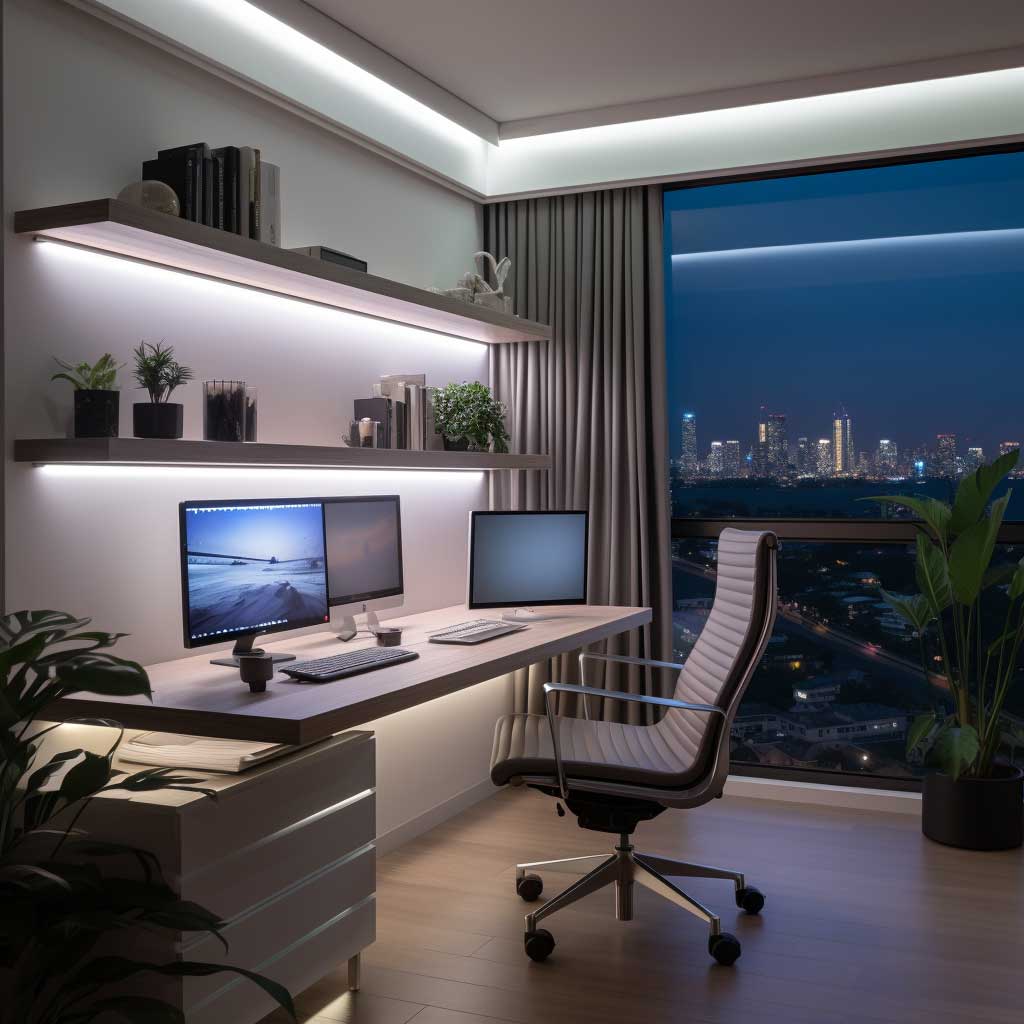
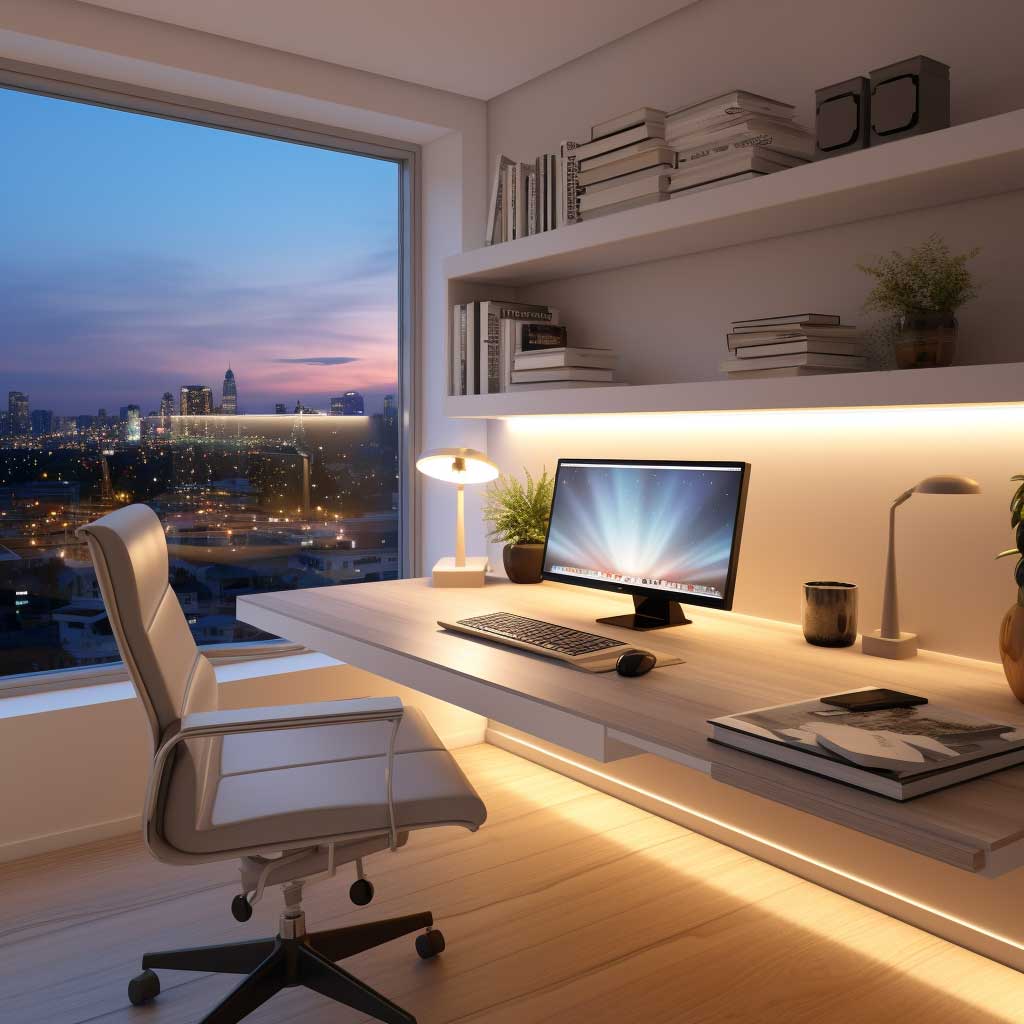
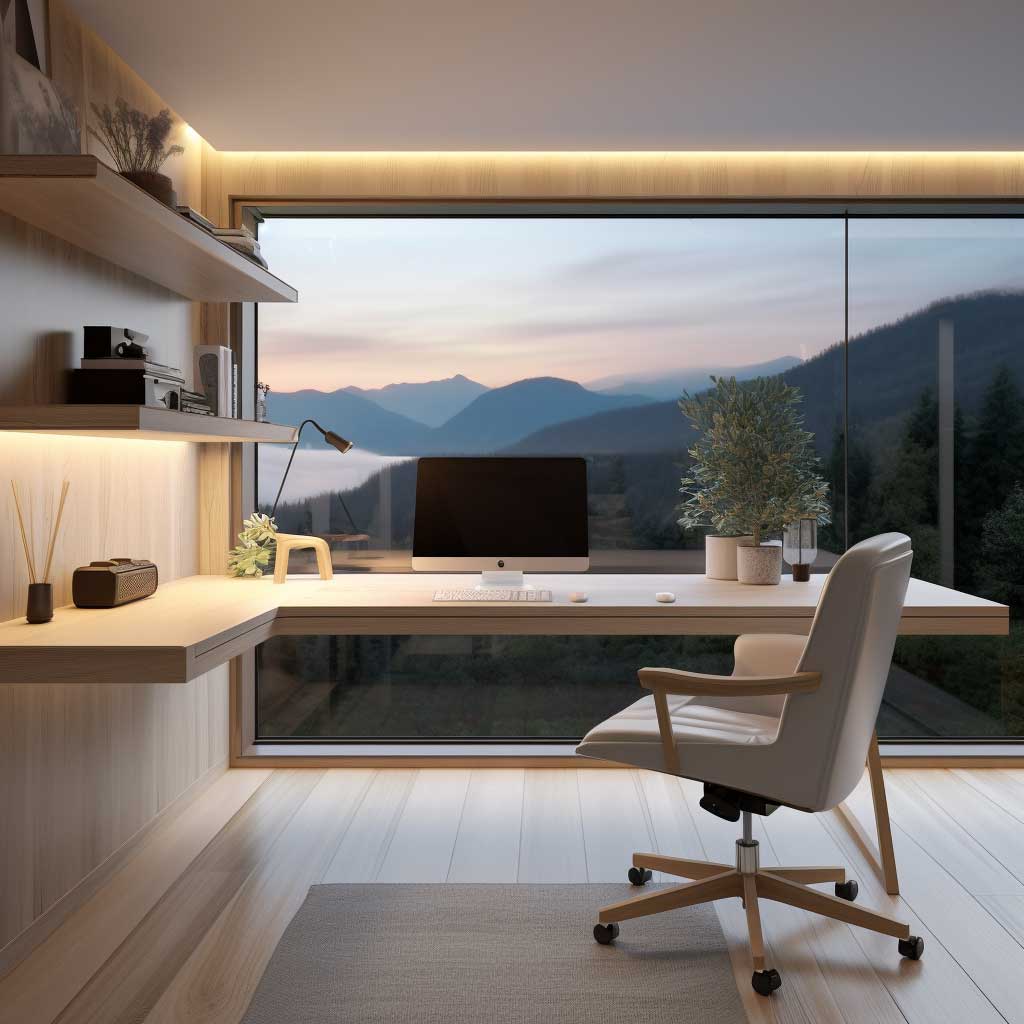
Kitchens and home offices are the two rooms where 4000K is the correct choice and 2700K actually makes the job harder. You need neutral-to-cool white for task accuracy — reading cutting board surfaces, seeing screen color correctly, finding the right spice jar. I work from a home office with two 600x600mm Ledvance Performance panels at 4000K and zero supplementary desk lamp. The workspace is evenly lit without hot spots or shadow zones.
A 600x1200mm panel (roughly $55–$85 in the Philips TP150 or RAB PANEL range) running along the center axis of a galley kitchen eliminates the counter shadow problem that plagues under-cabinet lighting setups. Under-cabinet strips are useful but they’re a supplement — the overhead panel should be doing the structural work. Wide beam angle matters here. Look for 120-degree beam panels rather than 90-degree. The wider spread prevents the bright-center/dark-edge distribution that makes a kitchen ceiling look like a spotlight rig.
Home offices deserve the same logic applied even more precisely. Screen work at 4000K with a panel that’s positioned to illuminate your desk from a slightly offset angle — not directly above your head — prevents the top-of-monitor hot spot reflection that drives you mad after an hour. Home office interior design ideas frequently overlook this, focusing on furniture and storage while treating lighting as a checkbox. The panel position relative to the monitor is the most important ergonomic decision in the room.
Maintenance in a kitchen means grease. Flush-mount panels with a sealed diffuser face — look for IP40 or higher rated panels — wipe clean completely. Recessed panels with open grid diffusers trap cooking particulate in the grid gaps and are almost impossible to clean without removing the panel entirely. For kitchens specifically, sealed flat-diffuser panels are not optional. They’re the only sensible choice.
According to the U.S. Department of Energy’s LED lighting resource, LED panels use at least 75% less energy than incandescent sources and last 25 times longer — numbers that matter most in high-use rooms like kitchens where lights run 6–8 hours daily. Over five years, the savings on a fully LED-paneled kitchen offset the fixture cost entirely.
LED Panel Design Comparison by Room
| Room | Color Temp | CRI | Dimmer | Panel Size | Approx. Cost |
|---|---|---|---|---|---|
| Bedroom | 2700–3000K | 90+ | Essential | 600x600mm | $40–$100 |
| Living Room | 3000K | 85+ | Essential | 600×600 or 600x1200mm | $55–$120 |
| Dining Area | 2700K | 90+ | Essential | 600x600mm above table | $45–$120 |
| Kitchen | 4000K | 80+ | Optional | 600x1200mm | $55–$85 |
| Home Office | 4000K | 80+ | Recommended | 600x600mm offset | $40–$85 |
The Bottom Line
LED Panel Design Works When You Stop Treating It as Infrastructure
Color temperature is the decision that matters most — get that wrong and no amount of panel quality fixes it. 2700K for bedrooms and dining, 4000K for kitchens and offices. The rest is refinement.
Dimmers are not accessories. They are part of the lighting system. A panel without a dimmer in a bedroom or living room is a panel that will disappoint you within a month.
Size your panel to the room, offset the placement asymmetrically in living spaces, and let the panel disappear. Save this post before you buy anything — you’ll want to check the CRI rating against your room type before you’re standing in a hardware aisle.