Creating custom invitations is a fantastic way to add a personal touch to any event, whether it’s a wedding, birthday party, corporate gathering, or special celebration. Using a laser engraver elevates the customization process, allowing for intricate designs, precision, and professional finishes that set your invitations apart. This guide will walk you through the steps to create stunning custom invitations using a laser engraver, along with tips and best practices to ensure your invitations impress your guests.
Why Choose a Laser Engraver for Invitations?
Laser engraving offers several advantages over traditional invitation-making methods:
- · Precision and Detail: Laser engravers can produce intricate patterns, fine lines, and detailed images that are difficult to achieve by hand.
- · Customization: Easily personalize each invitation with names, dates, and unique designs tailored to your event’s theme.
- · Durability: Materials used with laser engravers, such as wood, acrylic, and cardstock, provide a robust and lasting quality.
- · Efficiency: Laser engraving can streamline the production process, especially for large batches of invitations, saving time and effort.
- · Eco-Friendly Options: Many laser-friendly materials are sustainable and recyclable, allowing for environmentally conscious invitation choices.
Materials You’ll Need
Before you start, gather the necessary materials and tools:
- · Laser Engraver: Ensure it’s compatible with the materials you plan to use.
- · Design Software: Programs like Adobe Illustrator, CorelDRAW, or free alternatives like Inkscape can help create your designs.
- · Materials for Invitations: Common choices include wood, acrylic, cardstock, leather, and cardstock with embellishments.
- · Safety Gear: Protective eyewear and gloves to ensure safety during the engraving process.
- · Finishing Supplies: Such as varnish, paints, or adhesives, depending on your design.
Step-by-Step Guide to Creating Custom Invitations
1. Define Your Invitation’s Purpose and Theme
Begin by outlining the event’s purpose and desired theme. This will guide your design choices, including color schemes, motifs, and overall style. Whether it’s a rustic wedding, a modern corporate event, or a whimsical birthday party, having a clear theme ensures your invitations align with the event’s aesthetic.
2. Choose the Right Material
Selecting the appropriate material is crucial for both the design’s appearance and the laser engraving process:
- · Wood: Provides a warm, natural look. Lightweight options include plywood or bamboo, while heavier woods like walnut offer a more luxurious feel.
- · Acrylic: Available in various colors and finishes, acrylic is versatile and allows for vibrant designs.
- · Cardstock: Ideal for traditional invitations, cardstock can be engraved for added texture and design elements.
- · Leather: Offers a unique, tactile invitation experience, perfect for upscale or vintage-themed events.
3. Design Your Invitation
Utilize design software to create your invitation layout. Here are some design tips:
- · Size and Shape: Standard invitation sizes include 5×7 inches or 4×6 inches. Consider unique shapes like circles, hexagons, or custom outlines to make your invitation stand out.
- · Typography: Choose fonts that match your theme. Ensure text is legible and appropriately sized. You can experiment with engraving styles, such as etched text or raised lettering.
- · Graphics and Patterns: Incorporate images, patterns, or borders that enhance the invitation’s theme. Laser engravers excel at creating detailed and intricate designs.
- · Personalization: Leave space for personalized information like names, dates, and locations. You can also create variations of the design for different guests.
4. Prepare the Design for Laser Engraving
Once your design is complete, prepare it for the laser engraver:
- · Convert to Vector Format: Ensure your design is in a vector format (e.g., SVG, AI, or PDF) for optimal precision during engraving.
- · Set Layers: Separate different elements of your design into layers. For example, text on one layer and graphics on another can help manage engraving processes.
- · Adjust Dimensions: Double-check the size of your design to fit the chosen material without overcrowding or excessive empty space.
- · Test the Design: Run a test on a small piece of material to see how the design translates, making any necessary adjustments for depth, contrast, or clarity.
5. Configure Laser Engraver Settings
Properly configuring your laser engraver ensures high-quality results:
- · Material Settings: Adjust power, speed, and frequency based on the material you’re using. Heavier woods may require higher power settings, while delicate materials like cardstock need lower settings to prevent burning.
- · Focus: Ensure the laser is correctly focused for precise engraving. An inaccurate focus can result in blurry or uneven designs.
- · Positioning: Carefully position your material on the engraver’s bed, ensuring it’s securely placed to avoid movement during the engraving process.
- · Safety Settings: Enable any software-specific safety features and double-check all settings before starting the engraving.
6. Execute the Engraving Process
With everything set up, proceed to engrave your invitations:
- · Monitor the Process: Keep an eye on the engraving to ensure it’s proceeding smoothly. While laser engravers are generally safe, unforeseen issues can arise.
- · Multiple Passes: For deeper engravings or bolder designs, you may need to run multiple passes. Allow the machine to cool between passes to prevent overheating.
- · Handling Materials: After engraving, handle the materials carefully to avoid smudging or damaging the designs.
7. Add Finishing Touches
Enhance your invitations with additional elements:
- · Color Accents: Paint or stain certain areas to highlight parts of the design. Use non-toxic paints for materials like wood and cardstock.
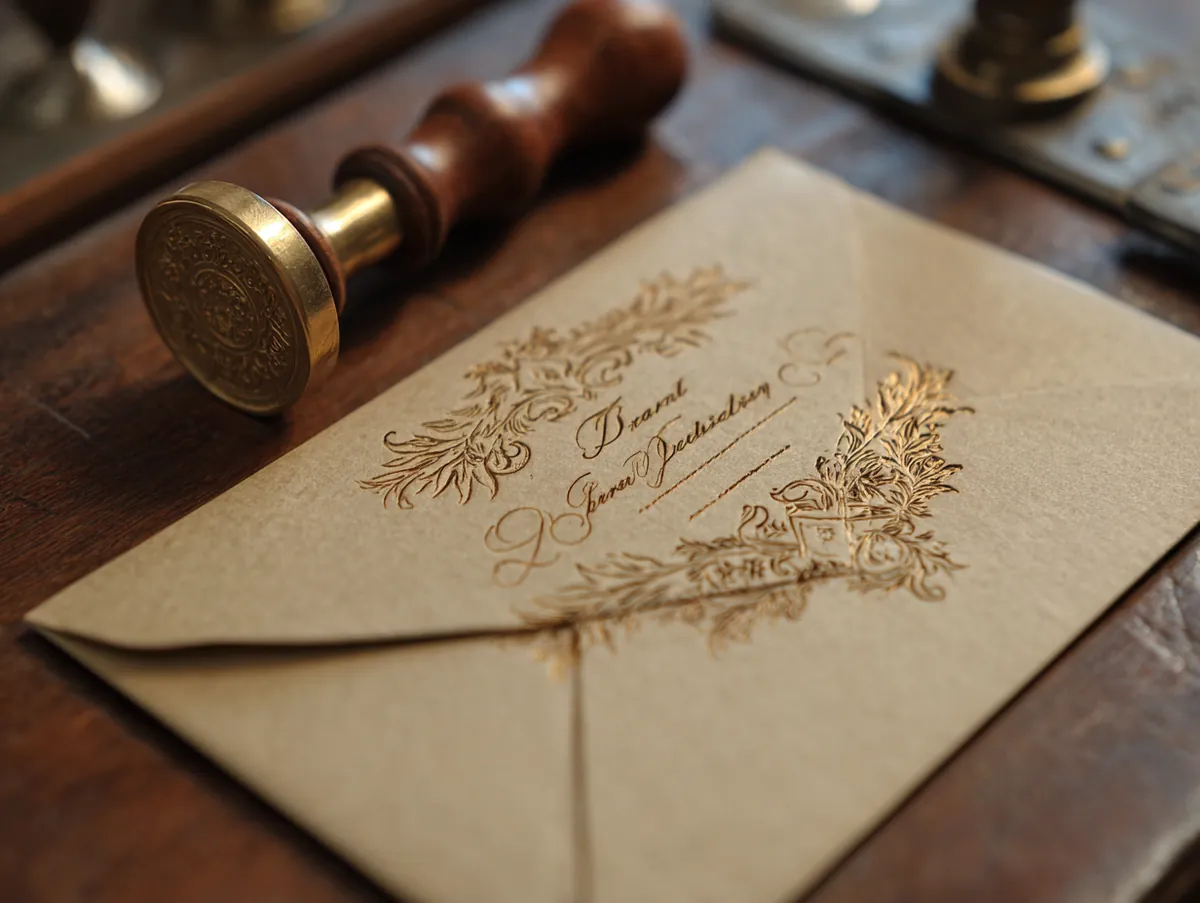
- · Embellishments: Add ribbons, wax seals, gemstones, or other decorative items to give your invitations a unique flair.
- · Cutting and Shaping: If you’ve created custom shapes, use the laser cutter to precisely cut out each invitation. Ensure edges are smooth and free from burn marks or roughness.
- · Assembly: For layered designs, adhere different pieces together using appropriate adhesives. Allow sufficient drying time to ensure durability.
8. Assemble and Package Invitations
Once all invitations are engraved and finished, assemble and package them for distribution:
- · Envelopes: Choose envelopes that complement your invitation’s size and design. Consider using colored or patterned envelopes for added elegance.
- · Presentation: Arrange invitations neatly, potentially tying them with twine or placing them in decorative boxes or bags.
- · Personal Touch: Handwrite names or short messages on each invitation to add a personal touch, if desired.
Tips for Creating Stunning Laser Engraved Invitations
- · Explore Different Materials: Don’t limit yourself to one type of material. Combining materials like wood and acrylic can create visually appealing contrasts.
- · Use High-Resolution Images: Ensure all graphics and images are high resolution to maintain clarity during engraving.
- · Experiment with Depth: Varying the engraving depth can add a dynamic, layered effect to your invitations.
- · Incorporate Mixed Media: Combine laser engraving with other techniques, such as embossing, foil stamping, or hand painting, to enhance your design.
- · Maintain Consistency: Ensure all invitations in a set share consistent design elements, colors, and styles for a cohesive look.
Common Mistakes to Avoid
- · Overcomplicating Designs: While intricate designs are a hallmark of laser engraving, overly complex patterns can become muddled. Strive for a balance between detail and clarity.
- · Ignoring Material Specifications: Different materials react differently to laser engraving. Always refer to manufacturer guidelines to avoid damaging your materials.
- · Poor File Preparation: Inadequate preparation of your design files can lead to inefficient engraving, wasted materials, or subpar results. Take the time to properly format and test your designs.
- · Neglecting Safety Precautions: Always prioritize safety by using protective gear, ensuring proper ventilation, and following all safety protocols of your laser engraver.
Safety Considerations
Laser engraving involves high-precision machinery that can pose hazards if not used correctly. Adhere to the following safety measures:
- · Wear Protective Gear: Always use safety glasses designed for laser operation to protect your eyes from harmful beams.
- · Ensure Proper Ventilation: Laser engraving can produce fumes and particles, especially when working with materials like wood or acrylic. Use ventilation systems or work in well-ventilated areas to mitigate inhalation risks.
- · Stay Alert: Never leave a running laser engraver unattended. Be present during the entire engraving process to respond promptly to any issues.
- · Use Fire-Resistant Materials: Some materials can catch fire or release toxic fumes when laser cut. Verify that your materials are safe and suitable for laser engraving.
- · Follow Manufacturer Guidelines: Adhere to all safety instructions provided by the laser engraver’s manufacturer, including maintenance and operational protocols.
Conclusion
Creating custom invitations with a laser engraver is an exciting and rewarding process that combines creativity, technology, and craftsmanship. By following the steps outlined in this guide, you can design and produce invitations that not only convey essential event details but also leave a lasting impression on your guests. Whether you’re a DIY enthusiast or a professional event planner, leveraging a laser engraver can elevate your invitation game, making each event uniquely memorable from the very first interaction.
Embrace the capabilities of laser engraving to explore endless design possibilities, and watch as your personalized invitations set the tone for unforgettable gatherings. With careful planning, attention to detail, and a touch of creativity, your custom laser-engraved invitations will undoubtedly become cherished keepsakes for your guests.