Arched window trim ideas live or die by one decision made before you buy a single piece of molding: does the profile follow the curve, or does it fight it. I’ve seen beautiful brick colonials ruined by flat casing shoved against a half-round opening — the gap at the keystone alone is enough to make a contractor wince. Getting exterior and interior arched window trim right means thinking in three dimensions, not just picking a paint color and hoping for the best.
The arch is the loudest architectural statement a window can make. It announces itself from the street, pulls the eye upward, and sets the tone for every other detail on the facade. Waste that geometry with a clunky trim choice and you’ve done more damage than leaving it plain.
What you’ll find on this page:
- Why material matching matters more than aesthetics for exterior arched trim
- The outside window arch design approach that adds curb value vs. the one that looks cheap
- Interior arched window trim ideas — from flush-painted wood to layered plaster profiles
- How to choose between curved flexible molding and segmented casing on a budget
- A material comparison table: wood vs. PVC vs. polyurethane for arched window trim
- FAQ covering installation basics and cost ranges


The single most common mistake I see on renovation projects is mixing material families — wood side casings against a polyurethane arch piece that was never going to expand and contract at the same rate. You’ll get a crack at the joint by year two. Every house has its own thermal behavior, and your trim assembly needs to move as one unit or it fails as a unit. Choose your arch piece and your straight casings from the same manufacturer and same product line whenever possible.


Arch Window Design Vocabulary — What Each Part Is Actually Called
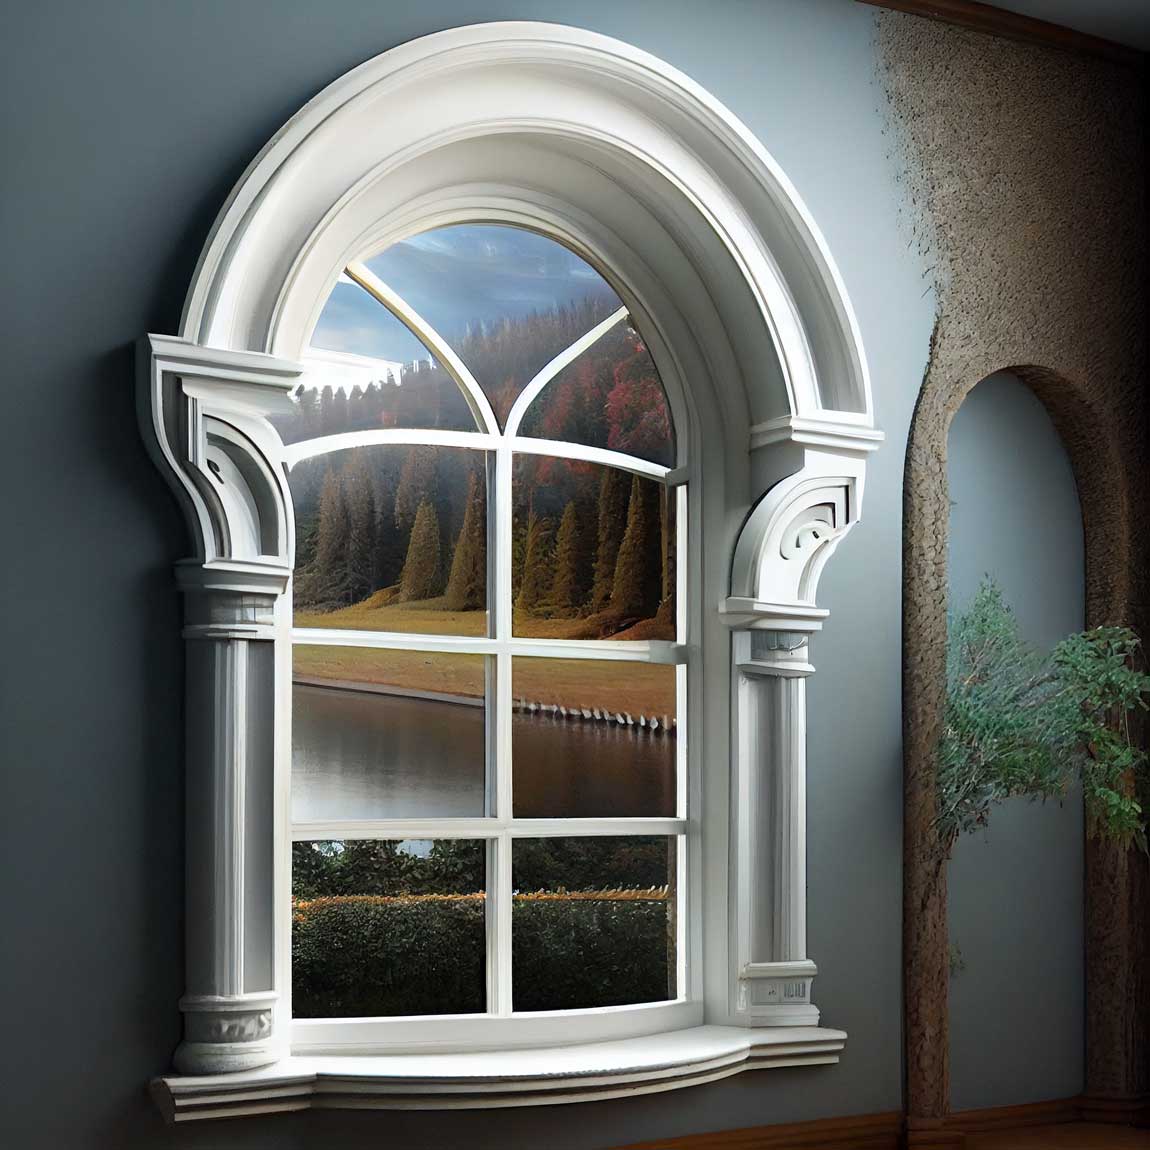
You need the right words before you walk into a lumber yard or call a trim carpenter, or you’ll end up with the wrong profile at the wrong price. The arch head — the curved piece that follows the window’s radius — is the hardest part to source and usually the most expensive. Side casings are straightforward flat or ogee boards; the complexity is all in the transition joint where the straight meets the curve. That joint is where amateur installs fail every single time.
The keystone sits at the crown of the arch. It’s optional, but it’s the detail that makes a $200 trim job read as a $2,000 one from the street. I’ve bought keystones from Ekena Millwork for as little as $18 in polyurethane — paint them to match and nobody knows the difference. Avoid plastic-looking keystones with molded texture that’s too regular; they look stamped, not carved.


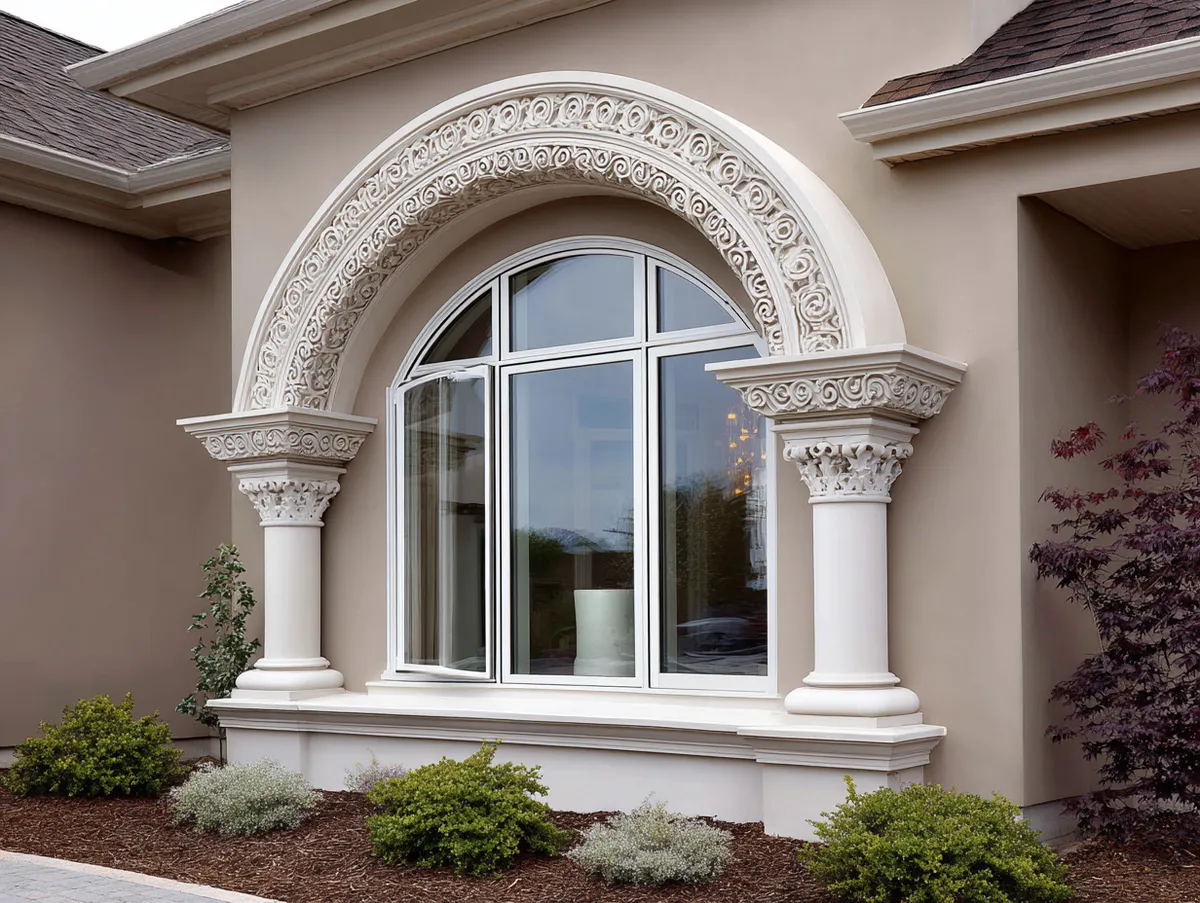
Exterior Arched Window Trim — Where Material Choice Changes Everything
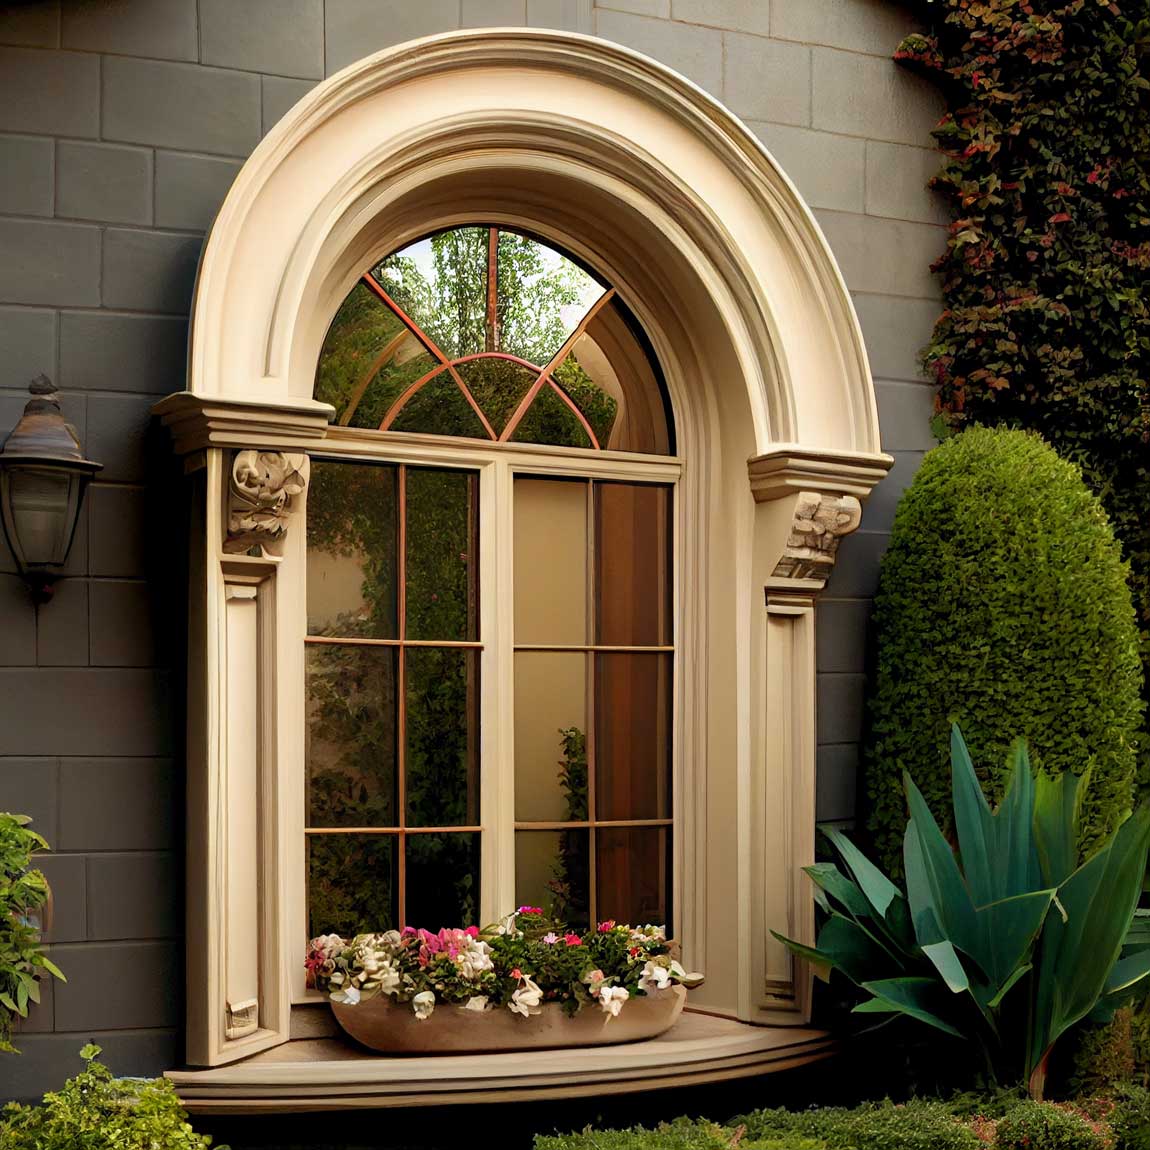
Exterior arched window trim has to survive UV, freeze-thaw cycles, rain, and heat expansion — all while looking precise enough to justify being a focal point of your facade. Wood is the traditional answer, and for painted applications it’s still my go-to for anything where the profile needs to be deeply shaped. A craftsman-grade shop-bent wood arch costs $80–$150 custom-made, and it holds paint the way no synthetic can replicate. The texture takes the brush and the grain disappears under three coats of a solid exterior alkyd like Benjamin Moore Advance.
Cellular PVC is what I’d recommend for most homeowners who don’t want a maintenance schedule. Kleer Lumber and AZEK both make flexible PVC trim that bends to radius without kerf-cutting — you heat it slightly and it follows the arch cleanly. It won’t rot. It doesn’t need caulking every two years at the joints. Price-wise you’re at $40–$90 per linear foot installed for a custom arch piece, which isn’t dramatically more than wood when you factor in painting labor. Don’t pick polyurethane foam for exterior applications — it looks convincing in photos but gets brittle in hard frost after five years. I learned that the hard way on a house in a climate with January lows around -15°C.
| Material | Best For | Price Range (arch head) | Lifespan | Maintenance |
|---|---|---|---|---|
| Solid Wood (paint grade) | Deep profiles, stain finish | $80–$150 custom | 20–40 yrs painted | Repaint every 5–8 yrs |
| Cellular PVC (AZEK / Kleer) | Moisture-prone climates | $40–$90 / lin ft installed | 30+ yrs | Minimal — paint optional |
| Polyurethane (Ekena Millwork) | Interior only / keystones | $18–$60 per piece | 10–15 yrs exterior | Brittle in hard frost |
| MDF / Fiber Cement | Interior trim only | $25–$50 custom | Interior: 20+ yrs | Low — paint as needed |


Window design has been part of facade culture since the Art Nouveau movement brought ornamental trim back into fashion in the 1870s — and the arched opening was always its centerpiece. Ancient builders used the arch for structural load distribution; we use it now purely for drama. That historical weight is worth honoring with a trim profile that has some depth to it. A flat board tacked to a curved opening is not trim. It’s an apology.
For more on coordinating arch trim with the rest of your facade elements, including brick surrounds and column pilasters, the team at ArtFasad’s exterior window trim for brick houses covers material pairing in detail. The principles for arched openings are the same — match the mass of the trim to the mass of the wall material.


Interior Arched Window Trim — Flush Paint vs. Layered Plaster Profile
Interior arched window trim ideas split into two camps: the ones that disappear into the wall and the ones that announce themselves. Flush-painted wood casing — a simple 2.5-inch flat board following the arch radius — works in contemporary interiors where the geometry of the arch is the feature and you don’t want trim competing with it. You see this in new construction with a transitional aesthetic, usually paired with white walls and dark sash. Clean. Quiet. Done in a Saturday.
Layered plaster profiles are a different investment entirely. A built-up interior arch — think two or three passes of plaster coat with a curved screed — runs $400–$900 in labor for a single window opening in most U.S. markets, not counting materials. What you get is a shadow line that changes across the day as the light moves, which is something no flat board can replicate. I’ve seen this done in renovated Victorians where the original plaster arch just needed cleaning and repainting, and the result is 30 minutes of work for something that would cost a fortune to reproduce. Check your walls before you cover anything.
Don’t do this with interior arched window trim:
- Don’t use standard square-cut MDF casing and expect it to follow the arch. It won’t bend without kerf cuts, and kerf-cut MDF looks exactly like what it is — a cost-cutting workaround that telegraphs itself under paint.
- Don’t install a faux decorative sill below an arched window that has no structural logic. A windowbox-style shelf below an interior arch with nothing supporting it reads as an afterthought, not a design decision.
- Don’t choose a trim profile that’s wider than your jamb depth. If the casing overhangs the jamb by more than a quarter inch on the interior side, you’ve bought the wrong profile — it’ll rock when tapped and the caulk line will crack within months.
Stucco molding around an arched interior opening works the same way it does on the facade — the profile should match the mass of adjacent architectural details. If your ceiling has a 3-inch crown, your arch head trim should be no narrower than 3 inches and no wider than 5 inches. Wider than that and the arch starts to feel like it’s swallowing the room. I stole this proportioning trick from a restoration architect working on a 1910 Craftsman, and it’s the fastest way to avoid over-trimming a beautiful opening.
If you’re exploring how interior trim decisions connect to window treatment choices — whether to cover the arch with fabric or leave it exposed — the rundown on arched window treatment ideas at ArtFasad walks through which trim profiles work best with each covering style.


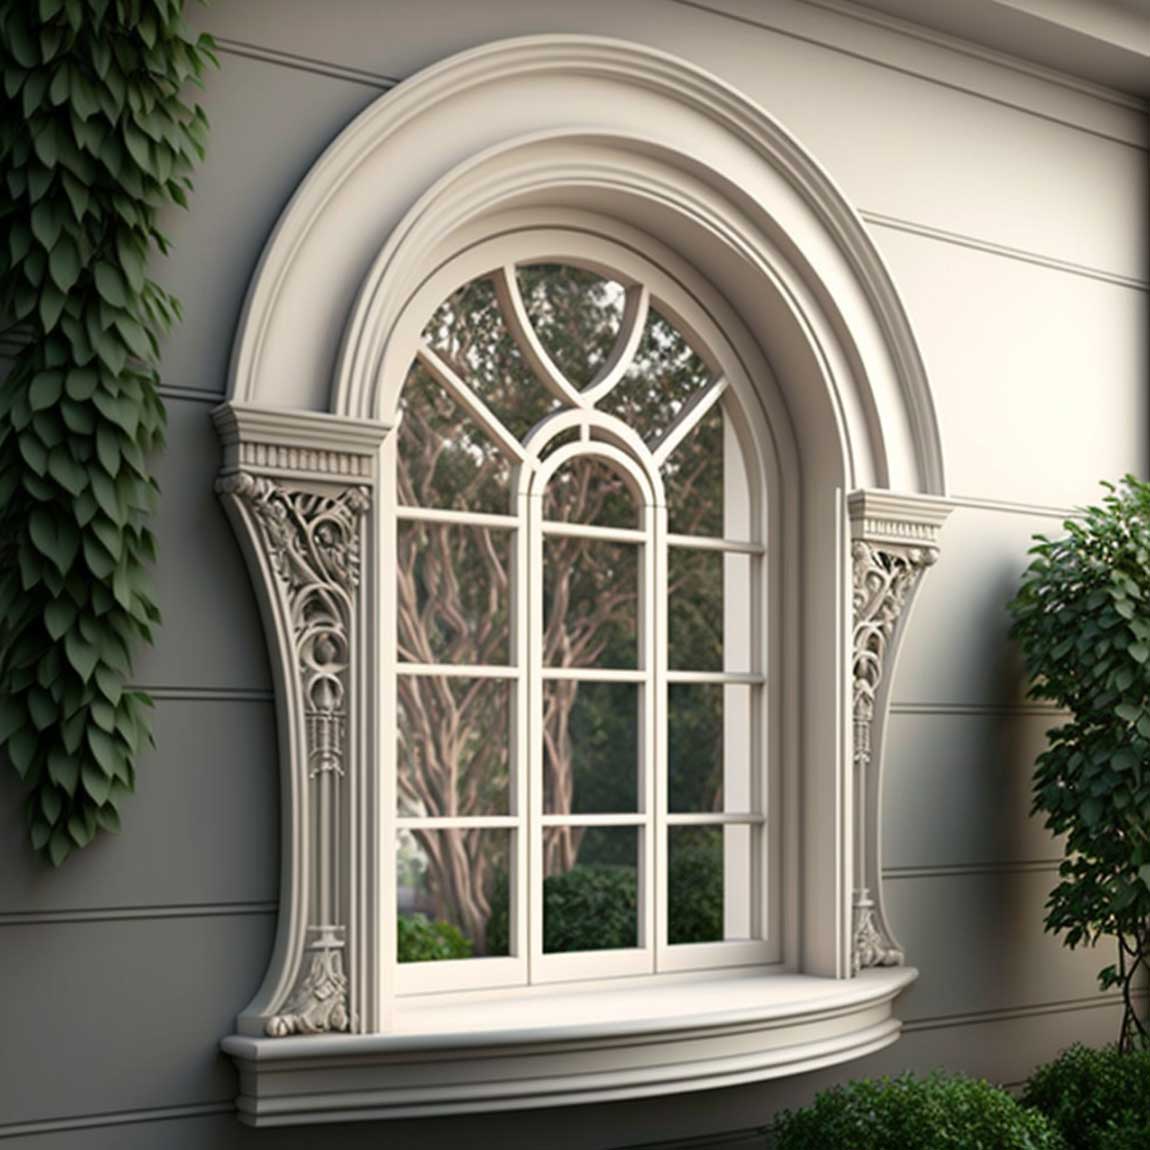
Outside Window Arch Design — Reading the Facade Before You Order Trim
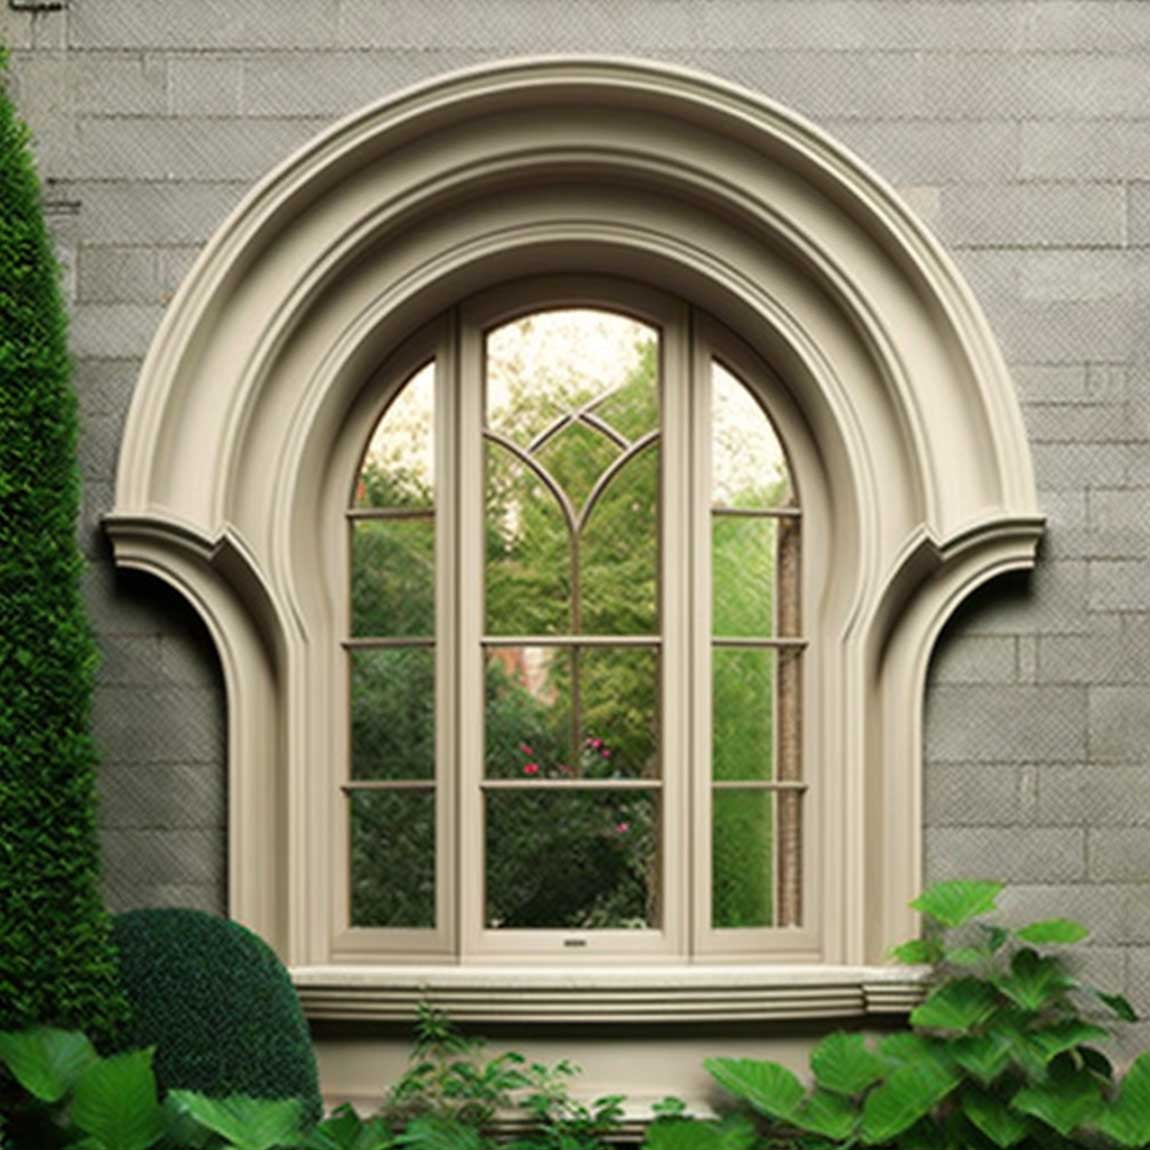
Outside window arch design is a facade conversation, not just a window conversation. You need to look at the total surface area of the wall, the scale of adjacent windows, and whether the arch opening sits alone or in a group. A single arched window on a wide brick facade can carry a bold surround — wide pilaster-style casings, a pronounced keystone, maybe a drip cap molding on top. Put that same aggressive trim on one of three arched windows in a row and you’ve created visual noise, not architecture.
The outside window molding design rule I keep coming back to: the trim mass should be proportional to the wall mass around it. Thin stucco walls — go minimal, a 3-inch flat casing with a tight reveal. Heavy brick or stone — go bold, layered molding with a sill projection and a cornice cap. The window is the eye of the facade, as a restoration architect once told me; the trim is the eyelid — it should frame, not overwhelm. For stucco-specific applications, the deep-dive on stucco window trim ideas shows how laconic profiles can read as sophisticated rather than cheap when the proportions are right.
Final Word
Arched Window Trim Fails at the Joint, Not the Eye
The arch looks right from thirty feet. The trim fails at three inches — at the joint between the curved head piece and the straight side casing. That transition is where material choice, profile matching, and installation precision all converge.
Pick your arch material first. Let that decision drive everything else: casing profile, paint system, and keystone scale. Don’t work backwards from the decorative accent.
Save this post — you’ll want to reference the material table when you’re standing in the lumber yard.
Related Topics