Quick Summary
Best Budget Fix: Whitewash with diluted latex paint — under $30 per room.
Best for Dark Paneling: Bold paint in charcoal or navy hides grooves completely.
Easiest Method: Gallery wall with Command Strips — no painting, no damage.
Don’t Skip: Primer. Every method except gallery walls needs it.
Average Cost: $28–$150 per room depending on method.
I bought a house in 2019 with floor-to-ceiling honey-oak paneling in every single room. My first instinct was to rip it all out. Bad move. The drywall behind it had water damage, and the repair estimate came to $4,200 just for the living room. So I kept the panels and started experimenting with wood paneling makeover ideas instead.
Three years and four rooms later, I’ve painted panels, whitewashed them, hung gallery walls over them, and tried one disastrous wallpaper attempt I’ll warn you about below. Some of these projects cost under $60. One of them completely changed how I feel about the house.
If you’re wondering how to make wood paneling look modern without a full demolition, you’re in the right place. Every method here I’ve either done myself or watched a contractor mess up in person. Skip the generic advice. Here’s what actually works when you want to update wood paneling on a real budget.
Quick Scan
⏱ Reading time: 7 minutes
🎨 Methods covered: painting, whitewashing, gallery walls, caulking grooves, adding molding
💰 Budget range: $28–$150 per room
🔧 Skill level: beginner to intermediate DIY
⚠️ Includes: 5 common mistakes to avoid
| Method | Cost per Room | Time | Difficulty | Best For |
|---|---|---|---|---|
| Bold Paint | $60–$150 | 4–6 hours | Beginner | Dark, dated paneling |
| Whitewash | $25–$40 | 2–3 hours | Beginner | Coastal or rustic rooms |
| Gallery Wall | $50–$120 | 1–2 hours | Easiest | Renters, quick updates |
| Caulk + Paint | $80–$170 | 6–8 hours | Intermediate | Hiding grooves completely |
| Add Molding | $100–$200 | 3–5 hours | Intermediate | Floor-to-ceiling paneling |
How to Paint Wood Paneling for a Modern Makeover
Sherwin-Williams Emerald Interior runs about $75 a gallon. Worth it. I used their Tricorn Black (SW 6258) on my living room panels and the coverage was better than anything I tried from the $35-a-gallon range. Two coats, no streaking. Cheap paint on grooved paneling shows every lap mark like a stripe on a candy cane.
Sand first. Not a lot — just enough to rough up the surface so primer grabs. I use 150-grit and a palm sander. Takes maybe forty minutes per wall. Skip sanding and your paint peels in sheets by month three. I know because I skipped it on one wall to “save time.” Had to redo the whole thing.
Primer matters more than the paint itself. KILZ 2 All-Purpose is my go-to at about $22 a gallon. It sticks to glossy paneling, blocks tannin bleed, and dries in an hour. Don’t even think about painting directly over varnished wood without primer. The color shifts within weeks. You’ll see orange ghost stripes bleeding through white paint and it looks haunted.
What color? Dark colors hide the grooves. Navy, charcoal, forest green — they all swallow the paneling lines and make the whole wall read as a flat surface. White shows every single groove and seam. That can look great if your paneling is smooth board-and-batten. On cheap 4×8 sheet paneling from the 1970s? White just highlights how thin and fake it is.
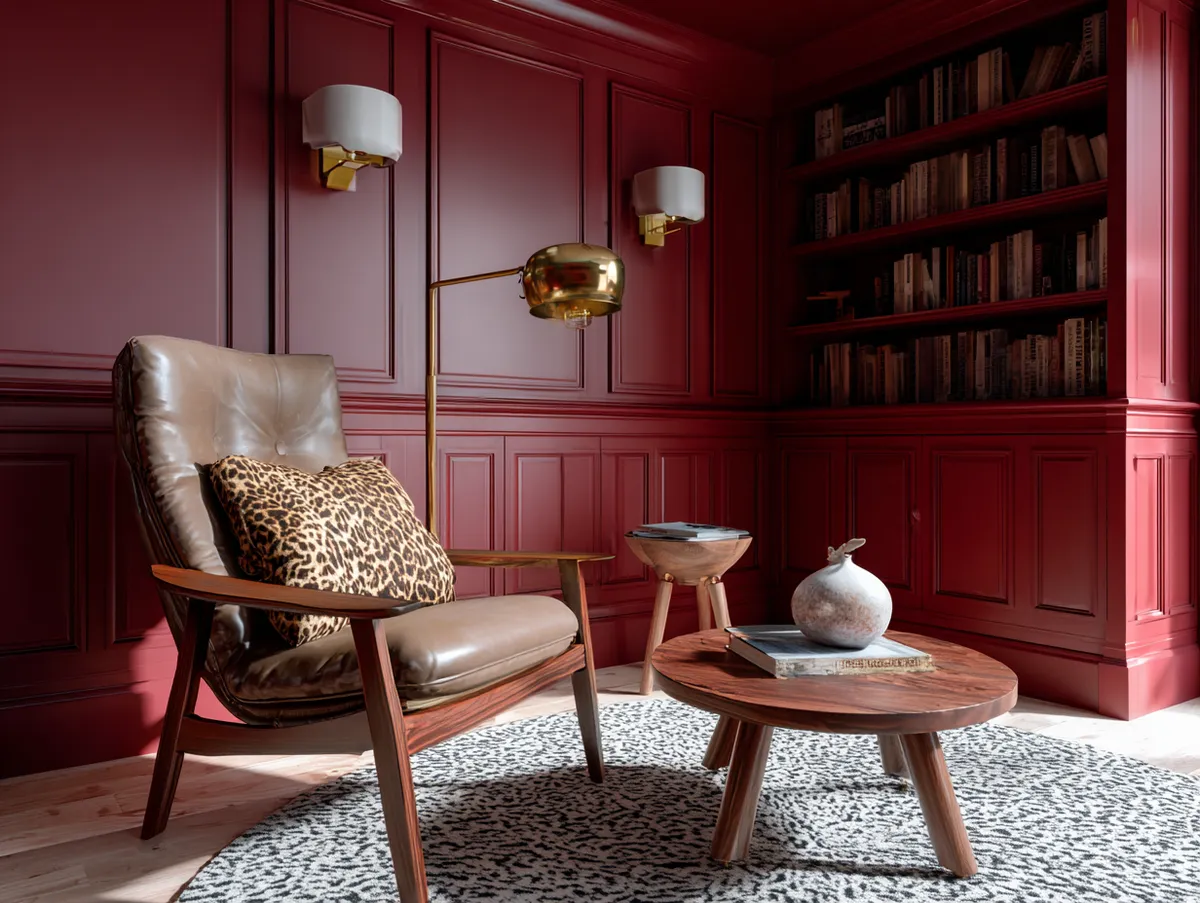
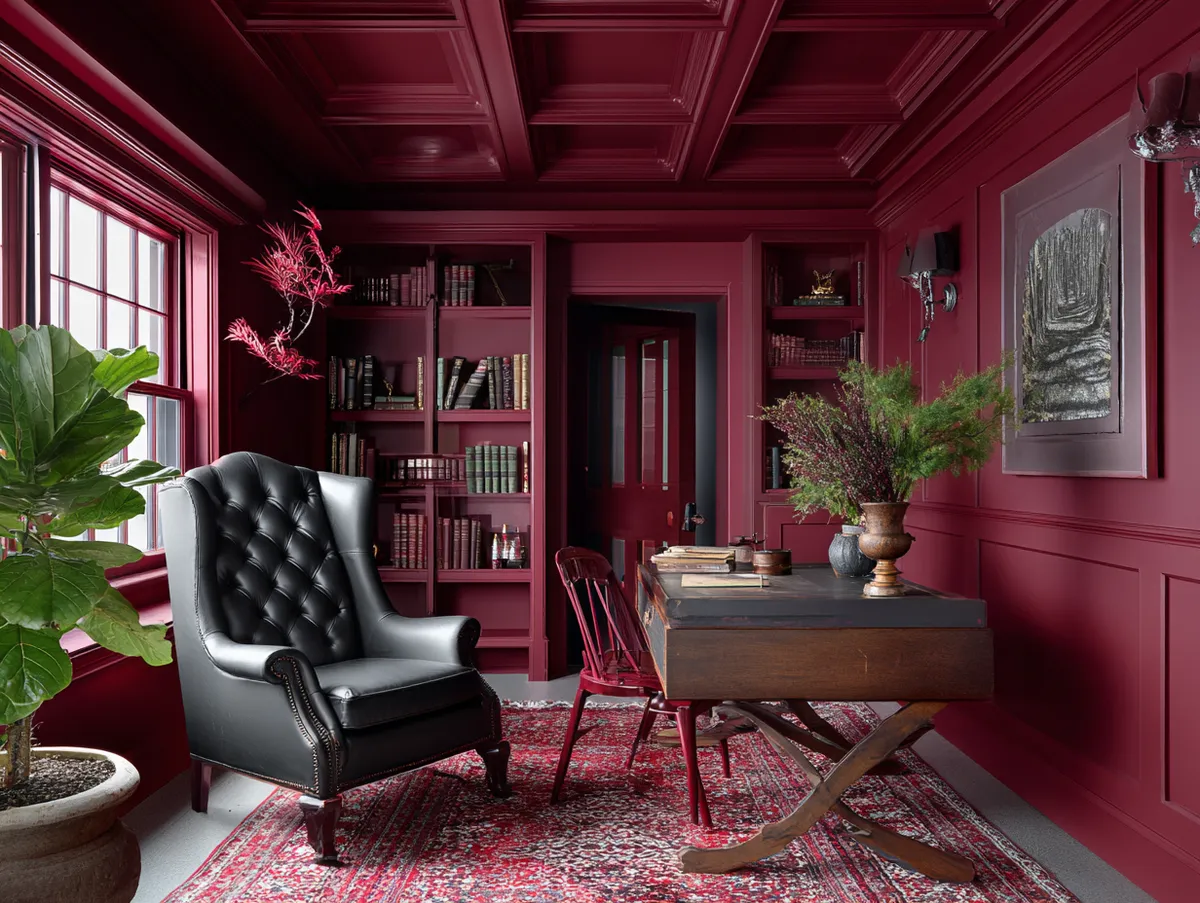

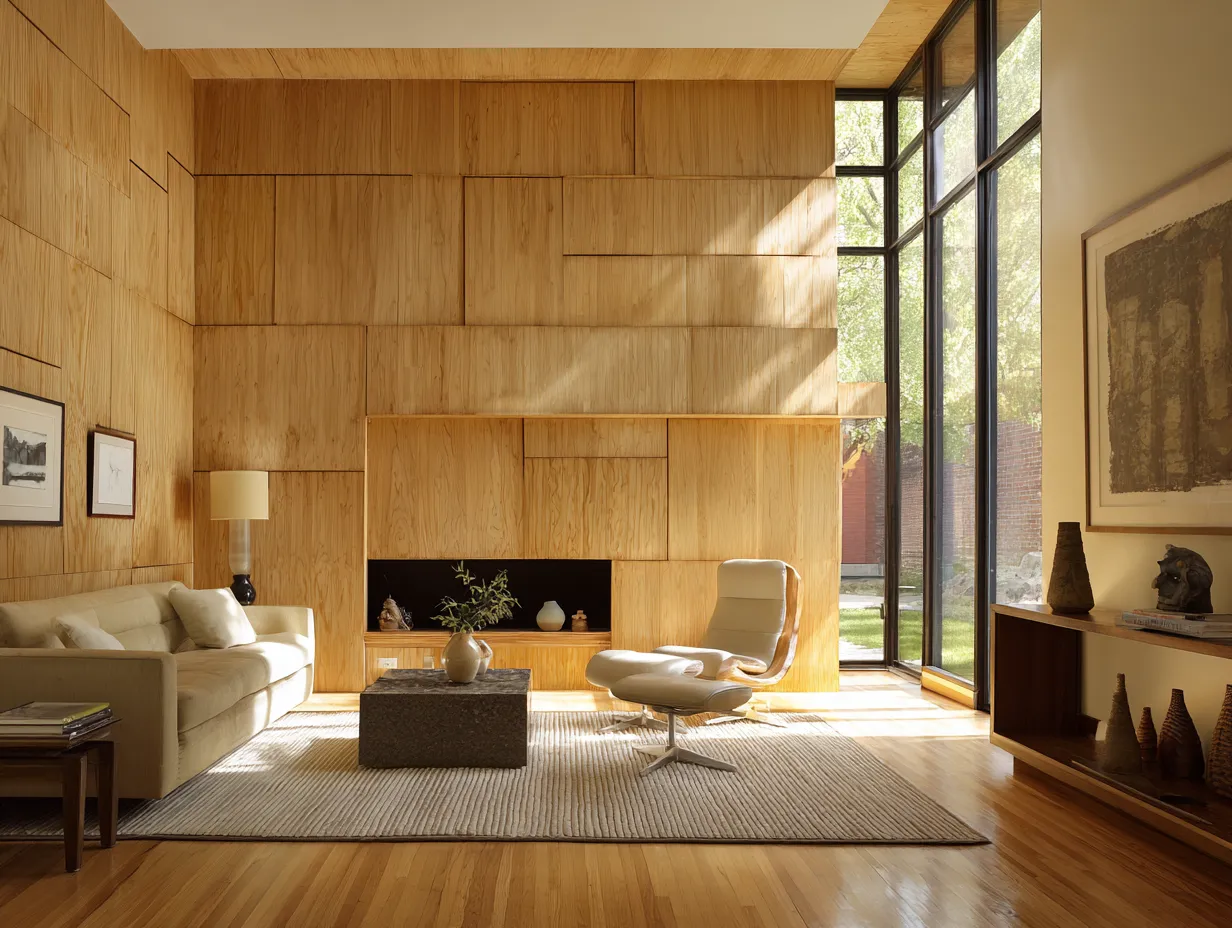
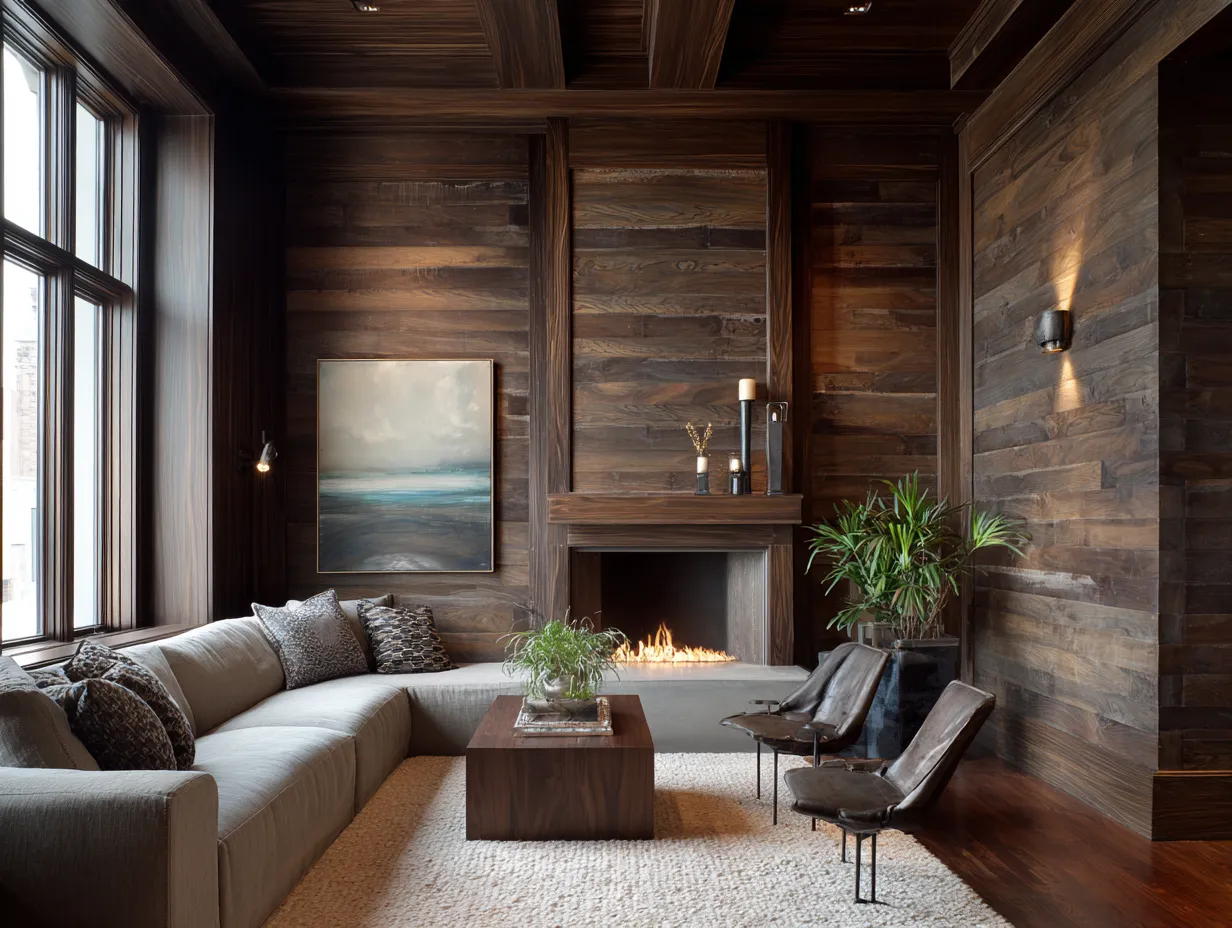
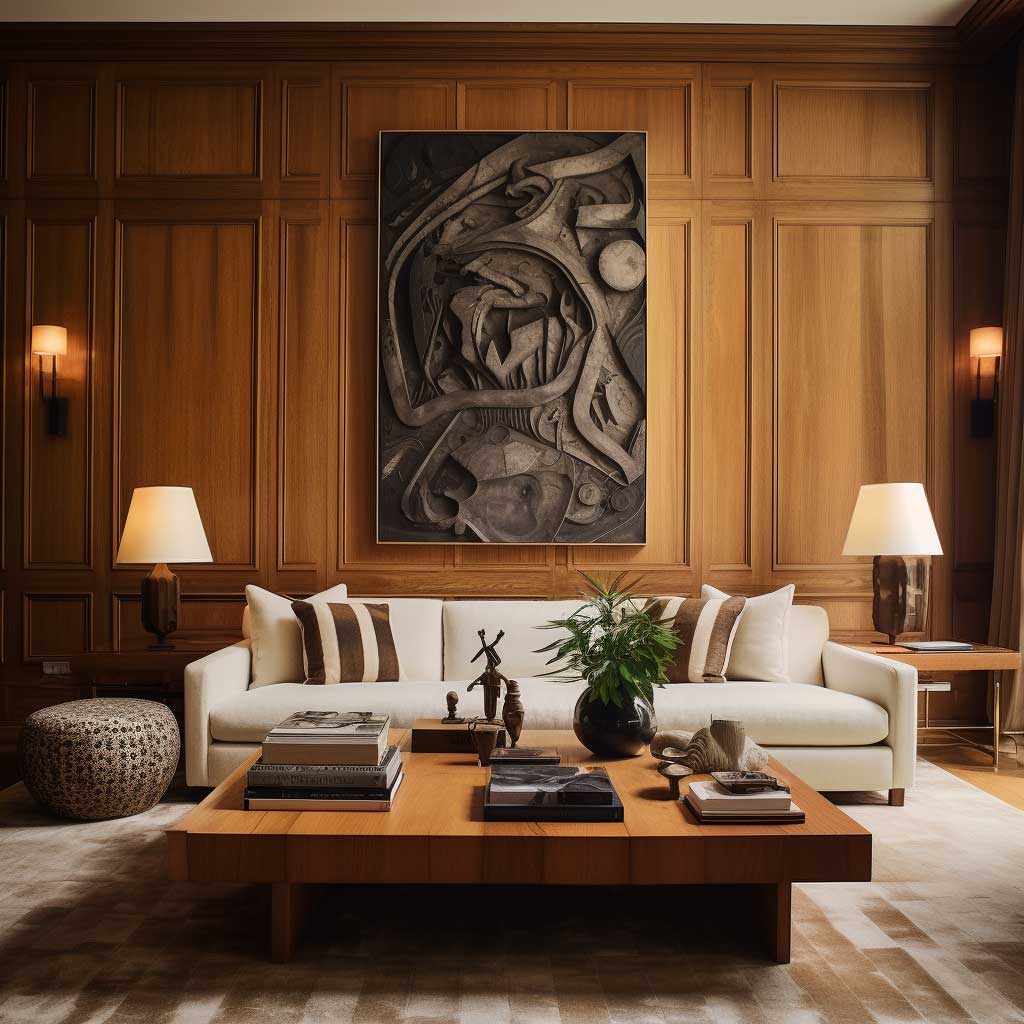
This image exemplifies the transformative power of paint when it comes to wood paneling makeover ideas. The room in focus has undergone a noticeable change, with its original wood paneling covered with a bold, dark color.
The deep hue chosen for the paint adds an extra layer of depth and sophistication to the room. This bold color choice also imbues the room with a sense of personality, making it a space that reflects the tastes of those who live there.
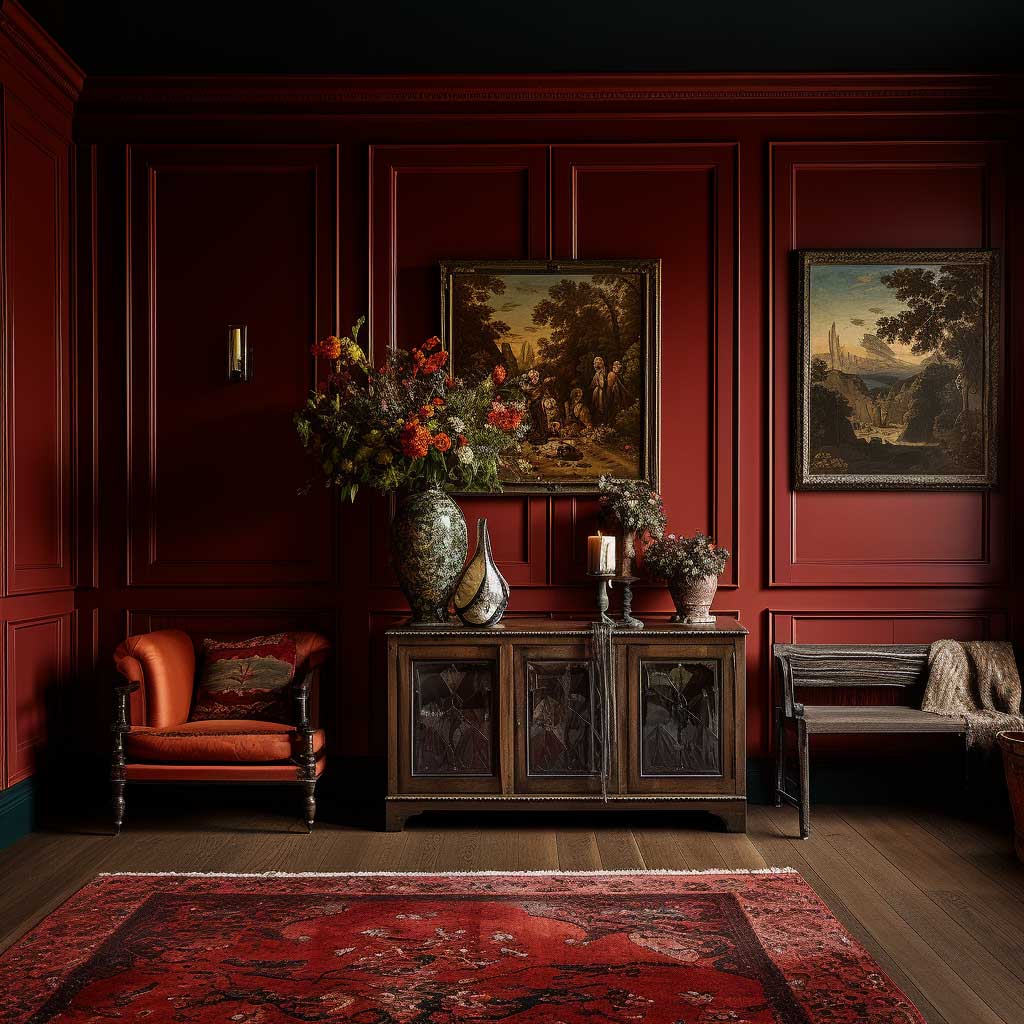

The beauty of this wood paneling makeover idea lies not only in its aesthetic value but also in its simplicity. Painting over wood paneling is a cost-effective, accessible project, making it a preferred choice for many homeowners looking to refresh their interiors. If you want more color techniques for panels, check out painting paneling ideas for a home refresh — I cover monochrome, two-tone, and accent wall methods there.
Beyond its striking color, the image reveals how paint can accentuate the architectural details of wood paneling. The lines of the paneling stand out against the dark paint, becoming a striking design feature rather than an outdated element. HGTV’s gallery of wood paneling makeover transformations shows dozens of before-and-after examples that prove the same point — paint changes everything.
This photo also serves to highlight the versatility of this wood paneling makeover idea. The bold color fits seamlessly into a variety of decor styles, from modern to eclectic, proving that a fresh coat of paint can reinvent the look and feel of any room.
Furthermore, it’s worth noting that this wood paneling makeover does not erase the past, but rather builds upon it. The texture and charm of the original wood paneling still shine through, albeit in a modern, appealing way.
Finally, this image underscores the potential of paint as a tool for experimentation. Homeowners can play around with different colors and finishes until they find a look that fits their space perfectly, making this one of the most adaptable wood paneling makeover ideas.
💡 Quick test: smear water on your paneling. If it beads up, you need to sand before priming. If it soaks in, you’re good to go.
How to Decorate a Wood Paneled Room with Wall Art
Gallery walls on paneling need one trick nobody mentions: use Command Strips rated for 12 lbs, not nails. Nails in thin sheet paneling split the laminate. I cracked two panels learning that. The strips hold frames up to 8 lbs each without damage, and you can reposition without leaving holes.
Big frames beat small frames on paneling. The grooves already create a busy pattern, so small 4×6 frames get lost in the visual noise. Go 16×20 minimum. I found three matching black frames at Target for $18 each. They anchored the wall immediately. Small frames on paneling look like postage stamps on a corduroy shirt.
Color in the artwork matters against wood tones. Warm-toned art disappears into honey oak paneling. You want contrast. Black-and-white photos, blue abstracts, or anything with a white mat border. The mat creates a visual break between the frame and the wood. Without it, the art melts into the wall.
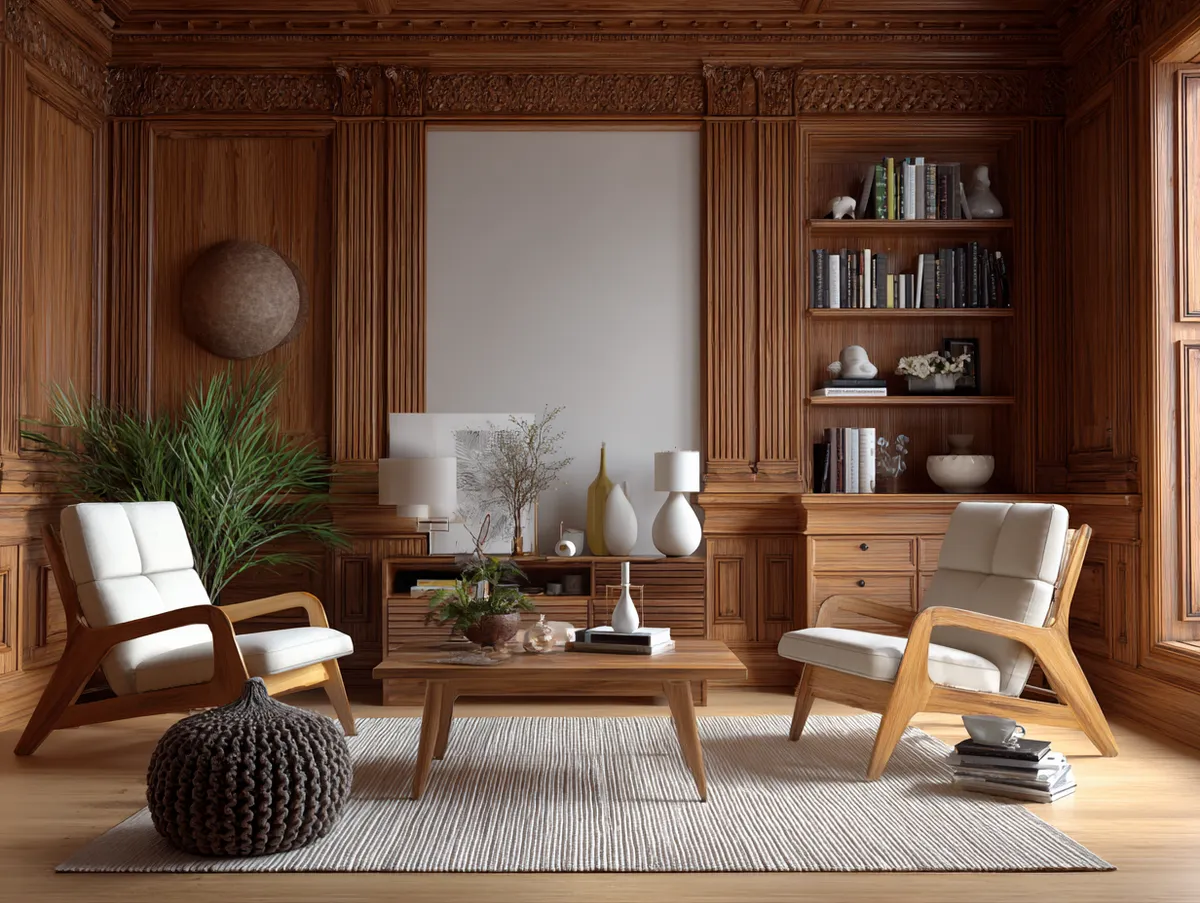

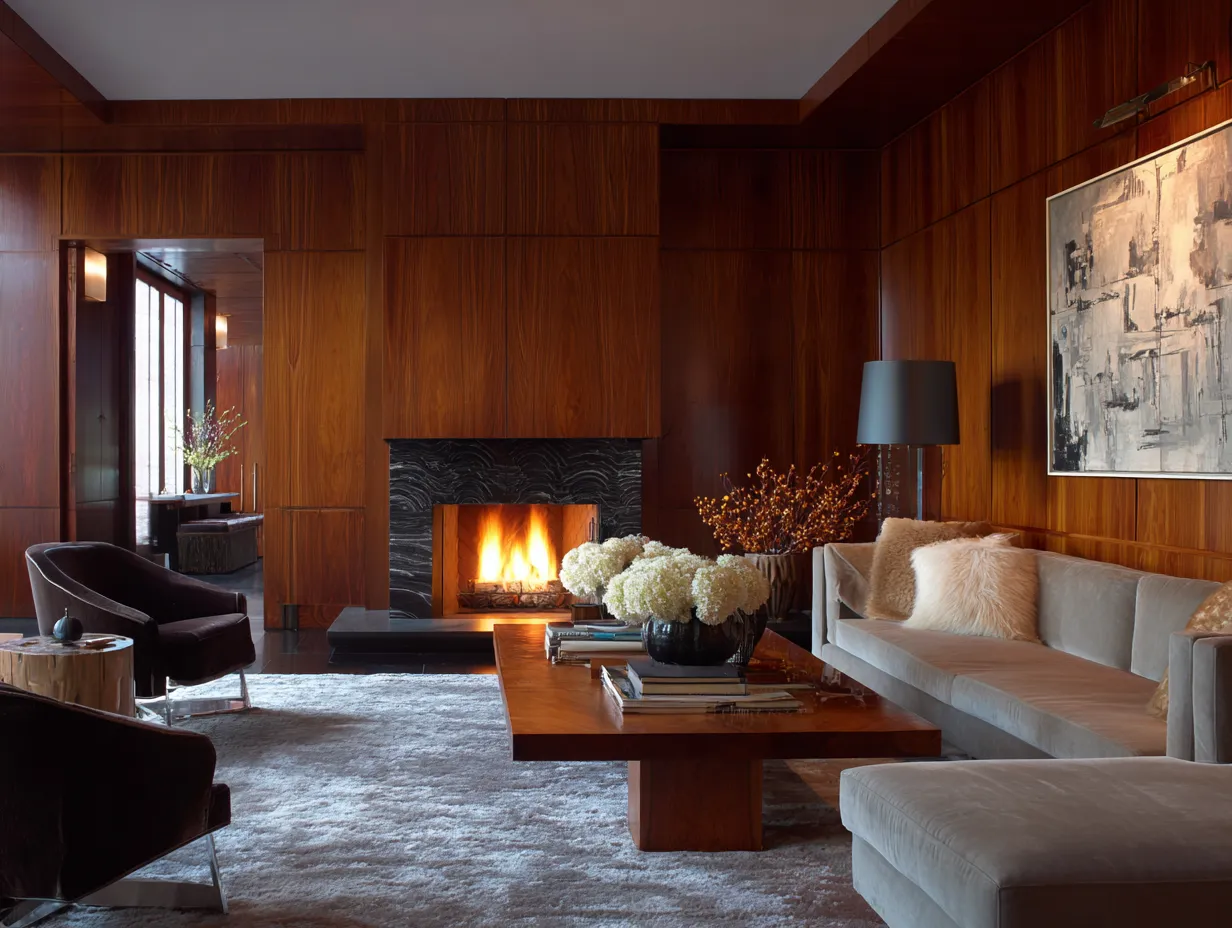
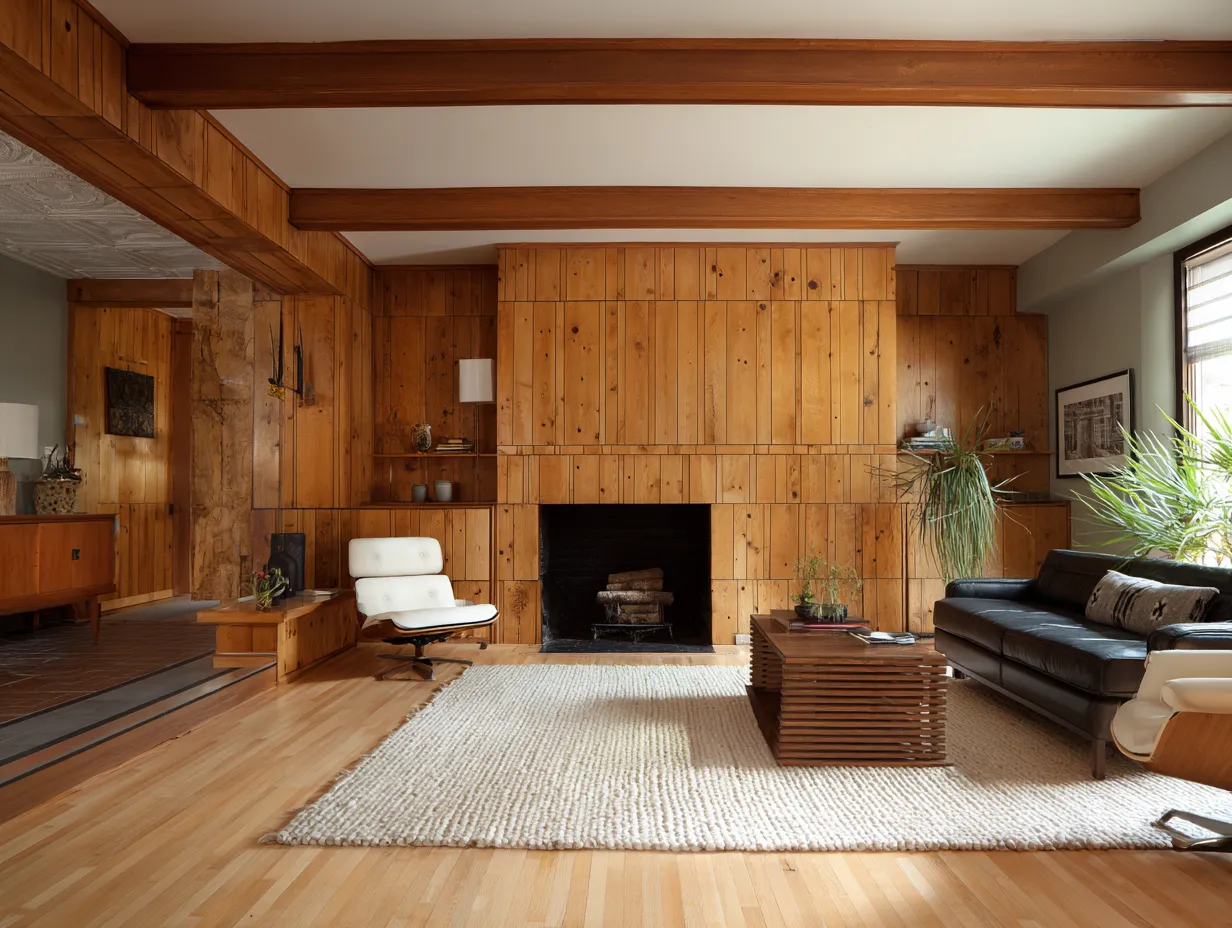
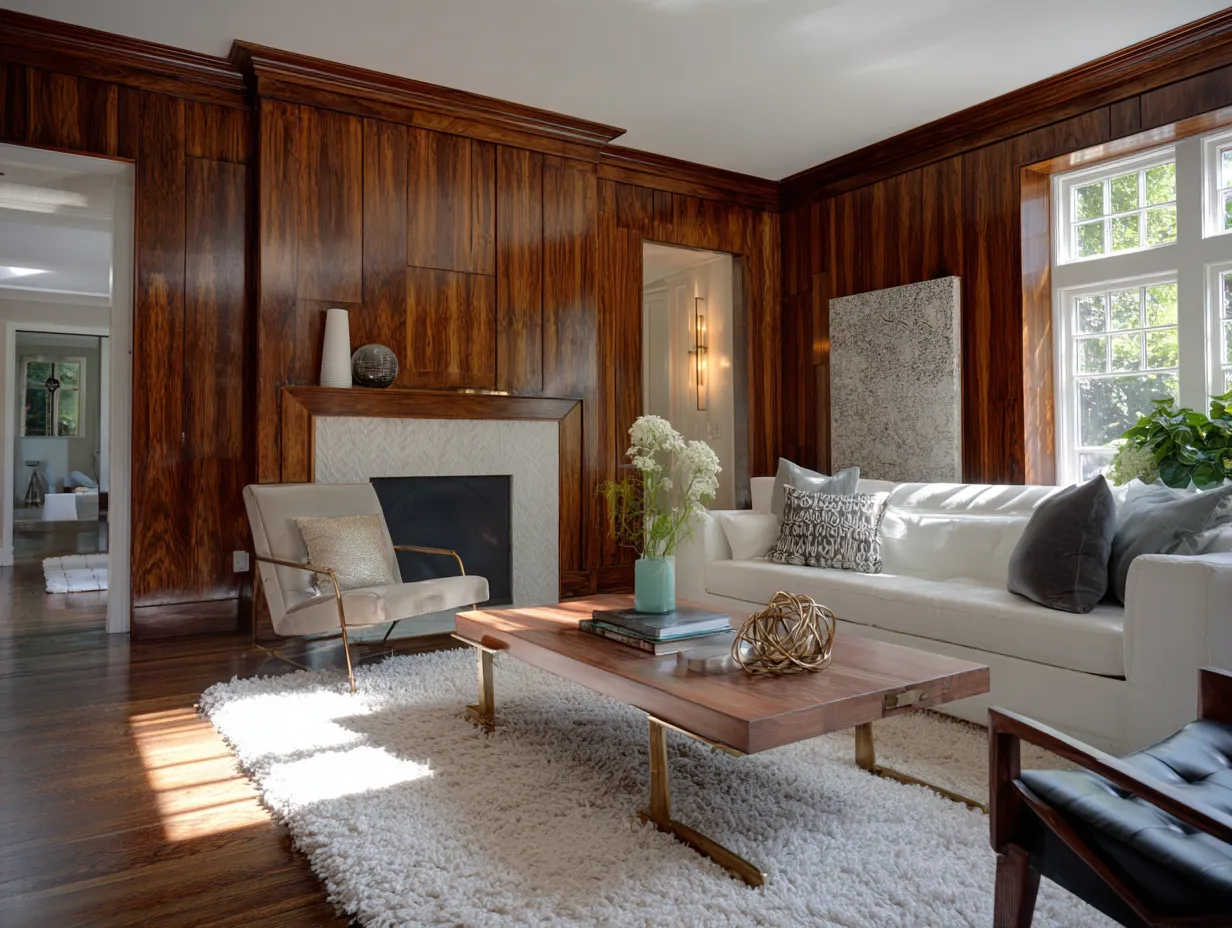
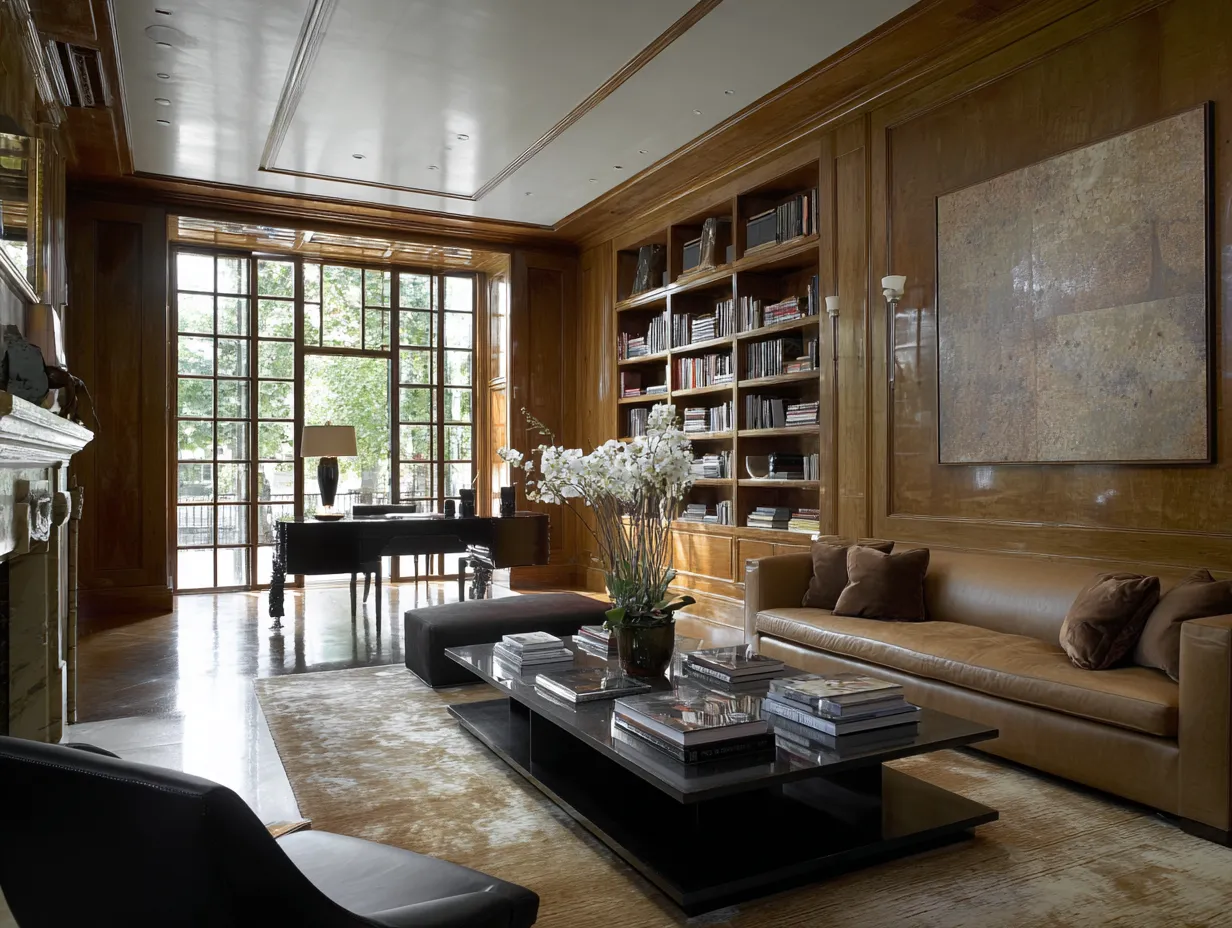
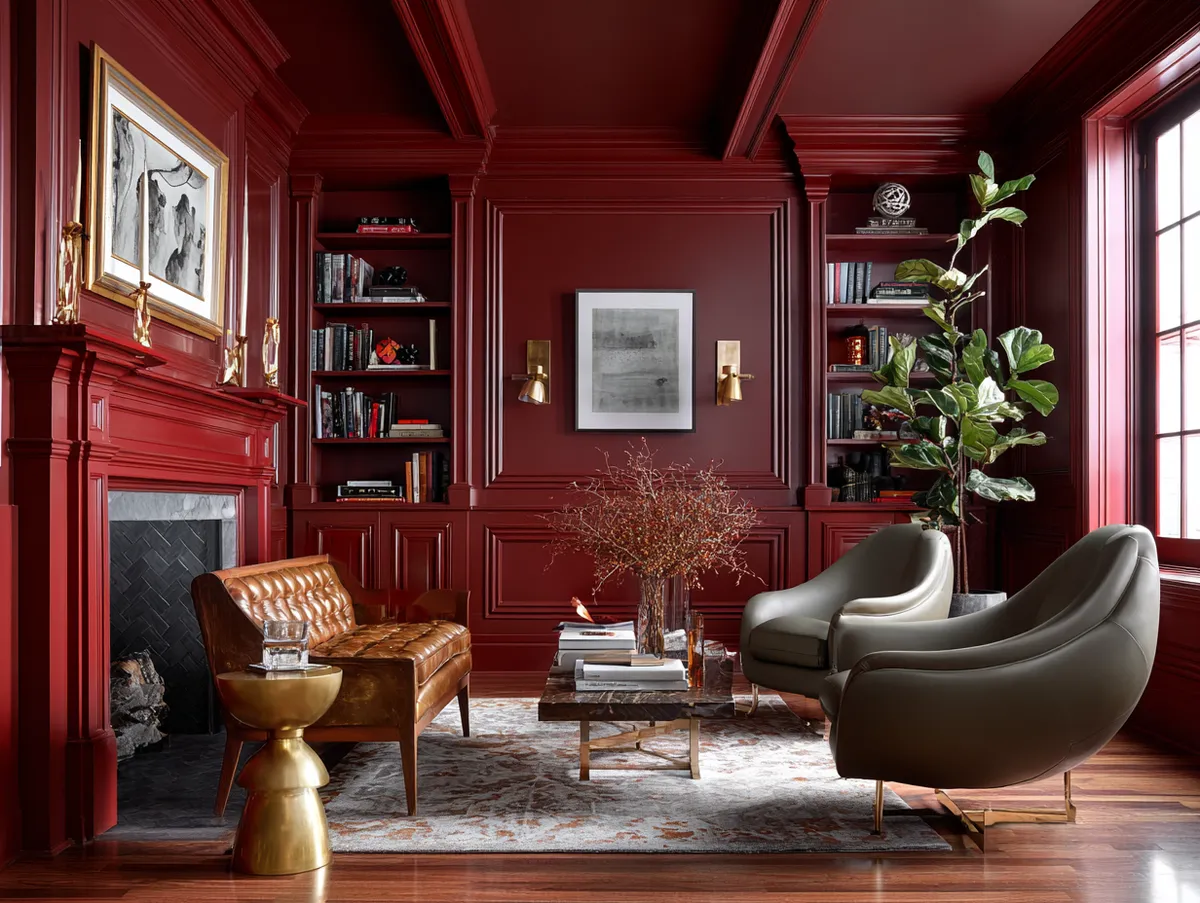
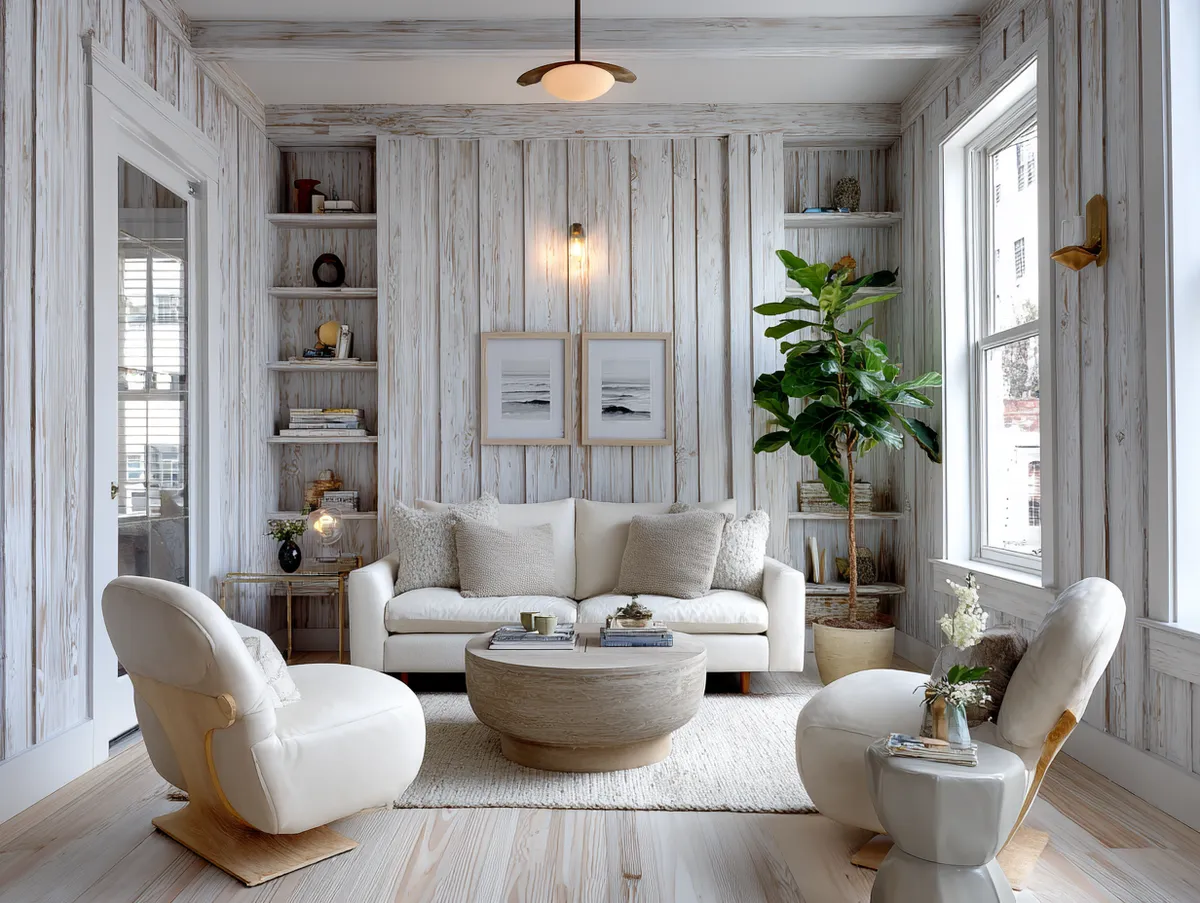
The second image presents another exciting wood paneling makeover idea – integrating modern wall decor into the wood-paneled room.
This photo depicts a wood-paneled room adorned with various pieces of wall art, which bring a vibrant, contemporary feel to the space. The art pieces stand out beautifully against the wood paneling, turning it into a unique gallery wall.
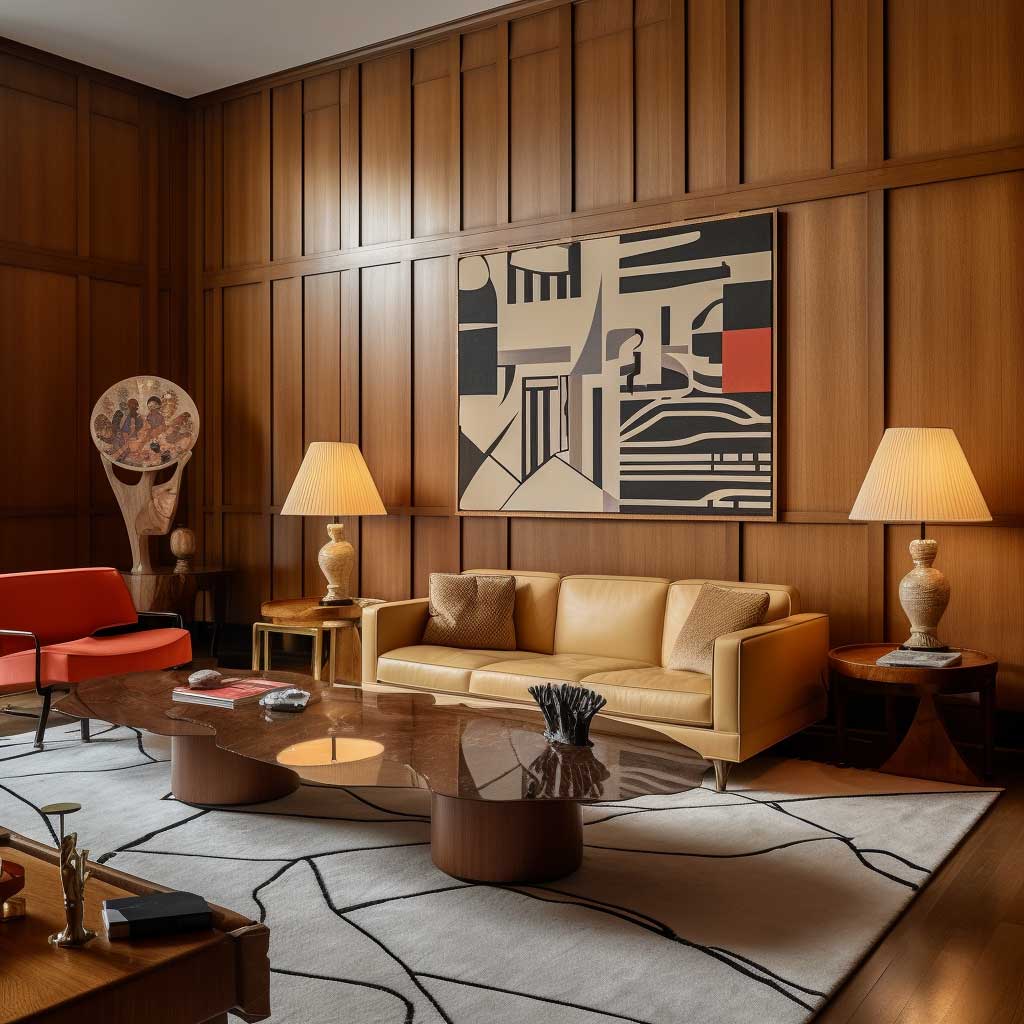
The image further demonstrates how wall decor can serve as a medium to express personal taste and style. The choice of artwork, its arrangement, and how it contrasts or complements the wood paneling can tell a story about the homeowner’s preferences and personality.
Another point of interest in this photo is the interaction between the natural texture of the wood paneling and the artistic elements. This juxtaposition creates a visually appealing dynamic that adds depth and character to the room.
This wood paneling makeover idea also offers a high degree of flexibility. The type of wall decor can be customized to fit any design style, from minimalist to bohemian, or traditional to contemporary. The possibilities are endless.
Furthermore, the image emphasizes the functionality of this makeover idea. By using the wood paneling as a backdrop for artwork, the room can continually be updated and refreshed without needing a complete overhaul.
Lastly, this photo illustrates how incorporating wall decor into a wood-paneled room can make the space more inviting. The artwork adds color and interest to the room, creating an environment that encourages relaxation and enjoyment.
🖼 Rule of thumb: frames on paneling should be at least 16×20 inches. Anything smaller gets lost in the grooves.
Whitewash Wood Paneling: the Budget-Friendly Update
Whitewash is just watered-down paint. My ratio is 1 part white latex paint to 1 part water. That’s it. Total cost for a 12×14 room: about $28. You apply it with a rag, not a brush. Brushes leave streaks in the grooves. A rag lets you control how much wood grain shows through.
I’ve whitewashed three rooms. The bedroom took 90 minutes. The living room took two hours because the paneling had darker stain and needed a second pass. My bathroom whitewash started peeling in six months because I didn’t prime first. Moisture kills untreated whitewash. Use a shellac-based primer like Zinsser B-I-N ($24 a quart) in any room with humidity.
Don’t try whitewashing over paneling that’s been varnished with polyurethane. The wash slides right off like water on a car hood. You need to rough sand it with 120-grit first to open the pores. I skipped this step on my hallway panels and wiped the whitewash right back off with my own rag. It was like painting a mirror.
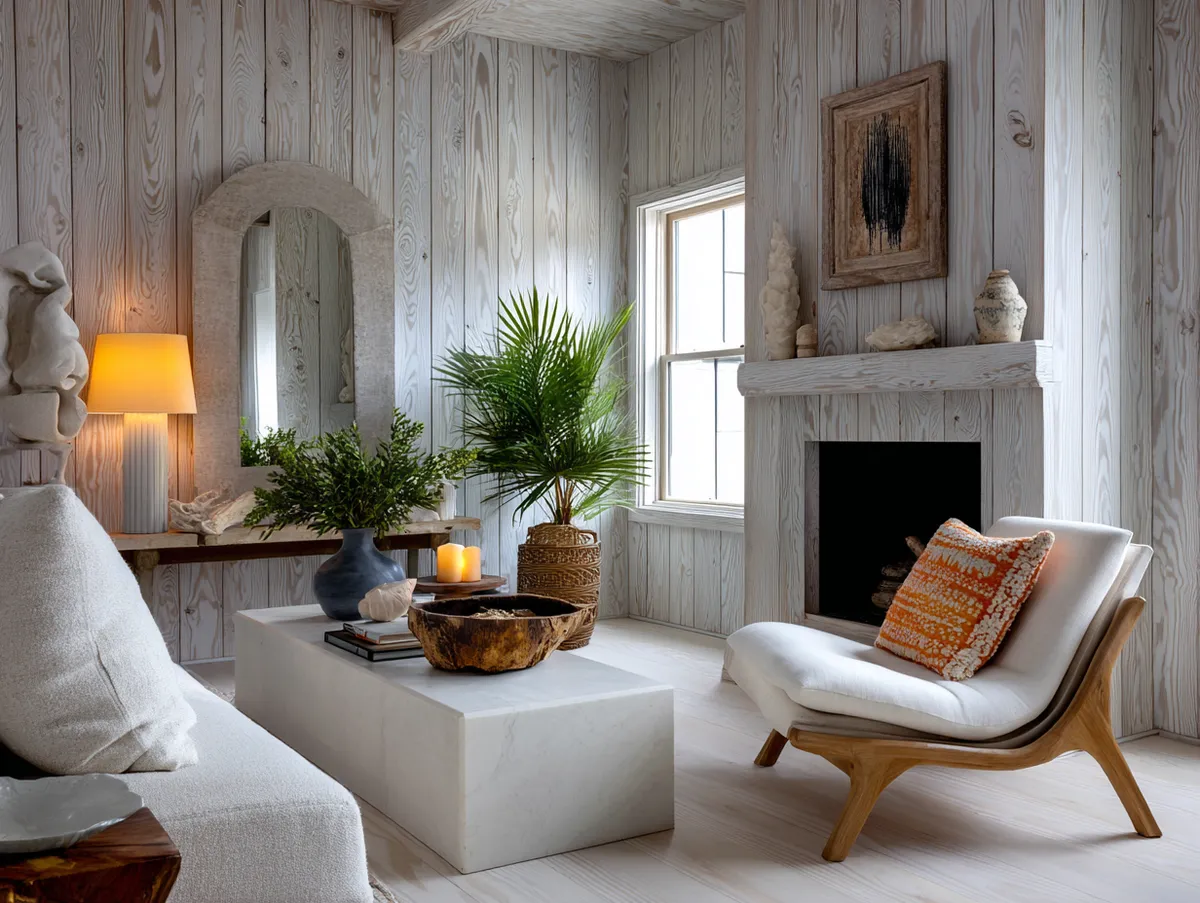

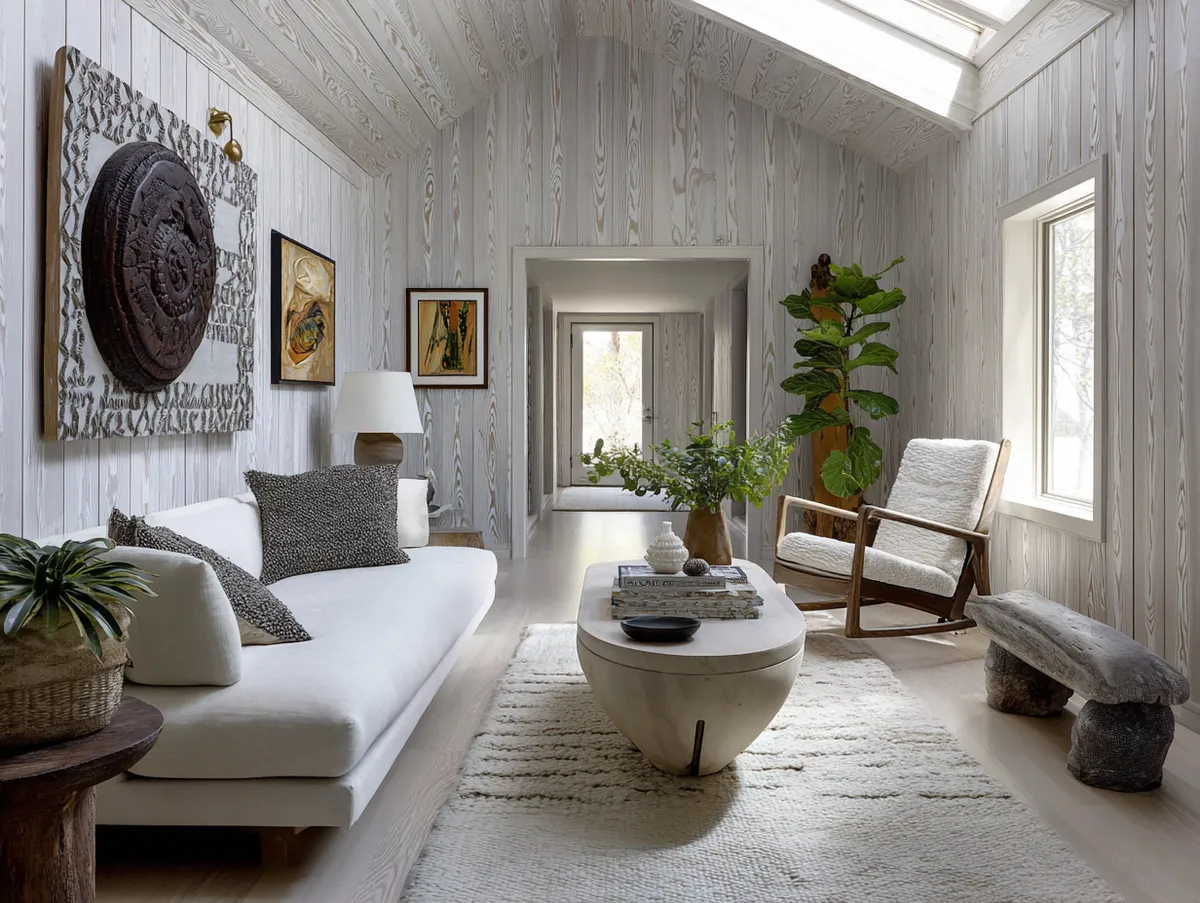
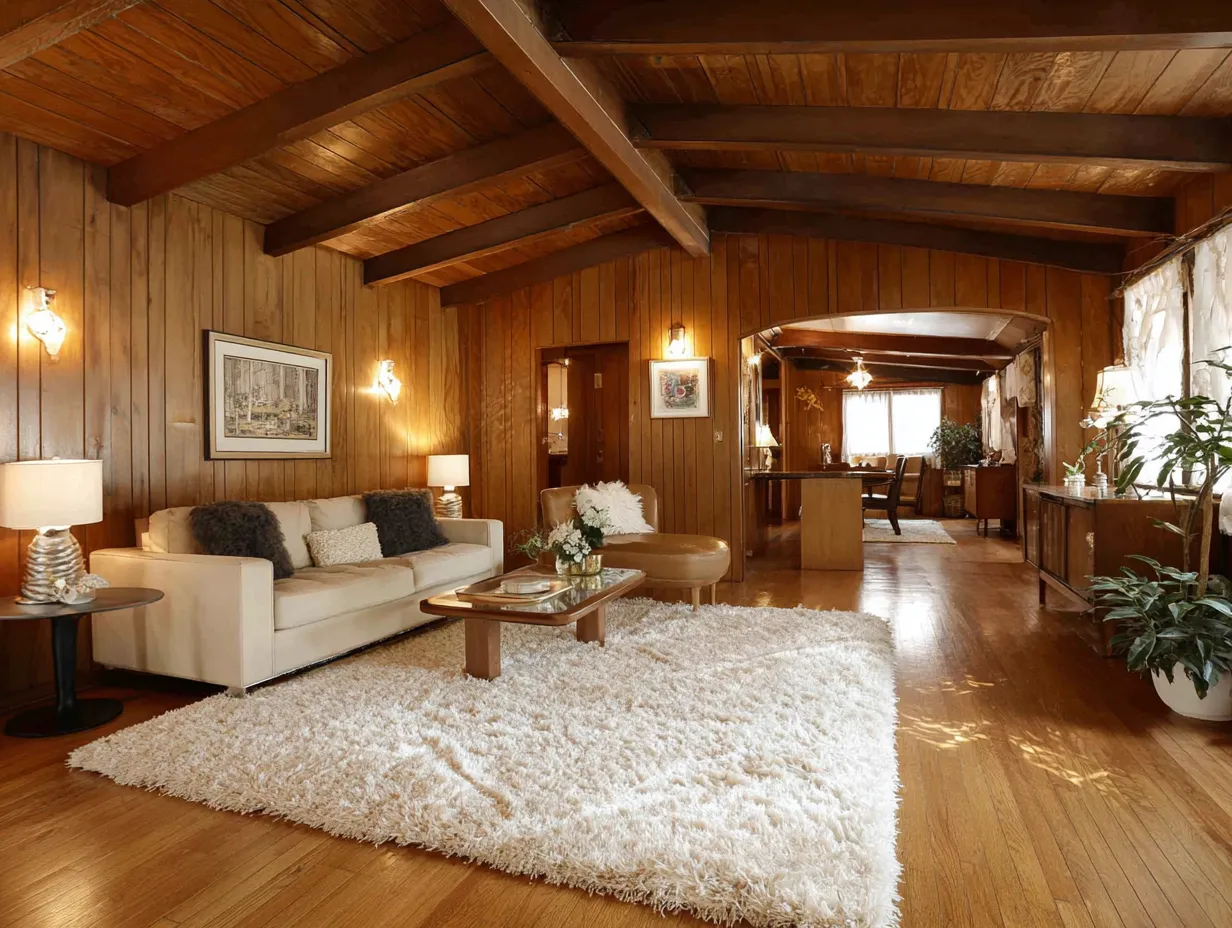
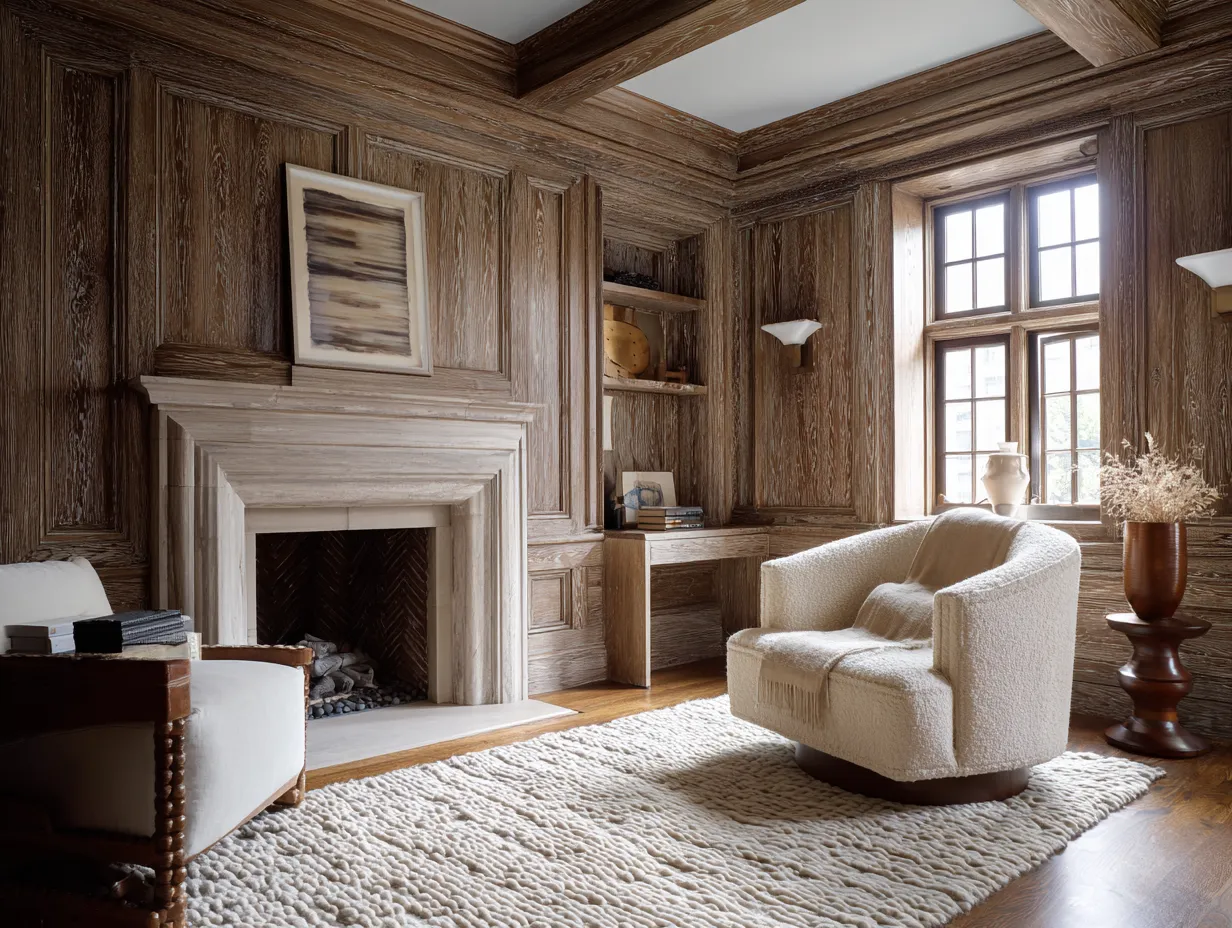
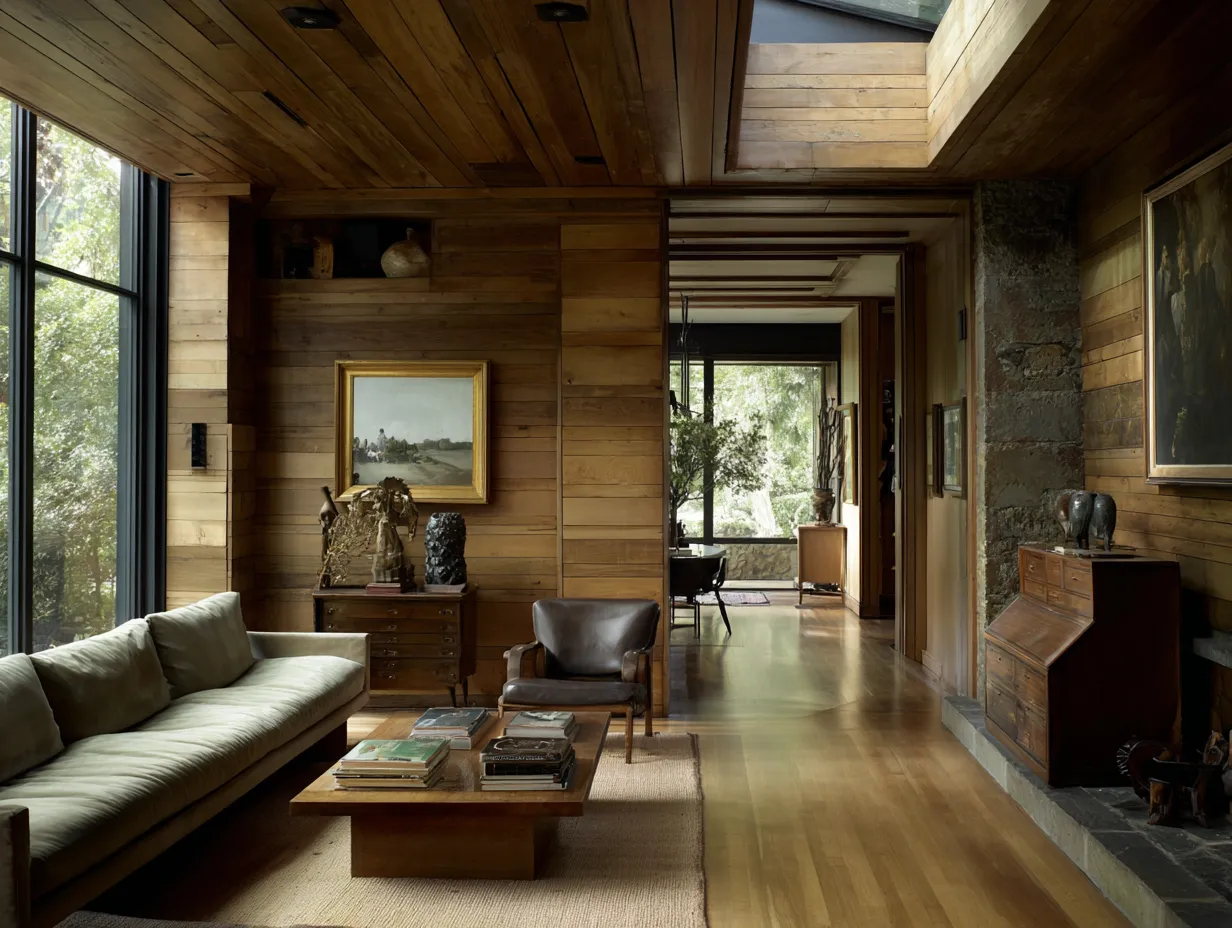
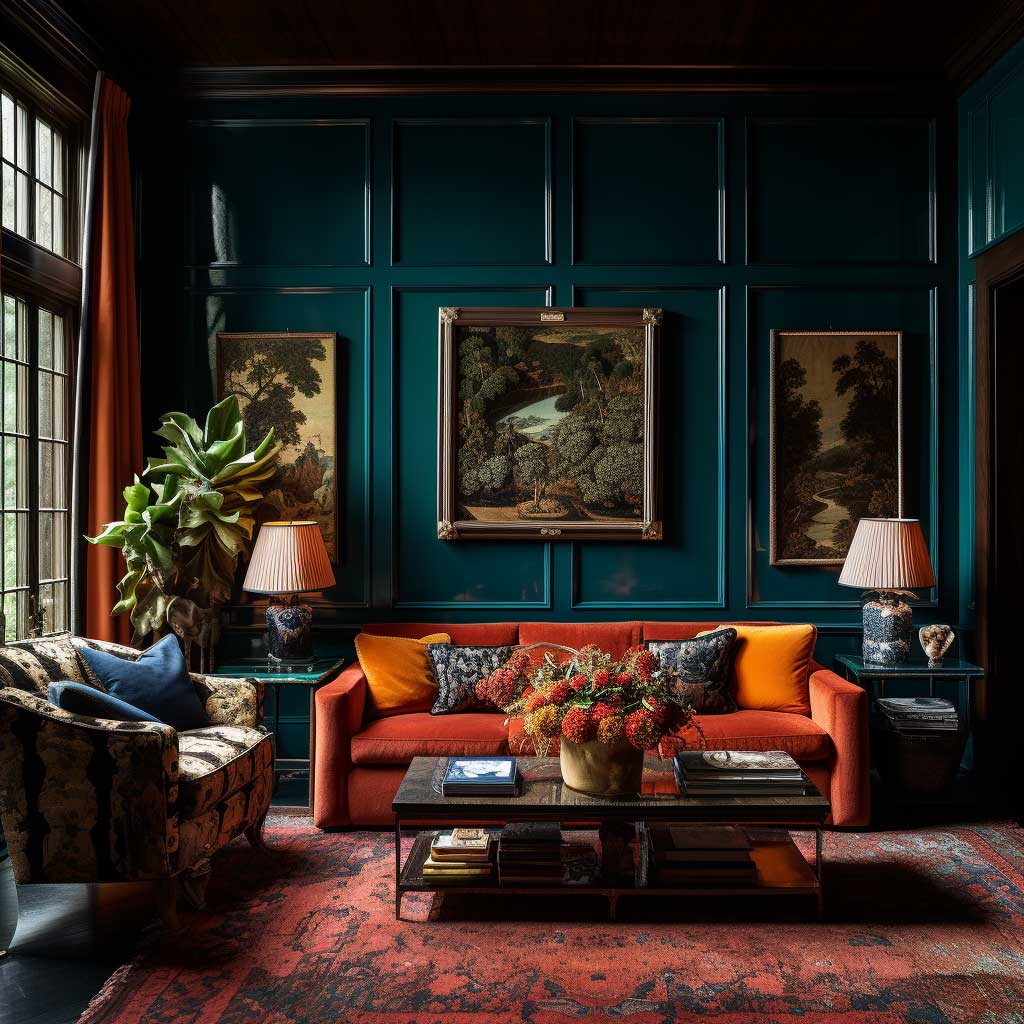
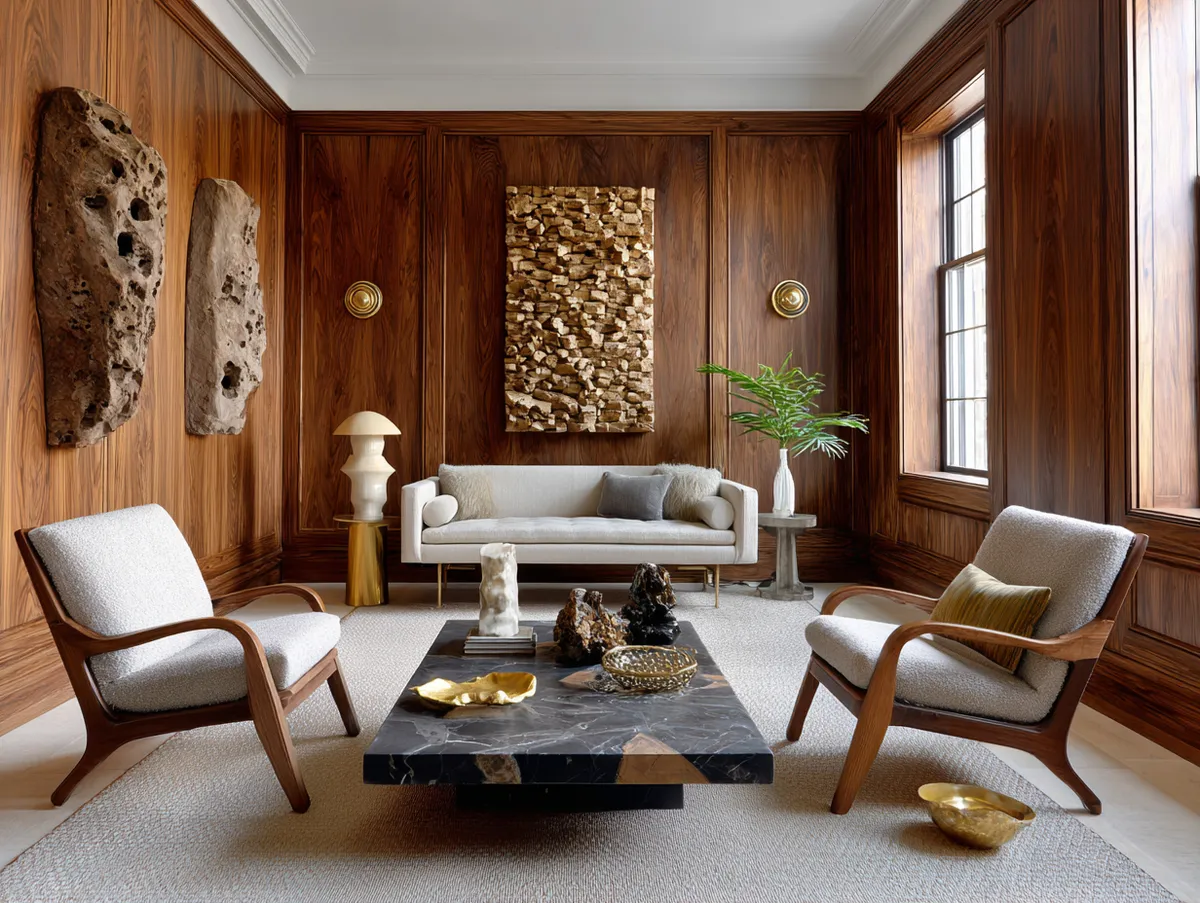
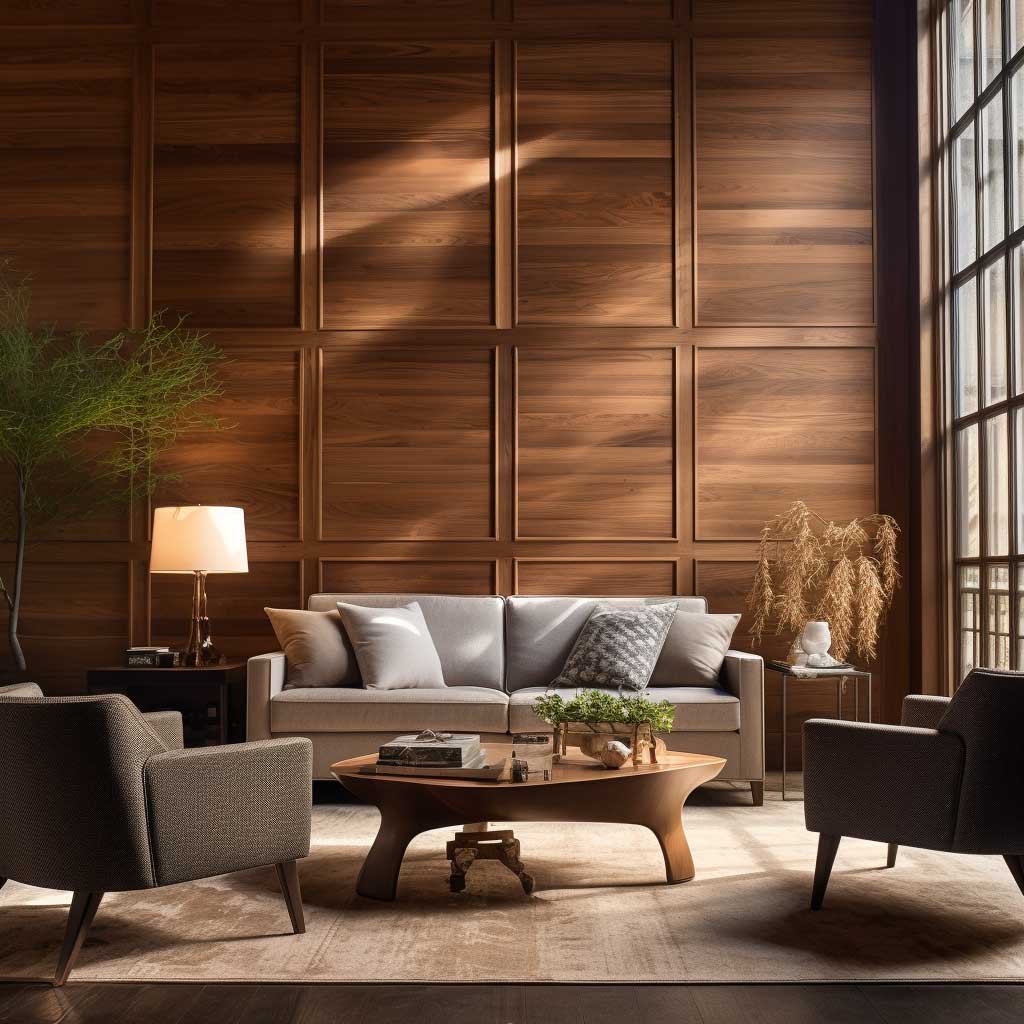
The third photo presents an excellent example of how whitewashing can be used to update wood paneling. This wood paneling makeover idea gives the room a refreshing, coastal vibe.
Whitewashing is an effective way to lighten the appearance of dark wood paneling, as depicted in this photo. The technique allows some of the wood grain to show through, maintaining the texture and character of the paneling while giving it a fresh, modern look.

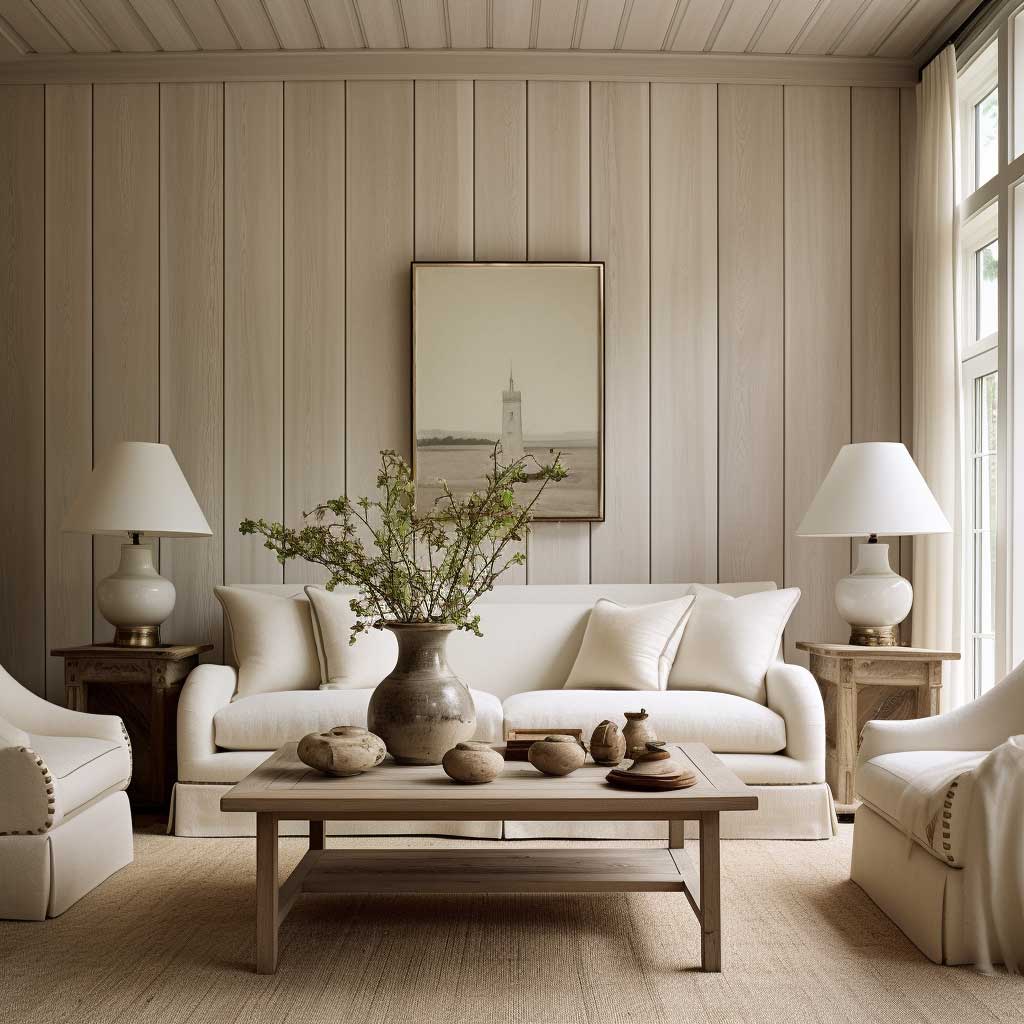
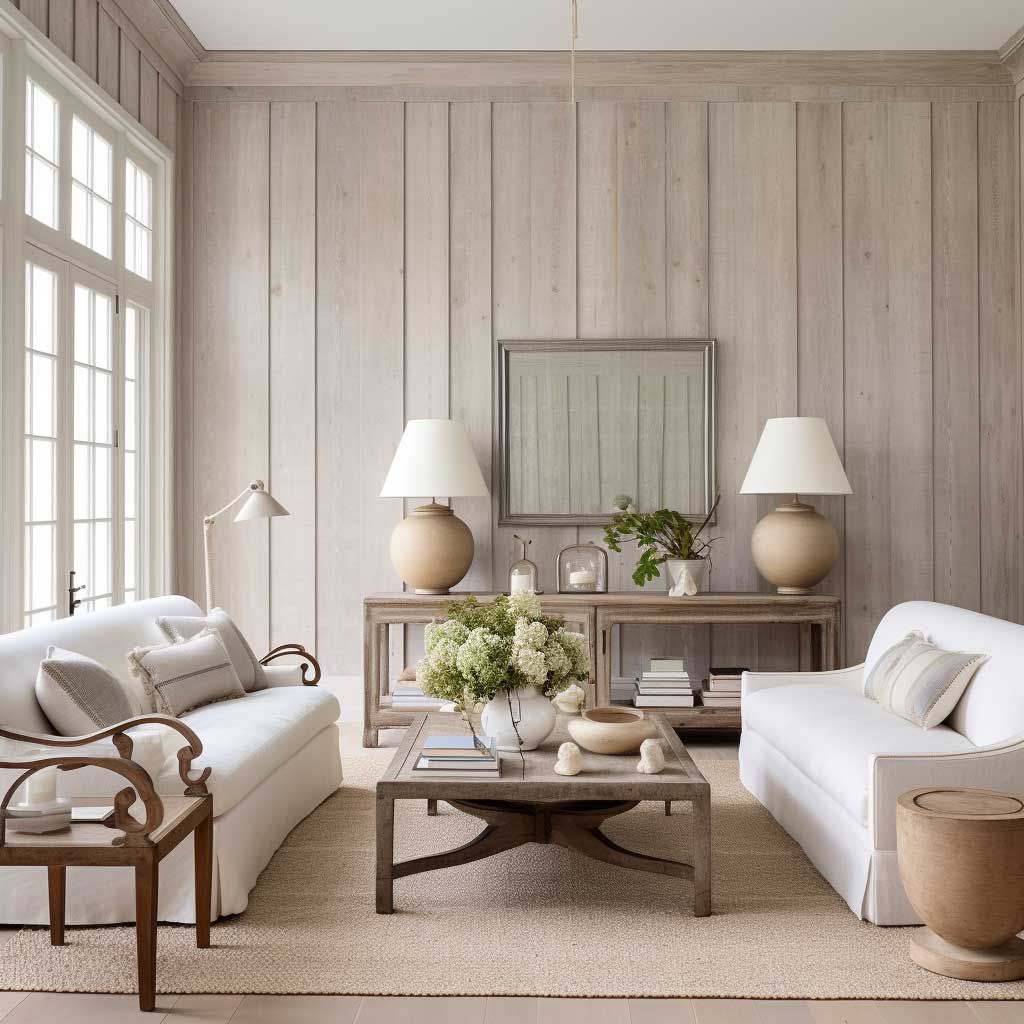
The image shows how well whitewashed wood paneling pairs with various decor elements. From rustic to coastal or shabby chic designs, whitewashed wood paneling provides a backdrop that enhances the overall aesthetic of the space. For more white panel inspiration, see bright and beautiful white wall paneling ideas — there are bedroom, office, and bathroom examples worth stealing.
The whitewashed wood paneling in this photo also creates a bright, airy feel. This can make a significant difference in rooms with limited natural light or small spaces that could benefit from a lighter color palette.
Besides its aesthetic benefits, whitewashing is a relatively simple and cost-effective wood paneling makeover idea. This technique requires few materials and can be a rewarding DIY project for homeowners willing to put in a bit of effort.
This photo also reveals the longevity of whitewashed wood paneling. While trends may come and go, whitewashed wood has a timeless appeal that can withstand the changing tides of interior design.
Lastly, the image highlights how whitewashed wood paneling can transform a space into a calming, relaxed environment. Its light, neutral tones create an inviting atmosphere that’s perfect for unwinding after a long day.
🧪 Whitewash ratio cheat sheet: 1:1 paint-to-water for subtle grain. 2:1 for heavier coverage. 1:2 for barely-there wash.
How to Update Wood Paneling Step by Step
Paint over dated wood paneling to give it a modern look without removing it. This method works on grooved sheet paneling and tongue-and-groove boards.
Tools needed:
- Palm sander with 150-grit sandpaper
- 2-inch angled brush (Purdy XL)
- 3/8-inch nap microfiber roller
- Painter’s tape
- Drop cloths
Clean the paneling
Wipe down every panel with a damp microfiber cloth and TSP cleaner. Get inside every groove. Grease and dust prevent primer from sticking. Let dry fully.
Sand lightly with 150-grit
Use a palm sander on the flat faces. Hand-sand the grooves. You’re roughing up the surface, not stripping it. Takes about 40 minutes per wall. Wipe dust with a tack cloth.
Apply bonding primer
Roll KILZ 2 All-Purpose primer on flat areas. Brush primer into every groove with the angled brush. One coat is enough. Let dry for one hour before painting.
Paint two coats
Roll your chosen color on flat sections. Brush into grooves. Let the first coat dry 2–4 hours. Apply a second coat the same way. Two coats gives full coverage with no bleed-through.
Remove tape and inspect
Pull painter’s tape at a 45-degree angle while the final coat is still slightly tacky. Touch up any bleed spots with the angled brush. Let cure 24 hours before hanging anything on the wall.
How to Make Wood Paneling Look Modern Without Removing It
Ripping out paneling sounds satisfying until you see what’s behind it. In houses built before 1980, contractors often nailed panels straight to studs with no drywall. Removing them means hanging new drywall, taping, mudding, sanding, and painting — easily a $2,000 job per room. Before you grab a pry bar, try updating what you’ve got.
Caulk the grooves. Seriously. Fill every vertical groove with paintable caulk, let it dry, sand smooth, then paint. The result looks like a flat wall. DAP Alex Plus at $4 a tube does the job. One room takes about six tubes. It’s tedious but the result is dramatic — nobody will know there’s paneling under there.
Add molding. Horizontal chair rail at 32 inches from the floor breaks up floor-to-ceiling paneling instantly. A piece of primed MDF chair rail from Home Depot costs about $1.50 per linear foot. Nail it on, caulk the seams, paint everything the same color. The room goes from 1974 basement to 2026 living room in a weekend.
📐 Before ripping out paneling, check behind one panel near an outlet. No drywall back there = $2,000+ surprise.
Wood Panel Makeover Mistakes I’ve Made (So You Don’t Have To)
My worst mistake was using peel-and-stick wallpaper over paneling without priming. It looked perfect for exactly eleven days. Then the edges started curling at every groove line. Peeling it off took the veneer layer of the paneling with it. I had to replace two full sheets of paneling at $32 each plus the cost of my dignity.
Cheap brushes on grooved panels leave bristles in every groove. You’ll spend more time picking out bristle hairs than actually painting. Use a 3/8-inch nap microfiber roller for the flat areas and a 2-inch angled brush (Purdy XL at $13) for the grooves. The Purdy doesn’t shed. I’ve used the same one across four rooms.
Don’t Do This
Don’t paint directly over varnished paneling without sanding and priming. The paint peels in sheets within weeks. Orange tannin bleeds through white paint and you end up repainting the whole room.
Don’t use peel-and-stick wallpaper on grooved paneling. The grooves create air pockets and the edges curl within two weeks. Removing it damages the veneer.
Don’t choose white paint for cheap 4×8 sheet paneling from the 1970s. White highlights every fake wood grain line and seam. Dark colors hide them.
Not testing your paint color on the actual paneling is a guaranteed regret. Paint looks completely different on wood grain versus smooth drywall. I picked a “soft gray” that looked perfect on the sample card. On my yellow-toned oak paneling, it turned green. Buy a $4 sample pot and brush it on the actual wall in daylight before committing.
Your Paneling Deserves a Second Chance
I almost demolished perfectly good paneling because I thought modern meant “no wood on walls.” Turns out modern means knowing what to do with it. A $28 whitewash turned my bedroom into a coastal retreat. A $75 gallon of navy paint made my living room look like it belongs in a magazine.
Pick one wall. Try one method. The worst that happens is you paint over it again next weekend.
If this helped, save it for your next project or send it to someone staring at their paneling wondering what to do.
Related Topics