Planning a quinceañera involves countless details, and finding the perfect look is often at the top of the priority list. While professional stylists are fantastic, there is something incredibly special and personal about styling your own hair for such a momentous occasion. It allows you complete control over every strand and ensures your personality shines through authentically. This guide explores stunning looks you can achieve from the comfort of your home, saving time and budget while delivering salon-quality results. Whether you prefer romantic waves, sophisticated buns, or whimsical half-up styles, mastering these techniques will have you feeling confident and radiant as you celebrate your fifteenth birthday.
Mastering Easy Quince Hairstyles With Romantic Half Up Looks
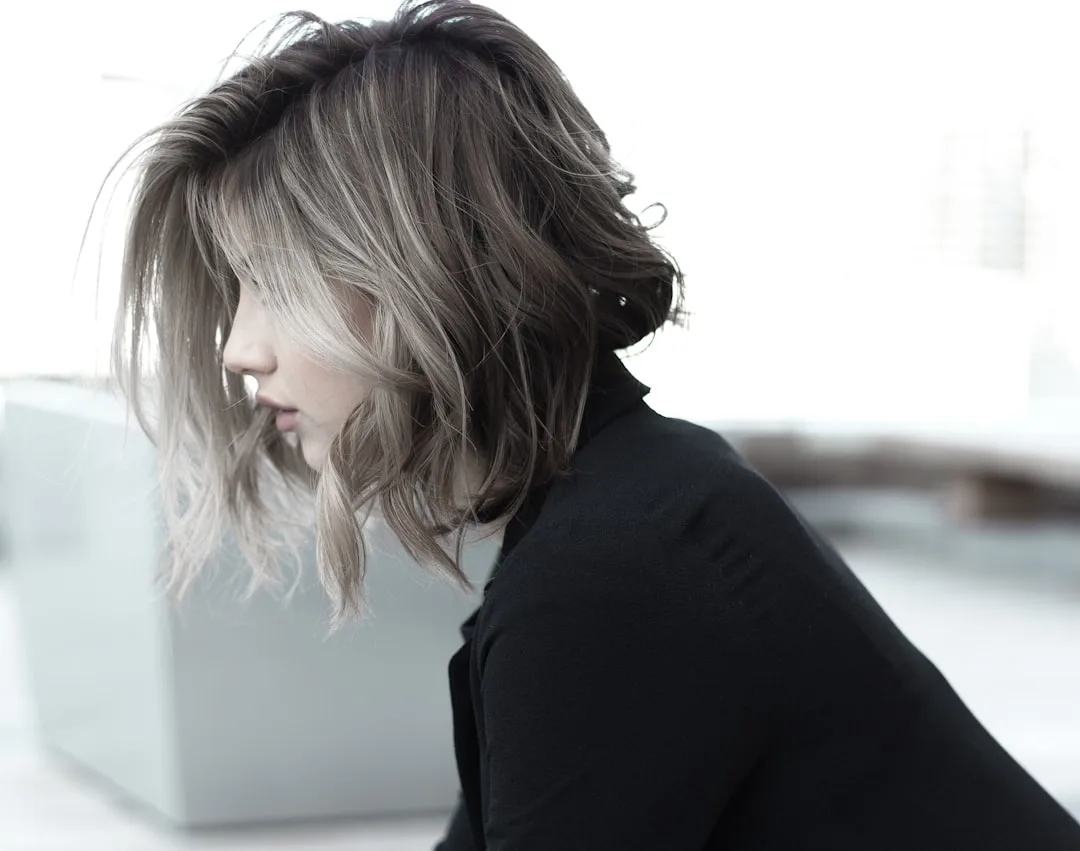
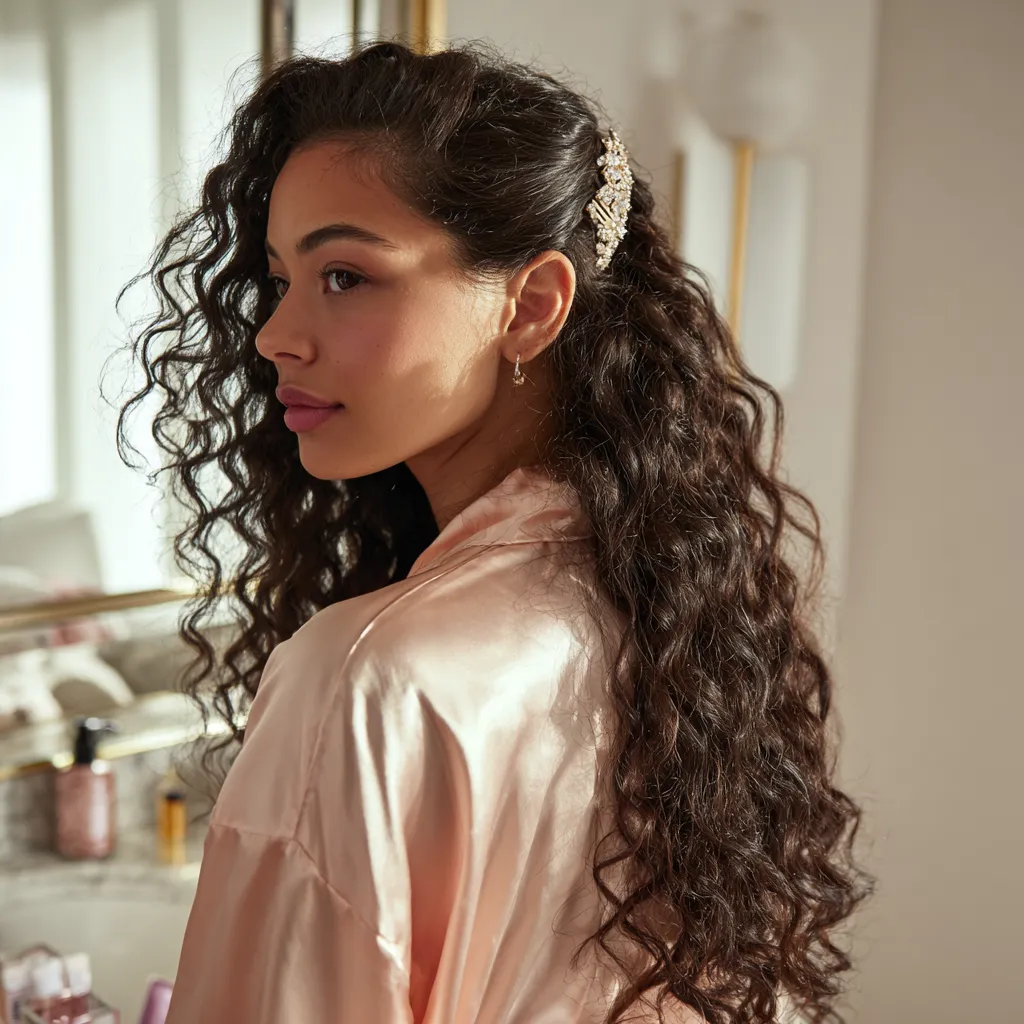
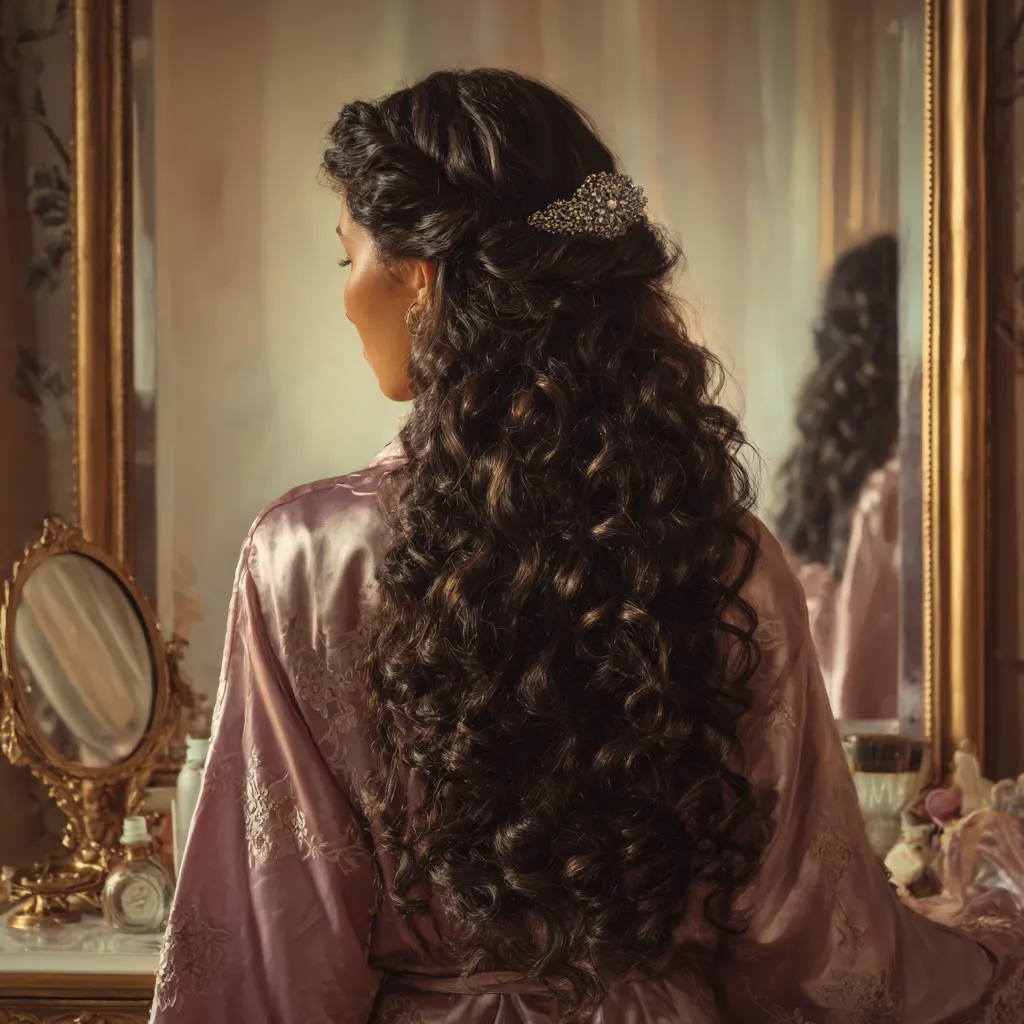
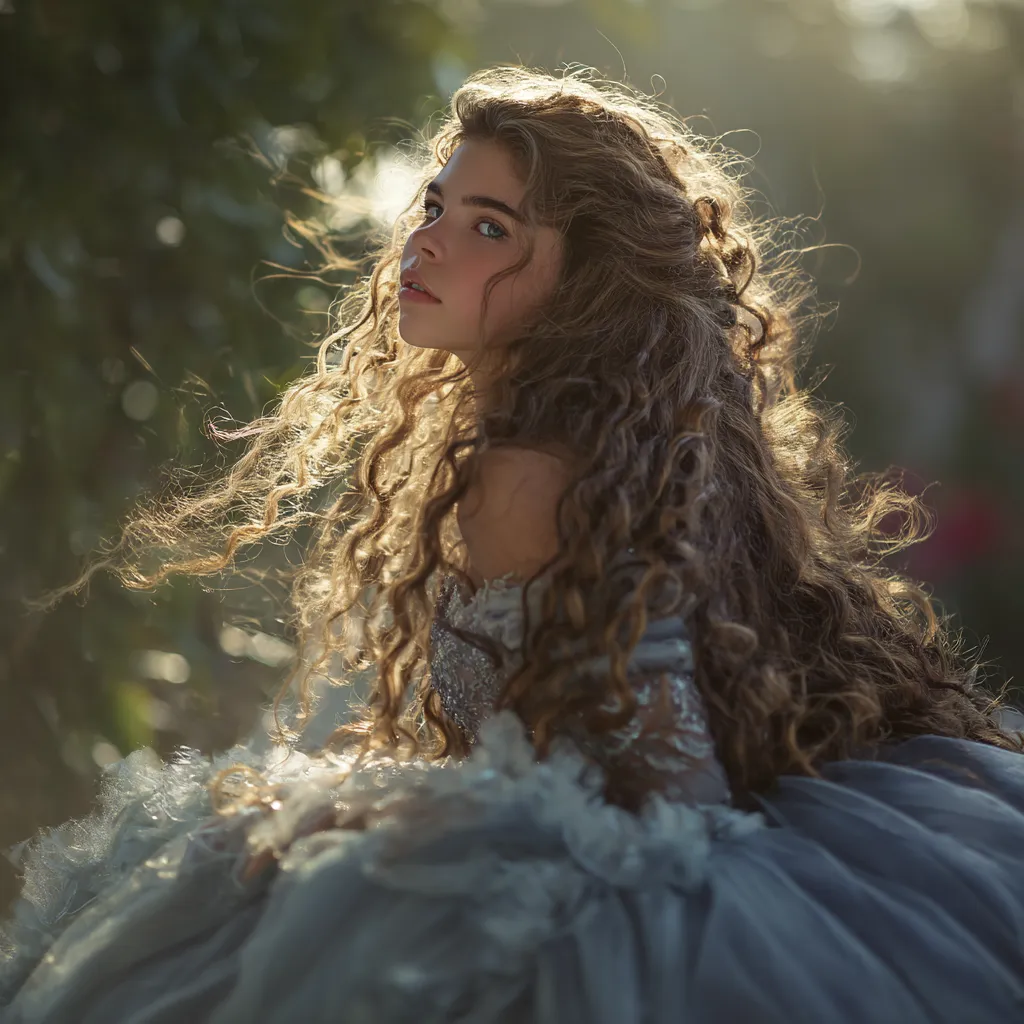
Achieving a balance between formal elegance and youthful charm is the ultimate goal for many celebrating their fifteenth birthday. One of the most versatile approaches involves blending the structure of an updo with the free-flowing beauty of loose locks. This specific category of styling offers the best of both worlds, keeping strands away from your face while allowing cascading curls to frame your shoulders. It is particularly forgiving for beginners because it does not require the precise structural integrity of a full bun, making it a top choice for those attempting their own look for the big day.
Preparation is the foundation of any long-lasting style. Start with clean, dry hair. If your texture is naturally very silky or slippery, washing it the day before can actually help the pins grip better. Begin by applying a heat protectant spray throughout your mane to prevent damage from hot tools. Sectioning is vital here. Divide your hair horizontally from ear to ear. Clip the top section out of the way so you can focus on the bottom layer first. Using a one-inch or one and a half-inch curling wand, create soft waves in the bottom section. Curl away from your face for a modern look. Once a curl is released from the iron, catch it in your hand and let it cool for a few seconds before dropping it; this sets the shape and ensures longevity.
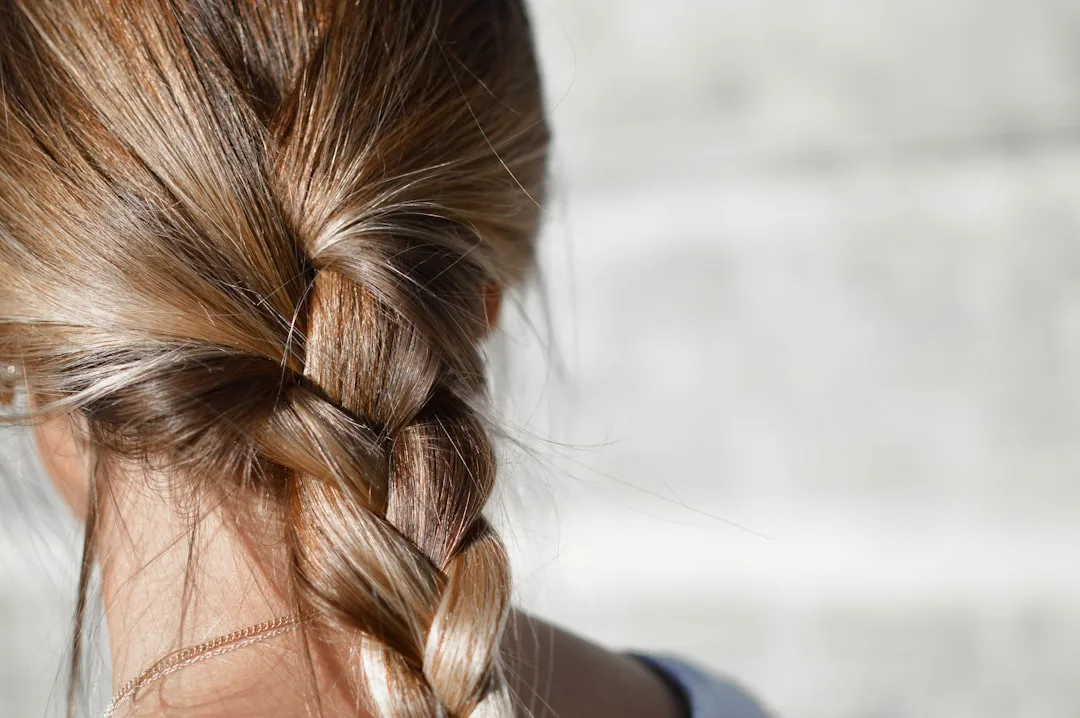
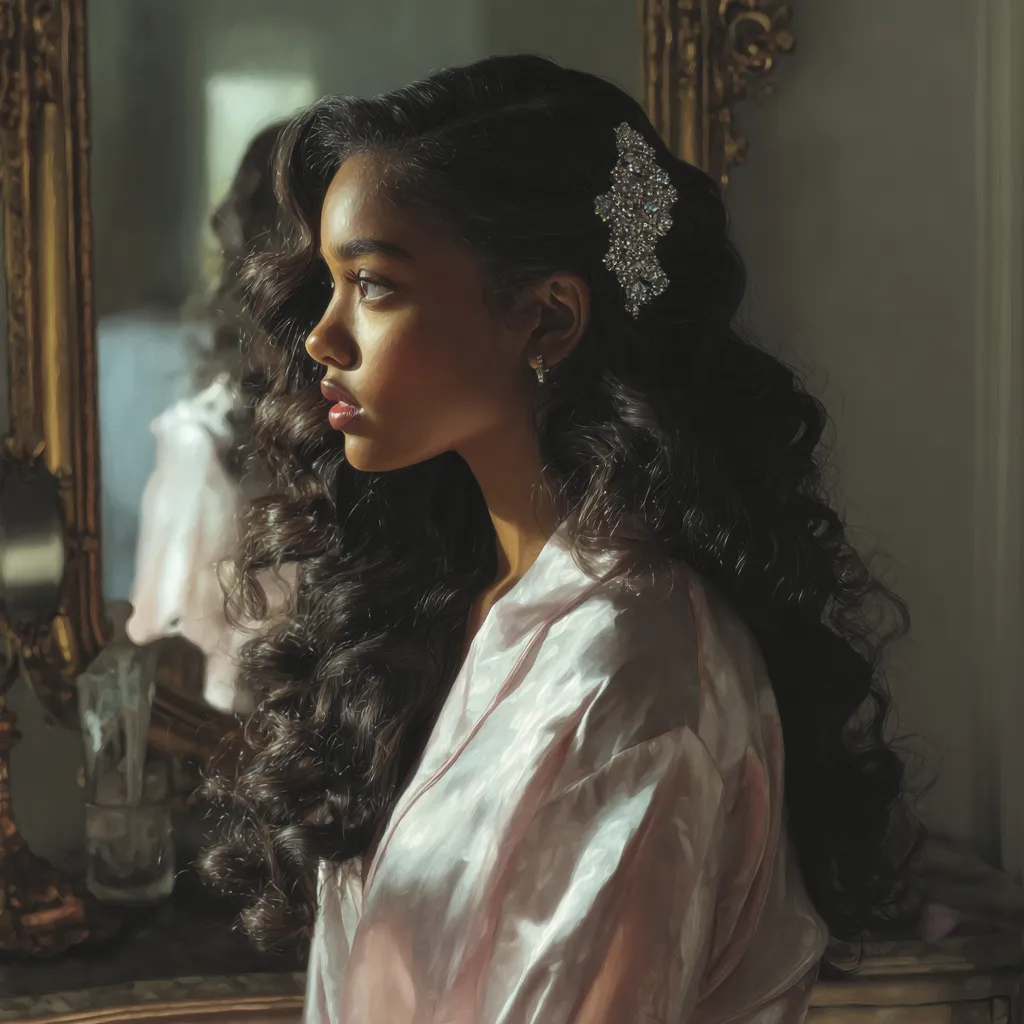
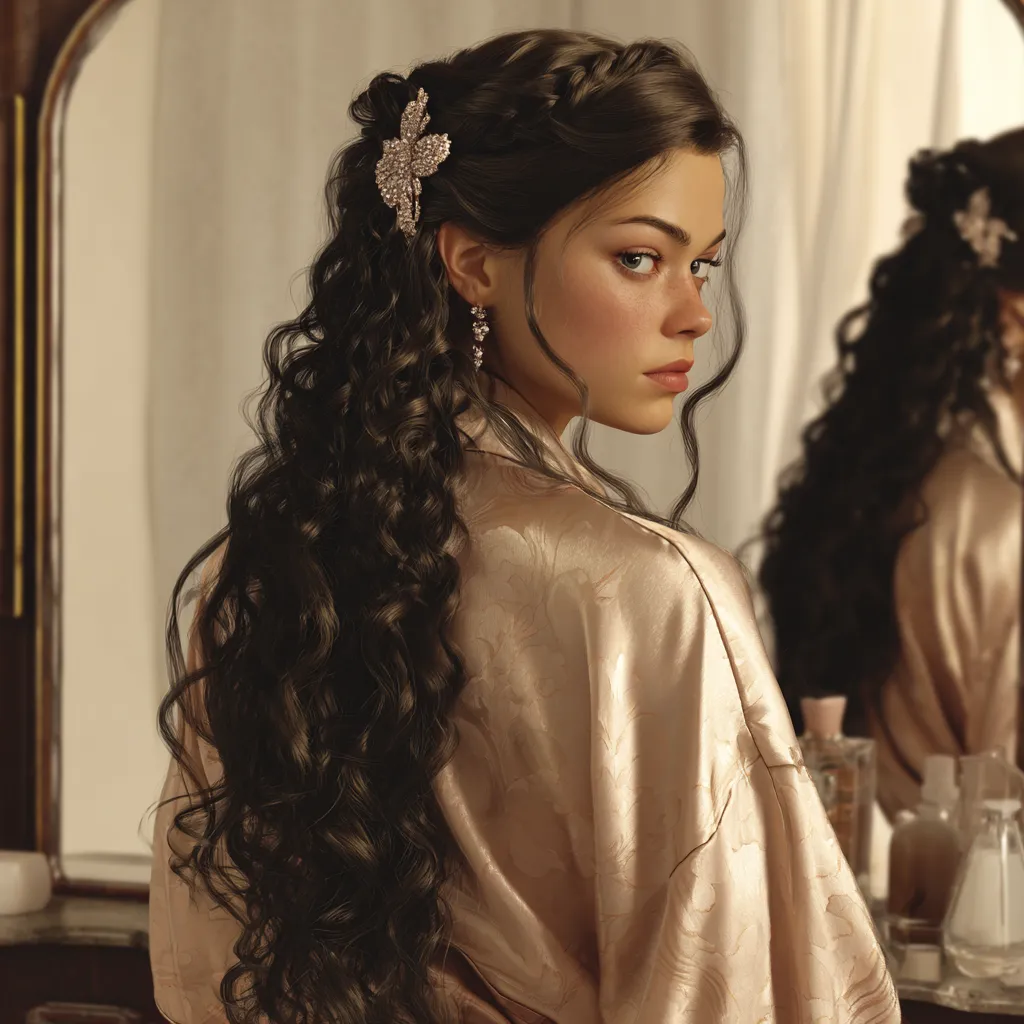
Once the bottom section is fully curled, unclip the top. You want to create volume at the crown to give the silhouette a regal feel fitting for the occasion. take small sections at the crown and gently backcomb or tease them near the roots. Smooth over the topmost layer with a fine-tooth comb so the teasing is hidden underneath. Now, gather hair from the temples on both sides. This is where you can get creative. You might choose to simply twist these side sections backward, or perhaps braid them loosely. Bring these two sections to meet at the back of your head, just below the crown volume you created. Secure them with bobby pins or a small clear elastic band.
The beauty of these easy quince hairstyles lies in the details. If you used an elastic, take a small sliver of hair from the “ponytail” you just made and wrap it around the band to hide it, securing the end with a tiny pin. If you prefer pins, ensure they are tucked away or use a decorative accessory to cover the mechanics. Now, look at the remaining hair in the top section that falls over the back. Curl these pieces to blend seamlessly with the bottom layer. Run your fingers gently through the curls to break them up; you want soft waves, not tight ringlets.
Accessorizing is the final step that elevates this from a daily look to event-ready. A sparkling comb inserted right where the side sections meet adds instant glamour. Alternatively, weaving small baby’s breath flowers or crystal pins into the twists or braids creates a fairytale aesthetic. This style is incredibly practical for a long night of dancing. Because half the weight is secured, you won’t get too hot, but you still get the drama of length.
Maintenance throughout the night is minimal with this choice. A travel-sized bottle of flexible hold hairspray is your best friend. If you notice flyaways, spray a little on your hand and smooth them down rather than spraying directly on the head, which can make the look crunchy. If your curls start to drop after hours of dancing, the half-up structure keeps the overall shape looking intentional and polished. Remember, the key to confident DIY styling is practice. Try this look two or three times in the weeks leading up to the party. This helps you understand how your texture behaves and exactly how much product you need. By the time the celebration arrives, your hands will know exactly what to do, leaving you free to focus on the joy of the moment.
Creating Timeless Quinceanera Hair Updos At Home
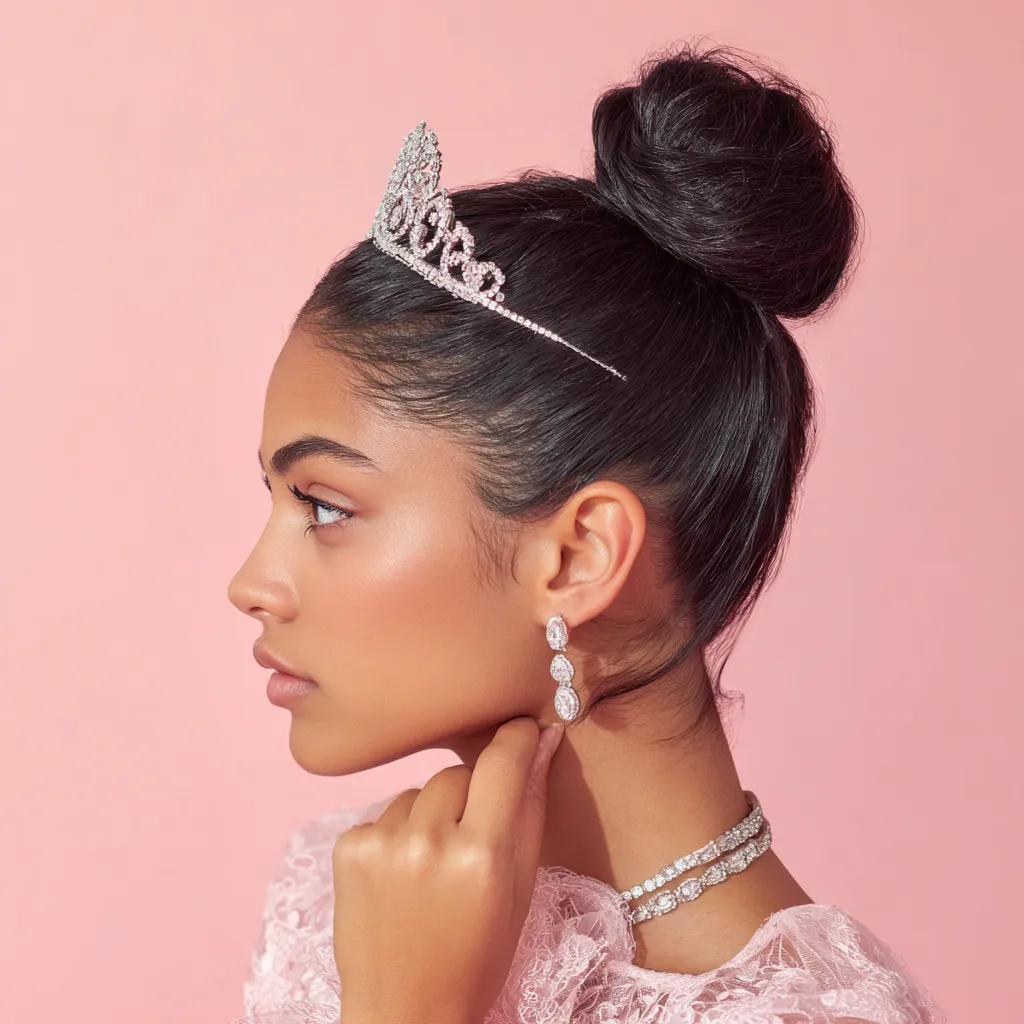
There is an undeniable sophistication associated with lifting hair completely off the neck and shoulders. This approach highlights the neckline of the dress, showcases jewelry, and keeps the wearer cool during energetic reception dances. While complex chignons might look intimidating, creating a polished bun is entirely achievable with the right tools and a bit of patience. The secret to professional-looking quinceanera hair updos is simpler than it appears: texture and anchoring.
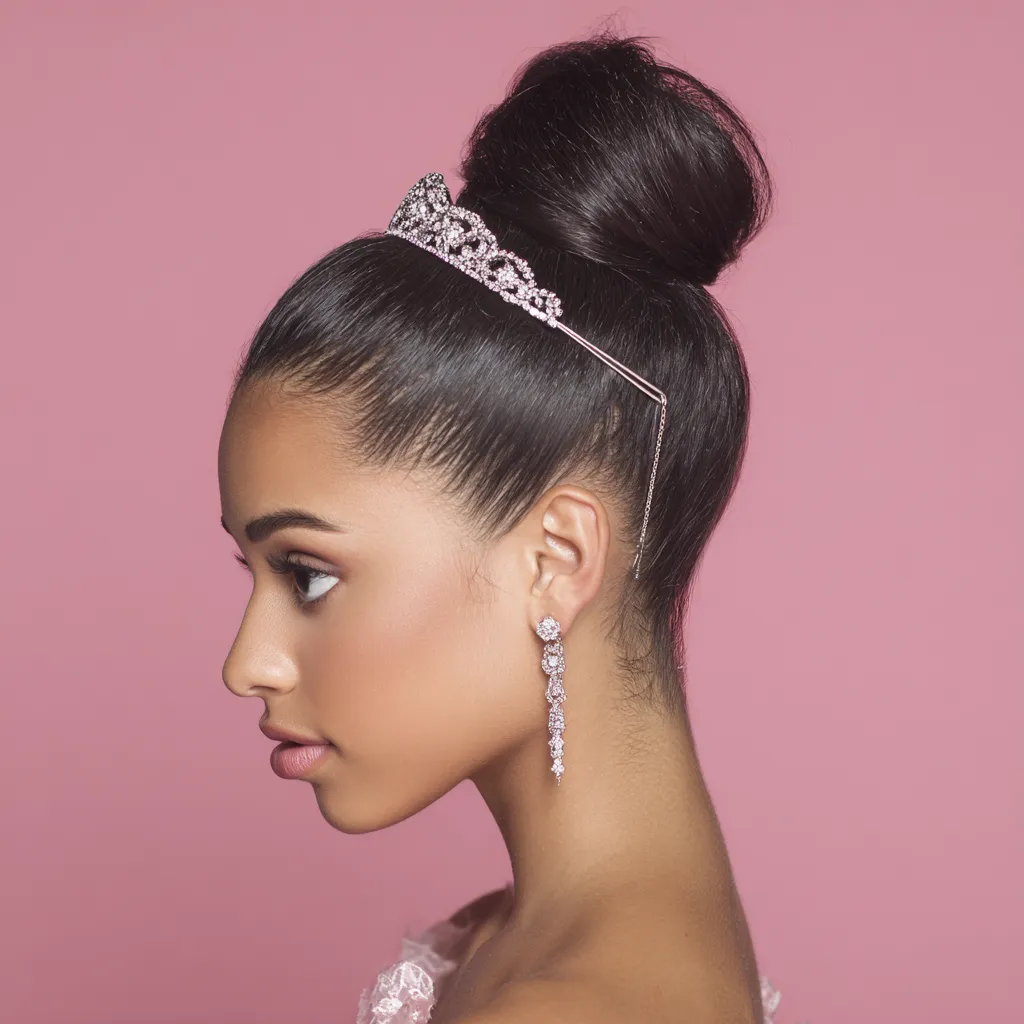

Start by prepping your strands. Unlike loose styles where softness is key, updos benefit from a bit of grit. Texturizing spray or a dry shampoo applied to the roots can provide the necessary traction for bobby pins to hold securely. If you have fine hair, consider using a donut filler or padding. These are foam rings that match your hair color. To use one, gather all your hair into a ponytail at the desired height—high for a princess vibe, or low at the nape for a classic, understated look. Secure the ponytail tightly with a strong elastic. This anchor point is the most critical part of the style; if the ponytail is loose, the entire bun will shift.
Pull the ponytail through the foam donut. Spread your hair evenly over the foam so it is completely covered. Place another elastic over the bun to secure the hair in place. You will be left with the ends of your hair sticking out around the base of the bun. Don’t panic; this is part of the process. Twist these ends around the base to hide the elastic and secure them with U-shaped pins, which are better for gripping updos than standard flat bobby pins. For a sleeker finish, smooth the hair with a boar bristle brush before securing. For a messier, more romantic vibe, pull gently on a few strands of the bun to loosen it after it is secured.
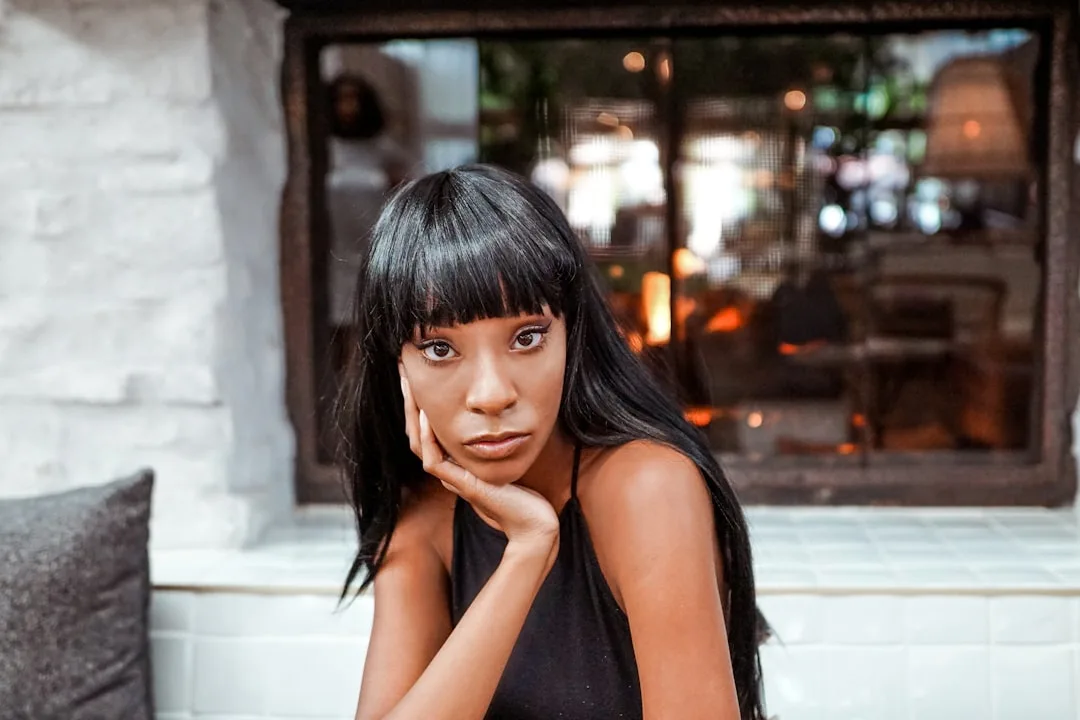
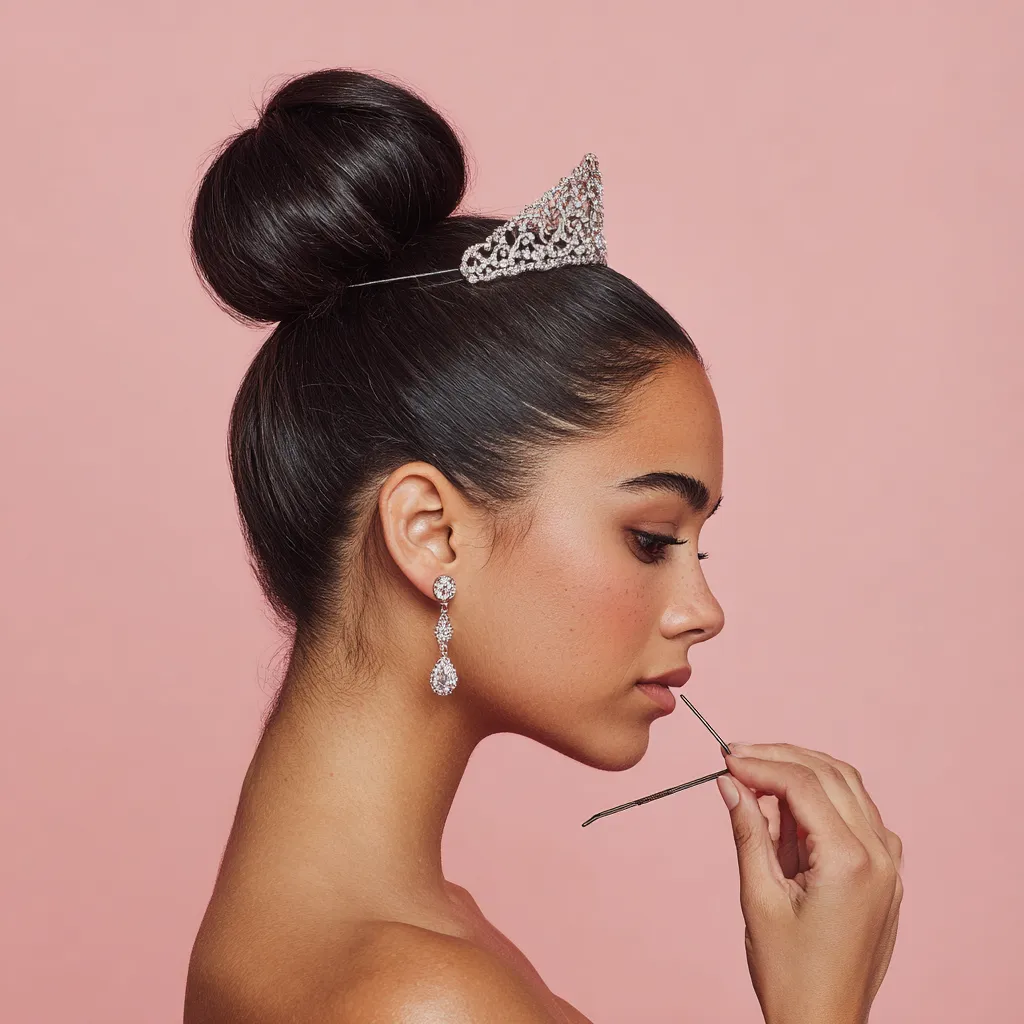
Face-framing pieces are essential for softening the severity of a pulled-back look. Before you even start the ponytail, section off two small pieces of hair near the ears or temples. Once the bun is complete, use a curling wand to give these tendrils a soft bend. This draws attention to the eyes and adds a delicate, feminine touch. If you have bangs, style them as you normally would, ensuring they blend nicely with the rest of the look.
Anchoring heavy accessories, like a tiara or a large heavy comb, requires a solid foundation. Place the tiara just in front of the bun base. The combs of the tiara should slide into the hair that is pulled back toward the ponytail. For extra security, cross two bobby pins over the teeth of the tiara comb on each side. This locks the accessory in place so it won’t slide forward when you bow or dance.
Let’s discuss longevity. An updo needs to survive hugs, changing dresses, and hours of movement. Use a strong-hold hairspray, layering it rather than dousing it all at once. Spray, let it dry, and spray again. Use a clean toothbrush sprayed with hairspray to tame any baby hairs along the hairline for a glass-like finish. If you have very heavy hair, using two elastics on your initial ponytail can prevent sagging.
Practicing this style is crucial to building arm stamina. Holding your arms up for twenty minutes to style can be tiring! Do a few trial runs to get used to the positioning. Check your profile in a double mirror to ensure the bun shape is pleasing from the side and back, not just the front. The silhouette should be balanced. If the bun looks too small for your dress’s volume, gently tug on the hair in the bun to expand it, or use a larger foam filler.
These quinceanera hair updos are timeless for a reason. They photograph beautifully from every angle and ensure that your face remains the star of the show. By mastering this skill, you give yourself the gift of a worry-free night where you know your look is secure, elegant, and perfectly you. It is a powerful feeling to look in the mirror and know you created that masterpiece yourself.
Styling Loose Quince Hair Ideas For Natural Volume
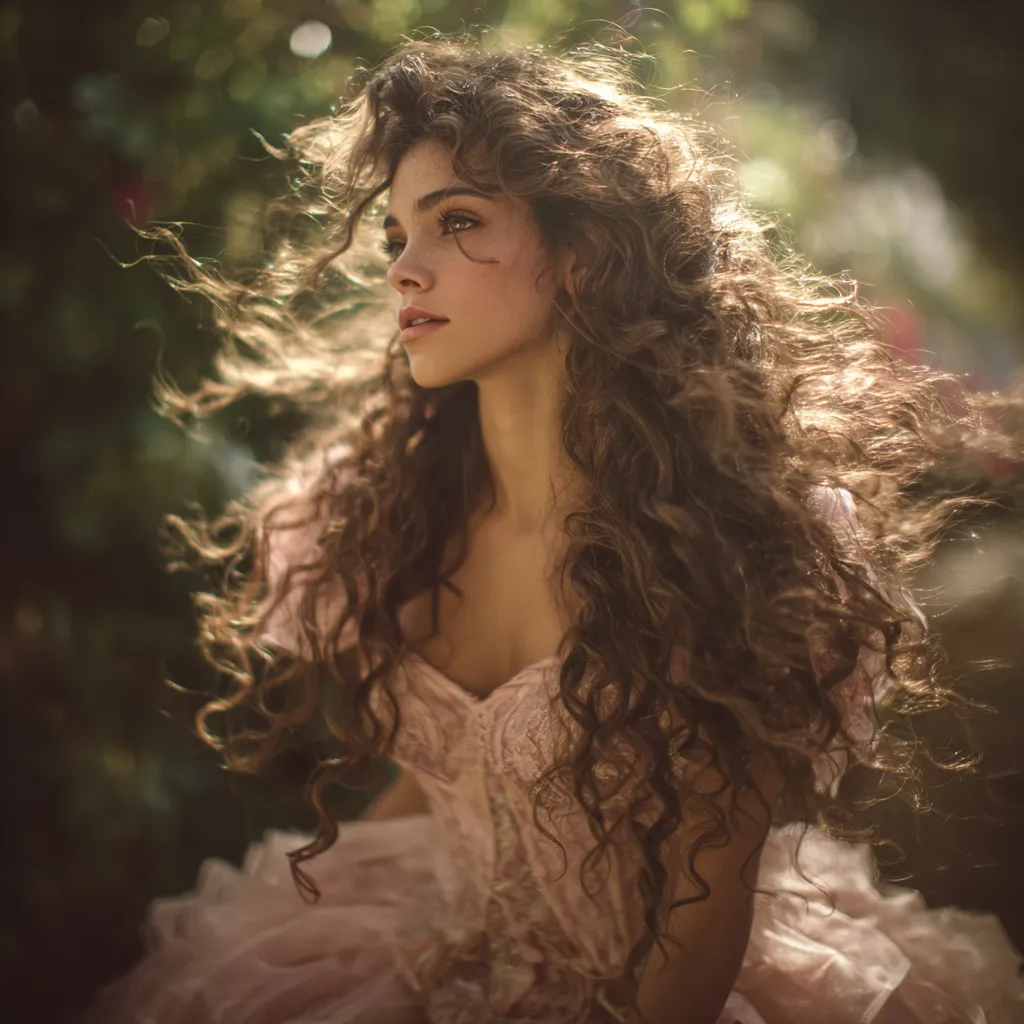
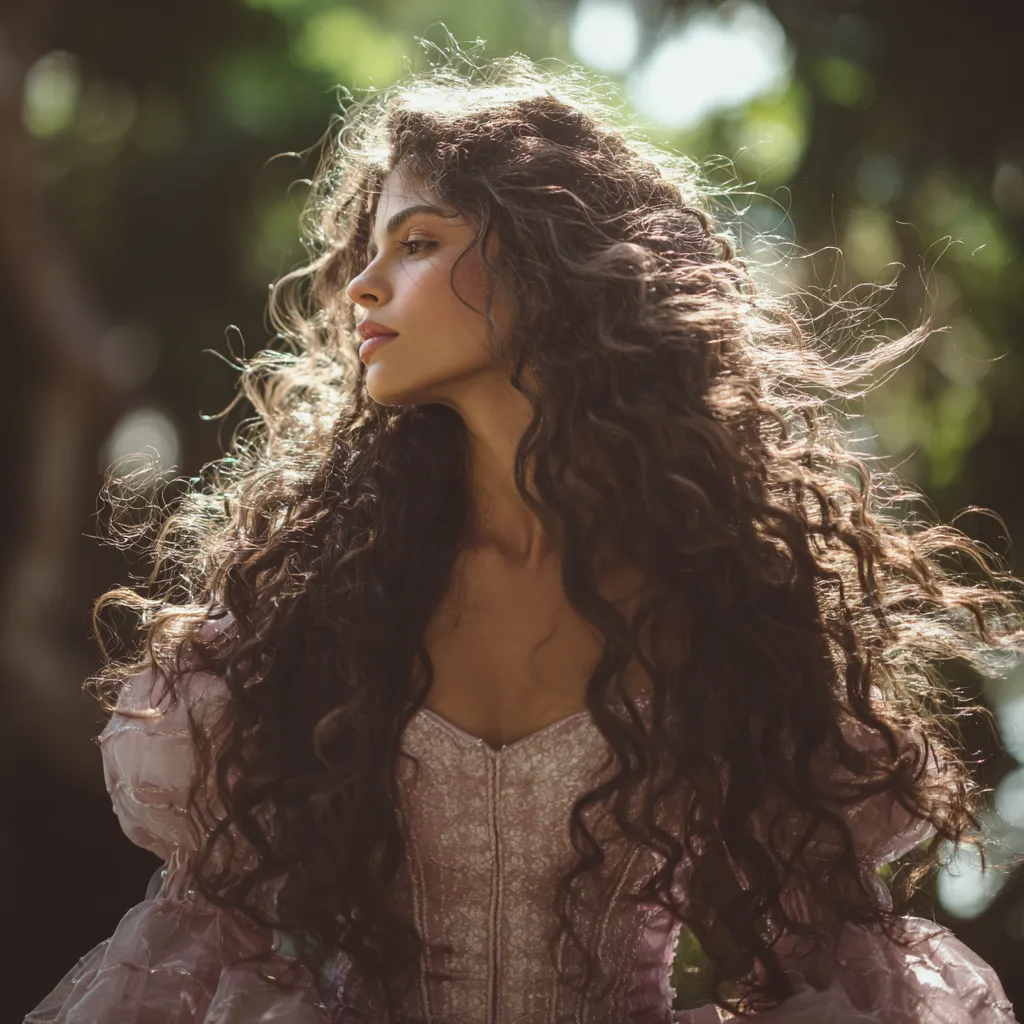
For the girl who feels most like herself with her hair down, wearing it loose and flowing is a powerful style statement. It exudes confidence, freedom, and a touch of bohemian luxury. However, “loose” does not mean messy or unstyled. To make loose hair look formal enough for a grand event, the focus must be on volume, health, and definition. This section focuses on achieving those magazine-cover waves that look effortless but are actually carefully constructed to withstand humidity and gravity.
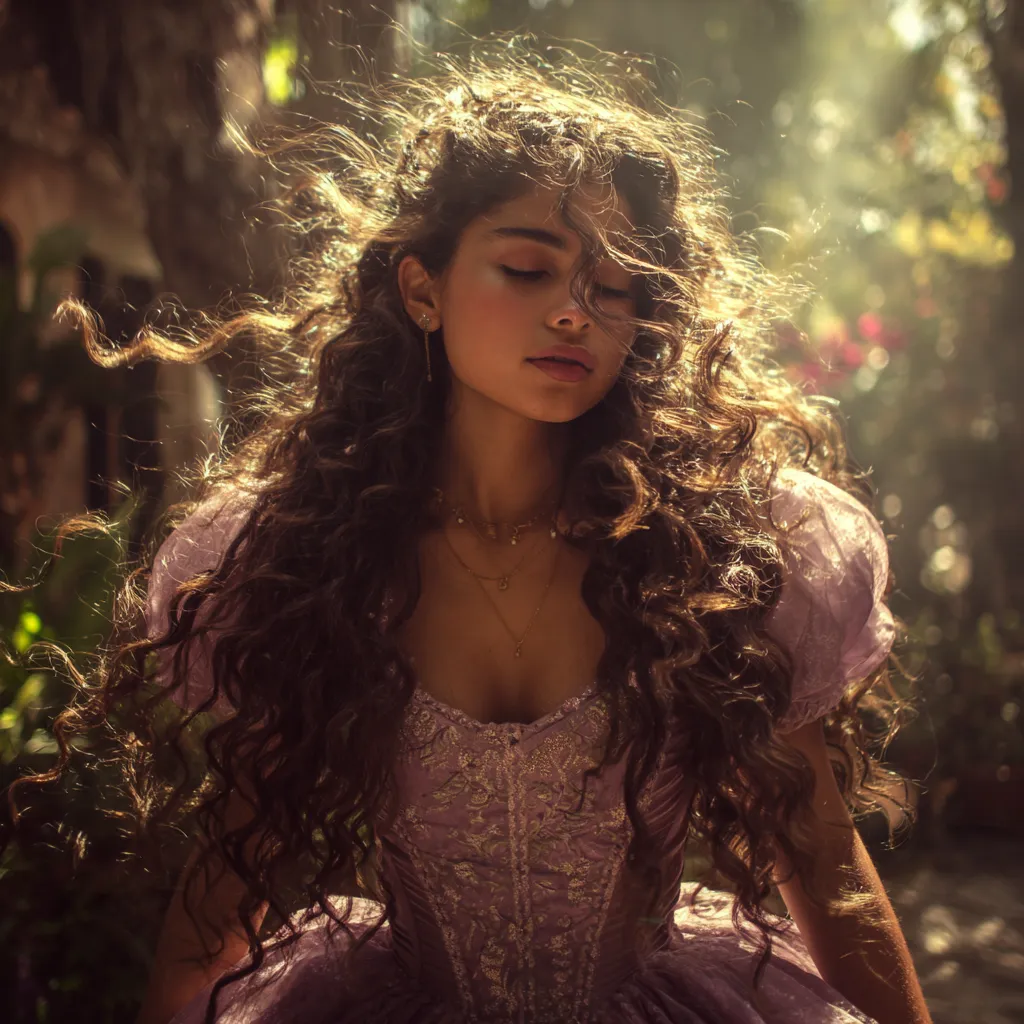
The journey to perfect loose quince hair ideas begins in the shower. Use a volumizing shampoo and a lightweight conditioner. Heavy moisturizing products can weigh the hair down, making it difficult to hold a curl. Apply a volumizing mousse to the roots while damp and blow-dry upside down. This lifts the roots away from the scalp, creating a base of volume that is essential for this look. Once dry, create a deep side part or a precise middle part, depending on your face shape and preference.
Invest in high-quality hair extensions if your natural hair lacks the density or length you desire. Clip-in extensions are a fantastic, temporary way to add drama. Curl the extensions separately before clipping them in to make the process easier. When curling your own hair, work in small vertical sections. For a natural, beachy wave that still looks polished, leave the last inch of the ends straight. If you prefer old Hollywood glamour, curl all the way to the end and pin the curl against your scalp to cool. This “pin curl” technique sets the shape firmly.
Once all the hair is curled and cooled, the brush-out is the magic moment. Take a wide-tooth comb or a paddle brush and gently brush through the curls. This joins the individual ringlets into a cohesive wave pattern. Apply a shine serum to the mid-lengths and ends to eliminate frizz and catch the light. This creates that glossy, healthy look that photographs so well. Avoid putting serum near the roots to prevent greasiness.
To ensure the style doesn’t look flat after an hour, backcomb the underneath layers slightly at the crown and sides. This provides a “cushion” for the top layers to rest on, maintaining the volume. If you are worried about hair falling in your face, you can do a “peek-a-boo” pin. Take a small section of hair from one side, twist it, and pin it securely underneath the heavy top layer of hair behind your ear. This keeps one side clear and open while maintaining the look of completely loose hair.
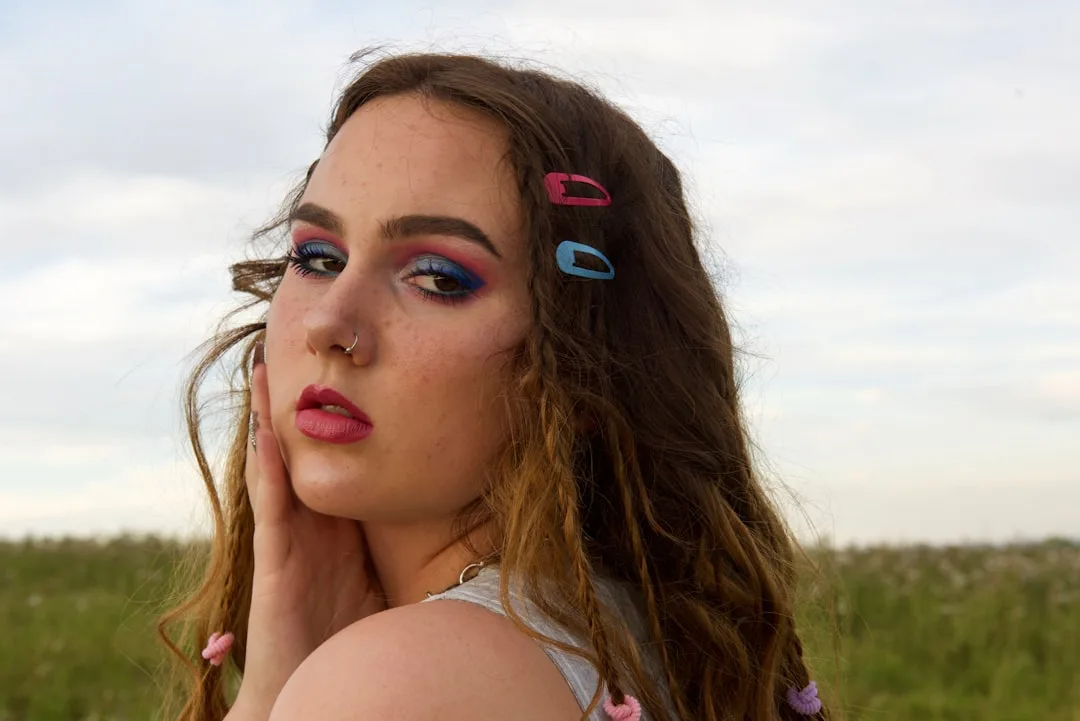
Accessories for loose styles should be chosen carefully so they don’t get lost in the volume. A flower crown is a stunning choice for a garden-themed party. Alternatively, a jeweled headband can add the necessary sparkle without crushing the curls. Ensure the headband is not too tight, as you will be wearing it for many hours.
Humidity is the enemy of loose styles. If your venue is outdoors or in a warm climate, finish with a humidity-resistant hairspray. Carry a small bottle of dry shampoo in your emergency kit. If you sweat from dancing, a quick spray at the roots will absorb moisture and revive the volume instantly.
Choosing loose quince hair ideas allows for beautiful movement. When you spin on the dance floor, your hair spins with you, creating dynamic and captivating photos. It is a style that feels unrestricted and celebratory. By focusing on the prep work—the blow-dry and the setting—you ensure that your cascading locks remain bouncy and vibrant from the first entrance to the last song. It is a celebration of your natural beauty, enhanced with technique and care.