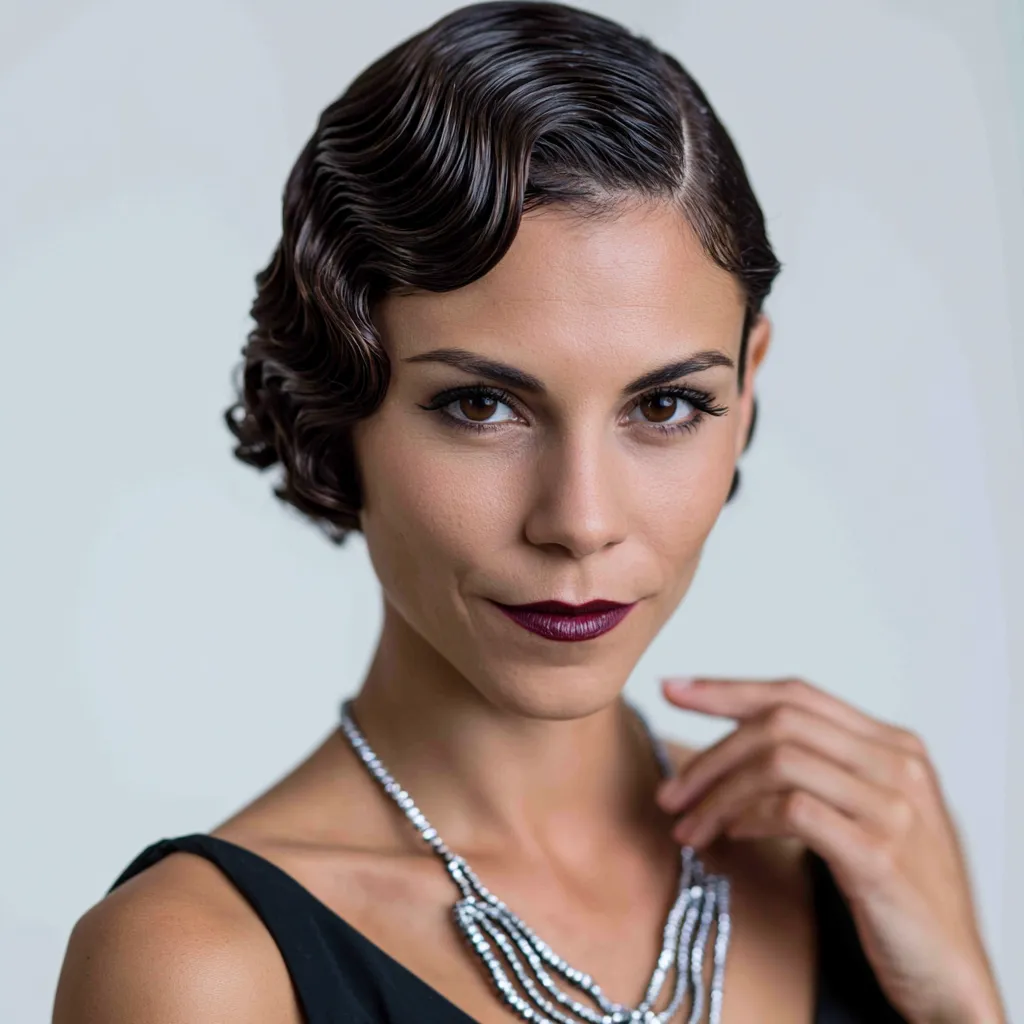
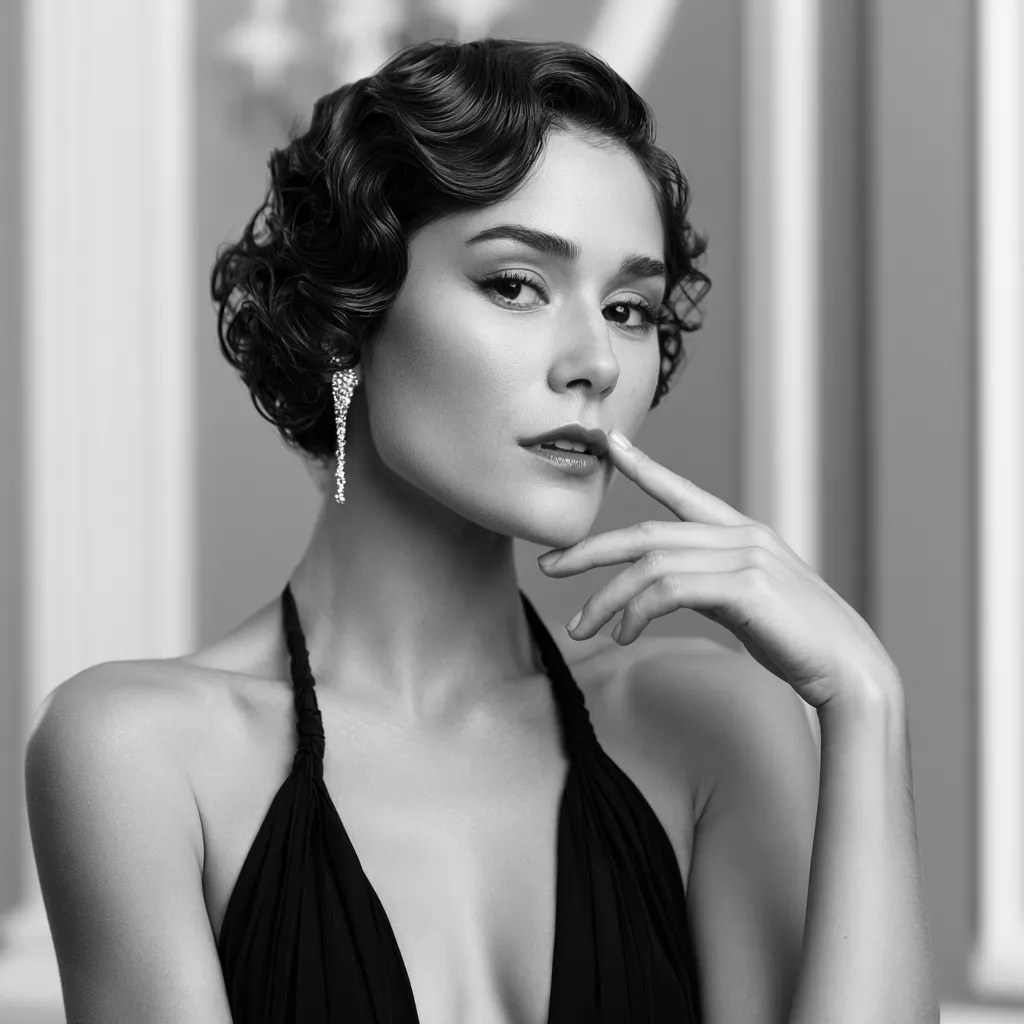
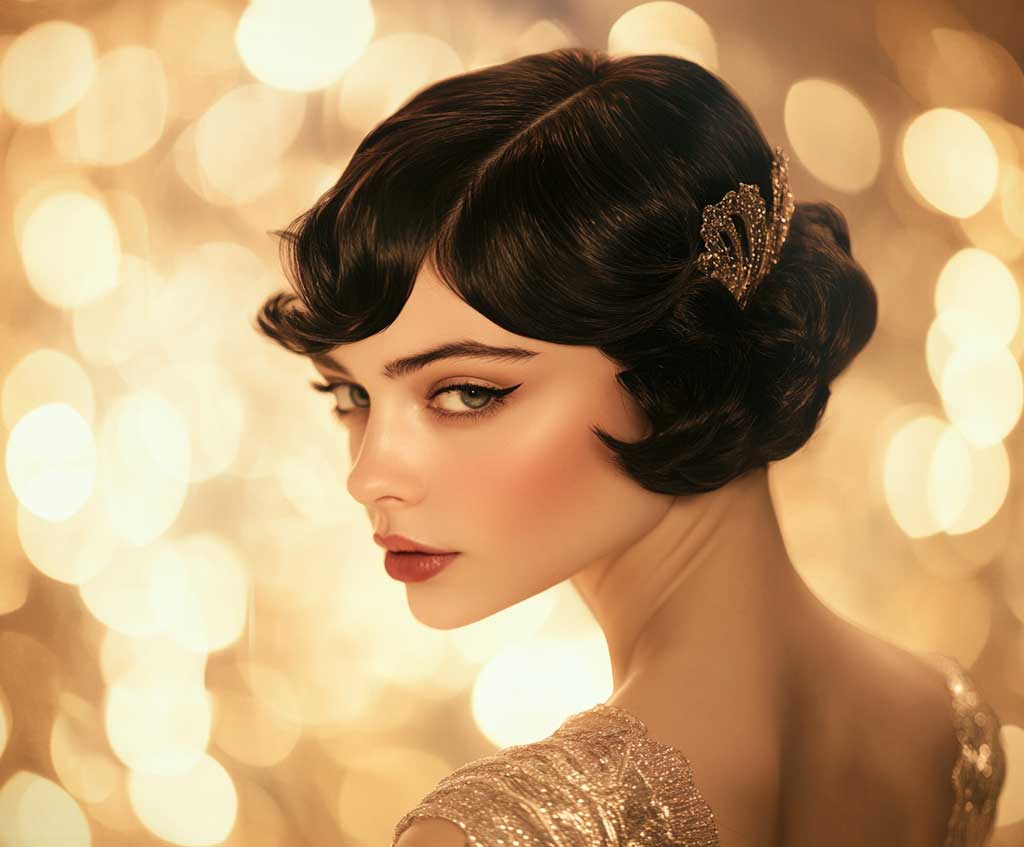
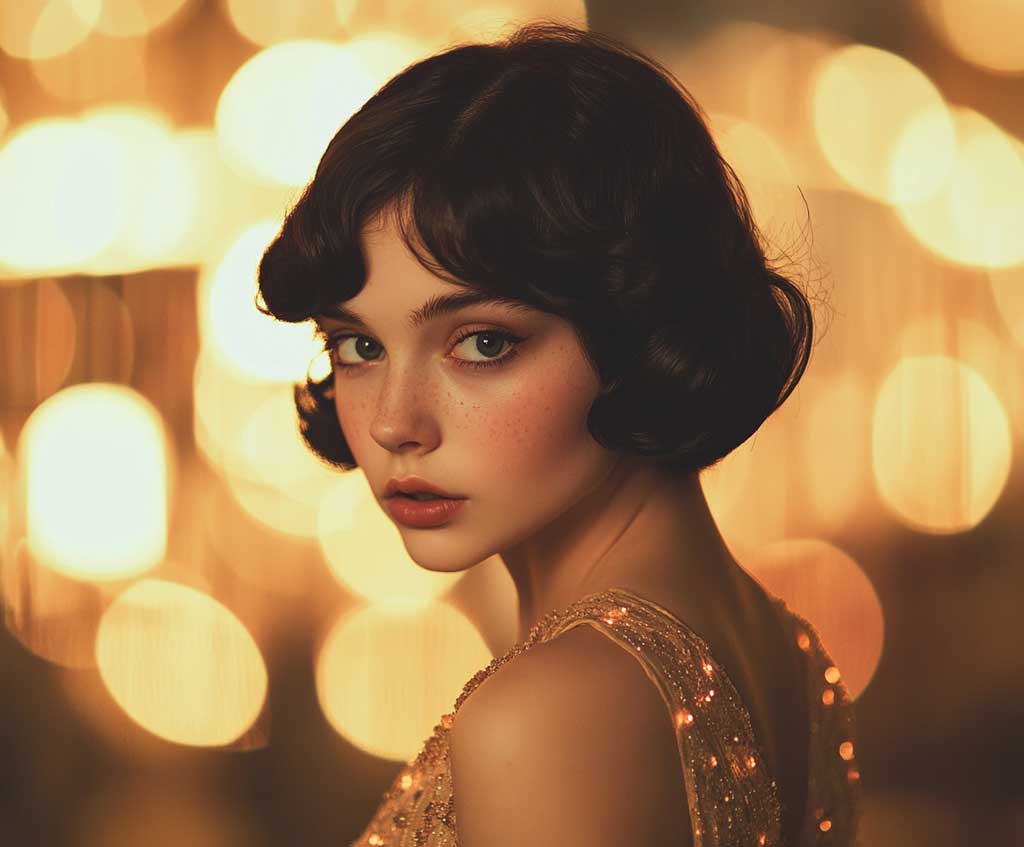
Vintage waves short hair — specifically the 1920s finger wave — is the one party hairstyle that photographs better than it looks in the mirror. I’ve worn it to three themed events and each time someone asked if I had a professional on set. The S-shaped pattern sits completely flat against the scalp, which means no bobby pins poking out at the wrong angle and no second-day frizz to manage at midnight. If you’re heading to a vintage-themed party and your hair is short, this is the look that actually delivers.
What makes finger waves work is the wet-set technique, not heat. You’re sculpting damp hair with a rattail comb and your fingers, then letting it dry under tension — no curling iron required. The gel does the structural work, so the shape is locked in before you leave the house. Most people skip that step entirely and wonder why their waves fell out by 9pm.
Quick Scan
- Jet black finger waves — the sharpest S-pattern, works on pixie-to-bob length
- Deep ruby red waves — high-contrast look that photographs warm under event lighting
- Shimmering platinum waves — modern take on the 1920s flapper, no bleach damage required if pre-lightened
- Products you need — strong-hold gel ($8–14), fine-tooth rattail comb, duckbill clips, shine spray
- Time to set — 20 minutes to sculpt, 45–60 minutes under a hooded dryer or air-dry
- Vintage-party pairings — beaded flapper dress, velvet gown, sequined slip, pearl earrings
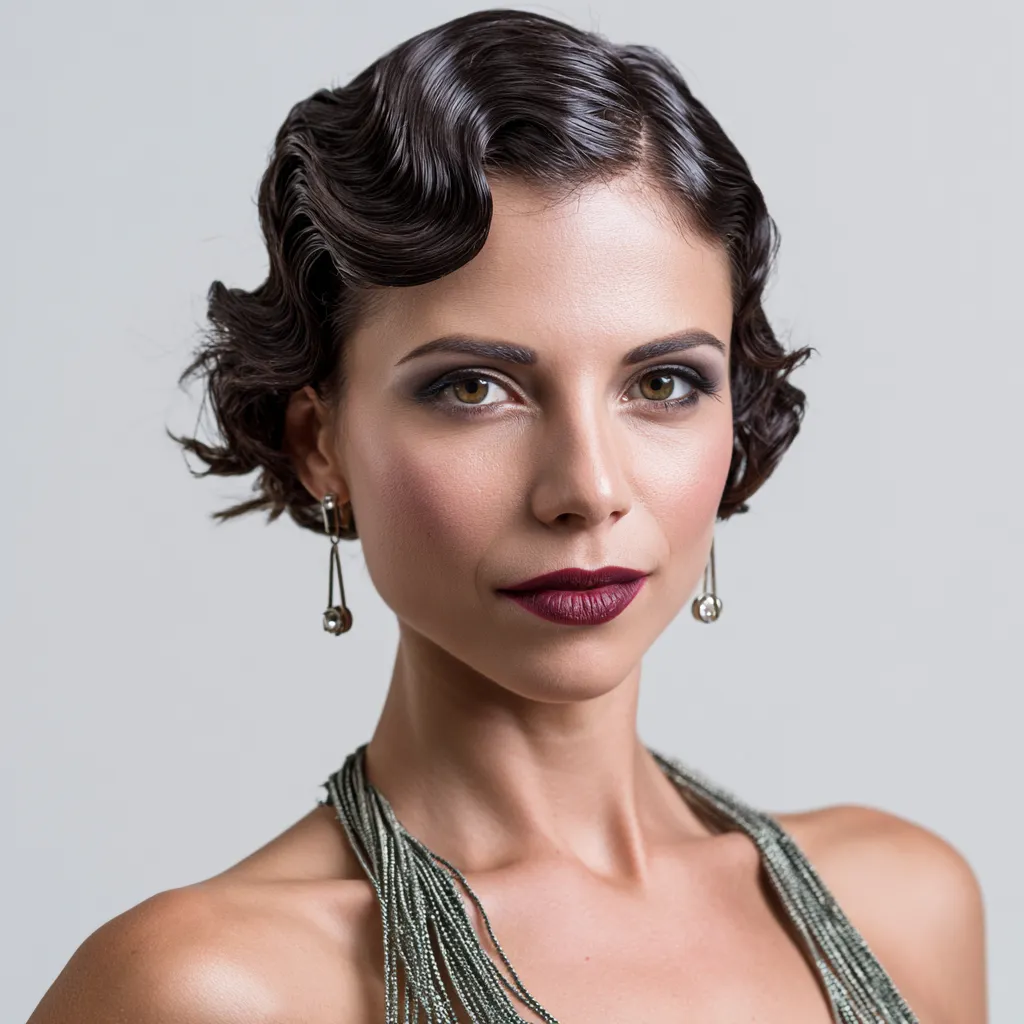

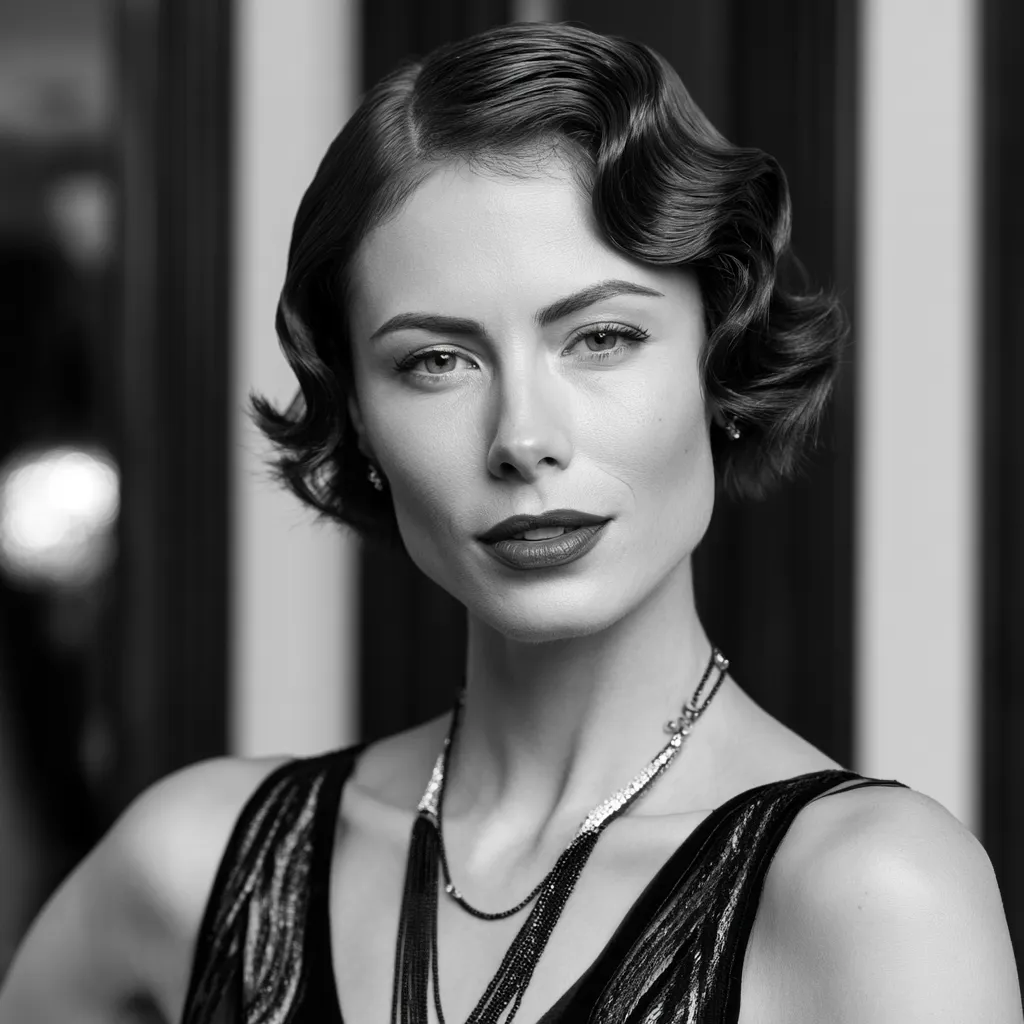
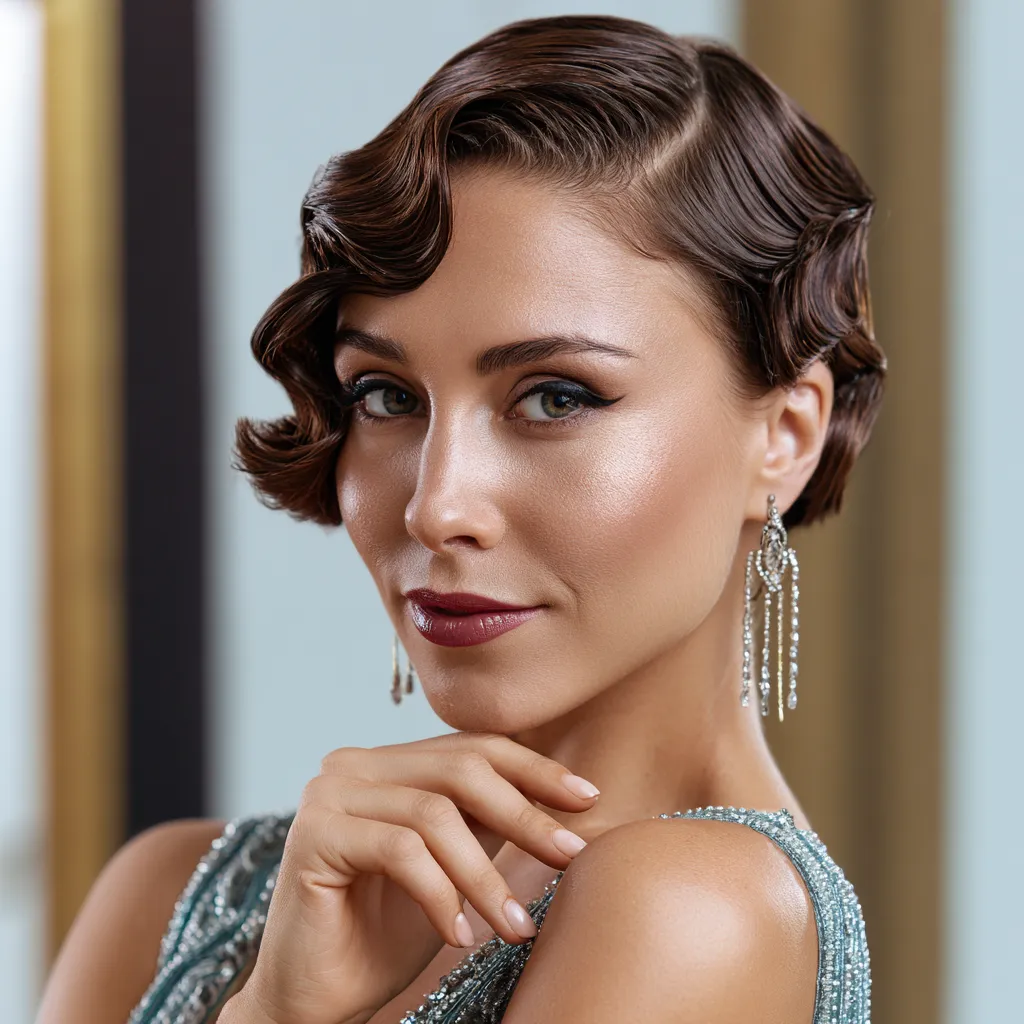
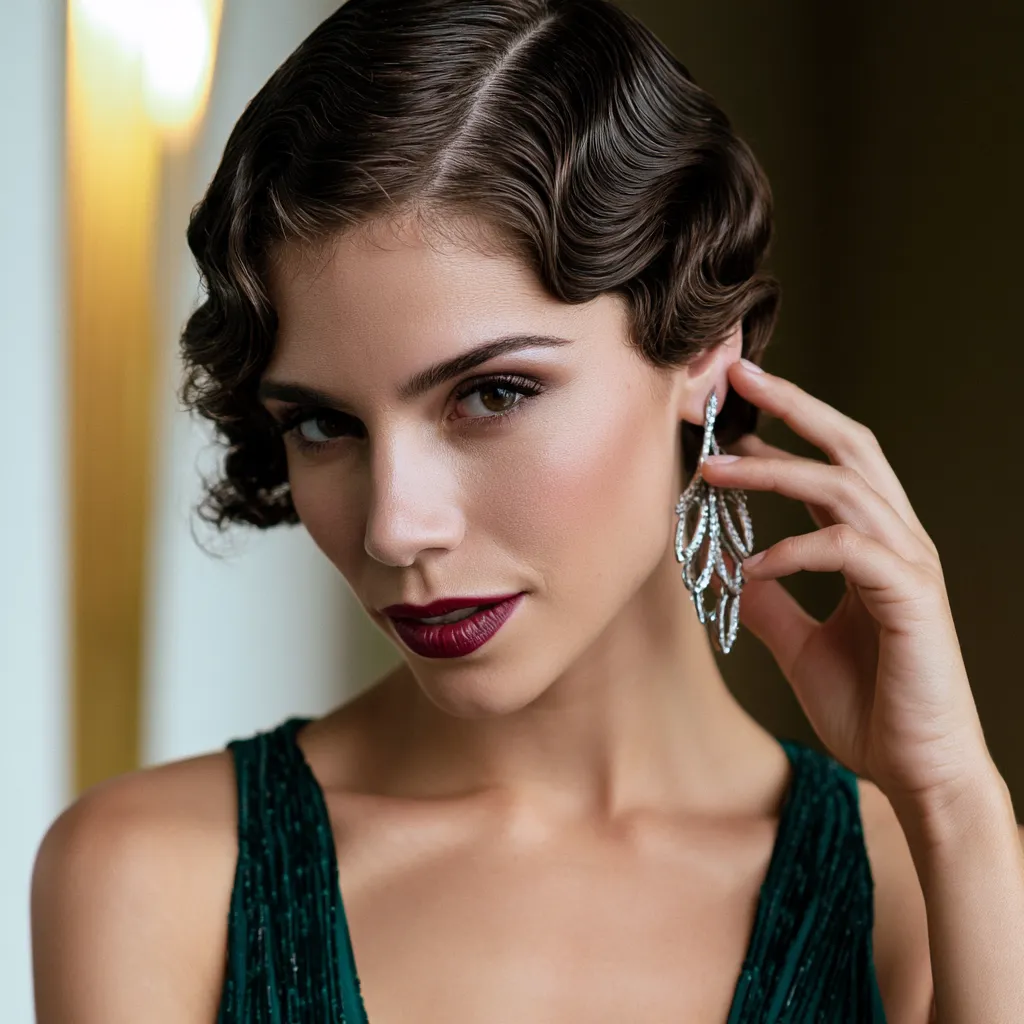
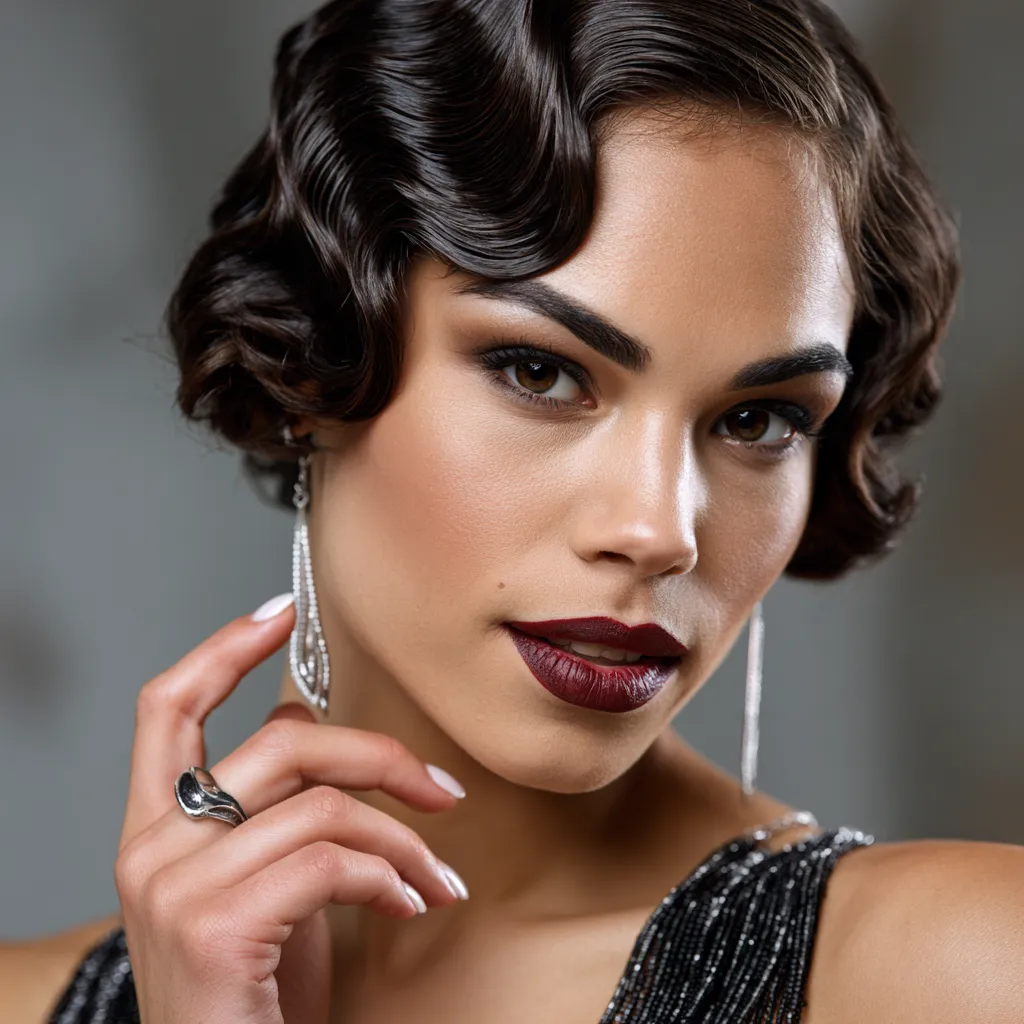
Jet Black Finger Waves on Short Hair Photograph Like a Professional Shoot
Jet black is where finger waves short hair show their full structure. The deep tone picks up every ridge and arc in the S-pattern, making the waves look sculpted rather than styled. I’ve tried the same technique on medium brown hair and the definition just doesn’t read the same way in photos — the ridges blur into the base color. Black eliminates that problem entirely.
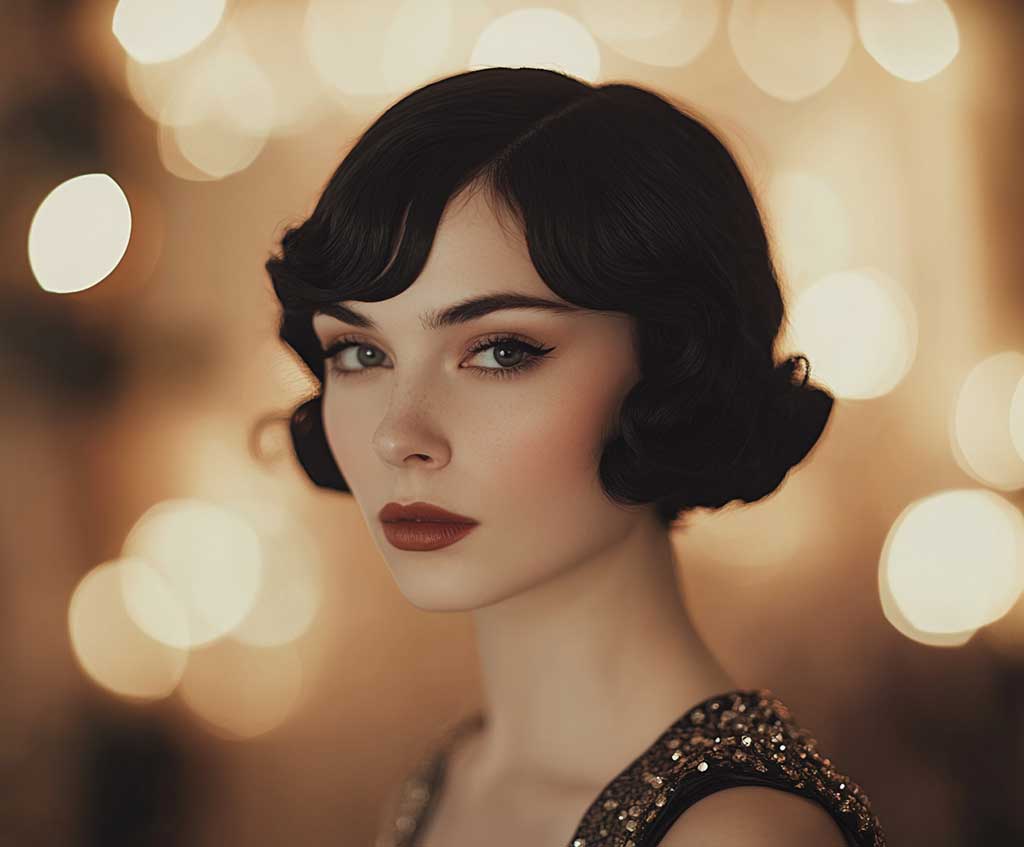

Start on damp, freshly washed hair — not towel-dried to the point of barely wet. Work a strong-hold gel (Eco Styler Olive Oil Gel, around $5, is my go-to for this) from root to tip, combing through so there are no dry patches. Dry patches are why waves collapse before midnight. Lay your middle finger flat across the hair parallel to the part, press your rattail comb against it, then drag sideways to carve the first ridge. Move your finger down one inch and repeat in the opposite direction. That’s the S. Secure each completed wave with duckbill clips and do not touch until fully dry.
For the vintage-themed party finish, pair jet black waves with a beaded drop-waist dress and a single-strand pearl choker, not a long rope — the choker keeps the neckline clean against the low hairline of the waves. Bold red lipstick closes the look. Skip the feathered headband if your waves already have strong volume; the two together read as costume rather than considered style. A single crystal or jet hair clip at the temple is enough.
Don’t Do This
Don’t attempt finger waves on hair that’s more than 40% dry. Once the gel starts to set mid-styling, each new ridge you carve disrupts the ones you’ve already laid — you end up with uneven crests and a lumpy finish instead of clean arcs. If your hair dries faster than expected (common in dry climates), mist it with water and start the section over. Also skip any gel marketed as “flexible hold” or “humidity-proof curl cream” — these formulas are designed to move, which is the exact opposite of what finger waves need. You want a gel that dries hard and stays there.
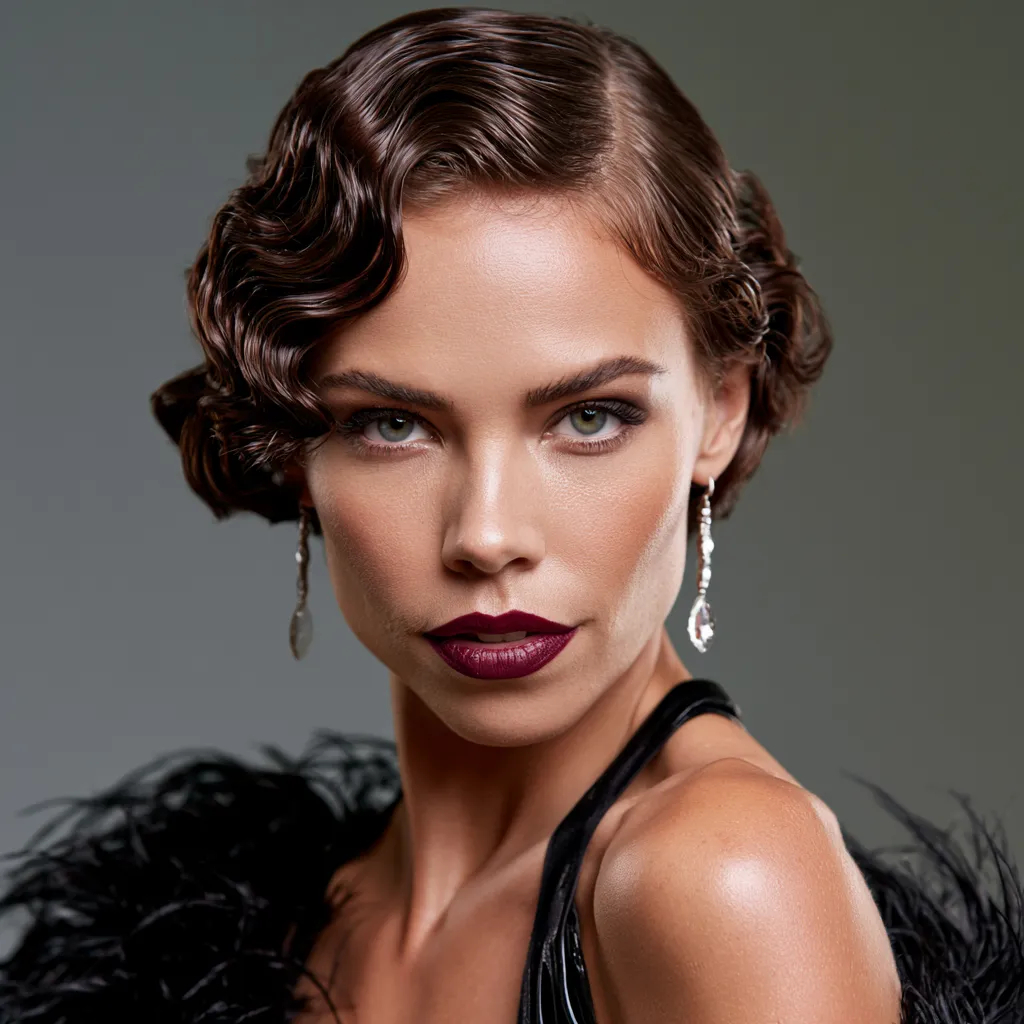
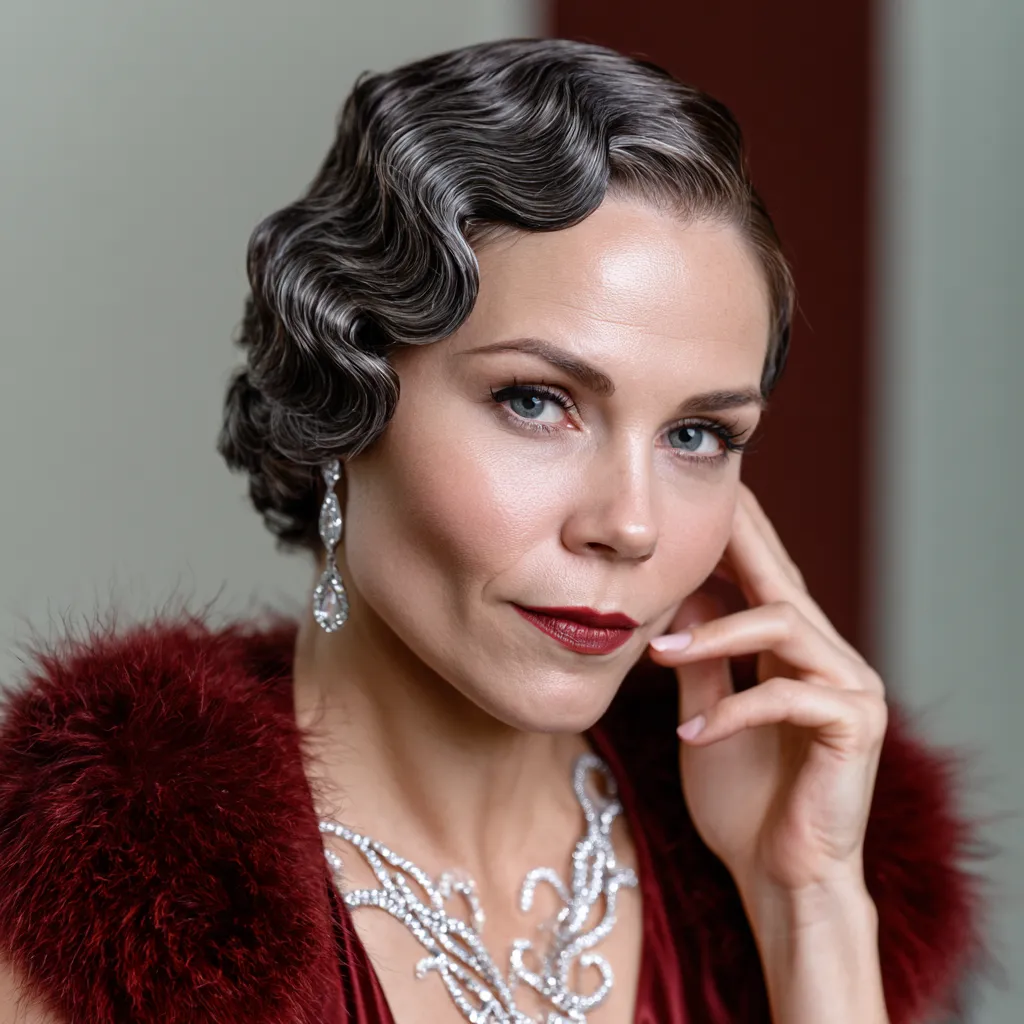
Deep Ruby Red Vintage Waves Short Hair Read Warm Under Event Lighting
Ruby red finger waves short hair do something black waves don’t — they pick up warmth from venue lighting in a way that registers on camera as professional color work. I stole this trick from a makeup artist friend who shoots editorial: warm red tones against amber event lights create a natural fill that eliminates the flat, washed-out look you get with cooler hair colors under incandescent bulbs. The result on a vintage-party photo looks like you had a colorist and a lighting rig. You’ll notice the effect most strongly in photos taken against brick or dark-wood venues.
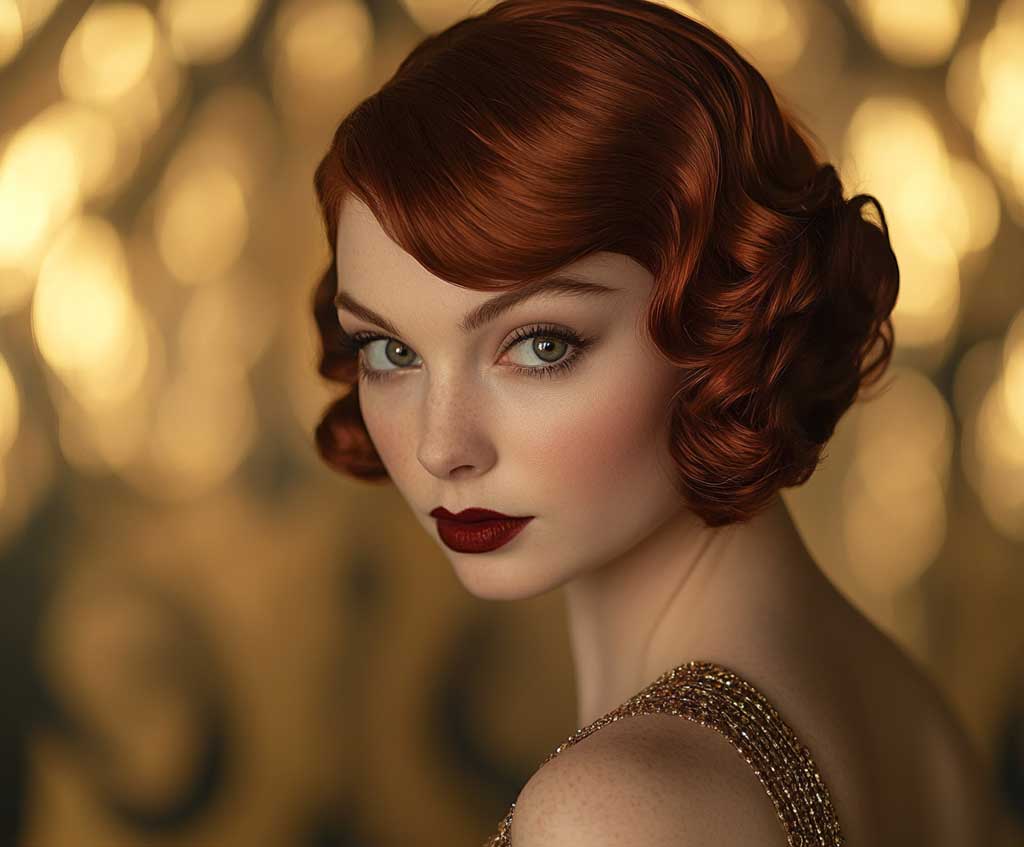
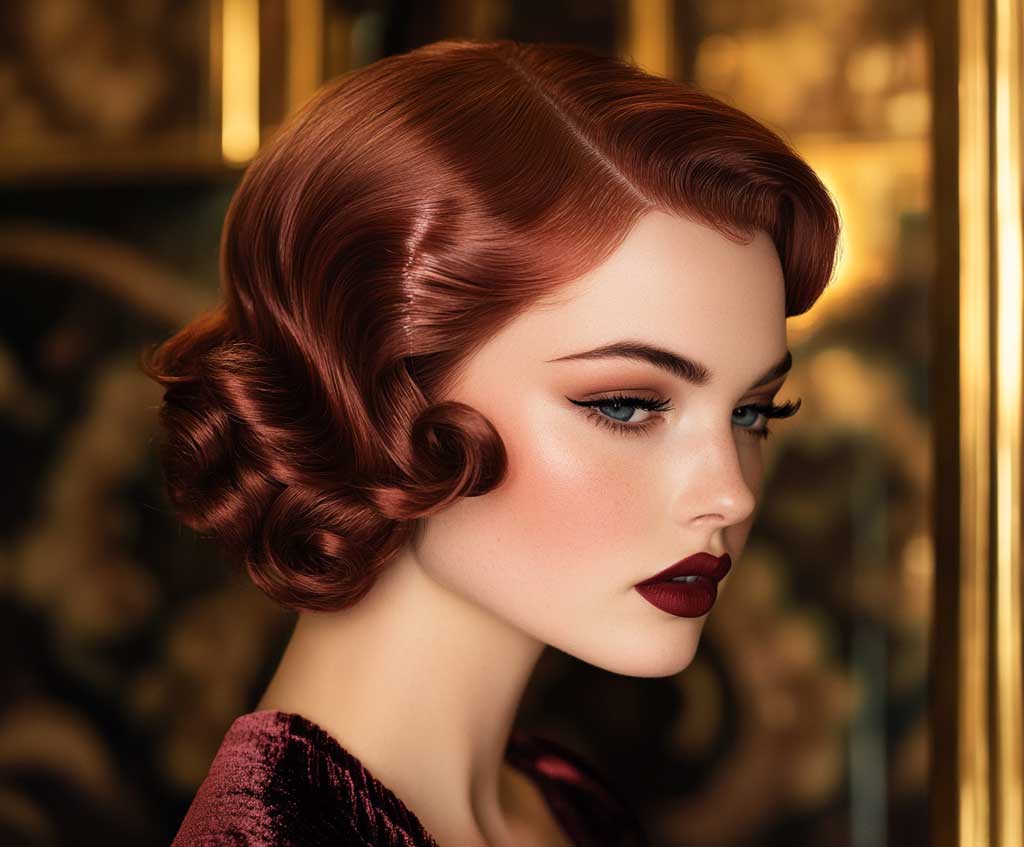

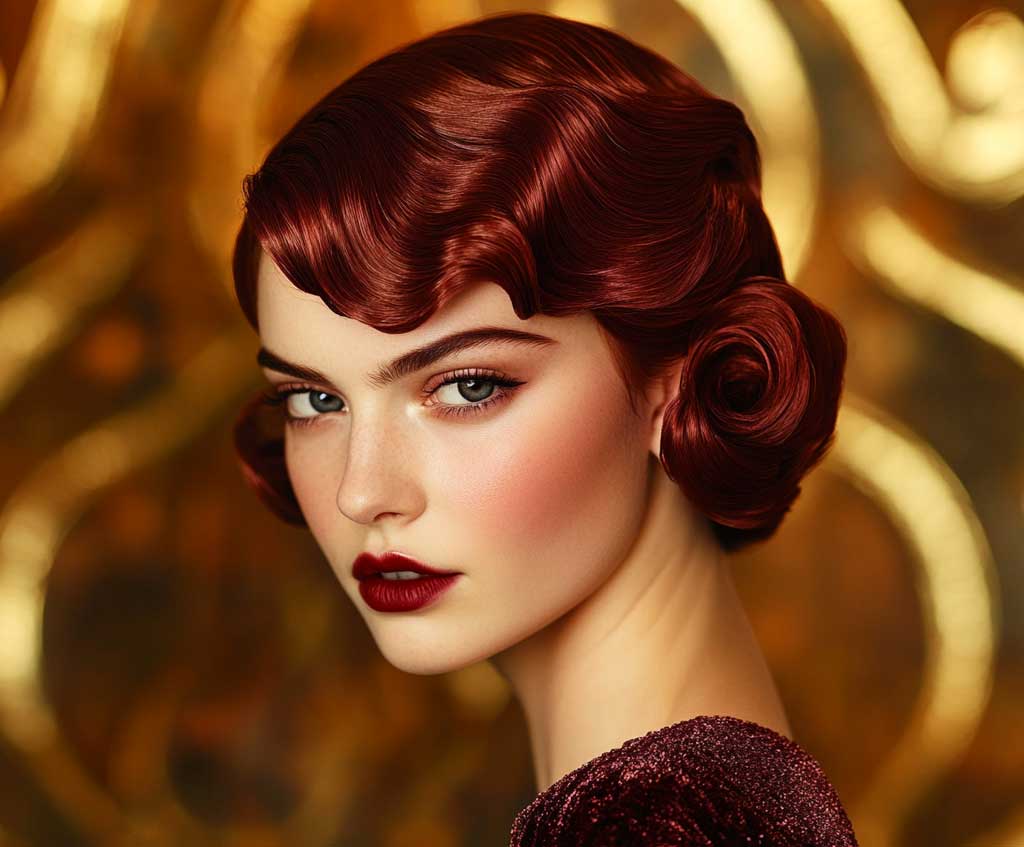
Use a color-safe styling gel for red-dyed hair — standard clear gels can shift red tones slightly brassy as they dry, which shows up as orange in photos rather than ruby. Kenra Platinum Silkening Mist ($22) layered under a color-protecting gel gives the waves a gloss that reads expensive. Sculpt each section methodically: asymmetrical waves here look like mistakes, not art. The S-pattern should be mirror-even from the part outward. Set under a hooded dryer at medium heat for 30 minutes, then let cool in clips for another 15 before releasing — skipping the cool-down phase is where most people lose definition.
What doesn’t work with ruby red waves? A bright jewel-toned gown in the same family — emerald against ruby reads Halloween, not 1920s glamour. Your safest pairings are black velvet, ivory silk, or deep navy. Gold jewelry reads right against red hair in a way silver doesn’t; silver pulls the look toward cooler territory and undercuts the warmth you built in the waves. For more vintage party hairstyle ideas across different decades, these 1960s vintage party hairstyles cover everything from bouffants to flips that pair beautifully with a similar retro aesthetic.
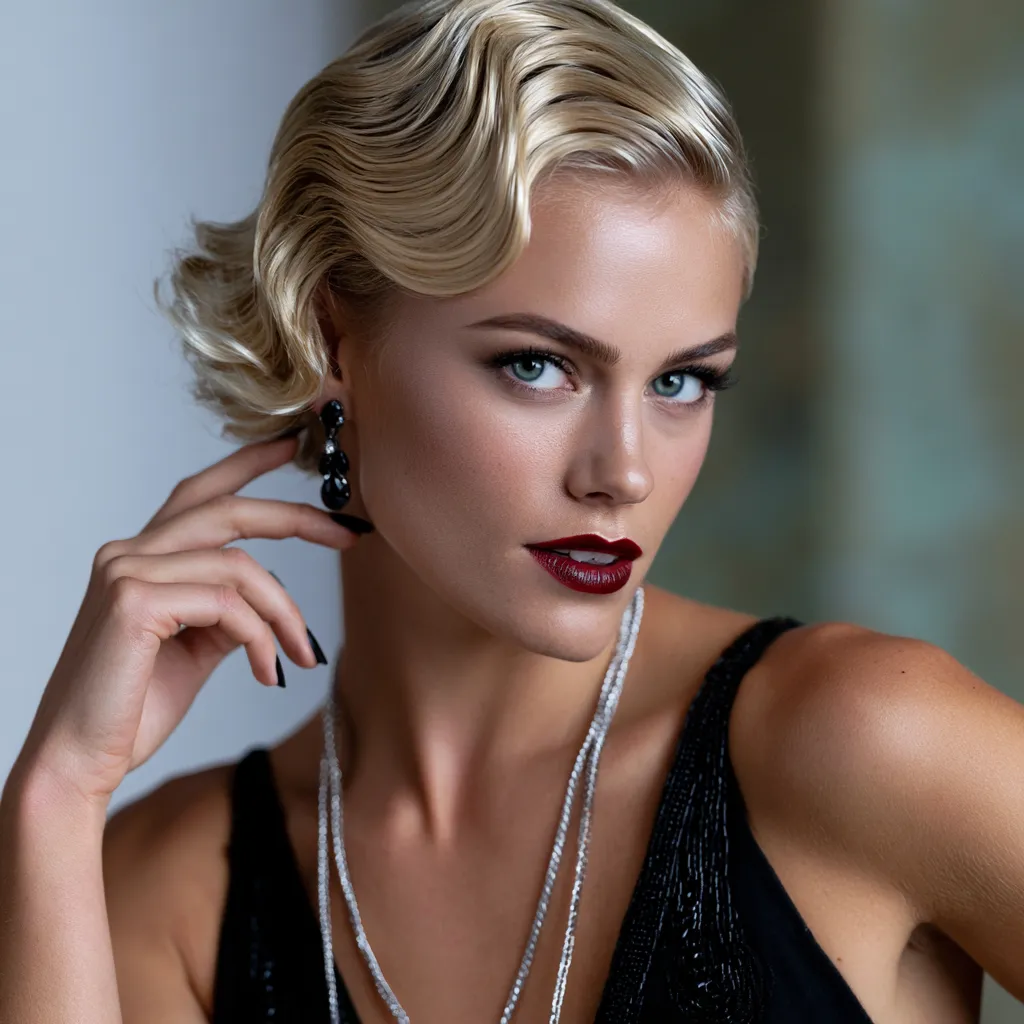
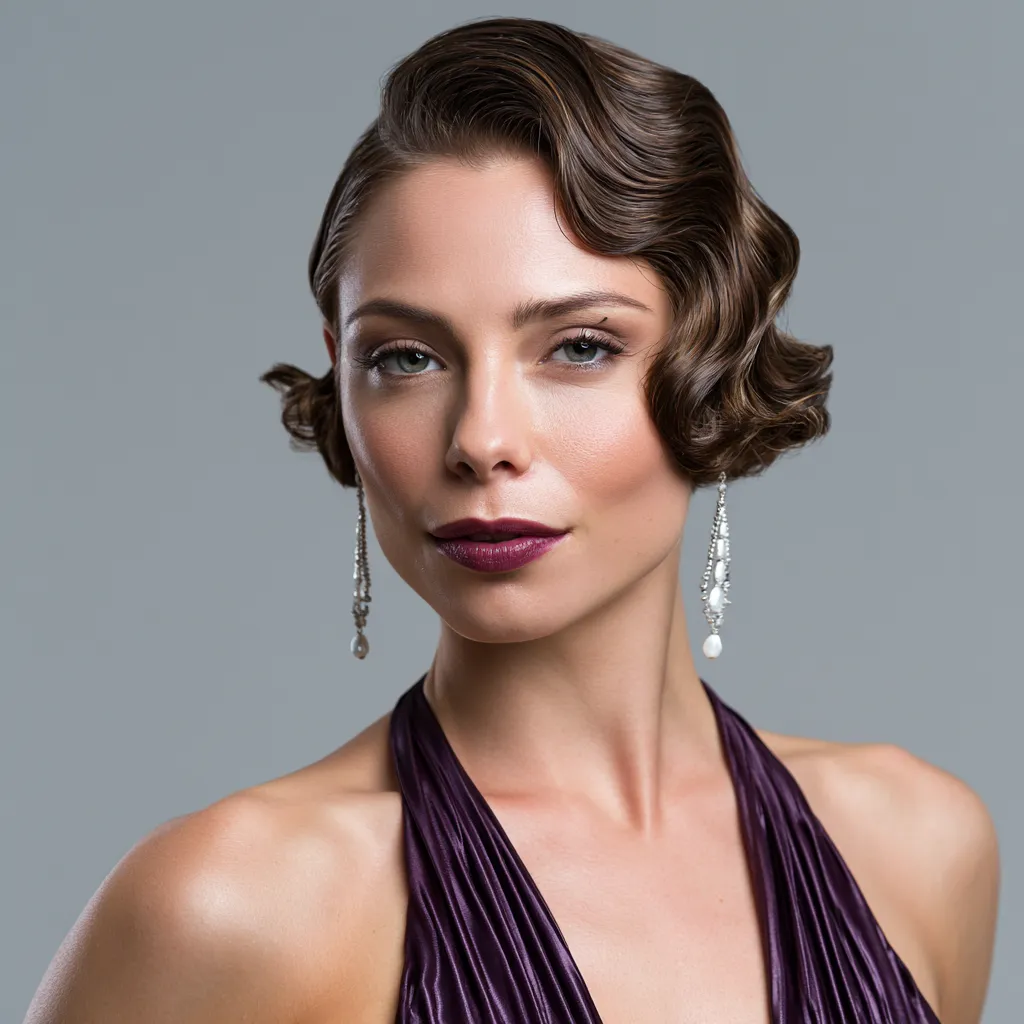
Shimmering Platinum Waves Flip the 1920s Reference Without Losing the Structure
Platinum finger waves short hair are the version that makes stylists stop and ask what you did. The metallic tone amplifies every ridge in the wave pattern — the light catches the high points and the shadow falls into the valleys, making the S-shape look three-dimensional instead of flat. It’s the same optical principle as highlighting furniture to show carving; the pale base color does the work that darker tones can’t. You need to be pre-lightened to at least a level 9 for the effect to register properly. Anything darker reads silver-grey rather than true platinum under event lights.

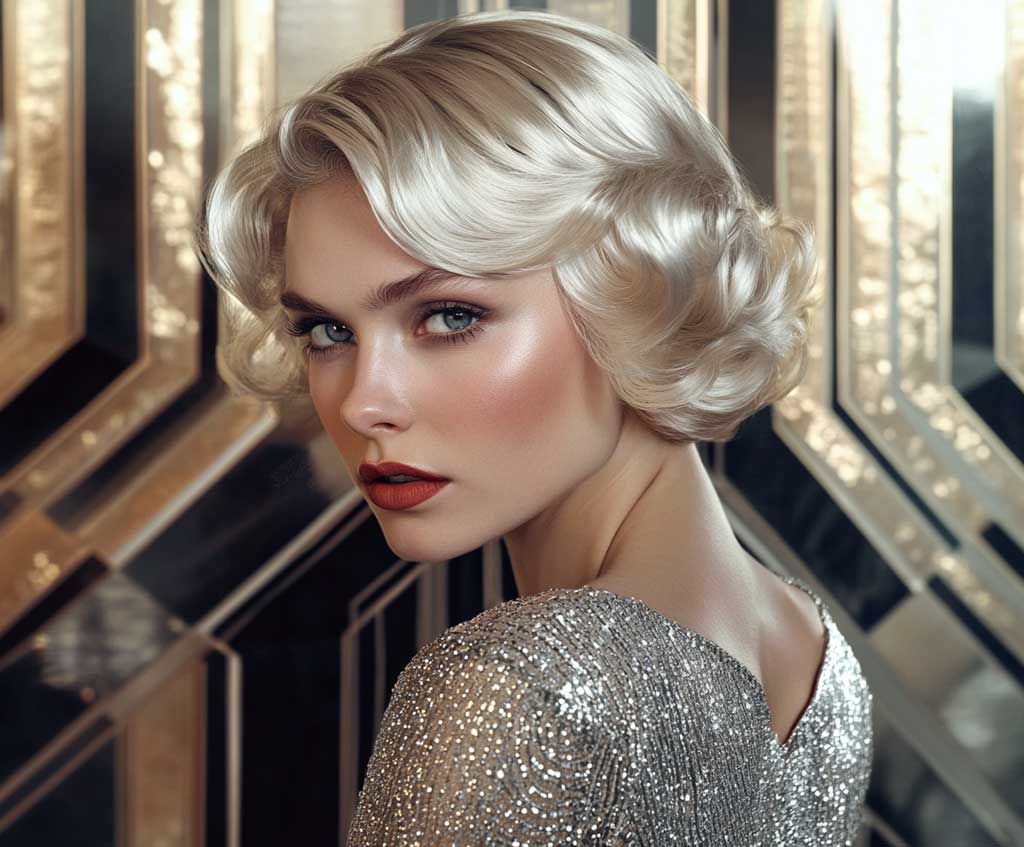

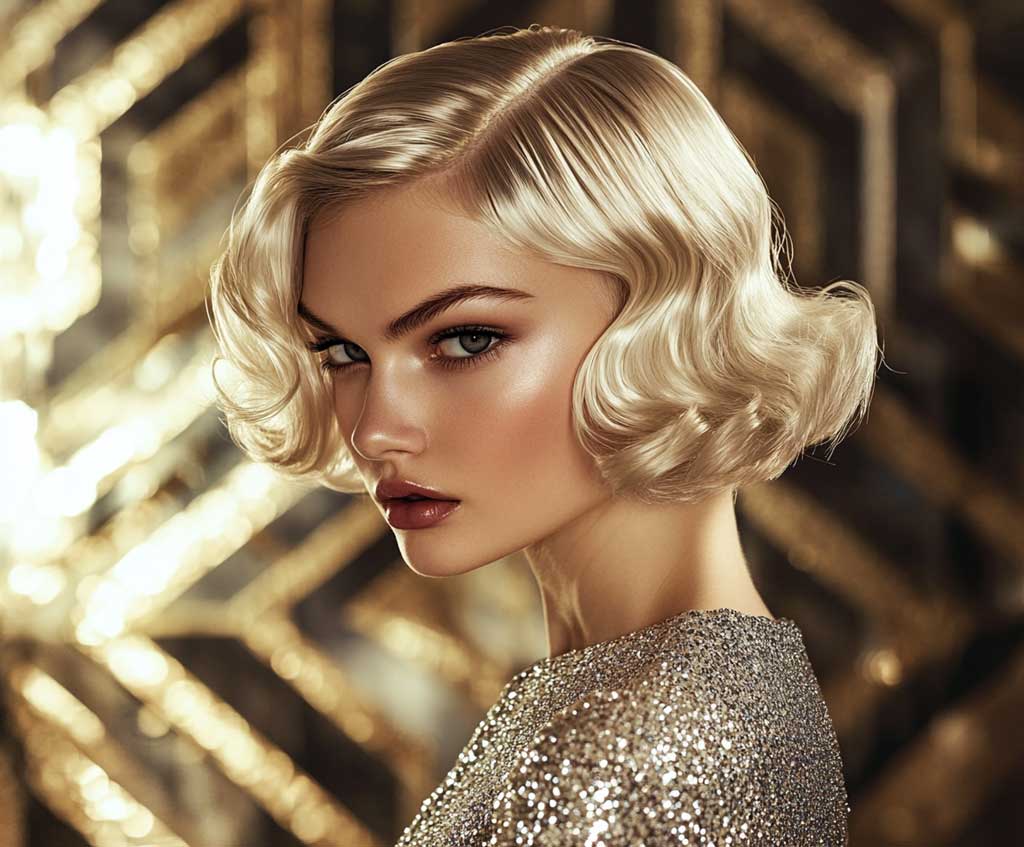
Use a high-hold mousse rather than gel on platinum hair — gel can leave a slight yellow cast on very pale hair as it dries, and that warmth works against the metallic read you want. Redken One United Multi-Benefit Treatment ($32) applied before the mousse keeps platinum from going brassy during the heat-setting phase. Sculpt the waves with the same finger-and-comb technique, but work in slightly smaller sections than you would on darker hair; platinum strands are typically finer and less forgiving of large, sloppy arcs. A shimmer spray once the waves are released adds the final luminous layer — OGX Luminescent Titanium Shimmer Spray ($10) works well without adding stiffness.
Pair platinum waves with a silver or gold sequined dress — not both metals at once. Silver sequins make the platinum hair look intentional; gold sequins create a warm contrast that photographs like old Hollywood. Diamond or crystal studs, not hoops. Hoops shift the proportion of the look toward modern and undercut the 1920s reference you’ve built from the waves up. For more context on the original 1920s finger wave technique and how it differs from Hollywood waves and pin curl waves, this detailed breakdown by Vintage Hairstyling is the most accurate reference I’ve found.
Want a shorter prep-time version of the 1920s aesthetic? The 6 easy 1920s hairstyles for the Jazz Age covers the side-parted bob, pinned curls, and wavy chin-length looks that require zero gel-setting time — useful if you’re doing your own hair the morning of the event.
Vintage Waves Short Hair
The hair that photographs like you had a lighting crew. No crew required.
Jet black, ruby red, platinum — the color changes the mood, the technique stays the same. Wet set, sculpt with your fingers, dry under tension, release. That’s it.
The mistakes that ruin it are always the same: hair too dry when you start, gel too flexible to hold, clips removed too early. Avoid those three and the waves hold from pre-party to last dance.
Save this post before your next themed event — the technique takes two tries to master and you’ll want the reference on your phone.