Modern fire pit ideas have quietly taken over outdoor design, and once you see a well-placed concrete bowl anchoring a patio, you can’t unsee it. I’ve spent two seasons testing different setups — from stacked stone rings to prefab propane tables — and the gap in visual impact is not small. Your backyard stops being a leftover space and starts being the room you actually use. That shift happens faster than any landscaping project I’ve tried.
The three approaches covered here — rustic stone, contemporary concrete, and DIY brick — each have a distinct personality. Picking the wrong one for your yard is the most common mistake I see. A sleek, low-profile Corten steel fire pit looks incredible on a polished concrete deck and completely wrong next to a cottage garden.
Quick Scan
- Rustic stone fire pit — stacked field stone, $200–$600 DIY, suits wooded or cottage yards
- Modern concrete fire pit — circular or linear cast concrete, $800–$3,500, suits contemporary patios
- DIY brick fire pit — reclaimed brick build, $150–$400 materials, suits any informal garden
- 2026 trend — linear and hexagonal shapes, gas over wood, architectural hardscape framing
- Biggest mistake — placing a rustic pit on a clean modern patio, or a minimalist bowl in a garden without sightlines
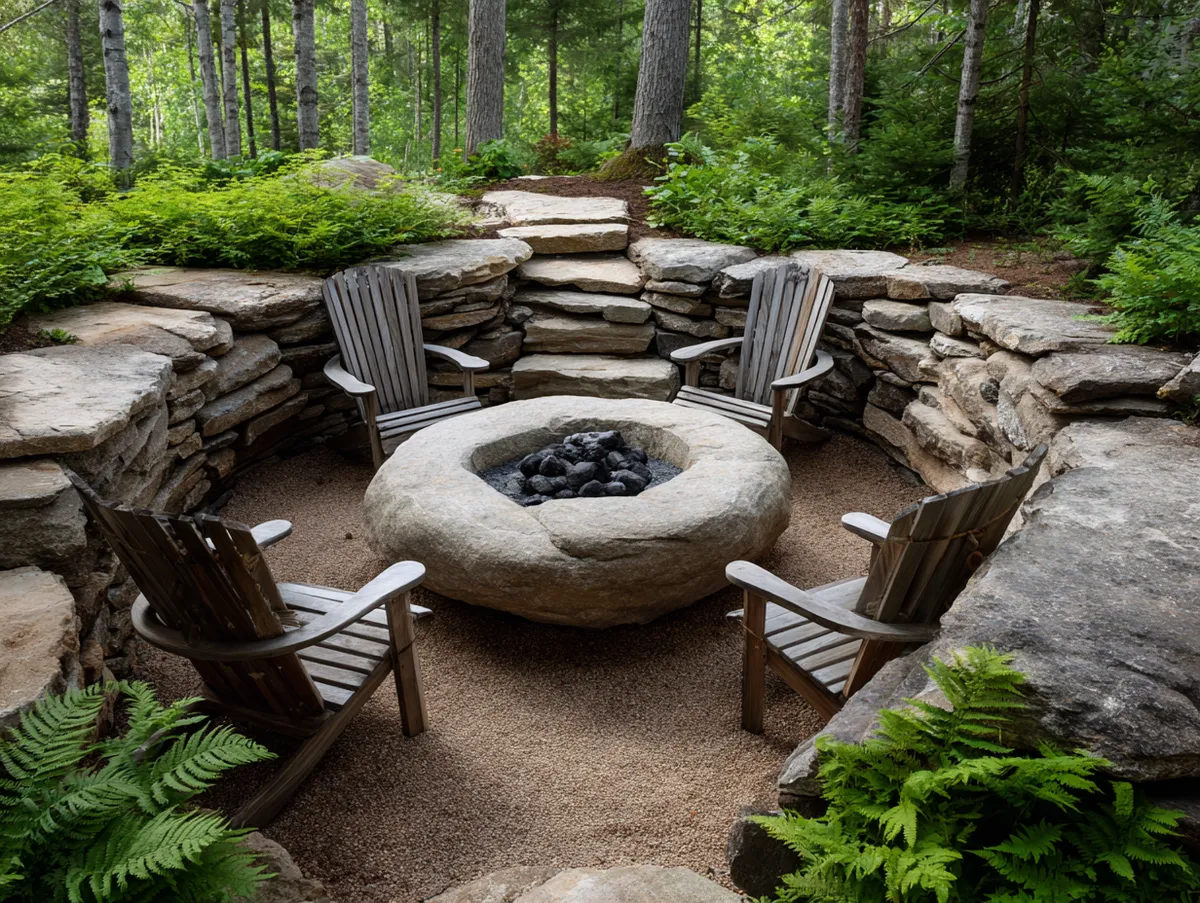
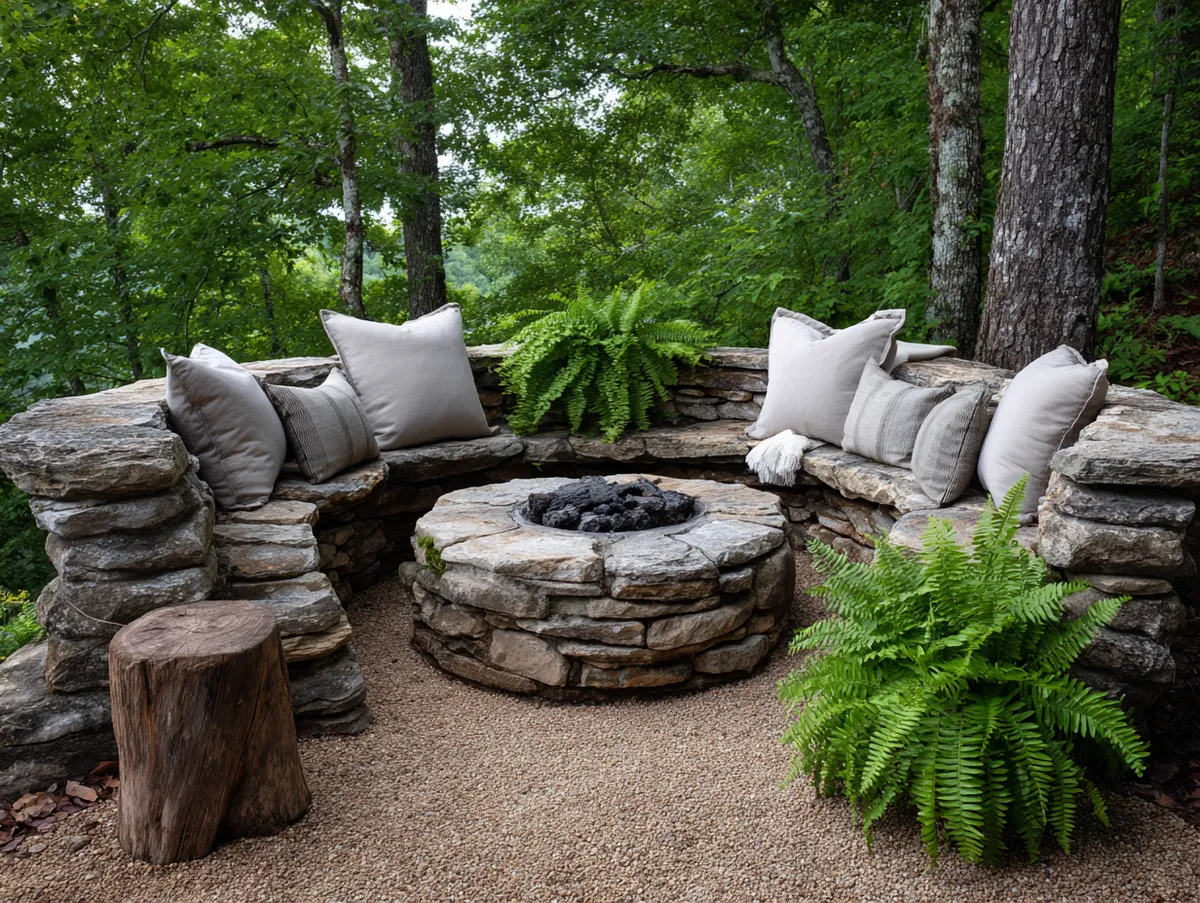
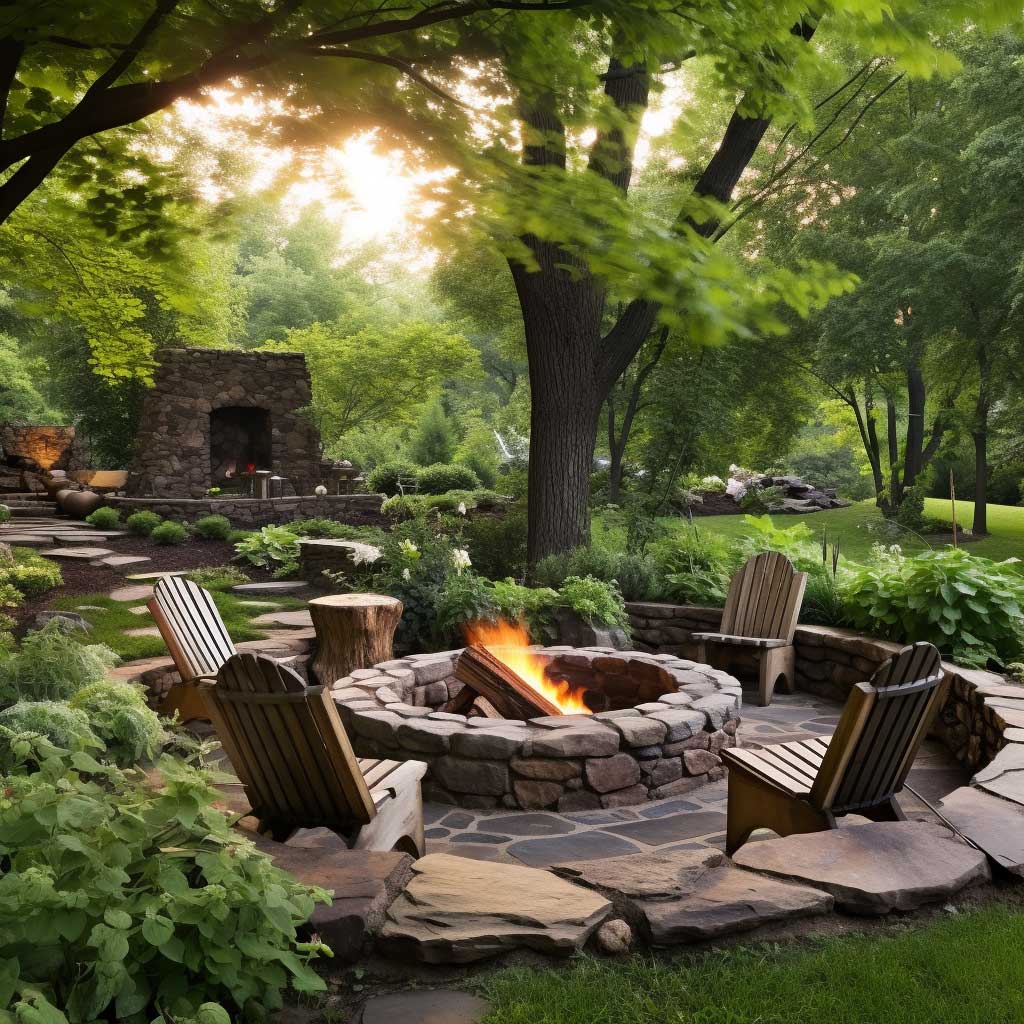
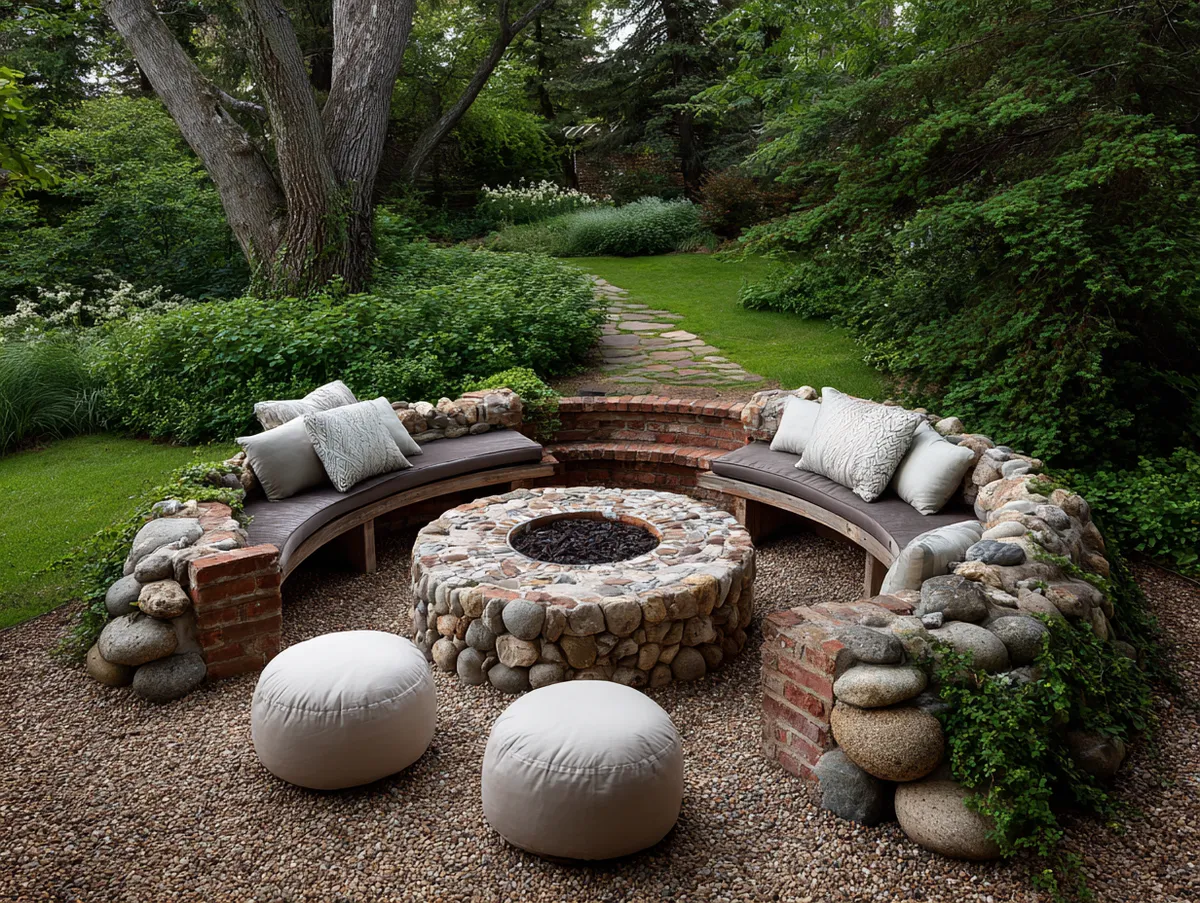
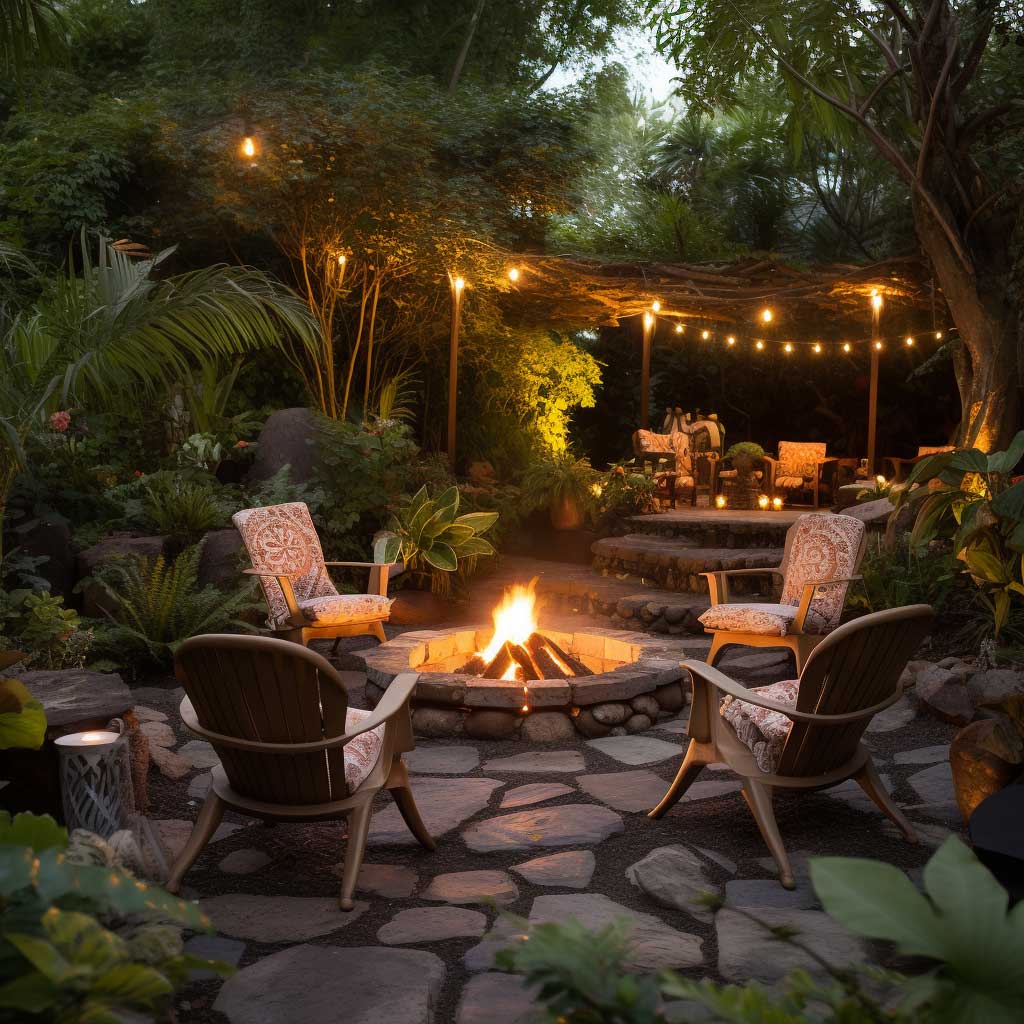
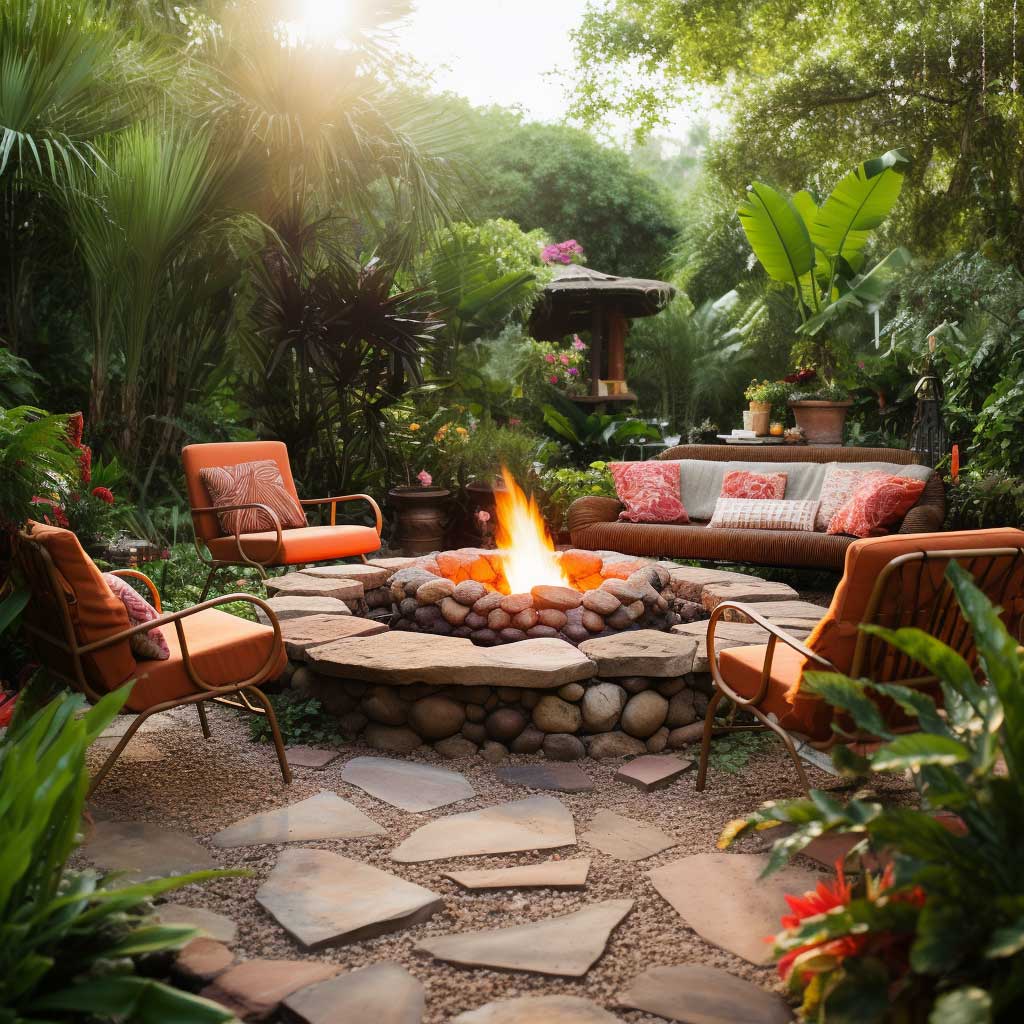
Stacked Stone Does Something No Prefab Kit Replicates
Field stone fire pits carry a weight that manufactured products can’t fake. I own two stacked-stone setups — one I built myself for around $280 in reclaimed granite, and one a landscaper installed for just over $600 — and both outlasted a cast iron bowl I spent $350 on. The key is the irregular silhouette: no two stones sit the same way, and that randomness reads as genuinely organic rather than decorative-rustic. You’ll notice how the gaps between stones hold light differently at dusk.
Don’t skip the gravel base. I did on my first build and the pit shifted over one winter — frost heave pushed two stones out of alignment. A 4-inch compacted gravel layer under the stone ring fixes that permanently. It’s the step every YouTube tutorial glosses over.
Aged wooden log seating around a rustic pit looks cohesive, but untreated logs rot in two seasons in wet climates. My go-to fix is cedar rounds sealed with outdoor oil — around $12 per log at most lumber yards. They look identical to raw wood and last five times longer. Avoid pressure-treated lumber near open flame entirely.

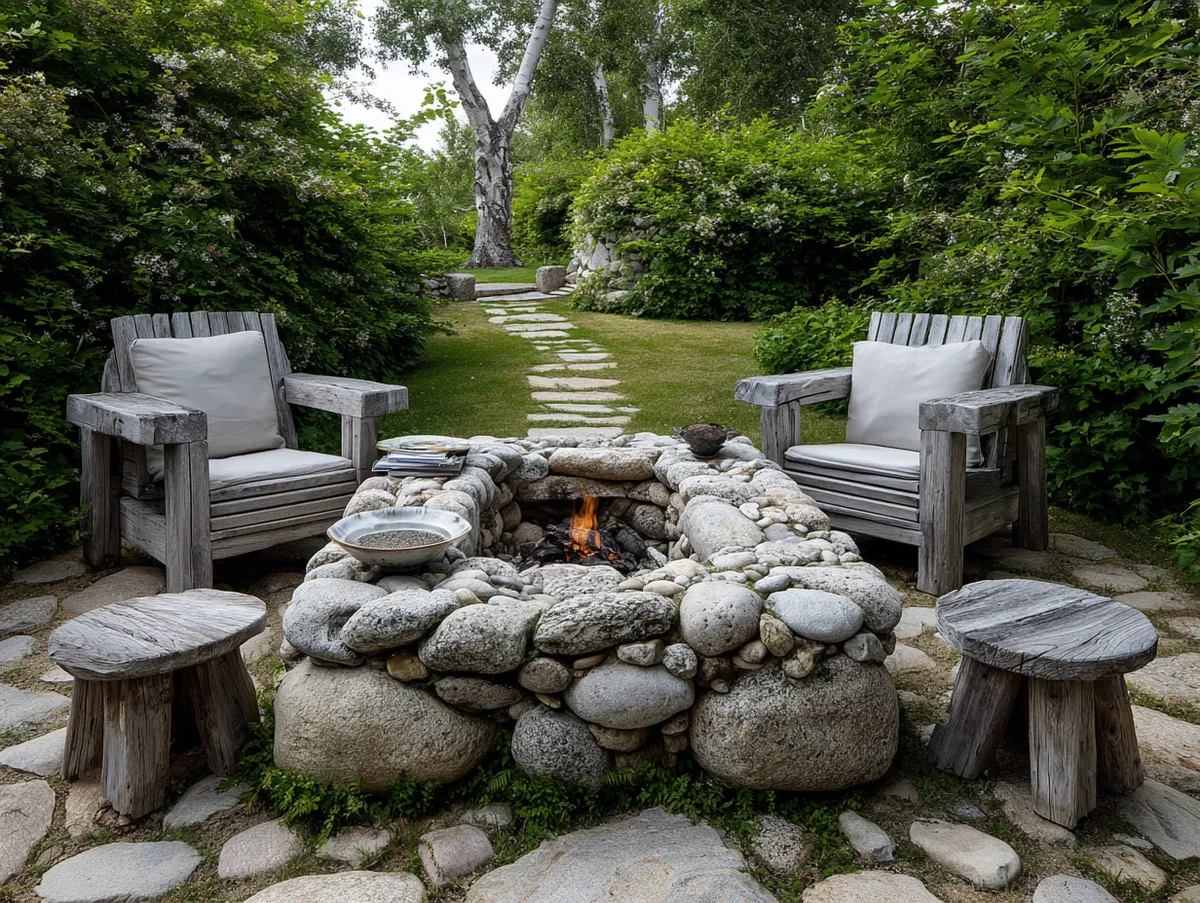
What doesn’t work: river rock. It looks beautiful in the store and terrible on a fire pit. The smooth, rounded surface means stones shift constantly and the uniform shape kills the organic appeal entirely. I wasted a weekend on a river-rock ring before tearing it down and using quarried fieldstone instead. Save river rock for garden borders.
Rustic fire pits double as a functional grill when you add a cast iron grate across the opening — the Lodge 10.5″ grill grate runs about $30 and sits perfectly across a standard 36-inch pit diameter. It turns your fire into a direct-heat cooking surface on the same evening you light it.
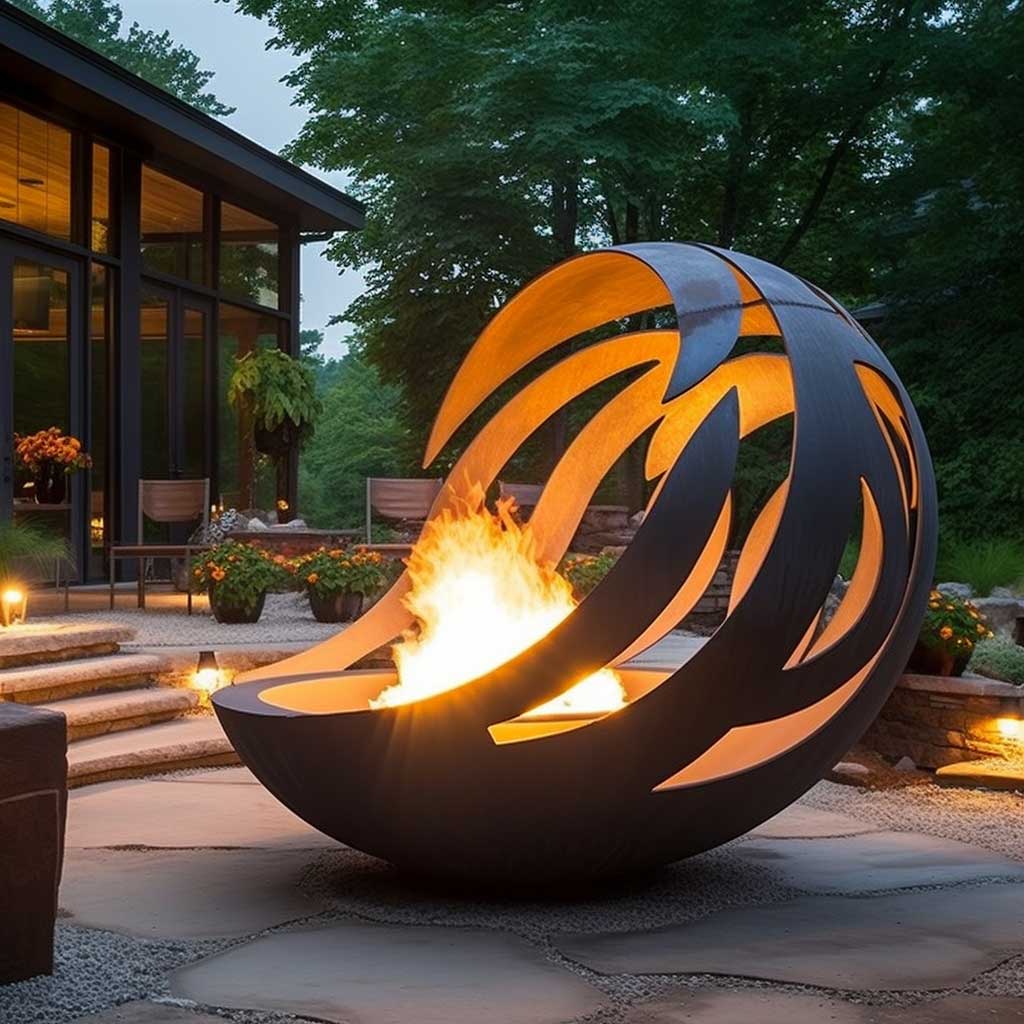
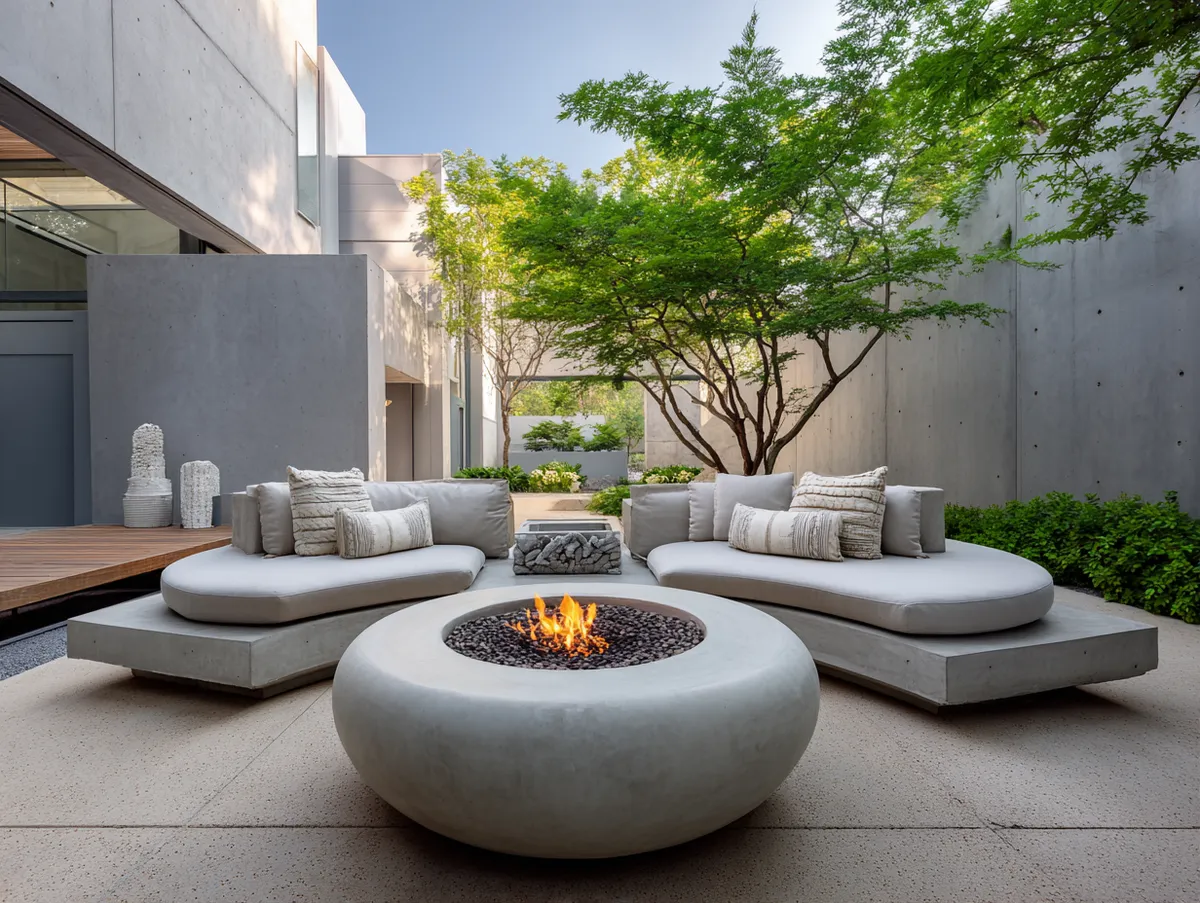
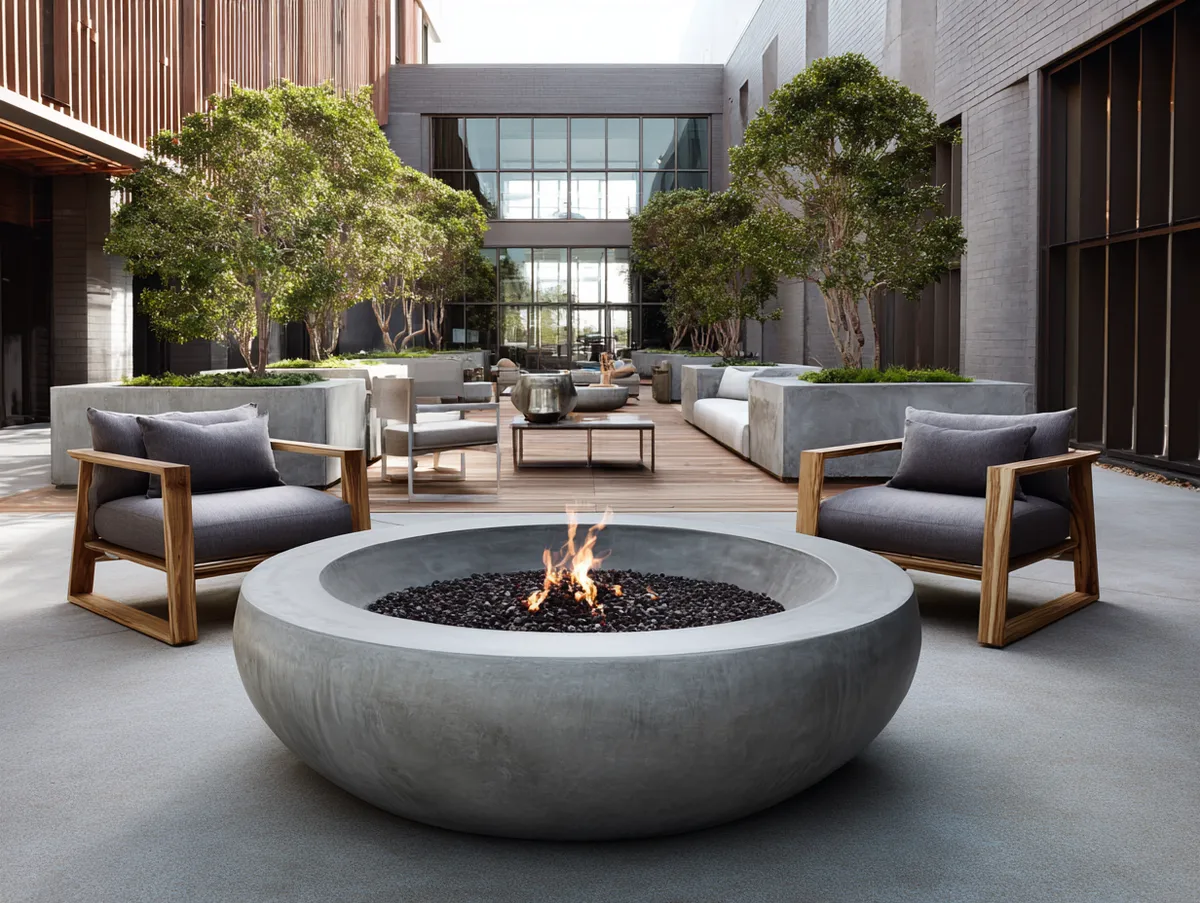
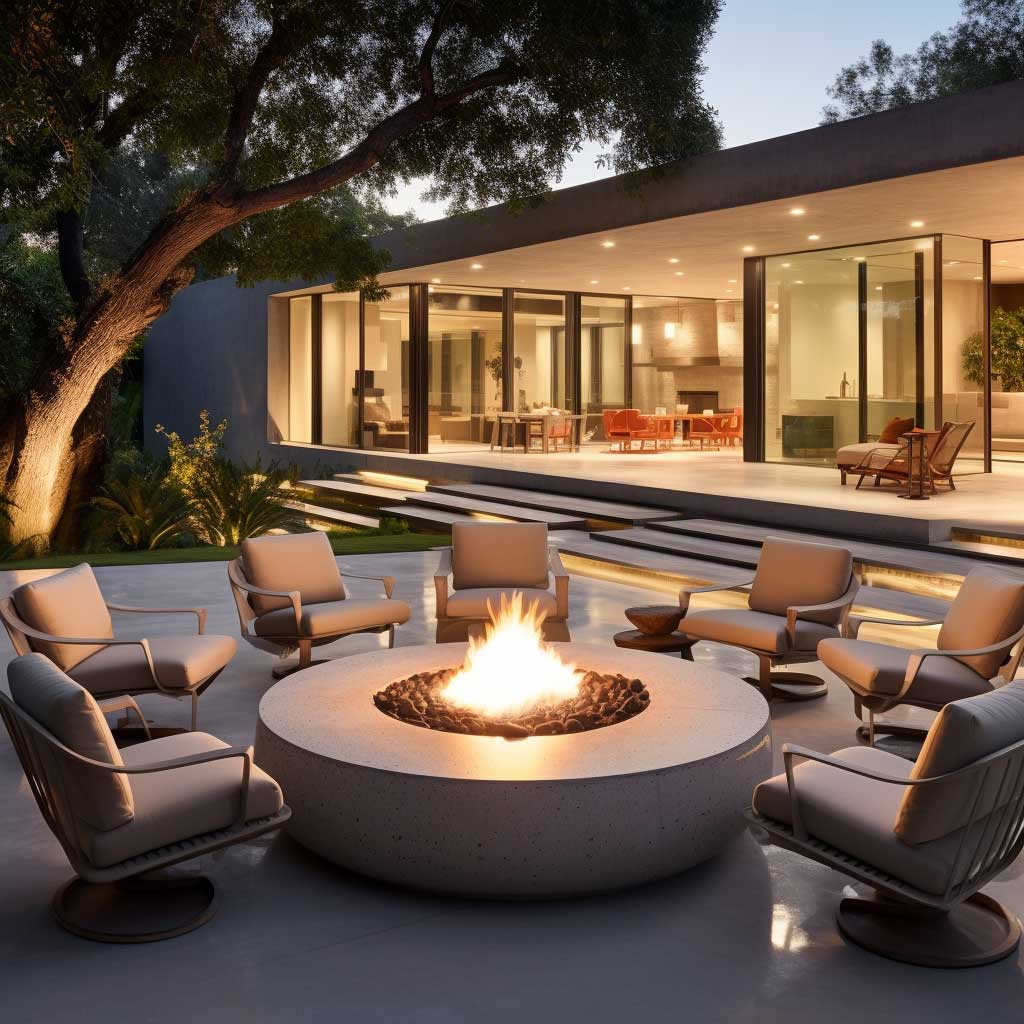
Circular Concrete Fire Pits Photograph Like Architecture
Contemporary and modern fire pit ideas built from cast concrete occupy a specific visual register — they look less like backyard furniture and more like permanent outdoor architecture. The AK47 Design Ercole in grey concrete starts at $13,640 and is genuinely beautiful, but you can get 90% of that look from a local concrete fabricator for $900–$1,400 in a custom 48-inch diameter bowl. I stole this trick from a landscape architect: ask for a broom-finish top edge rather than polished — it catches less glare in daylight photography and ages better outdoors.
The concrete’s thermal mass is both an asset and a liability. It holds heat for 45 minutes after the fire dies, which is genuinely pleasant on a cool evening. It also cracks if water pools inside and freezes — a drainage hole at the base, 1.5 inches diameter, solves this completely. Skip this step and you’ll have a hairline crack by spring in any climate below 25°F.
Don’t Do This
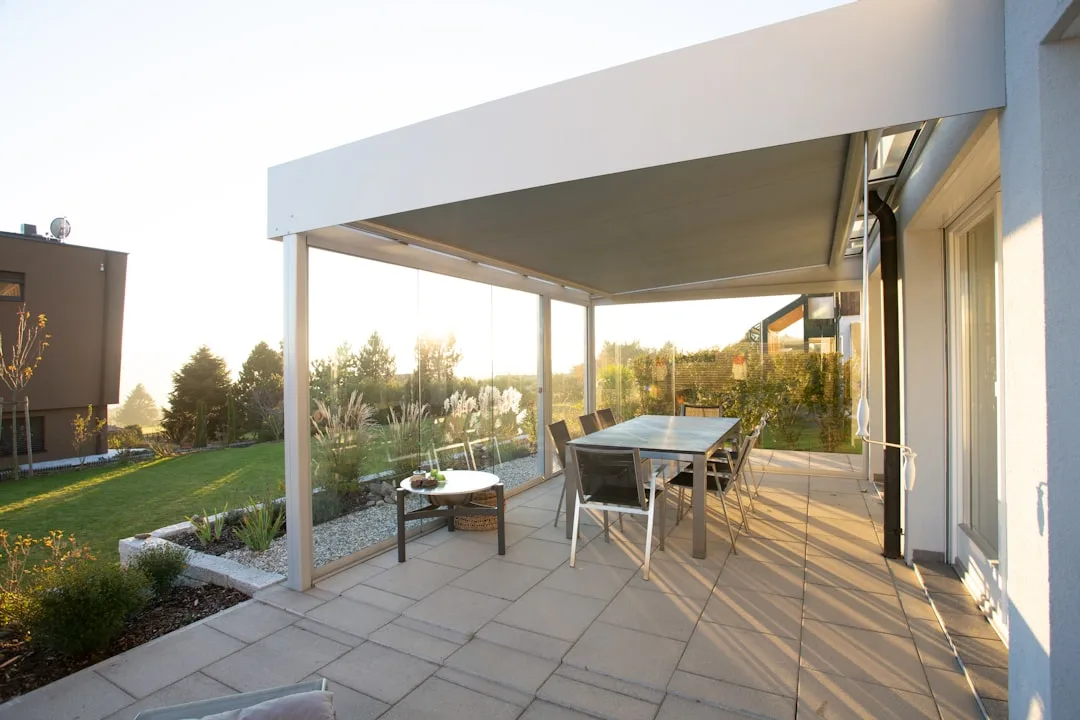
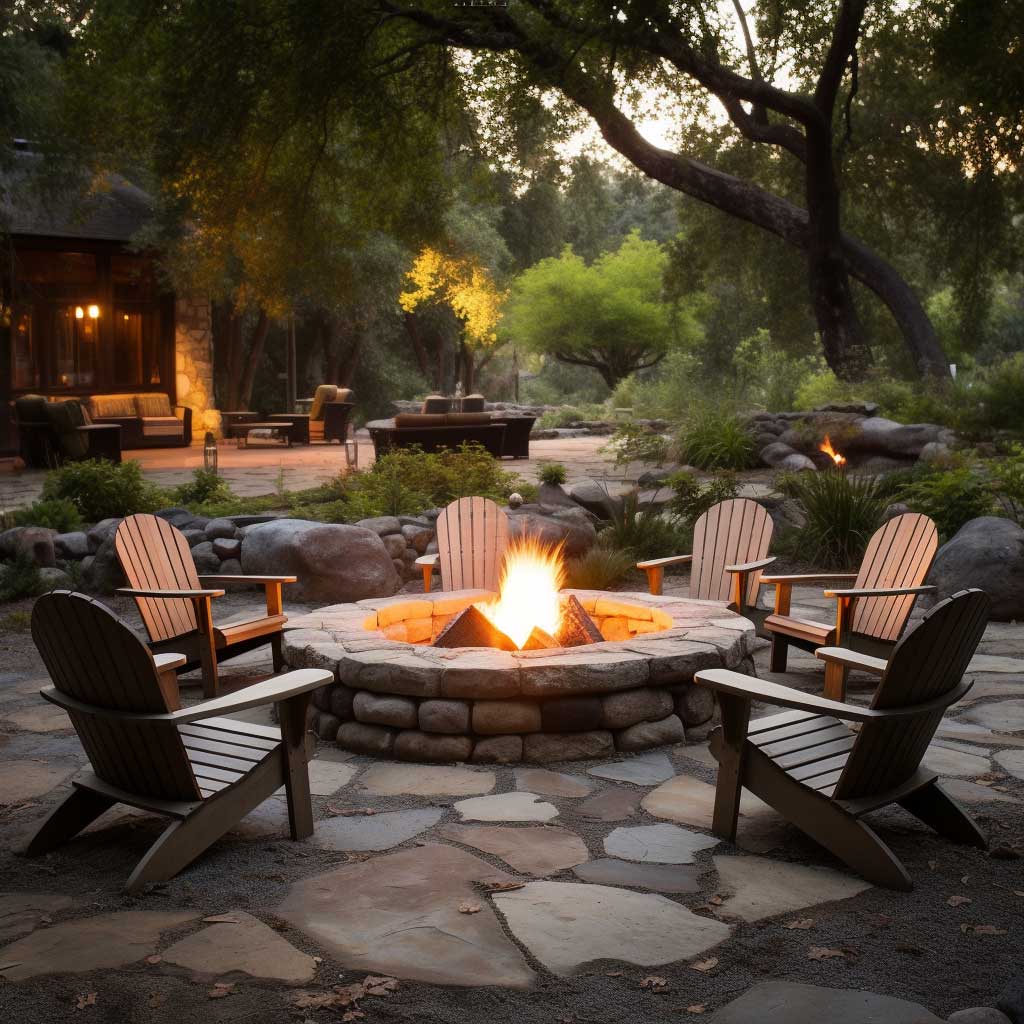
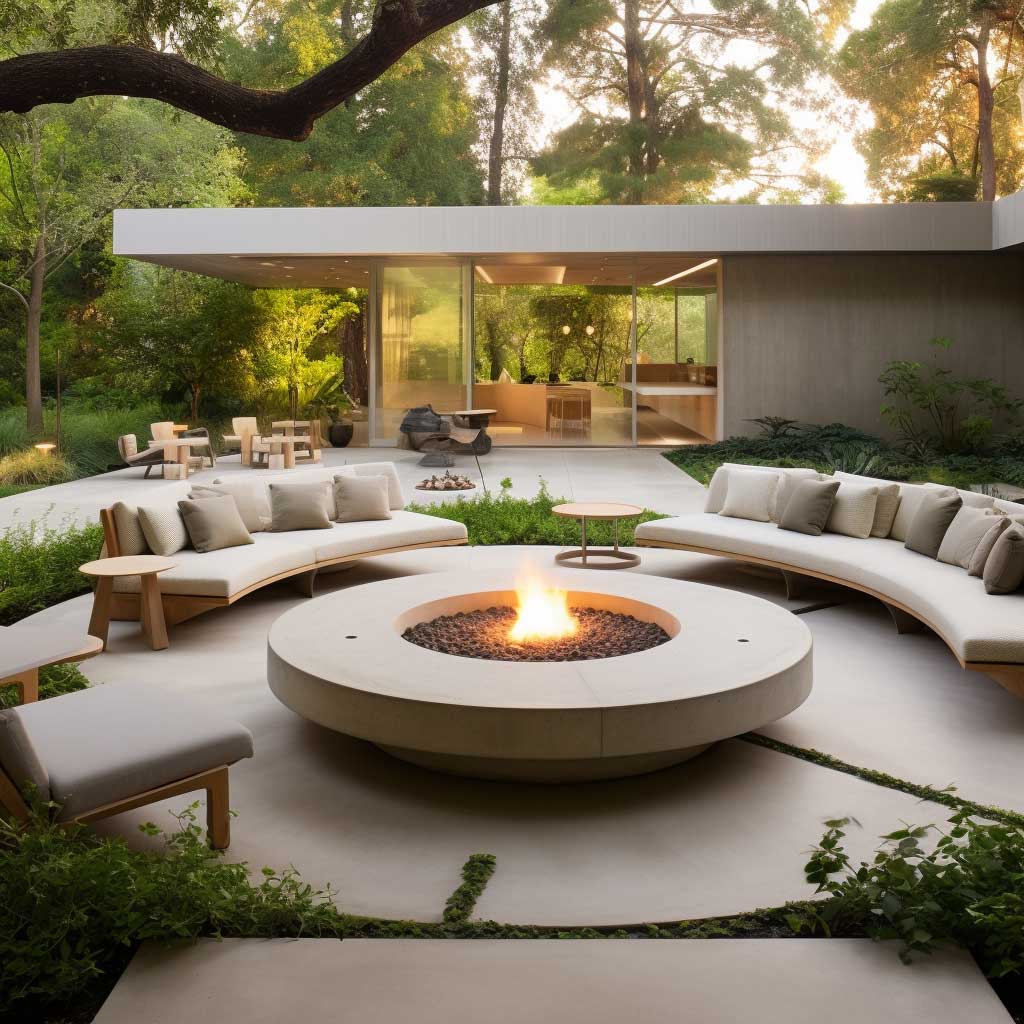
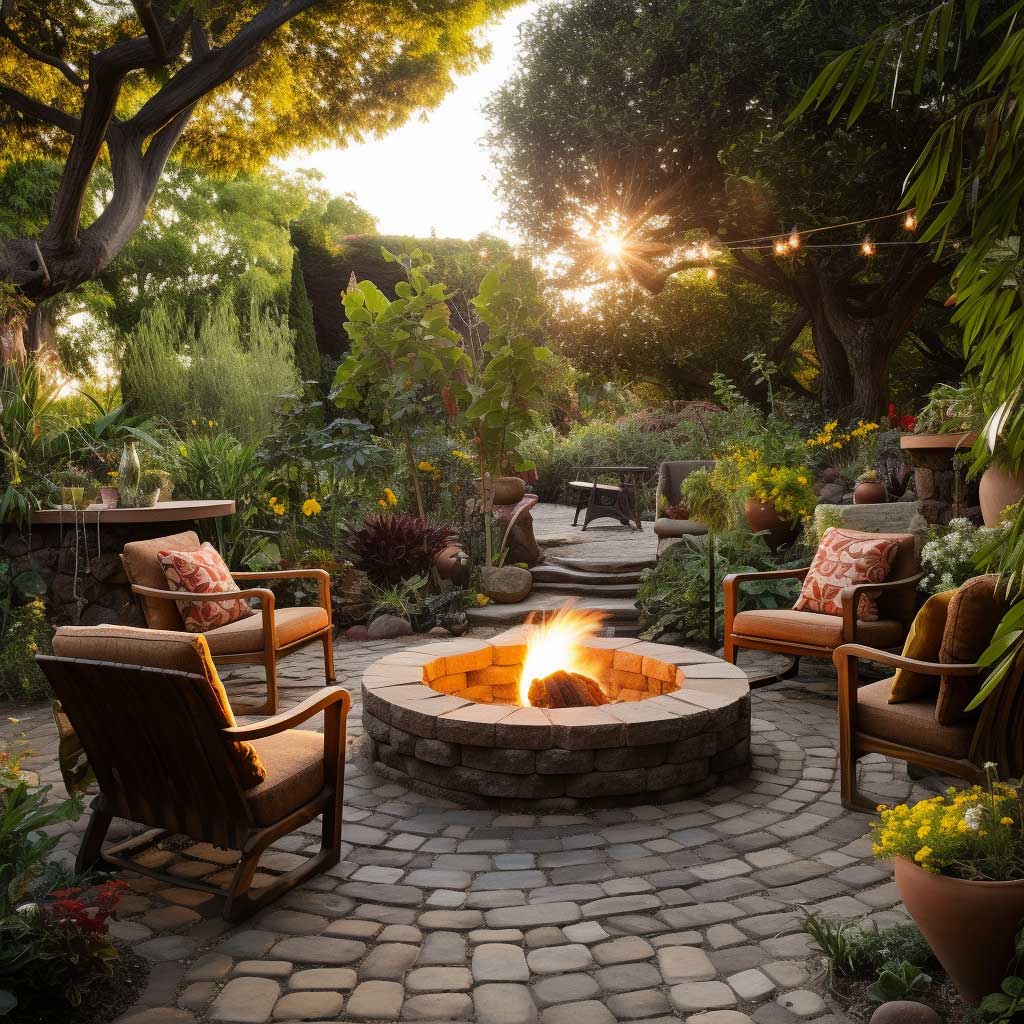
Don’t place a circular concrete fire pit without a defined sightline. I’ve seen dozens of patios where a beautiful $1,200 concrete bowl sits awkwardly in the middle of the yard with no seating geometry around it. The fire itself is striking, but the arrangement feels like furniture waiting to be moved. Anchor it with four identical chairs at compass points, or a low curved bench on one side — the shape needs a counterpart. An isolated concrete circle just looks like a planter someone forgot to fill.
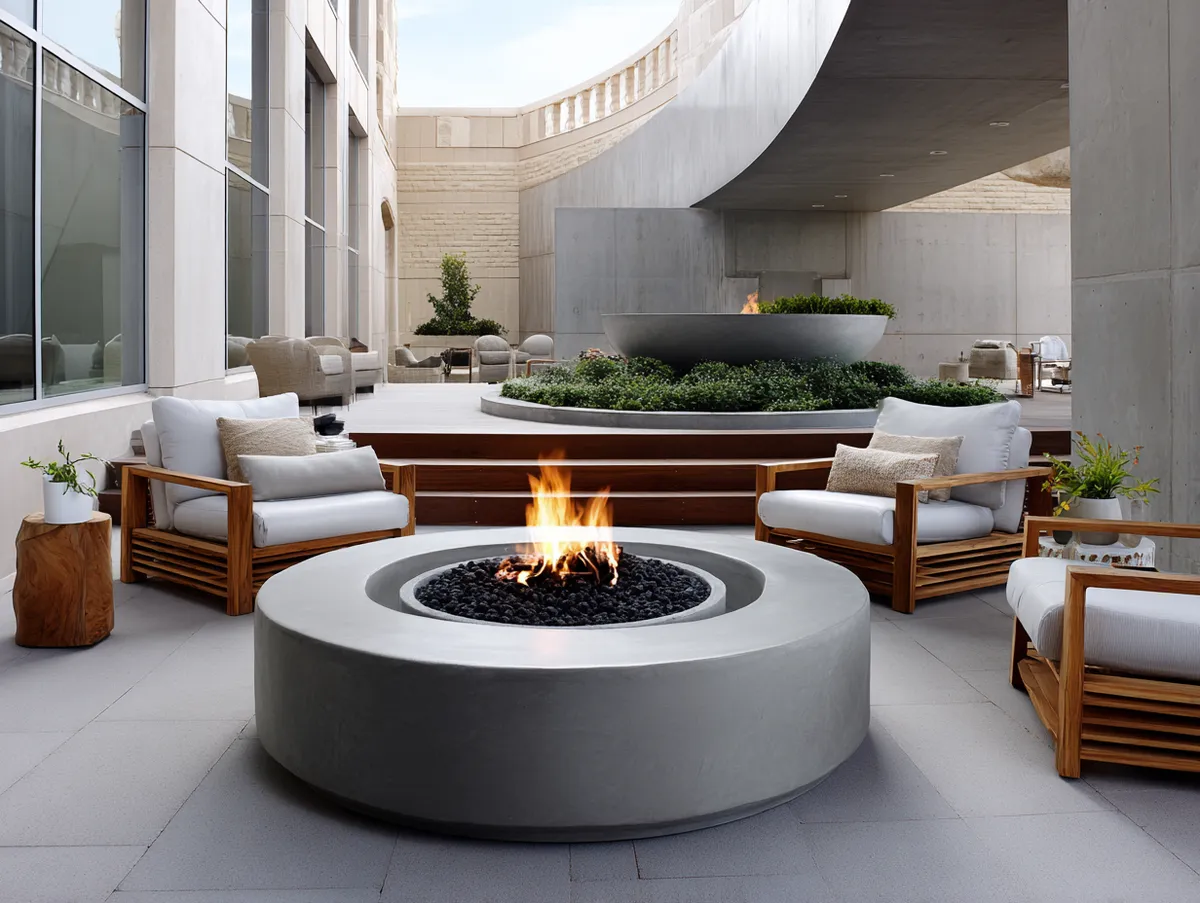
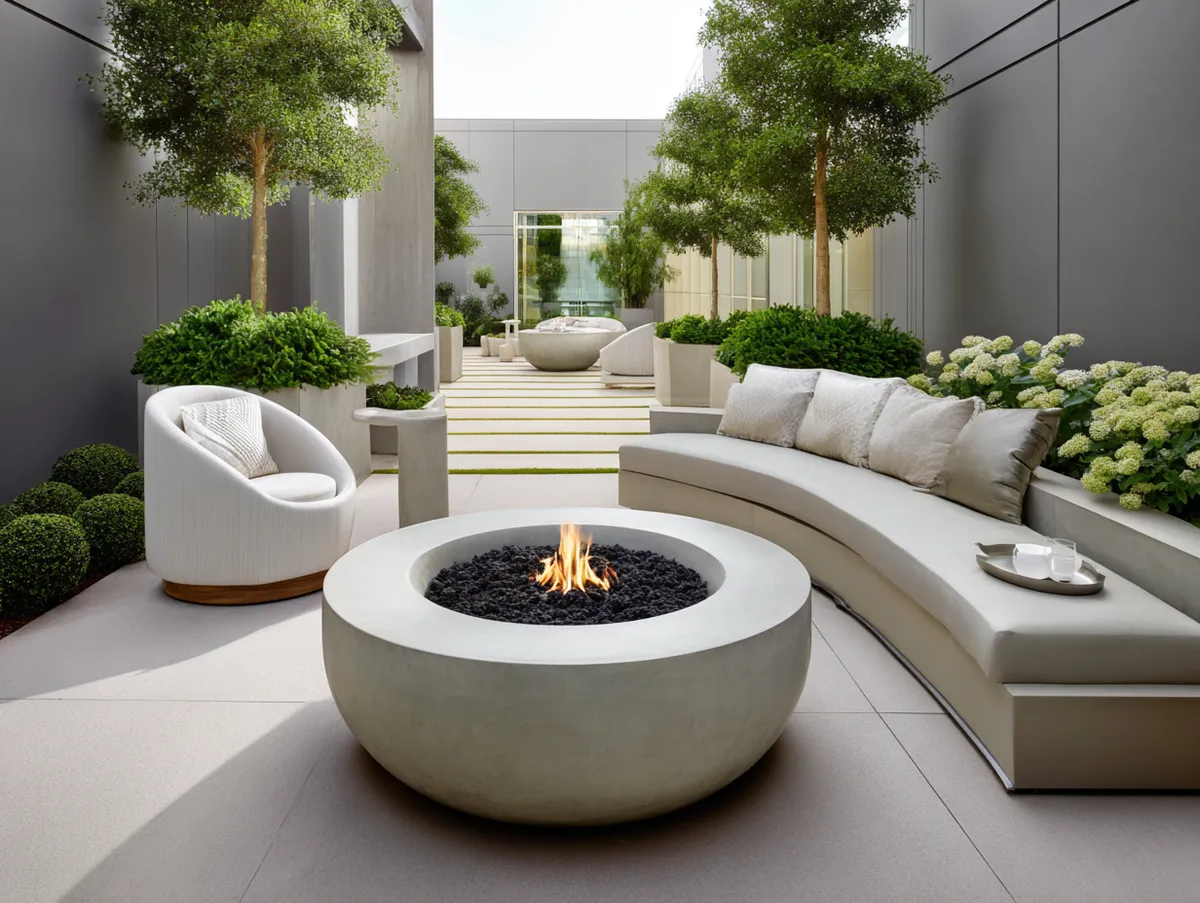
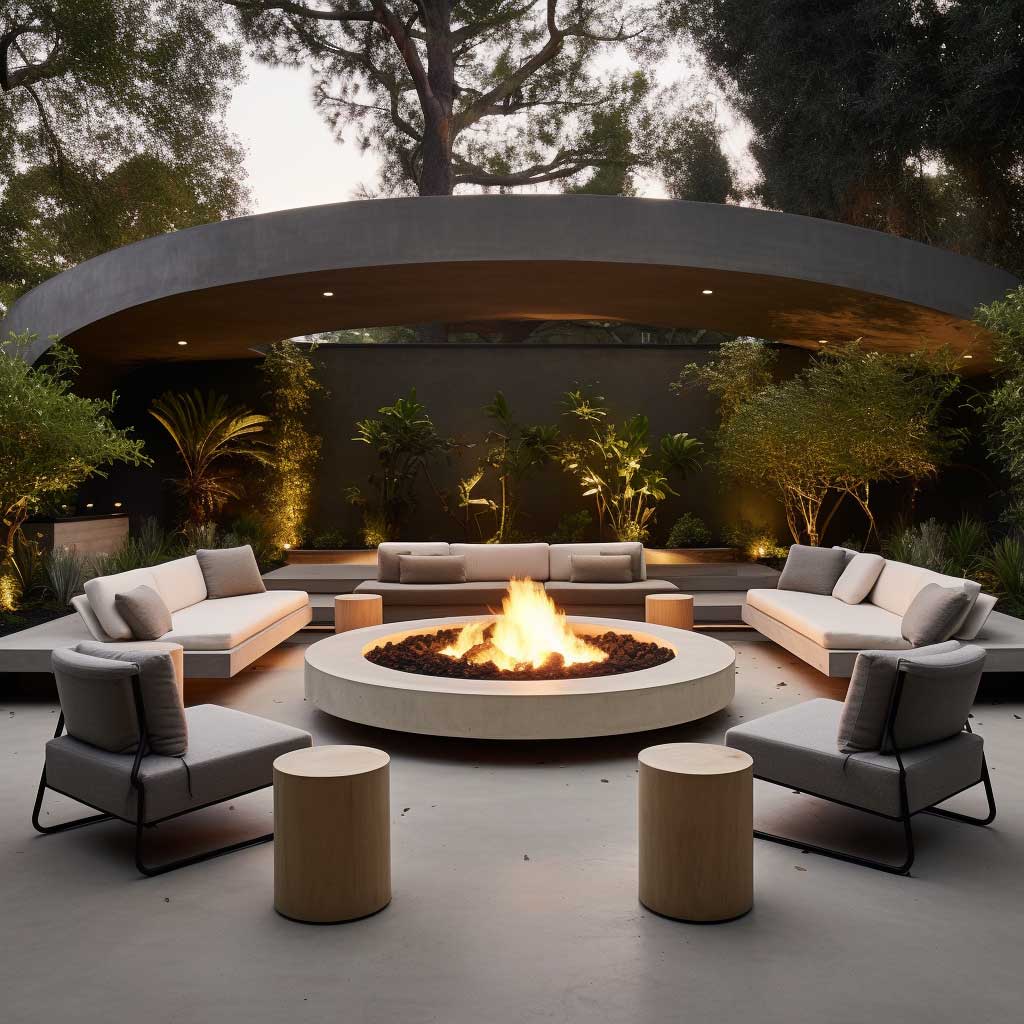
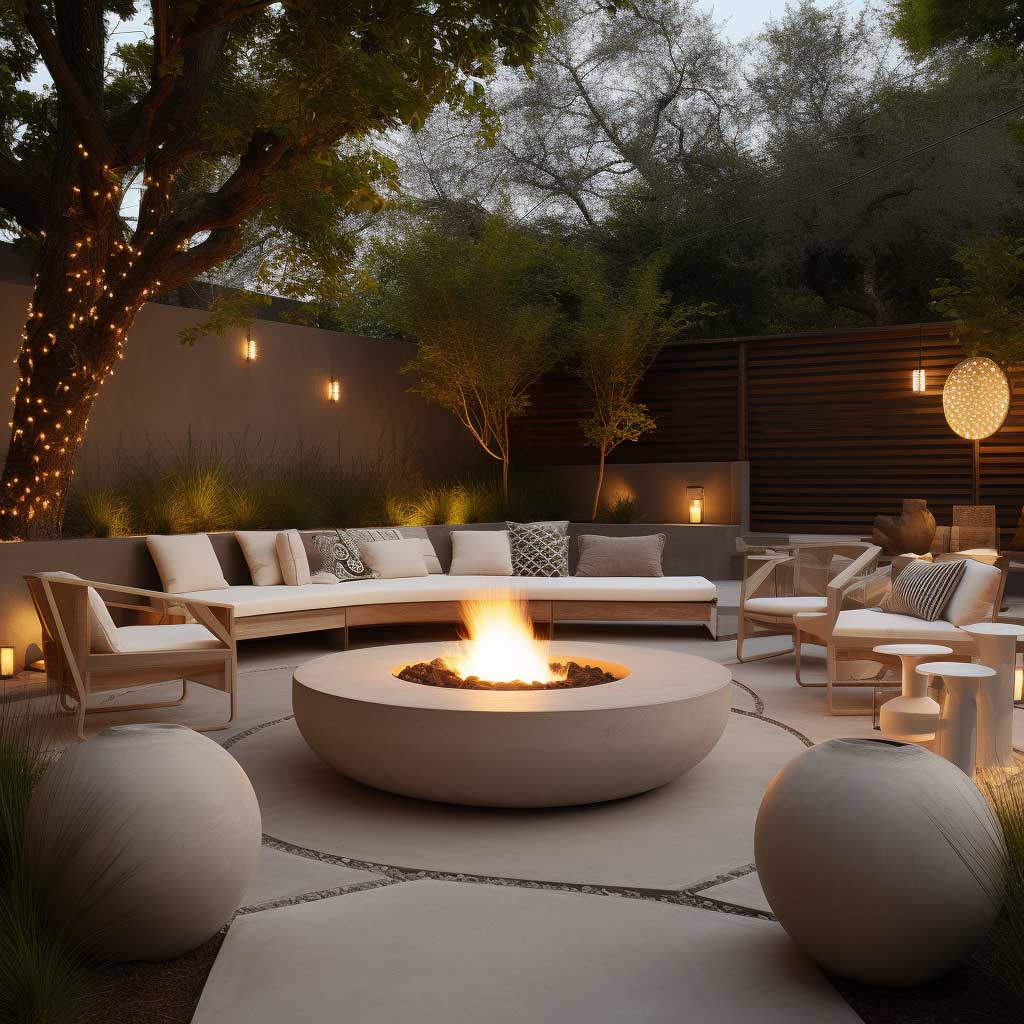
String lights overhead ruin the effect. You’ll notice that the best concrete fire pit installations use low-profile path lights at ground level or nothing at all — the flame is already the light source. Overhead cafe lights reintroduce the visual clutter the concrete design was supposed to remove.
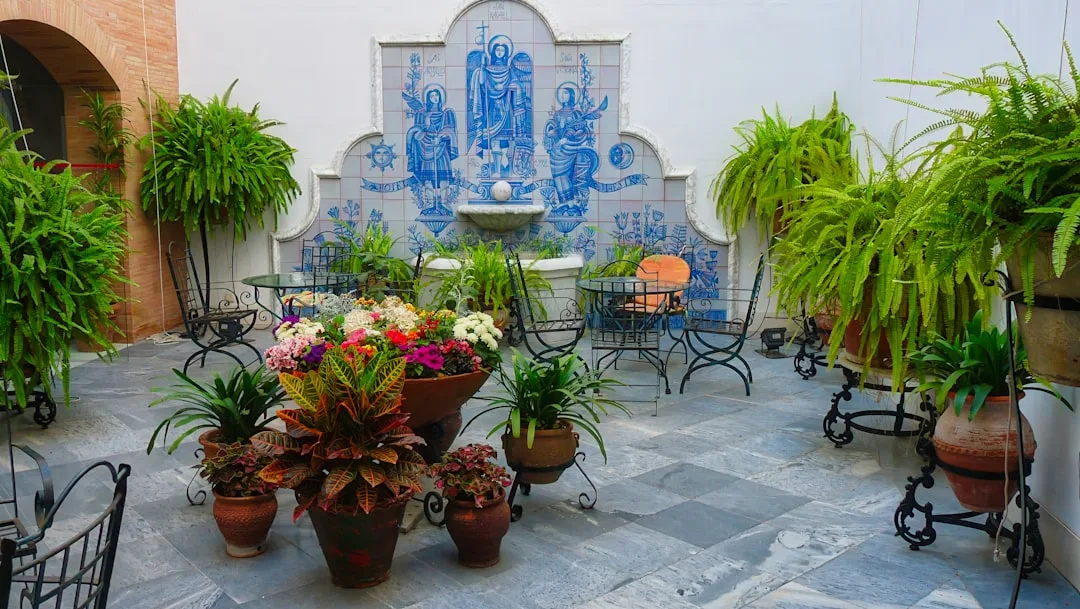
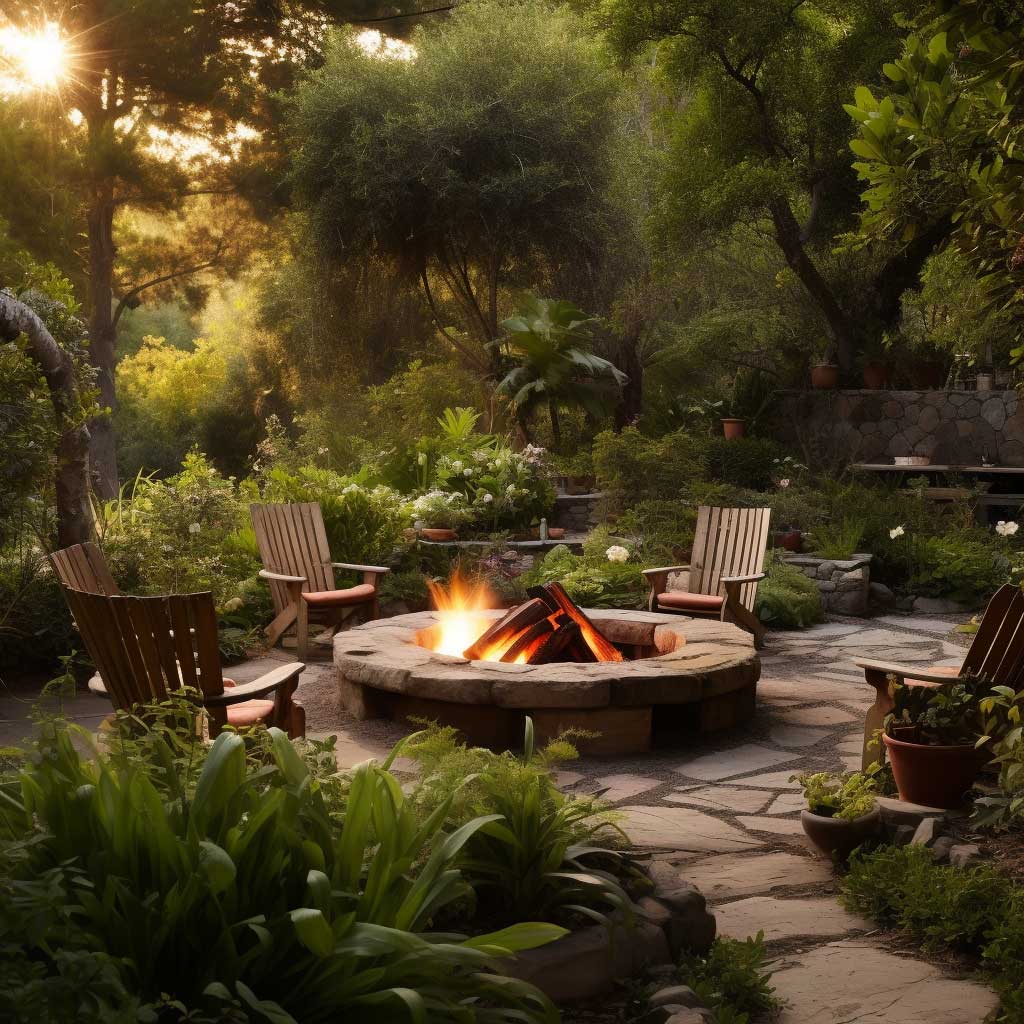
For outdoor fire feature design that needs to work on a covered patio or courtyard, gas is mandatory — a garden patio with good spatial framing amplifies a clean concrete fire feature dramatically better than an open lawn placement. A linear gas insert inside a concrete trough runs around $1,800 installed and gives you precise flame height control without smoke.
For a deep dive into how contemporary fire pits fit into full outdoor room designs, Houzz’s modern outdoor fire pit gallery is the most useful reference I’ve found — real projects, real dimensions, real material specs.
A Brick Fire Pit Built by Hand Reads Differently Than Any Bought One
Reclaimed brick fire pits have a handmade quality that no catalog product matches — and the budget difference is dramatic. My brick-and-mortar build cost $165 in materials: reclaimed Chicago common brick at $0.35 each, a bag of refractory mortar ($28), and a cast iron grate ($30). Compare that to the $450–$800 range for a mid-tier prefab steel fire pit that’ll rust through in four years. Brick, laid properly, lasts decades.
Use refractory mortar, not standard mortar. Standard mortar spalls badly above 1,000°F — you’ll see cracks in the first season. Refractory (also called fireclay mortar) is rated to 2,000°F and costs about $18 per bag at any masonry supply. One bag handles a standard 36-inch circular pit with material to spare.


The design mistake I see most often with DIY brick pits is building the wall too high. Anything above 14 inches restricts airflow and creates a smoky fire that drives everyone back from the heat. Keep the wall height between 10 and 12 inches — the fire burns cleaner and the radiant heat actually reaches the people sitting around it. Think of the pit wall as a frame, not a container.
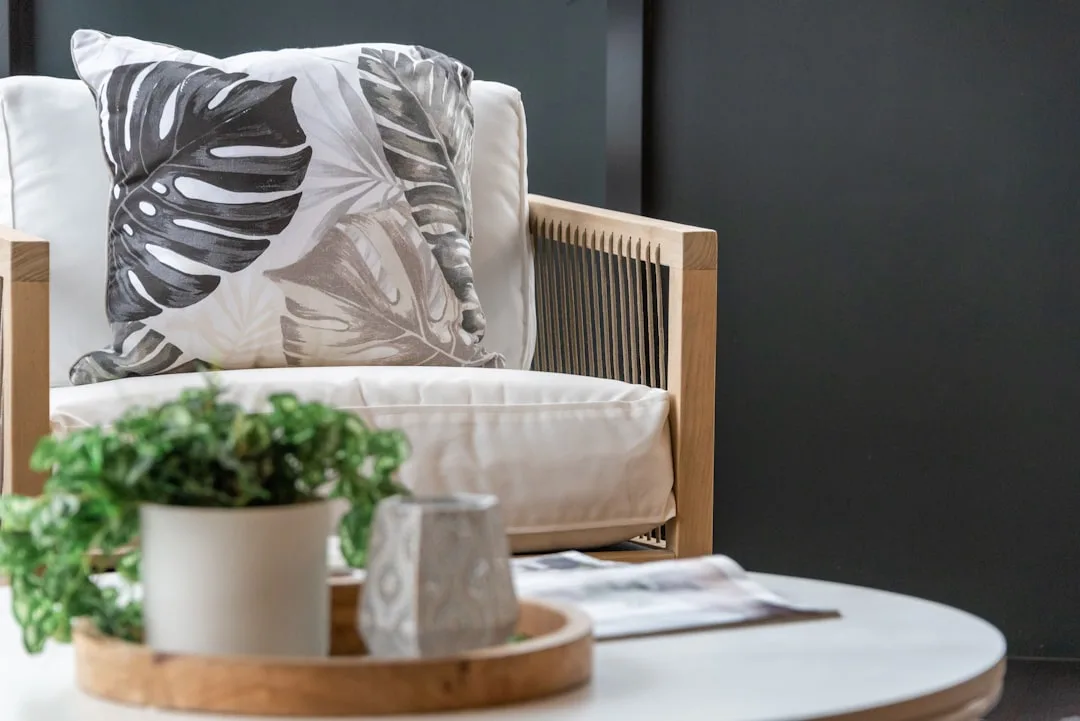
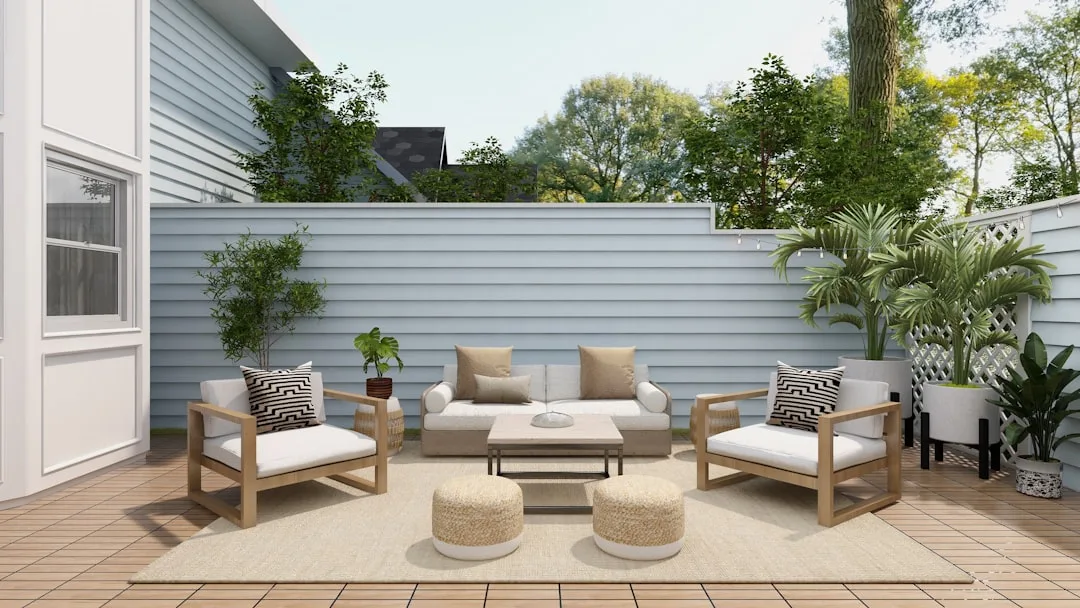
Seating matters as much as the pit itself. Floor cushions work for one warm season before the moisture destroys them. My actual recommendation is powder-coated steel chairs in the $120–$200 range per piece — CB2’s Rocha collection or the IKEA Jutholmen at $80 each. Both hold up outdoors year-round and their low profiles keep the brick pit as the visual center rather than competing with it.
If you want the full picture on building a backyard that works for entertaining, the seating and lighting decisions around a fire pit are just as important as the pit material itself. A DIY brick build in a well-designed yard looks intentional. The same build with mismatched plastic chairs looks like a renovation project that ran out of budget.
Outdoor Design
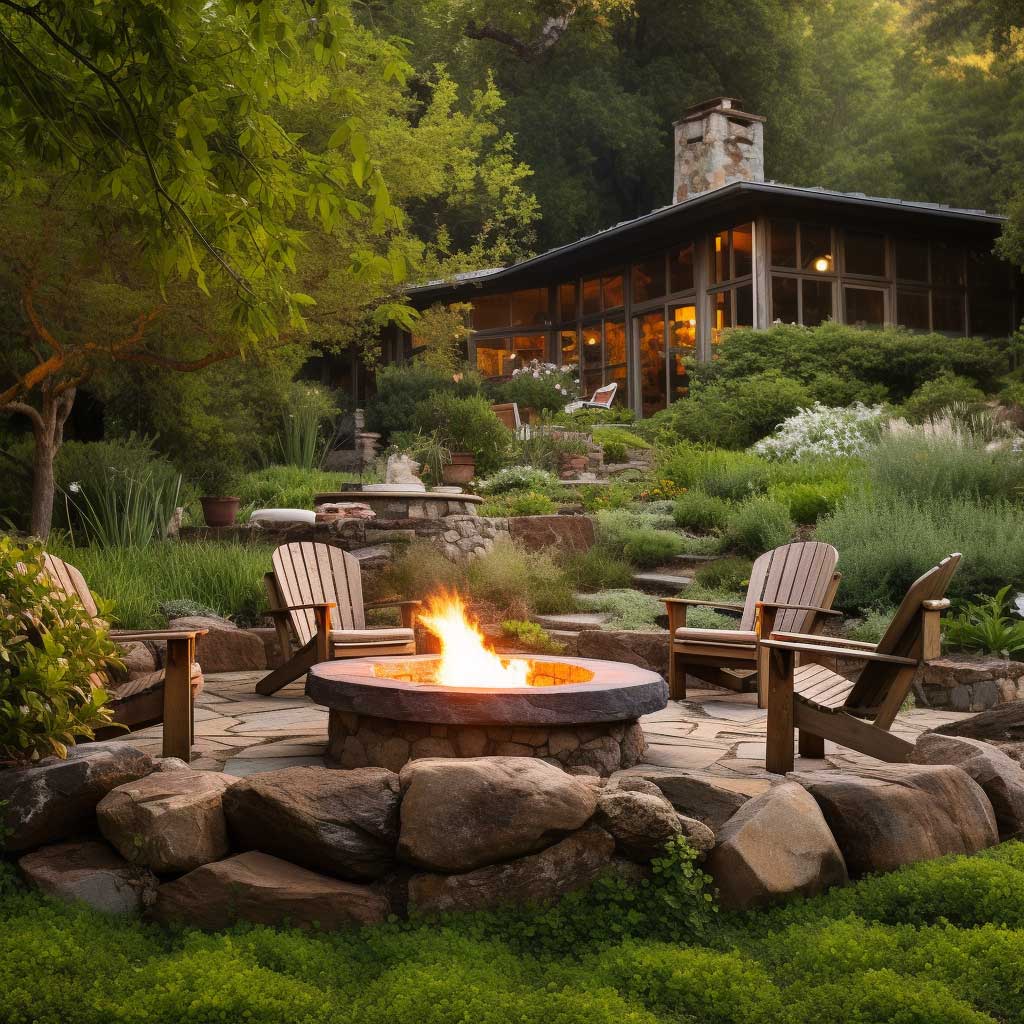
Modern fire pit ideas work because they give a yard a reason to exist after dark.
The right pit — whether stacked stone, cast concrete, or hand-laid brick — anchors everything else in the space. Seating finds its geometry. Lighting finds its purpose. The yard stops being decorative and starts being a room.
Pick the material that matches your yard’s existing hardscape first, then worry about shape. Mismatched materials are the single biggest reason outdoor fire features disappoint after installation.
Save this post before you start shopping — the material and sizing details above will save you at least one expensive mistake.
Related Topics
FAQ
What is the best material for a modern fire pit in 2026?
How do you make a fire pit look more architectural and less like a garden accessory?
What are fire pit design ideas that work for small outdoor spaces?
How much does a premium outdoor fire feature design cost installed?
What unique fire pit ideas work for a contemporary yard without grass?
Does a modern fire pit need a gas line or can it burn wood?
You Might Also Like