Stone bbq ideas that look sharp on install day and still look sharp a decade later share one trait: the stone does the heavy lifting so everything else stays simple. I’ve seen fieldstone fire pit setups built for $800 in materials hold up through fifteen Ohio winters without a single crack, while a neighbor’s prefab metal grill island needed replacing after four summers. Rustic stone outdoor bbq areas aren’t a trend — they’re just the format that wins on the math. This breakdown covers three ways to build yours: around a fire pit, around a full outdoor kitchen, and around fixed stone seating.
What most people get wrong is treating the stone as decoration instead of structure. River rock looks beautiful in a Pinterest photo. It’s also porous, it holds moisture, and it’ll have a frost crack by March if you’re north of the Mason-Dixon line. Pick your stone before you pick your layout. The rest follows.
Quick overview
- Stone fire pit BBQ area — fieldstone or limestone ring, central layout, pergola overhead, $600–$1,800 DIY
- Outdoor stone kitchen — granite or travertine countertops, built-in grill, stone pizza oven, $8,000–$25,000 installed
- Natural stone seating zone — bluestone or flagstone benches, circular arrangement, garden backdrop, $2,000–$6,000
- Worst mistake — river rock in freeze-thaw climates; use angular limestone or granite instead
- Best ROI — stone patio with fire pit add-on returns up to 70% on resale
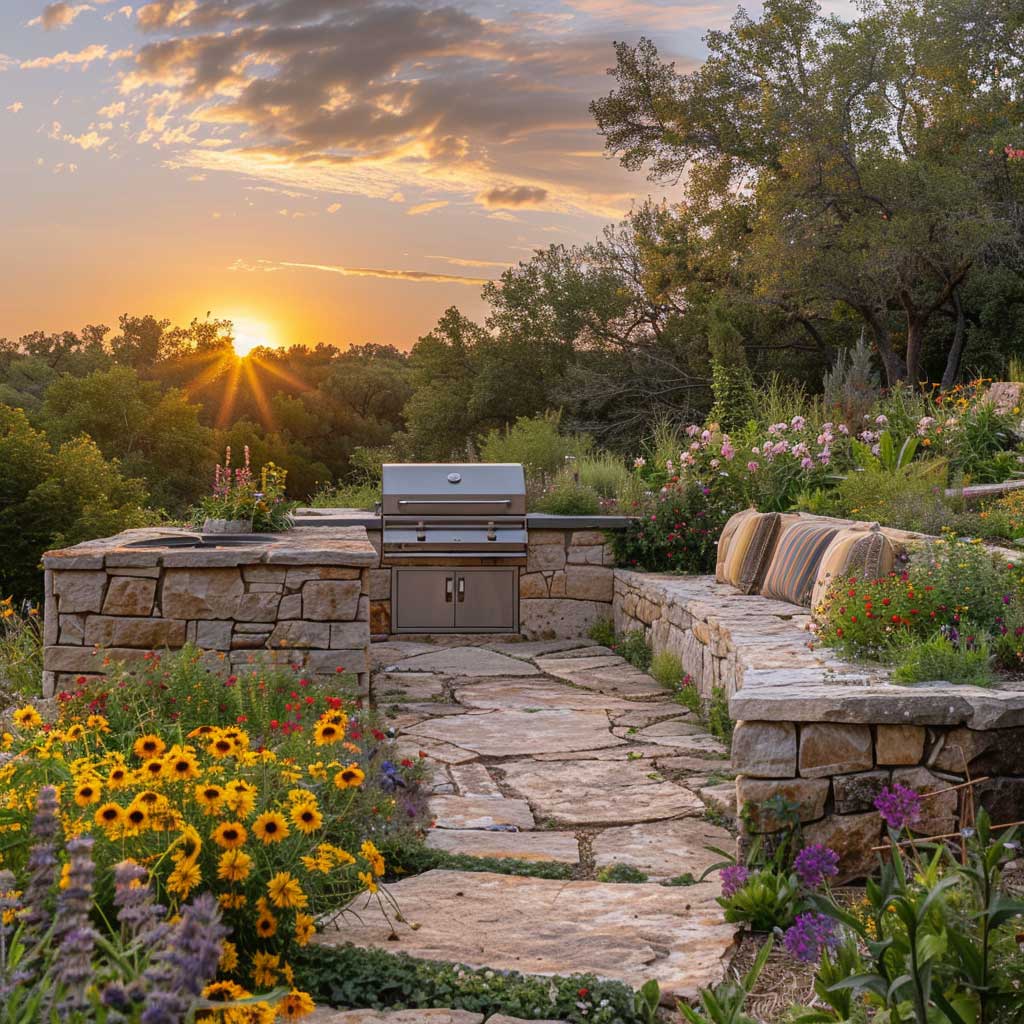
Fire Pit First, Grill Second — The Layout Order Most Backyards Get Backwards
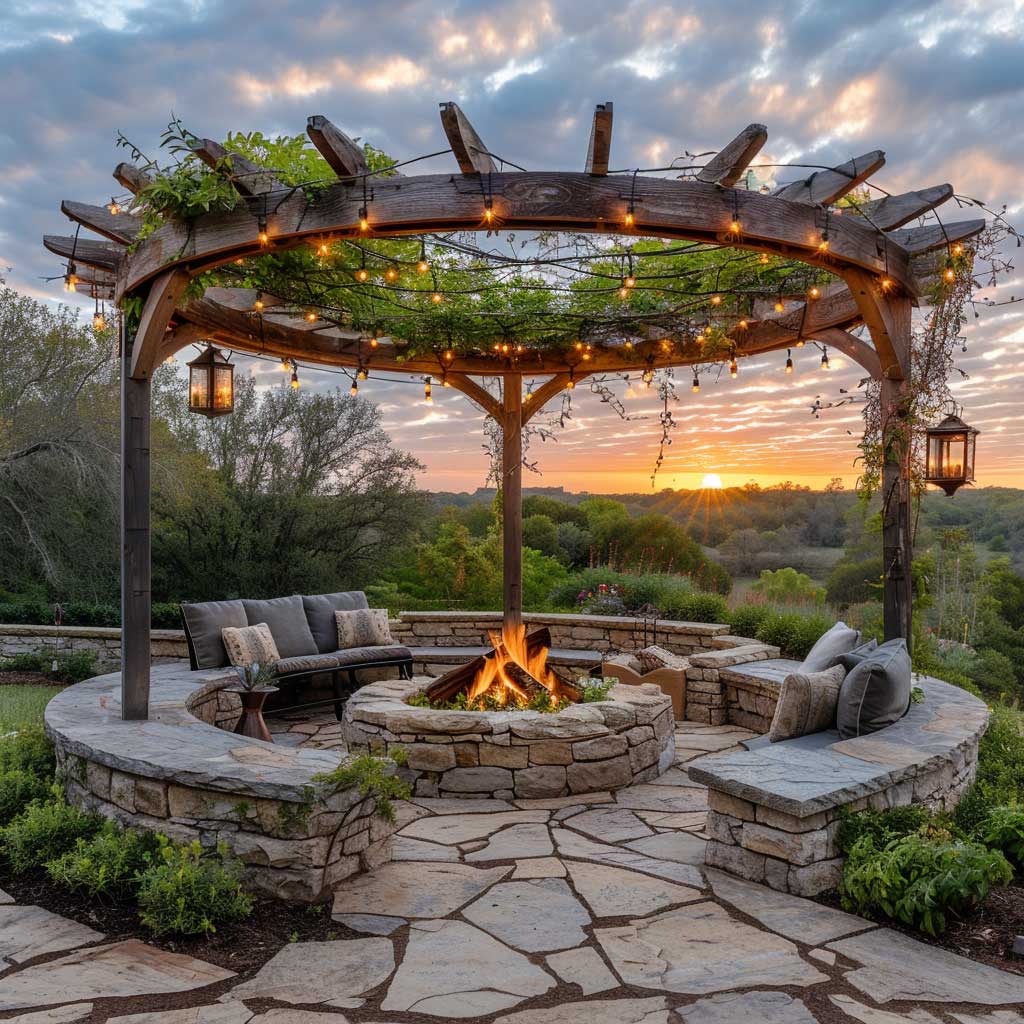


Put the fire pit at the center and build outward. Most backyard layouts do it backwards — grill against the fence, fire pit crammed in a corner, seating improvised around whatever’s left. The central fire pit model forces a circular flow that actually works for cooking and for hanging out simultaneously. You grill at the edge, guests cluster at the fire, nobody’s stuck staring at a fence. My own setup uses a mortared limestone ring about 36 inches in diameter; I paid $340 in stone from a local quarry and did the labor myself over a weekend.
Stone selection matters more than people admit. Fieldstone runs $125 to $900 per ton depending on type and delivery distance — the price swings are real. Angular fieldstone with flat surfaces stacks faster and holds mortar better than rounded river rock. Limestone blocks with sawn surfaces are the easiest to work with for a first-time build; they go up quickly, cost stays predictable, and the finished look reads as rustic without the chaos. River rock is decorative edging material, not structural fire pit material. Don’t use it as your primary build stone.
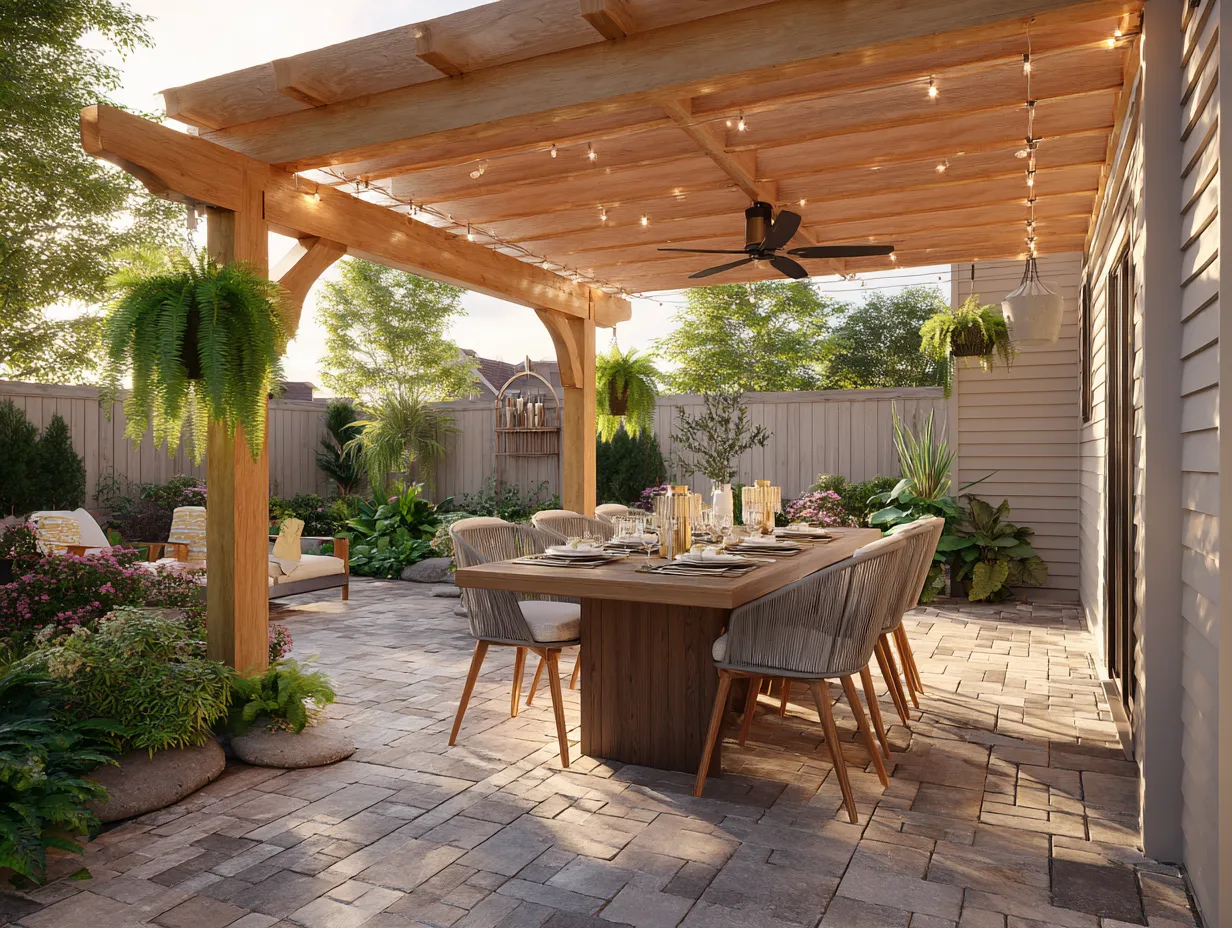
A cedar or pressure-treated pine pergola overhead changes everything about how the space feels after dark. String lights on the beams pull double duty — they mark the edges of the zone and create the warm-glow effect you see in every backyard inspiration photo. I stole this trick from a landscape designer I interviewed: run the lights diagonally across the beams rather than parallel. It looks less rigid, photographs warmer. Climbing rosemary on the pergola posts adds fragrance and fills in the vertical plane without blocking sightlines.
Lavender and ornamental grasses planted in the gaps between stone sections do two things: they soften the hard edges of the build and they fill the space so weeds can’t. You’ll notice the difference within one growing season. Skip the mulch entirely if you’ve built with flagstone — mulch migrates into the joints and makes the whole area look like a mess by fall.
Want to know the one accessory that actually gets used? A low stone side table built from the same material as your fire pit, set between two seating stones at the right height to hold a drink without bending. I’ve seen elaborate outdoor coffee tables get ignored all season because they were six inches too short or two feet too far from the fire. Build the side table integral to the ring wall. Problem solved permanently.
For more stone fire pit layouts that work in real backyards, this roundup of creative fire pit builds covers shapes and material combos worth studying before you pour your foundation.
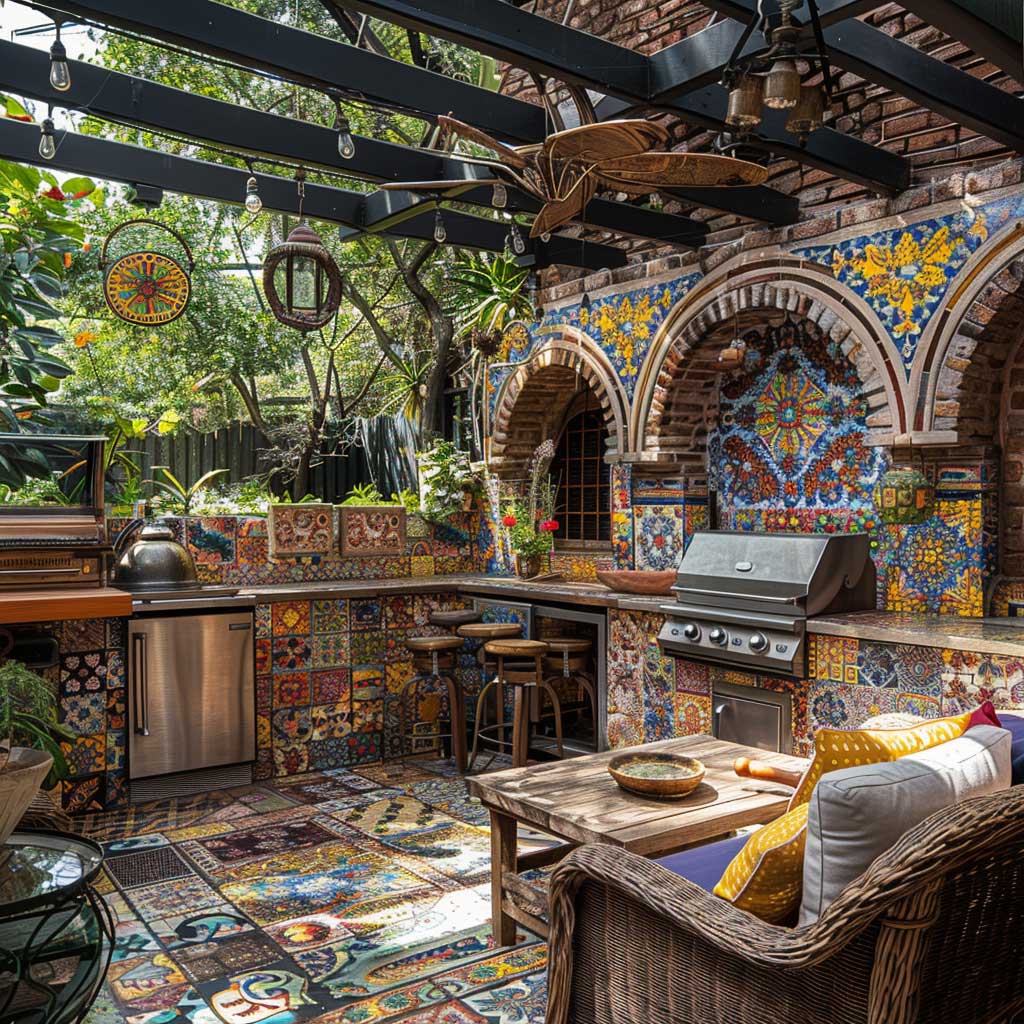
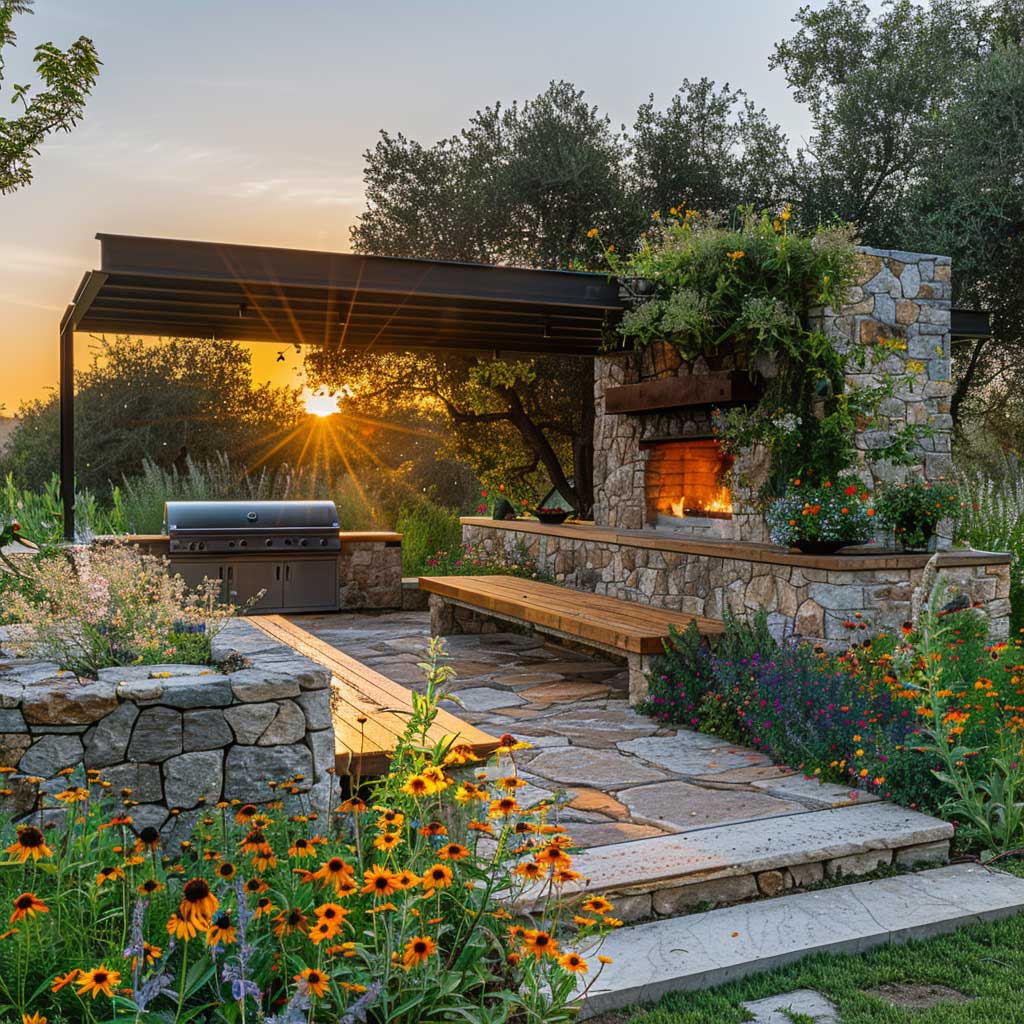
Outdoor Stone Kitchen Builds That Hold Up Past the First Winter


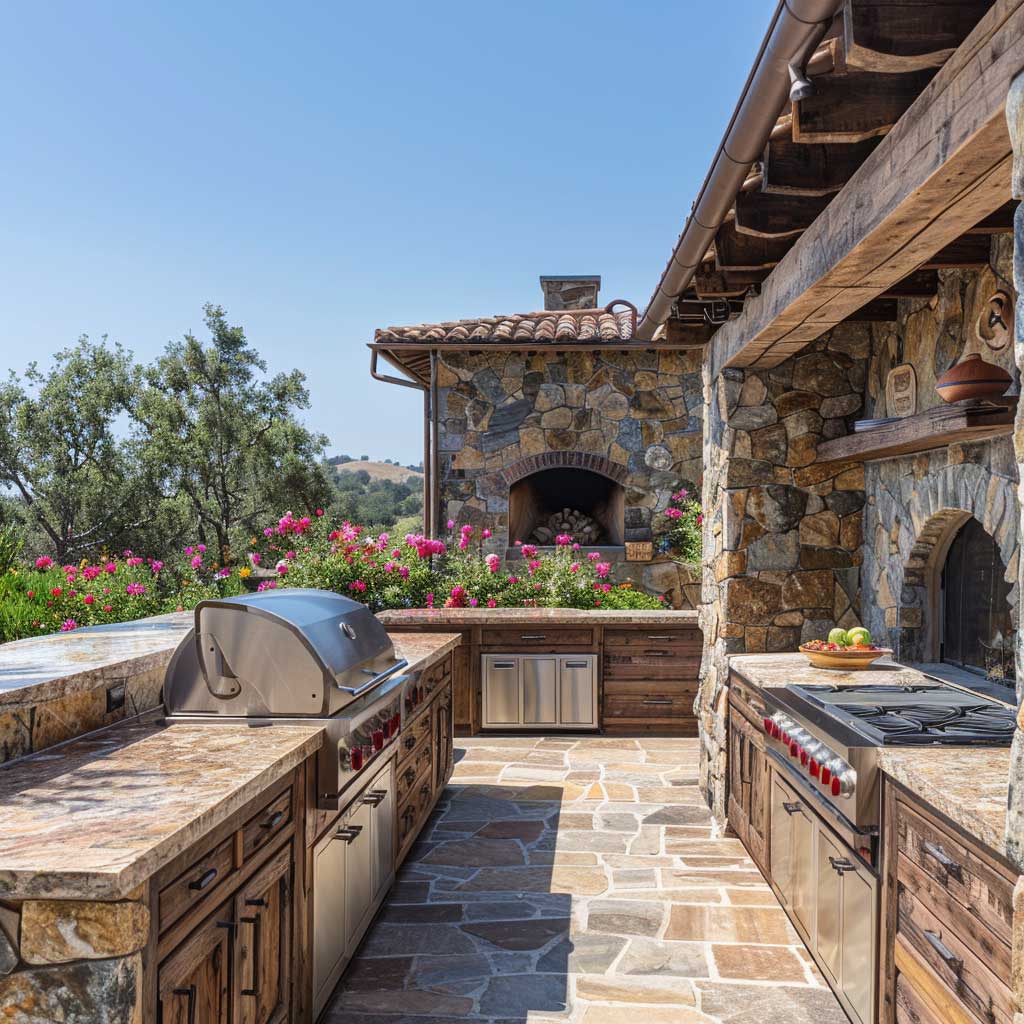

Granite countertops for an outdoor kitchen run $19 to $32 per square foot installed — the same range as limestone, which surprises most people. Travertine comes in slightly cheaper and handles heat better than polished granite when you’re cooking in direct sun. I’d skip slate for horizontal surfaces; it delaminates in freeze-thaw cycles faster than you expect. My go-to countertop spec for rustic stone outdoor builds is honed (not polished) Uba Tuba granite: forgiving of drips, invisible when wet, looks better scratched than it did out of the quarry.
The layout question everyone asks: grill left or right? Grill on the working side of your dominant hand, prep space center, pizza oven on the far end. Placing the pizza oven adjacent to the grill sounds logical until the radiant heat from both runs simultaneously and you can’t get between them. Six inches of clearance isn’t enough; three feet is the minimum if you’re cooking both at once. A stone backsplash between the grill and the oven handles the grease splatter and ties the materials together without adding cost.
Reclaimed wood cabinets are the move for a rustic build — but only if you seal them properly before install, not after. You’ll notice every outdoor kitchen that looks weathered in a bad way shares the same story: beautiful reclaimed wood installed unsealed, one wet season, and now it’s gray and splitting. Cabot Australian Timber Oil runs about $50 per gallon and covers roughly 150 square feet per coat. Two coats before install, one maintenance coat annually. That’s the difference between “rustic character” and “needs replacing.”
Don’t Do This
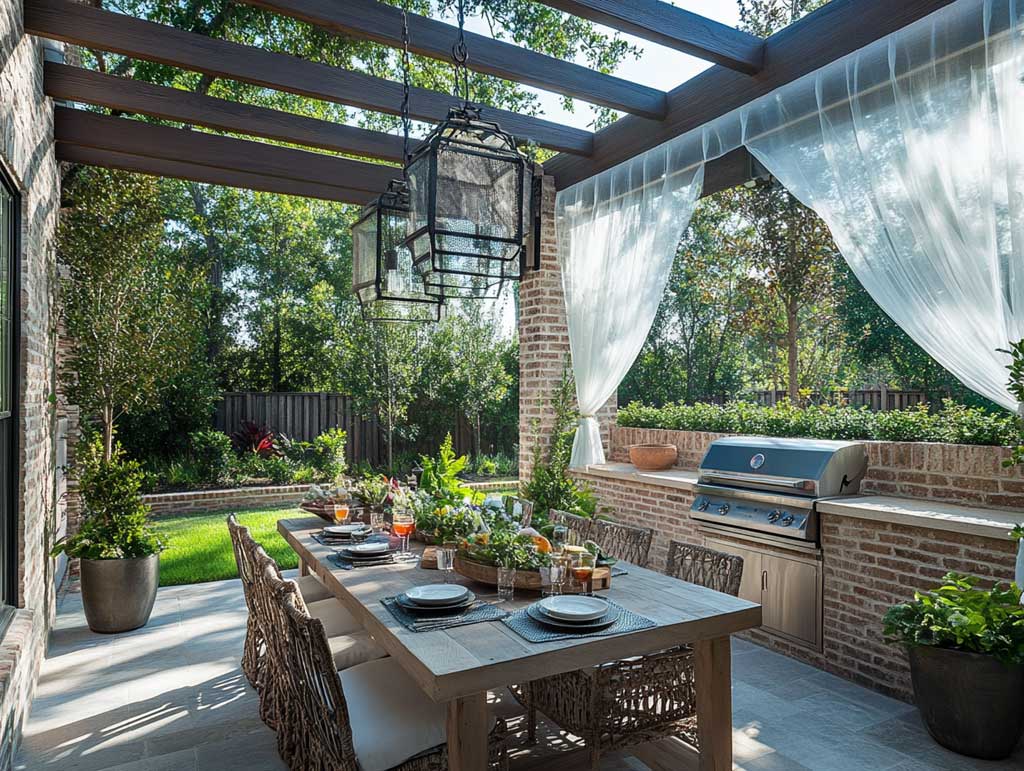
Don’t build your outdoor stone kitchen without a covered roof structure above the grill area. Open-sky builds look great in summer photos and fail in real use — rain gets into the burner ports, grease on stone countertops gets worse without shade, and UV degrades wood cabinet finishes in two seasons. Even a simple 8×10 cedar pergola overhead changes the durability math completely. Budget $1,500 to $3,500 for a basic structure. Skip this step and you’re refinishing or replacing components within three years.
Hanging lanterns are the wrong call for task lighting over a grill. They look incredible in photos; they provide zero useful light when you’re trying to see if a burger is done at 8 p.m. Install two downward-facing LED fixtures on the underside of the pergola beam directly above the grill surface. Use warm-white 2700K bulbs. Keep the lanterns for the seating perimeter where ambiance matters more than visibility.
Stone fountain sounds like a luxury add-on. It’s actually one of the highest ROI features you can add to an outdoor kitchen zone — not because it impresses guests, but because the sound masks road noise and HVAC hum that kill the “backyard retreat” feeling. A recirculating stone fountain from HomeAdvisor’s outdoor stone cost data runs $300 to $900 installed. Put it upwind of the seating so the sound carries toward the guests rather than away from them.
If you’re weighing rustic stone against other outdoor kitchen styles, this comparison of backyard kitchen formats lays out the trade-offs between wood, stone, and metal builds with real cost ranges.
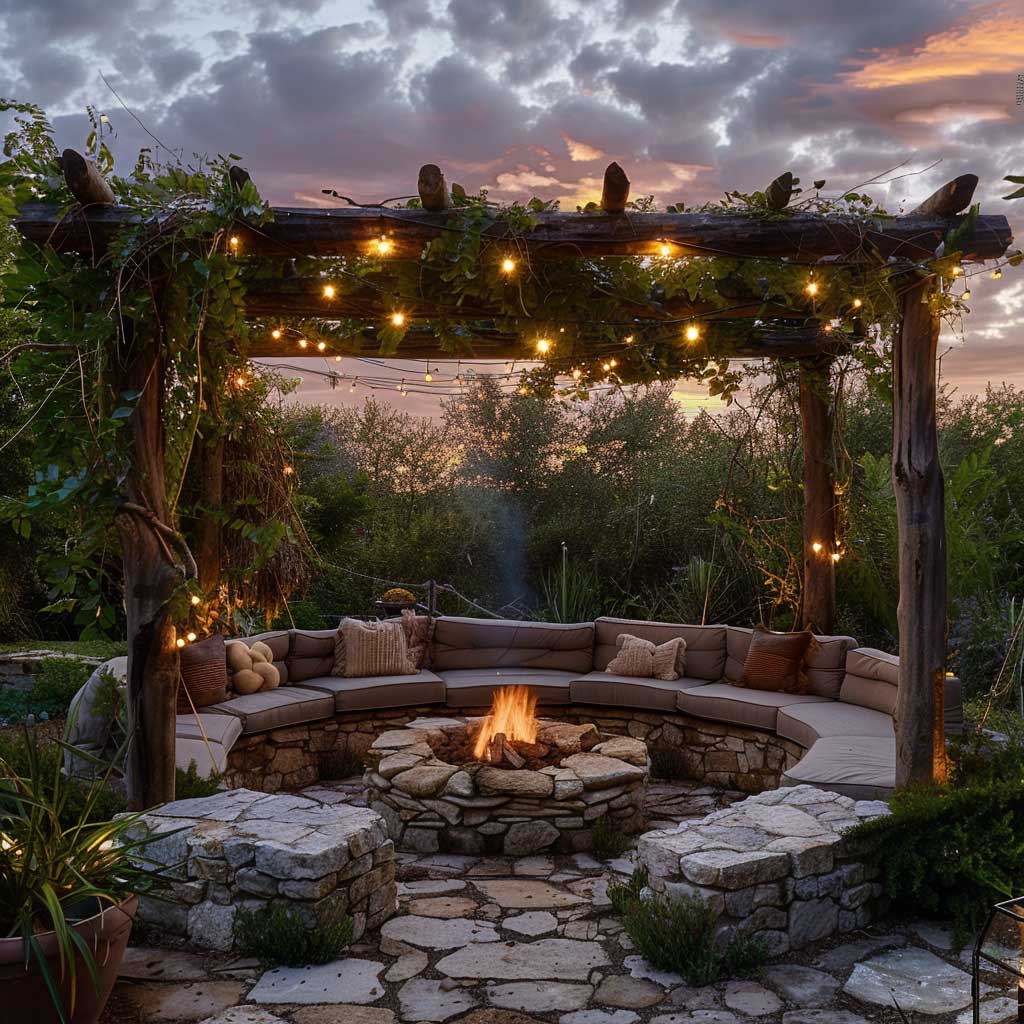
Fixed Stone Seating Around a Grill Solves the Chair Problem Permanently


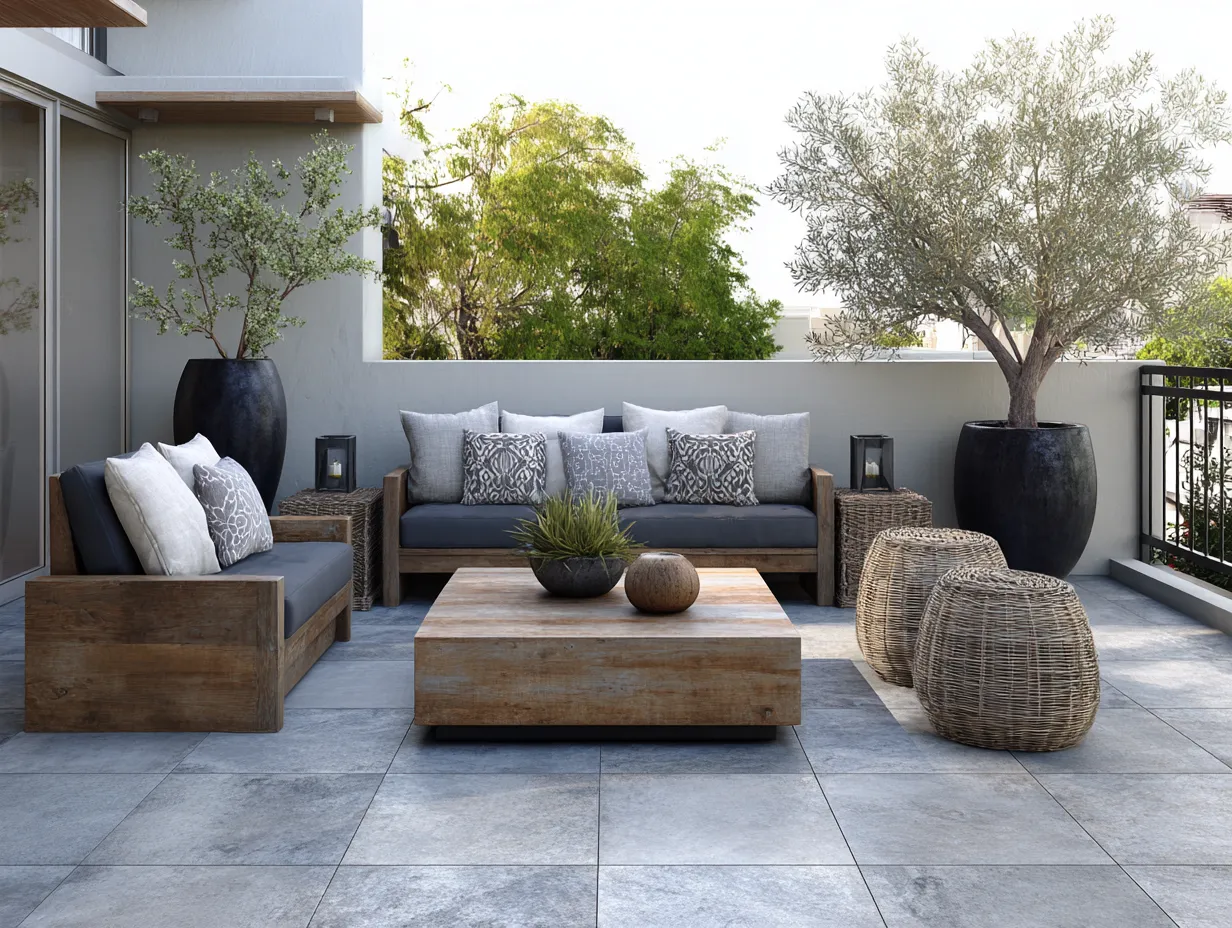
Outdoor furniture is the biggest recurring cost in any backyard setup. You buy it, you store it, a season of UV exposure fades it, two seasons of wet storage molds the cushions. Fixed stone benches solve this permanently. Bluestone runs $5 to $35 per square foot depending on thickness and cut — a 12-foot arc of bench seating in bluestone costs roughly $400 to $700 in material and a day of masonry labor. You buy it once. It looks better in ten years than it does today.
Circular seating around a central grill is the arrangement I keep coming back to for one specific reason: everyone faces inward. No one’s turned sideways squinting past someone’s shoulder to join a conversation. The radius matters — too tight and people are too close to the heat, too wide and the conversation fragments. Twelve feet diameter from bench inner edge to bench inner edge is the sweet spot for groups of six to ten people. Mark it with string before you commit.
Sandstone is comfortable to sit on barefoot in summer because it stays cool. Granite holds heat and can be genuinely uncomfortable on a hot afternoon. Flagstone — particularly the irregular, cleft-face type — sits in between and gives the most rustic look of the three. The texture that makes flagstone look rough is the same texture that keeps it from being slippery when wet. You’ll notice granite benches get abandoned on rainy evenings; flagstone keeps getting used. That’s the pattern worth knowing before you spec the stone.
Garden edging with hostas, ferns, or low-growing ornamental grasses creates a natural privacy buffer without a fence. I own two raised stone planter beds flanking my seating arc, filled with rosemary and lemon thyme. They pull double duty — privacy screen and herb supply for whatever’s on the grill. The plants run $4 to $12 per pot at most garden centers. The stone planters cost $90 each in materials. The ROI on not buying fresh herbs all summer is real.
Solar-powered lanterns on stone posts at the outer edge of the seating arc are the right lighting choice here — not because they’re cheaper than wired fixtures (they are), but because the spacing is flexible. You can adjust the post positions as the plantings fill in around them. Wired ground lighting locks you into a layout that might not survive a second planting season. Keep your lighting infrastructure movable until the garden is established, then commit.
Final word
Stone doesn’t need maintenance weeks. It needs one good decision at the start.
Pick angular limestone or honed granite, not river rock. Build the seating into the stone structure, not as furniture around it. Put a pergola overhead before you put a grill in — coverage determines how long everything else lasts. The builds that look good in year ten are the ones where the material did the work, not the accessories.
Rustic stone outdoor BBQ areas age like cast iron: rougher on the surface, stronger underneath. Save this post.
Related Topics