Your living room walls are doing the heavy lifting in every room photo you take, and most people still just slap on builder-grade beige. That needs to stop. I’ve repainted my own living room three times in five years — once with a $45 gallon of Behr Marquee, once with a $70 Benjamin Moore Regal Select, and once using leftover Sherwin-Williams samples stitched into a color block experiment that cost me almost nothing. Each time the room felt like a different house.
The eight wall painting designs below are not complicated. No murals, no hiring someone off Instagram. These are tape-and-roller projects you knock out in a weekend. Monochromatic palettes, geometric shapes, color blocking — they all look intentional without requiring art school. I’ll tell you what works, what flopped for me, and where not to waste money.
Quick Summary
Three simple wall painting approaches — monochromatic shading, geometric patterns, and color blocking — can transform a living room in a single weekend.
Total cost ranges from $15 (sample pots only) to about $80 (full gallon of premium paint plus tape and supplies).
Best starter picks: Behr Marquee for color blocks, Sherwin-Williams sample pots for geometrics, Benjamin Moore Regal Select for monochromatic depth.
| Design Type | Difficulty | Estimated Cost | Best For | Watch Out |
|---|---|---|---|---|
| Monochromatic | Easy | $15 – $45 | Small rooms, renters, first-time painters | Shades too close together look like a mistake |
| Geometric | Medium | $20 – $60 | Accent walls, modern spaces | Too many small shapes reads chaotic |
| Color Block | Easy | $17 – $80 | Large walls, open floor plans, zoning | Mixing paint brands causes undertone clashes |
Monochromatic Wall Paint: One Color, Multiple Shades, Zero Stress
Behr’s “Ultra Pure White” base mixed at 25%, 50%, and 75% strength gave me three shades of grey-blue for under $40 total. The trick is asking the paint counter to tint the same base at different concentrations. Most big-box stores do it free. Don’t buy three separate colors — that’s a $120 mistake I made the first time.
My worst monochromatic attempt was an all-green room using three shades of sage. Looked like a hospital corridor. The problem wasn’t the color — it was picking shades too close together. You need at least three steps apart on the swatch card. Two steps apart reads as a painting error, not a design choice.
FrogTape is worth the extra $2 over generic blue tape. Cheap tape bled every single time I used it on textured walls. Not worth the cleanup. Press the edges down with a putty knife before you paint the lighter shade first, then work toward the darkest tone at the bottom third of the wall.
The other thing nobody mentions: sheen matters more than shade in monochromatic rooms. I did my bottom third in satin, middle in eggshell, top in flat. Same color, three finishes. Under living room lamps at night, the wall looks like it has depth even though the paint chip is identical. Cost me exactly zero extra dollars — same can, different roller technique.


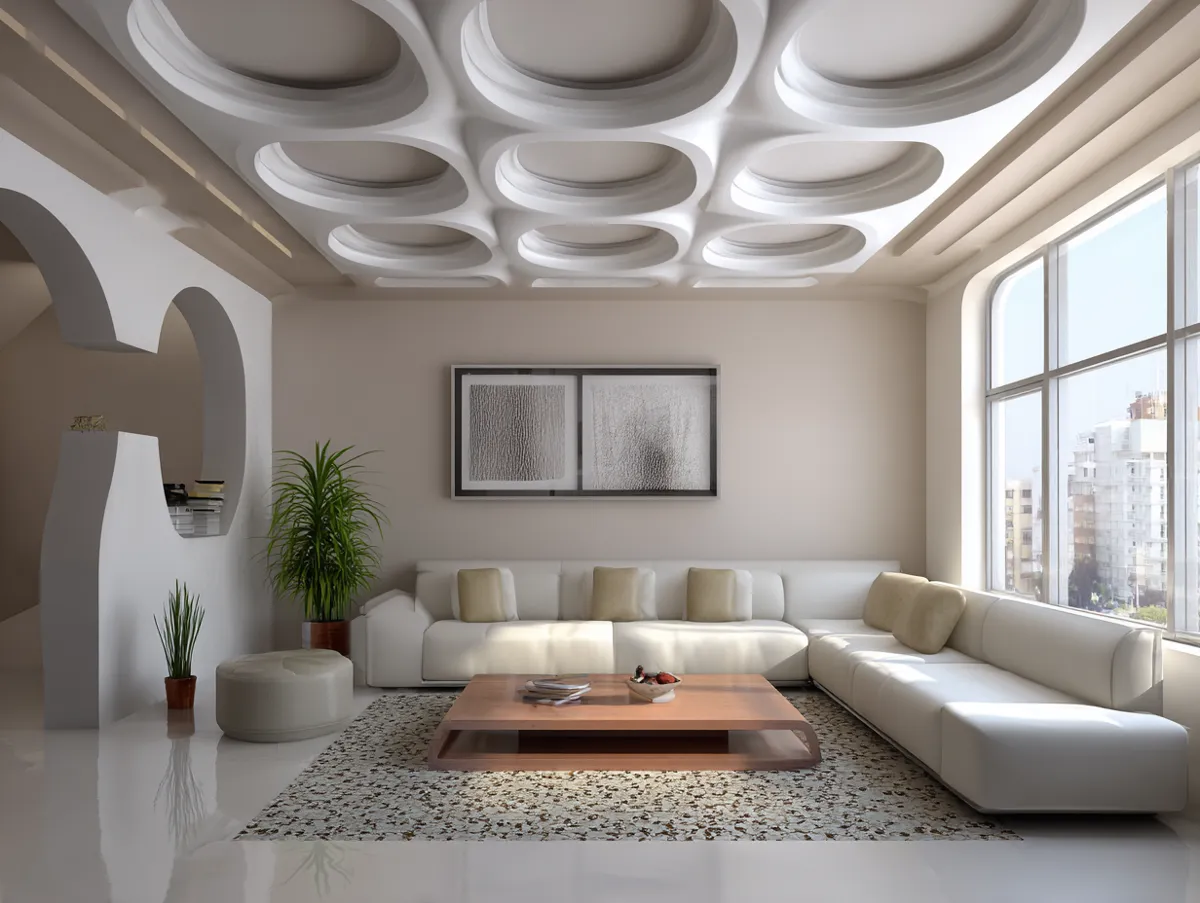
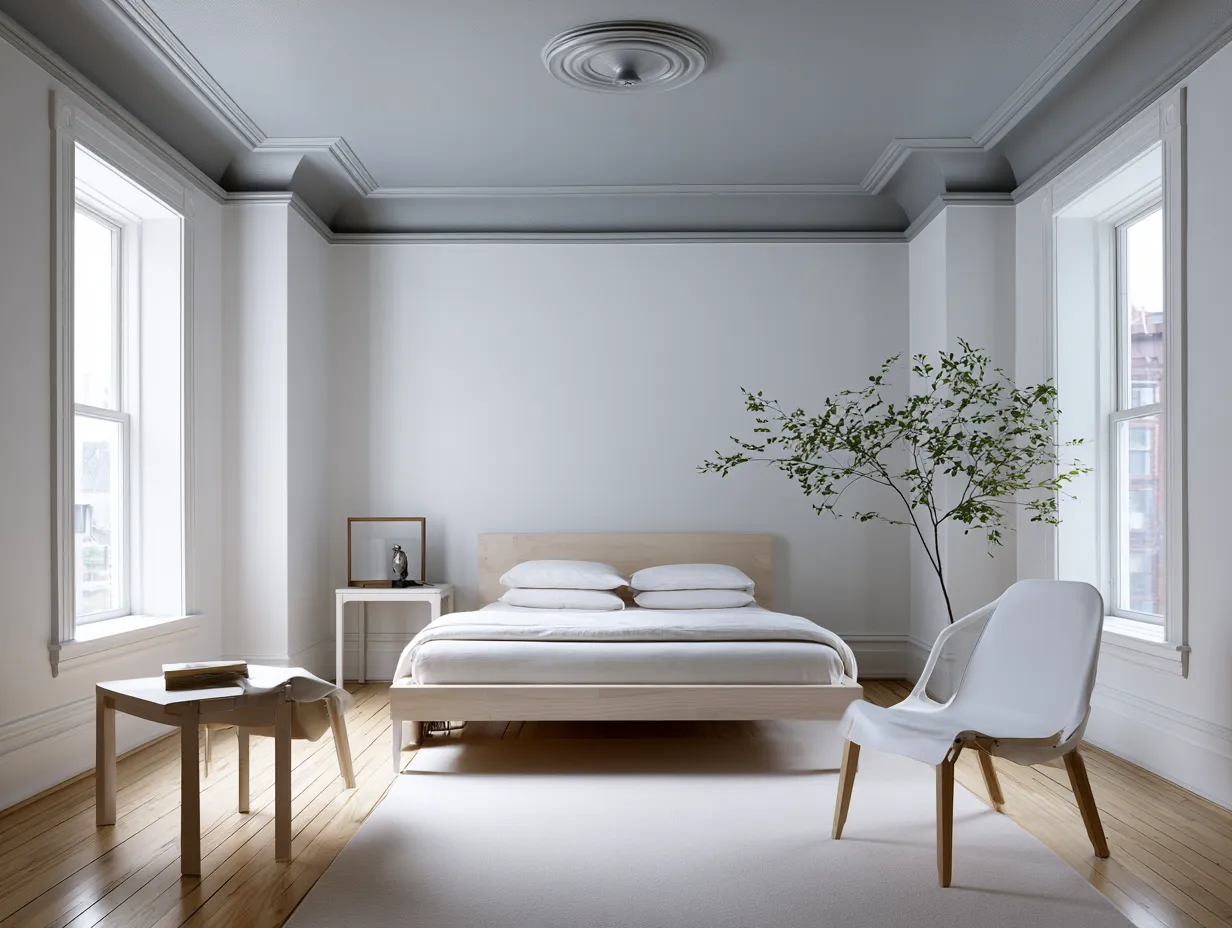
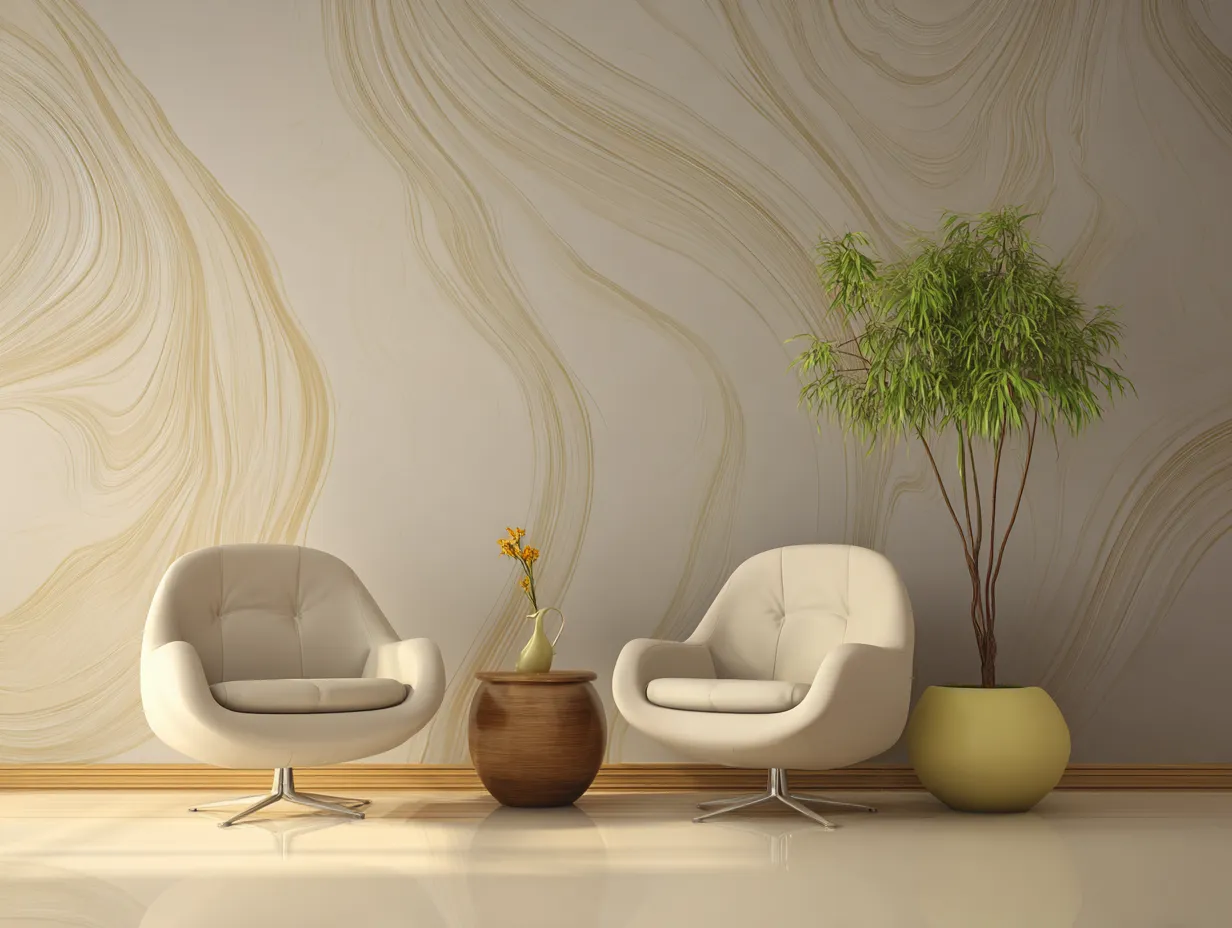
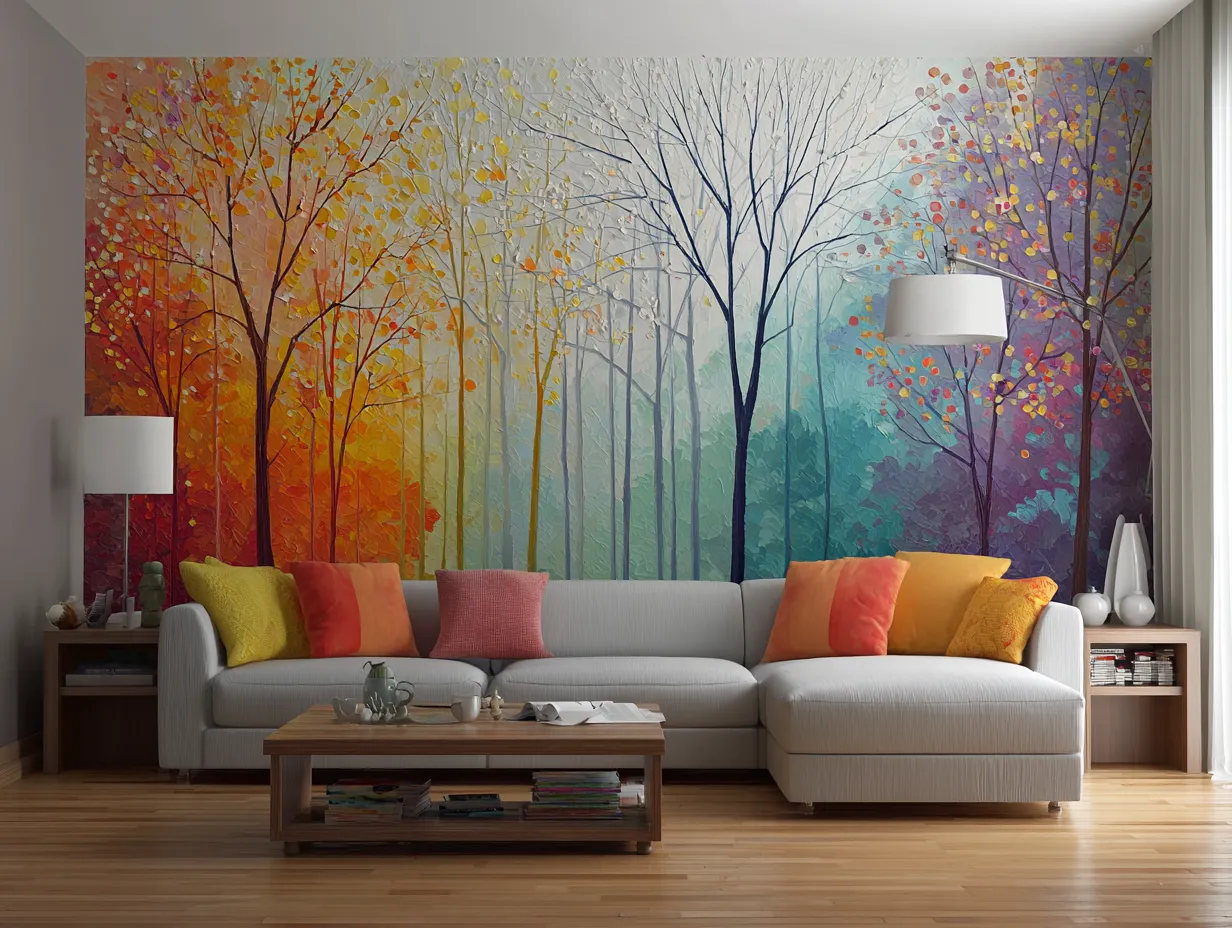
The beauty of a monochromatic color scheme is in its simplicity and sophistication. Through the use of a series of different shades, tints, and tones of one color, this wall painting design creates a more connected and harmonious look that is easy on the eyes. The slight differences bring liveliness to the monotony, simultaneously highlighting architectural features and emphasizing the room in general.
Whether you go for something bolder, like royal blue, or something more subdued, like grey or beige, the monochromatic design will do justice to your living room decor. Very versatile, it can fit both in a minimalist modern living space and in a more traditional and rustic room. If you’re still deciding on the right shade, see how different paint colours perform in modern living rooms before committing to a single hue.
Monochromatic elegance is the design of the wall in the painting, in that the balance of the appearance is just about right. It works by incorporation of the color of the wall with the rest of the interior decor like furniture and curtains. Therefore, a color that perfectly matches the overall living room design should be selected. For more expert-backed approaches to choosing the right living room shade, Homes & Gardens covers 30 paint ideas with designer tips.
One of the best things that can be said about the monochromatic elegance wall painting design is that it allows a very great flexibility. You may have an effect of gradation in walls where the color is from dark to light, or you may have clean blocks of varying shades of the same color. In any case, it is your choice according to your liking.
It also doesn’t limit your options in terms of the rest of your living room decoration. It makes everything wide open in alternatives since it offers a neutral background against which you can easily showcase bolder, more vibrant colors.
To top it all off, the monochromatic elegance wall painting design is not only for aesthetic purposes but also for making the place feel warm and comfortable. Going on with one color gives a sense of unity and restfulness, creating a dream room for a parlor of both rest and interaction.
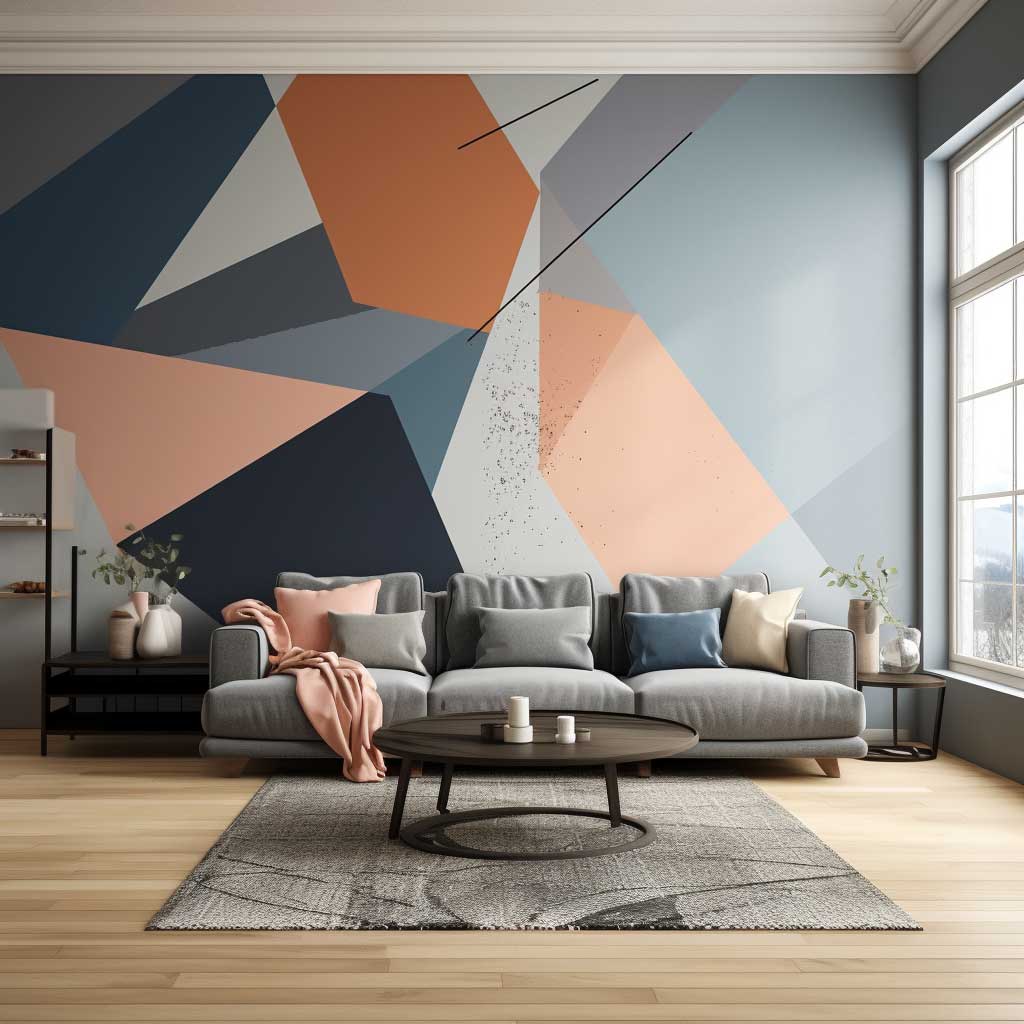
Geometric Wall Painting Designs That Look Expensive on a Budget
Painter’s tape and a level — that’s the entire tool list. I’ve seen people buy $30 laser levels for this. Skip it. A $4 torpedo level from Harbor Freight works fine on residential walls. Your lines don’t need to be NASA-precise because furniture covers the bottom 30 inches anyway.
My first geometric wall was a disaster. I did fourteen triangles in five colors and it looked like a kindergarten craft project. Scale matters. Three or four large shapes beat a dozen small ones every time. Think gallery wall, not quilt. I ended up painting over it within a month.
Sherwin-Williams’ “Tricorn Black” paired with their “Agreeable Gray” makes a triangle accent wall that reads modern without trying too hard. Two colors, four triangles, done in three hours. Total paint cost was about $25 because I only needed sample pots. For a full wall of geometrics, sample pots are the move — a quart is overkill unless you’re doing a really large section.
Start with masking off the largest shape first, then work inward. Pull the tape while the last coat is still slightly tacky. Wait until it’s fully dry and you’ll rip paint off with the tape — ask me how I know. That one ruined a Saturday afternoon and cost me a second trip to the store for touch-up paint.

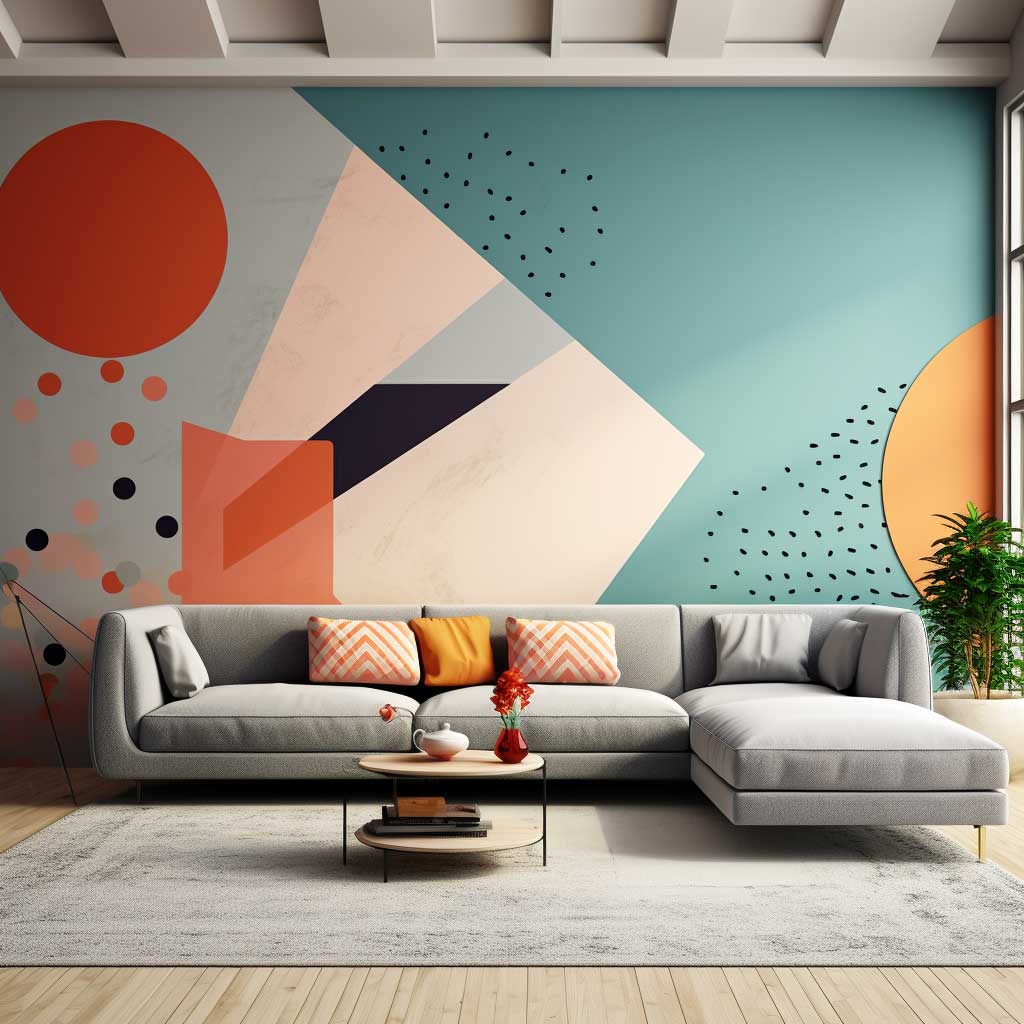

Geometric wall paint designs add both structure and playfulness to the room. Geometrical designs with straight, clean lines, clear shapes, and mixed colors are really helpful in transforming a dull, plain wall into a masterpiece. For more ideas on how painted walls shift the entire feel of a space, check out how wall painting designs create a unique living room atmosphere.
Geometric simplicity gives your living room the sense of poise and equanimity. Whether it is in the form of triangles, squares, rectangles, or circles, these shapes can be used, combined, and drawn on in many ways to give off a design that is simple but striking. This kind of design is perfect for a modern or contemporary living room setup.
The concept of geometric splendour wall painting is so versatile that it can be designed to cater to the needs of an individual’s style and taste. You can choose to stick to a single shape for a minimalist design or mix several shapes to form a more complex and intricate design. Your choice of color in this design is solely in your hands; you could stick with a monochromatic palette or go in for a more colorful and vibrant look.
This is among the greatest benefits of geometric designs; they bring visual interest. It, in turn, makes your living room a little more engaging and stimulating. Be it a design that is complicated or simple, geometric shapes will add some spice to your living room.
In addition, a geometric wall painting design does not have to run from one end to the other. One can do a small section of the wall to create a focal point that will attract attention. This way, you can highlight a special feature or a piece of furniture in your living room.
But the geometric splendor wall painting design is all in place to make up a harmony befitting the setting. The repetitive patterns of shapes or designs resemble a kind of rhythmic pattern of bringing the room together.
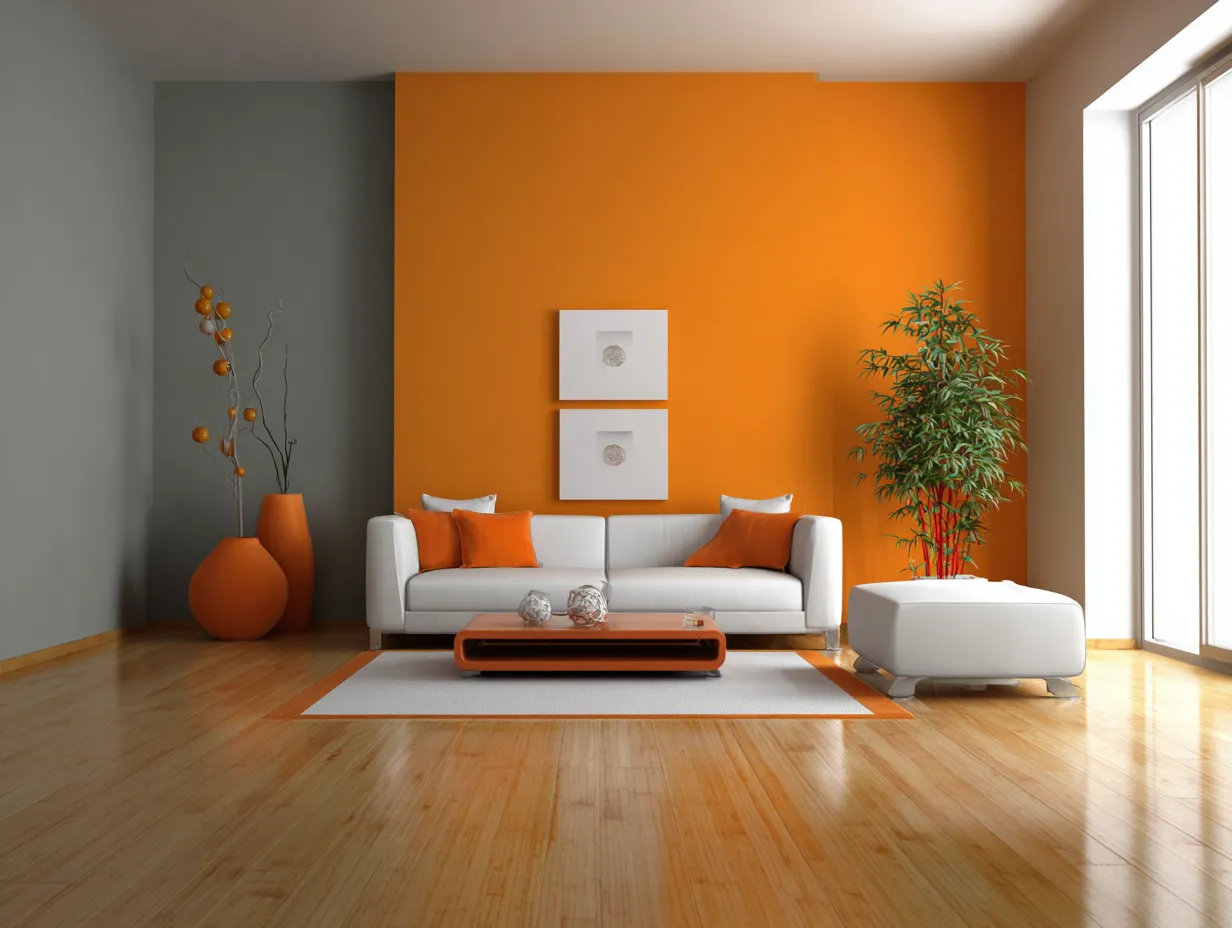
Color Block Walls: Bold Sections, Big Impact, Small Effort
Color blocking is the laziest wall design in the best possible way. You’re literally dividing a wall into two or three horizontal bands and painting them different colors. No diagonal cuts, no triangles, no math. My most successful version was a warm terracotta on the bottom half and a dusty pink on the top half, split at exactly chair-rail height (about 32 inches from the floor).
Don’t pick colors from different paint brands. I mixed a Valspar dusty blue with a Benjamin Moore cream once and the undertones clashed so badly the wall looked dirty. Stick to one brand’s color family and grab strips from the same palette card. That’s a rookie error nobody warns you about.
The cheapest way to test a color block layout is painter’s tape and craft paper. Tape off your sections, hold the paper up, and photograph it with your phone’s flash off. Photos show clashing undertones faster than your eyes do in person. This ten-minute test saved me from a coral-and-mint combination that looked amazing on Pinterest and revolting in my north-facing living room.
Walmart’s Color Place paint at roughly $17 a gallon handles color blocking fine if you’re not picking a super deep shade. For blacks and deep navies, spend the extra money on Behr Dynasty or Benjamin Moore Aura — cheap paint needs four coats on dark colors and that eats up any savings instantly.


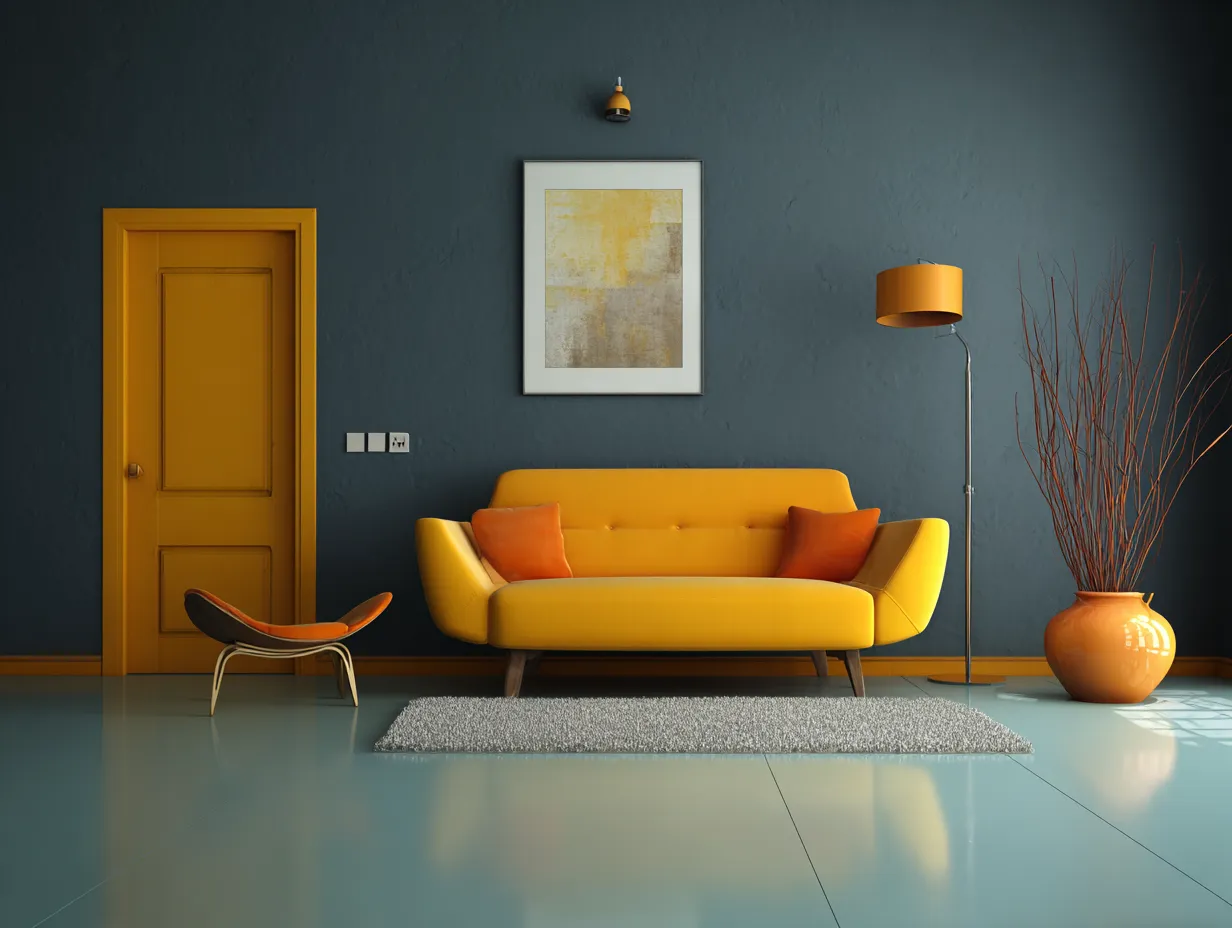
The color block chic wall painting design is an easy way to inject some color into the living room. This is essentially a design with blocks of color that create a forceful and intense feel.
This wall design, upon painting, speaks for itself with contrasts. Put different colors beside one another, and you have an effect on the walls. Whether you choose contrasted colors or you choose contrasted shades of one single color, the result is a dynamic and attractive wall.
The color block chic design can be pretty versatile with your choice of colors: minimalist schemes in black and white or very bold and audacious palette. The most important thing is to pick out colors that would befriend each other and the design in your living room.
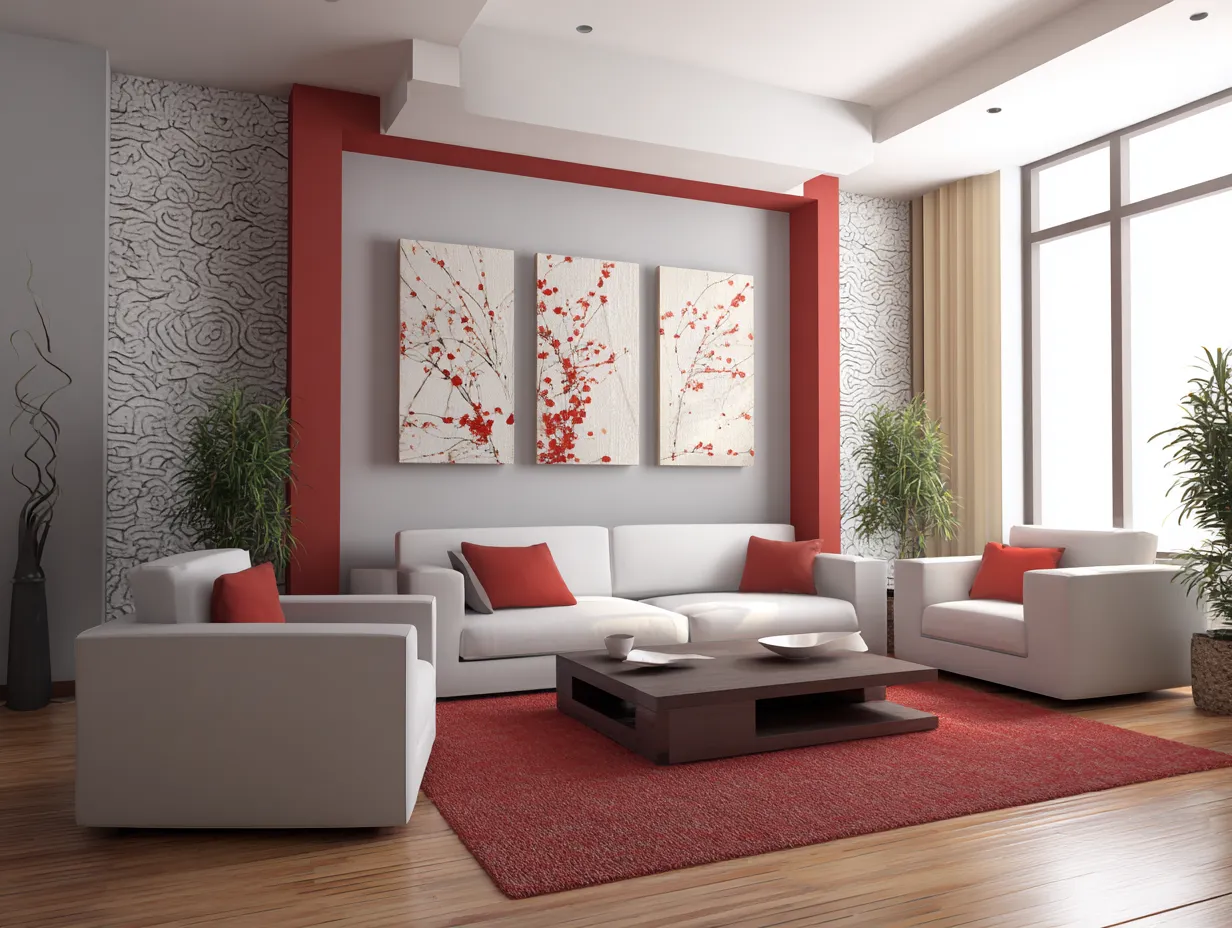
This color block chic wall painting design is not only a decorative one; it will be a working solution for zoning living rooms or emphasizing features. For example, you may divide the sitting zone in color blocks or, on the other hand, emphasize a special piece of art.
This wall design painting also presents one’s style and personality as an individual. With the chic design of color blocking, try all sorts of color combinations and patterns to set you off to craft a living room that’s truly an expression of your taste.
Combine this with the fact that chic wall painting, design color-blocking is a great way to make perceived changes in the ratios of your living room. You can play with the various sizes and shapes of color blocks so as to get an optical illusion that makes your living room seem larger or more balanced than it truly is.
In conclusion, a chic color block is a wall paint design, which is versatile and a great way to update the living room. It’s a very attractive design with practical benefits, which are quite impressive.
How to Paint a Simple Wall Design in Your Living Room
A step-by-step method for applying a basic color block or geometric wall painting design using common hardware store supplies.
Tools & Supplies
- FrogTape painter’s tape
- Torpedo level
- 9-inch foam roller and tray
- Putty knife (for pressing tape edges)
- 2–3 sample pots or 1 quart of paint per color
Clean the wall and mark your layout
Wipe the wall with a damp cloth to remove dust. Use a torpedo level and pencil to lightly mark horizontal or diagonal lines where your color sections or shapes will be. Measure from the floor up for consistency.
Apply painter’s tape along all lines
Run FrogTape along every pencil line. Press each edge down firmly with a putty knife — this prevents bleed on textured drywall. Tape the outside of the section you are painting first.
Paint the lightest color first
Roll on the lightest shade in thin, even coats. Two thin coats beat one thick coat every time. Let each coat dry for at least 90 minutes before the next.
Move to darker sections and pull tape while tacky
Once the light section is dry, re-tape the border and paint the darker section. Pull all tape off while the final coat is still slightly tacky — waiting until fully dry rips paint off the edges.
Touch up and photograph under different lighting
After 24 hours of drying, check every tape line under both daylight and lamp light. Touch up any bleed spots with a small angled brush. Photograph the wall with your phone flash off to confirm the colors read correctly.
Bottom Line on Simple Wall Painting Designs
Monochromatic palettes, geometric shapes, and color blocks cover about 90% of what a DIY painter actually needs. Pick one approach, buy sample pots first, and test on a two-foot section before committing. A $4 roll of FrogTape and a free afternoon will change a room faster than any new sofa.
The biggest waste of money I’ve seen is buying full gallons before testing. Sample pots run $4 to $8 at most stores. Buy three, paint swatches, live with them for 48 hours under day and night light. Then commit. Your living room walls deserve that much patience.
Related Topics