A hairstyle for round face to look slim isn’t about hiding your features — it’s about redirecting where the eye travels. I’ve tried every cut on this list and the ones that actually changed how my face read in photos share one thing: they create a vertical line, whether through length, layering, or an asymmetrical angle. The styles below are organized by how they create that effect, not by trend cycle. Some cost $80 at a mid-range salon. Some require exactly zero salon visits. All of them work.
Round faces are wider at the cheeks and lack a defined jawline — that’s the geometry you’re working with. The fix is always the same: add height at the crown, reduce volume at the sides, and let length pull the eye downward. Blunt cuts that stop at chin level do the opposite of all three. Avoid them.
Quick Scan — What’s in This Article
- Long layered waves — the volume-at-crown formula
- Side-swept bangs — diagonal lines that break the circle
- High ponytail — zero product, maximum length illusion
- Asymmetrical bob — the cut that earns its angles
- Voluminous curls for thin fine hair — how to get height without width
- Sleek center-part long hair — the minimalist option that works
- What doesn’t work on round faces (and why)
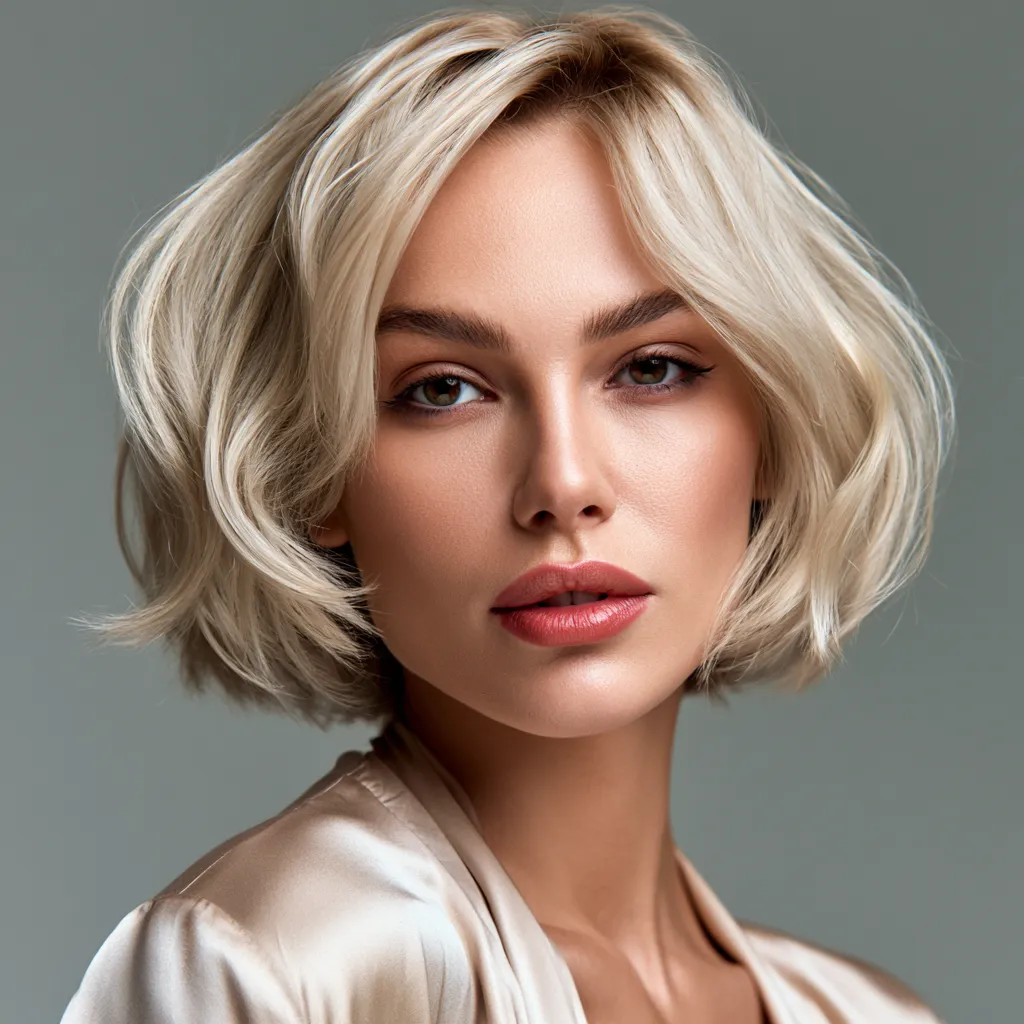
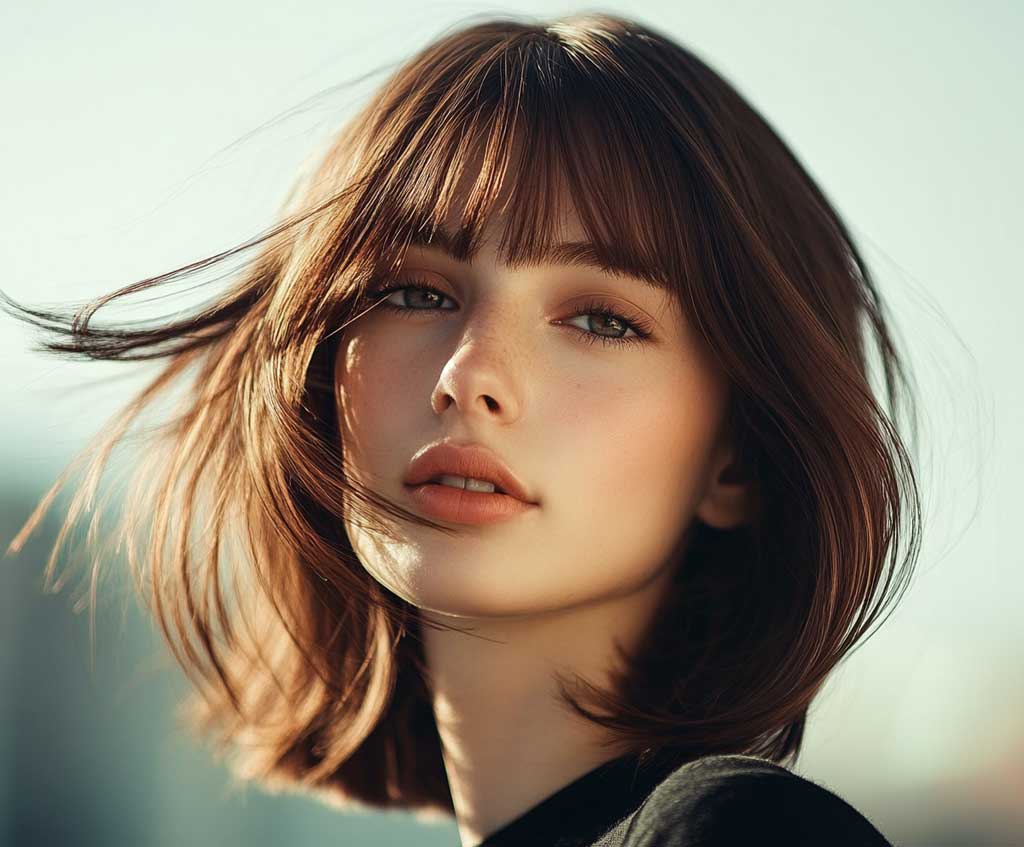
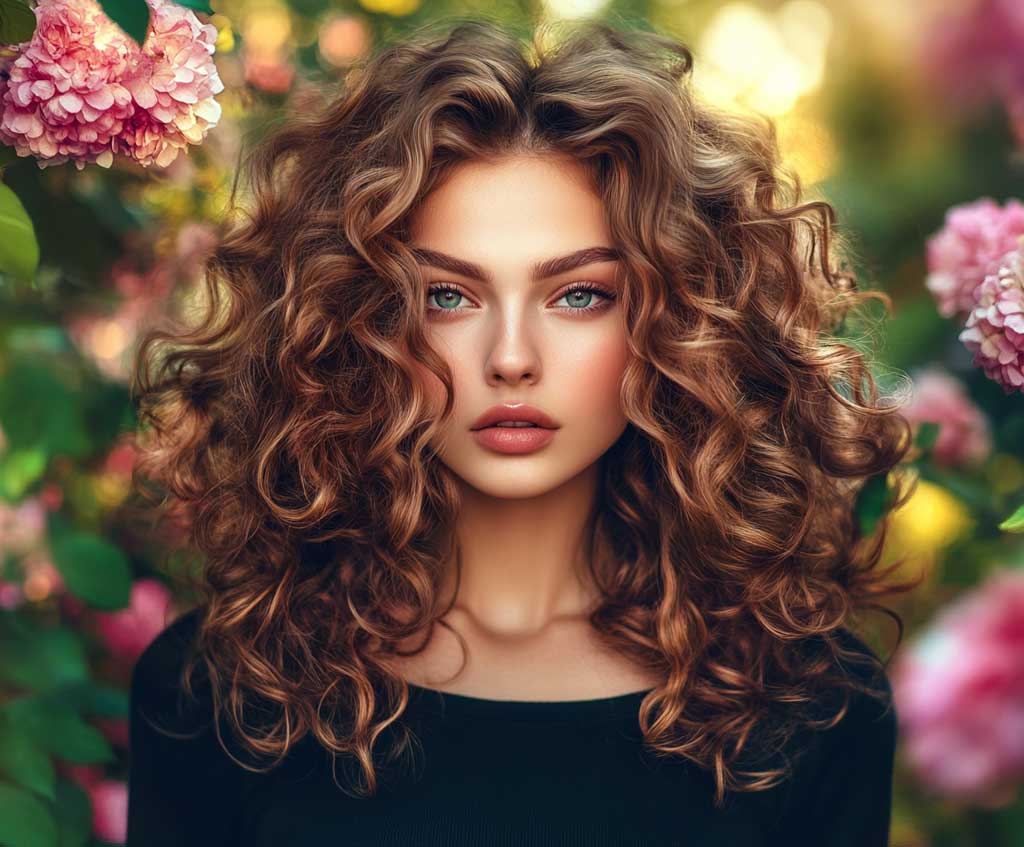
Long Layered Waves Pull the Eye Down, Not Sideways
Long layered waves are my first recommendation for a hairstyle for round face to look slim because the mechanics are obvious once you see them: the layers break horizontal width into diagonal movement, and the waves create visual anchors below the chin where the face is narrowest. I’ve worn this cut with a $12 Garnier Nutrisse balayage at home and the layers still read correctly. It’s not a high-maintenance style. It just looks like one.
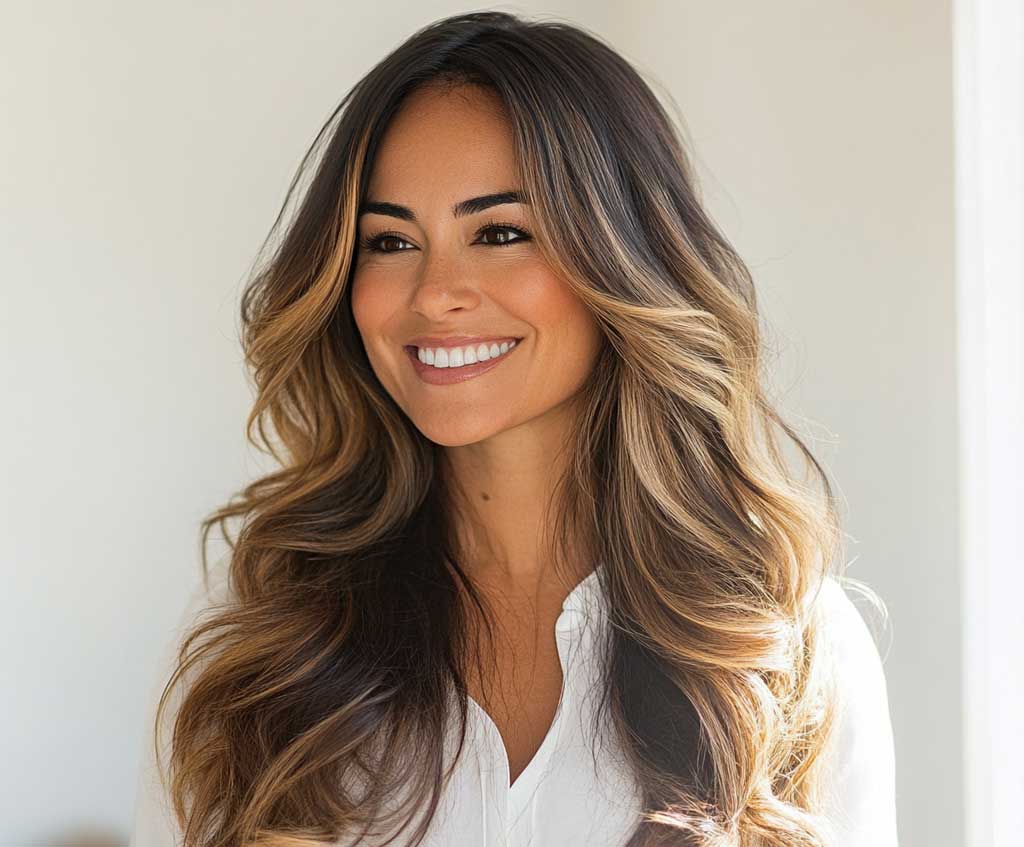
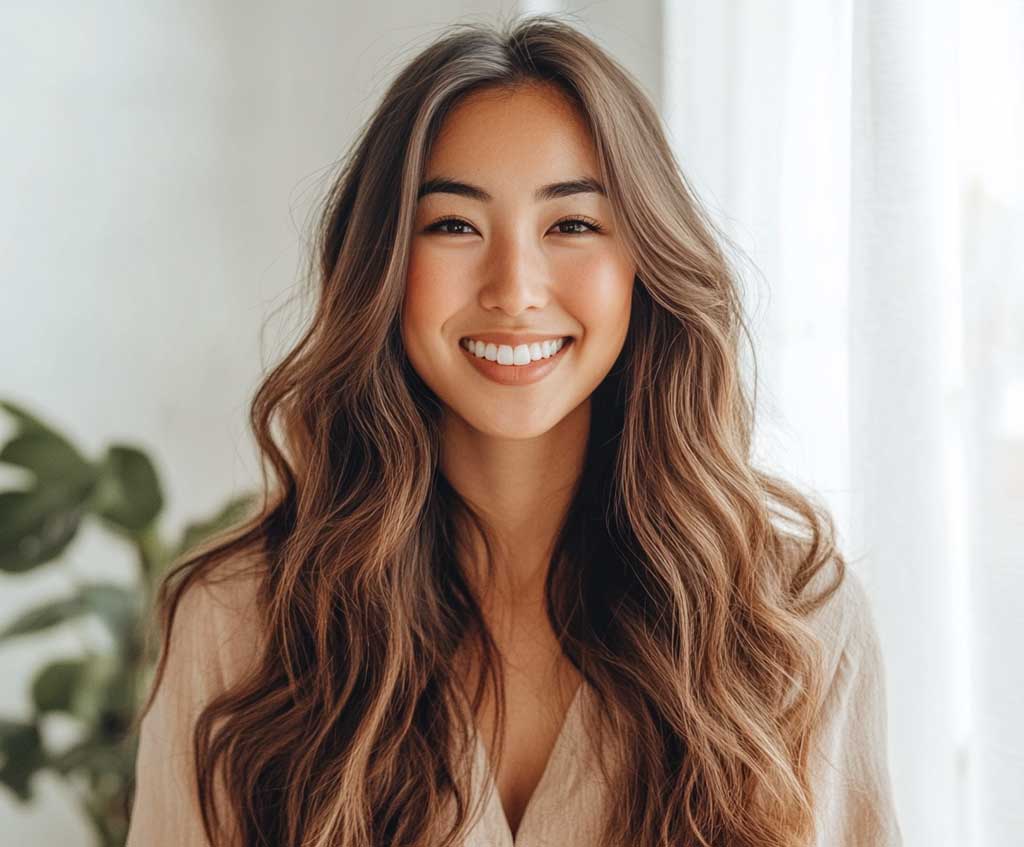
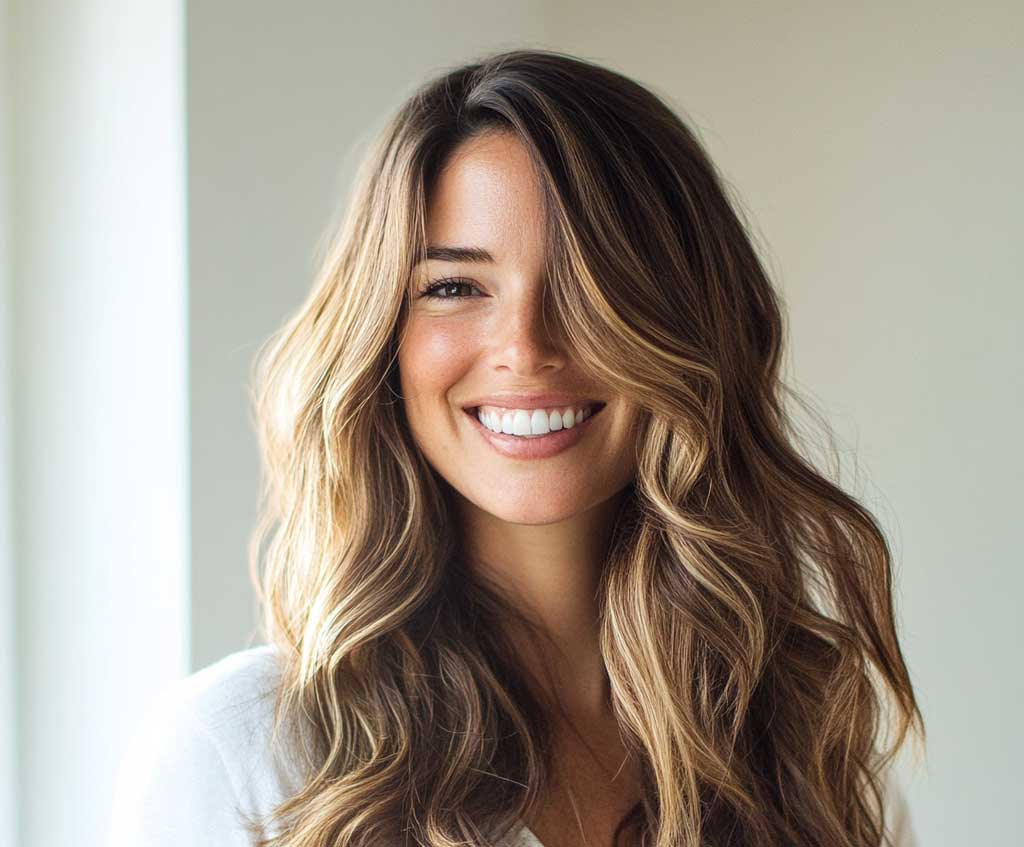

The placement of layers matters more than the number of them. Ask your stylist to start layering at collarbone level, not at the chin. Layers that stop at the chin add horizontal bulk at the widest part of a round face. Collarbone-length layers redirect that bulk downward. You’ll notice the difference in photos immediately — the face reads taller. Ask for it by name: “collarbone-level layers with no graduation above the jaw.”
For air-drying, scrunch in a small amount of Bumble and Bumble Curl Defining Cream (around $32 at Ulta) while hair is 80% wet. Don’t touch it until fully dry. The result is lived-in wave texture that moves when you walk — the movement is what does the slimming work, not product build-up. Skip this step with thick styling creams. They weigh the layers flat and the slimming effect disappears with them. Fine-hair styling without the effort goes into more detail on low-product wave techniques if your strands are on the lighter side.
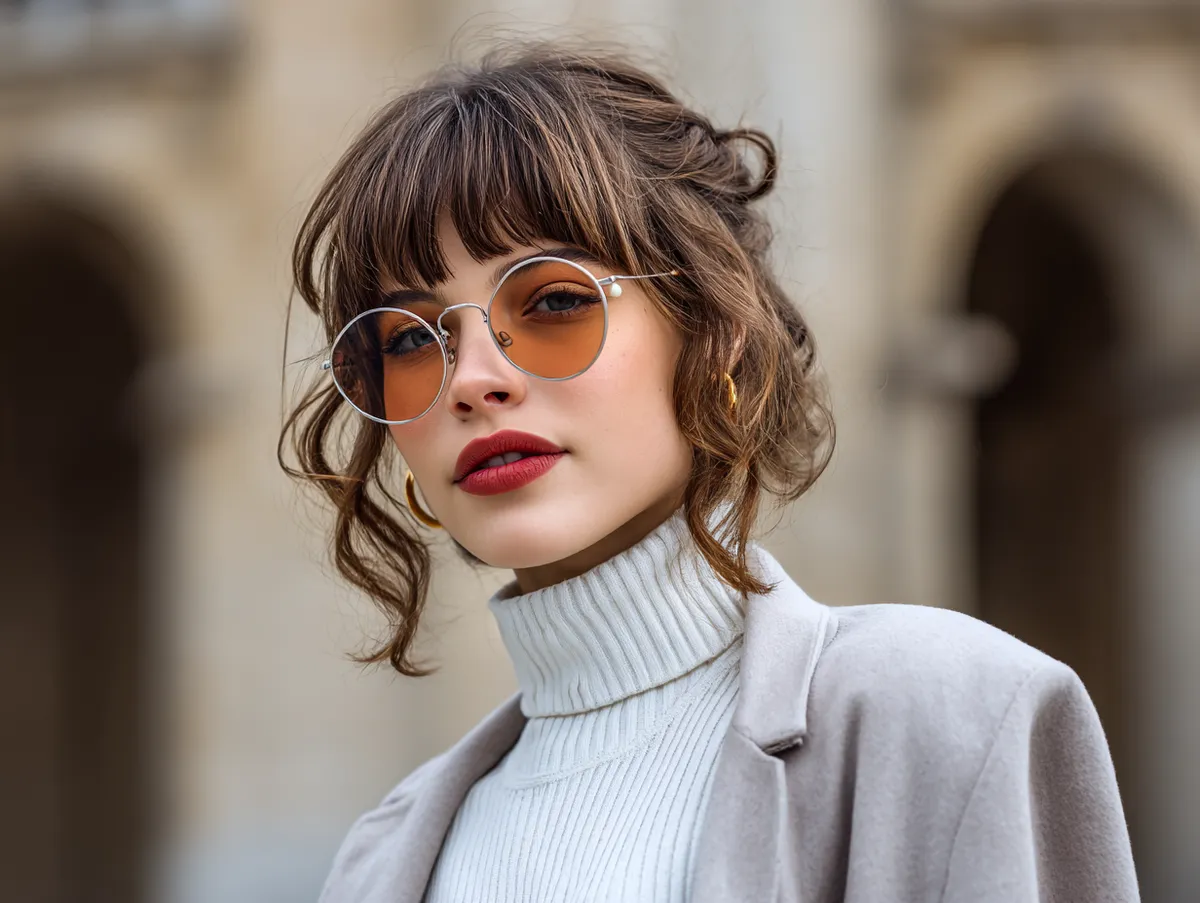
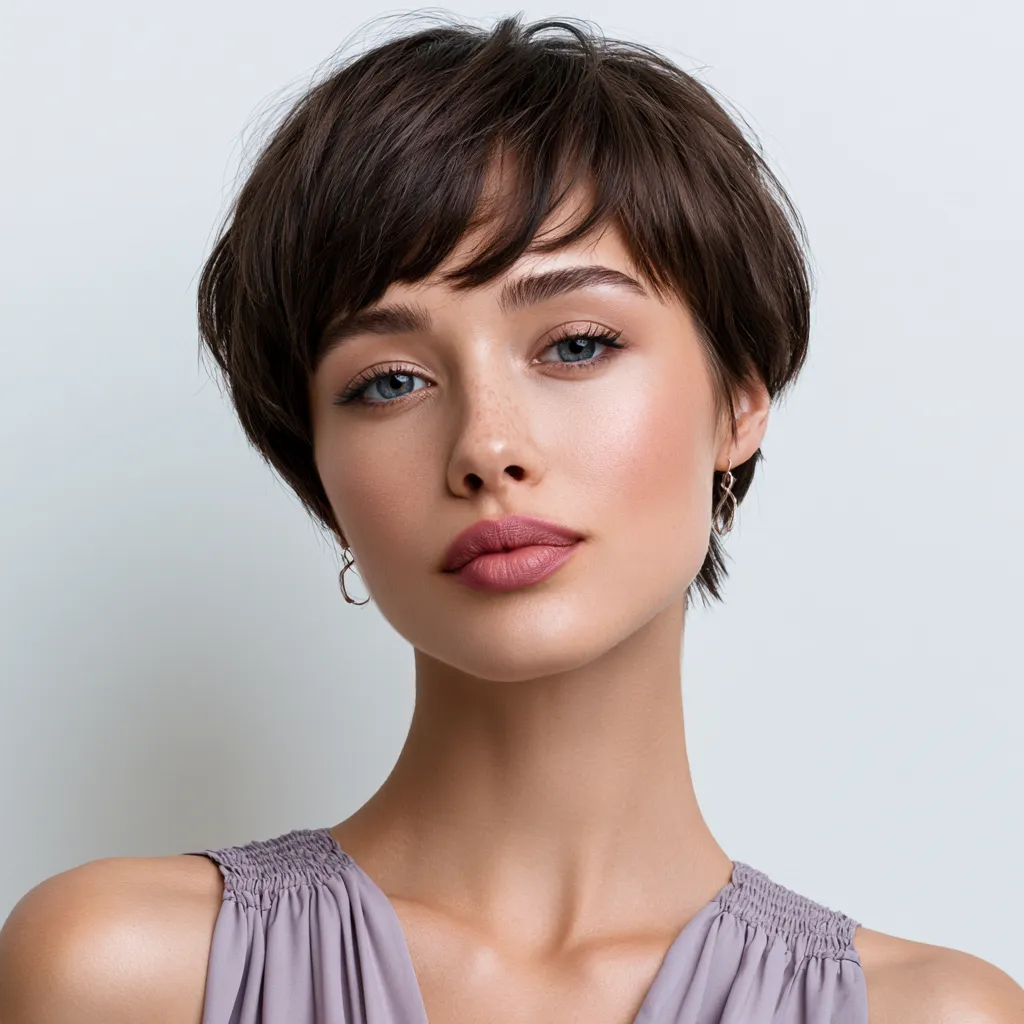
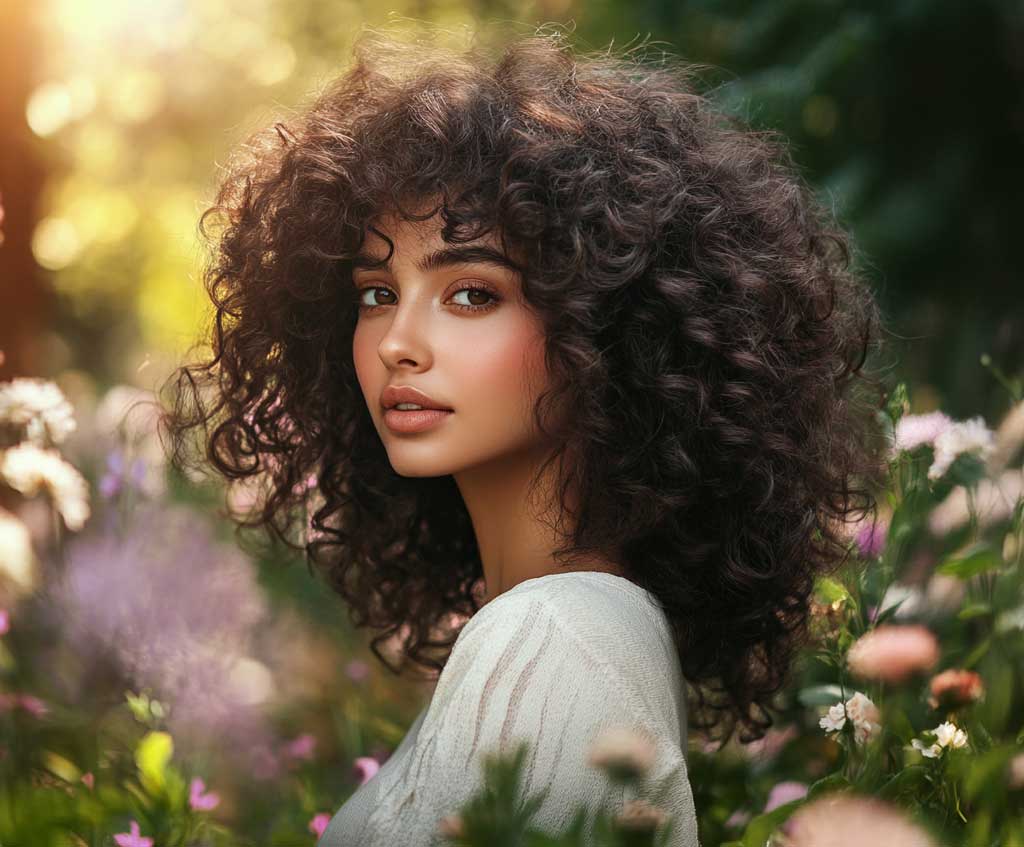
Side-Swept Bangs Create a Diagonal the Eye Has to Follow
Bangs hairstyle for round face to look slim only works when the bangs are angled — not blunt. Blunt bangs cut across the face horizontally and widen it. Side-swept bangs do the opposite: they introduce a diagonal that the eye instinctively follows from one side to the other, which reads as length, not width. I cut my own side-swept bangs with nail scissors in 2022 and wore them for eight months straight. They were the best thing I did for my face shape that year.
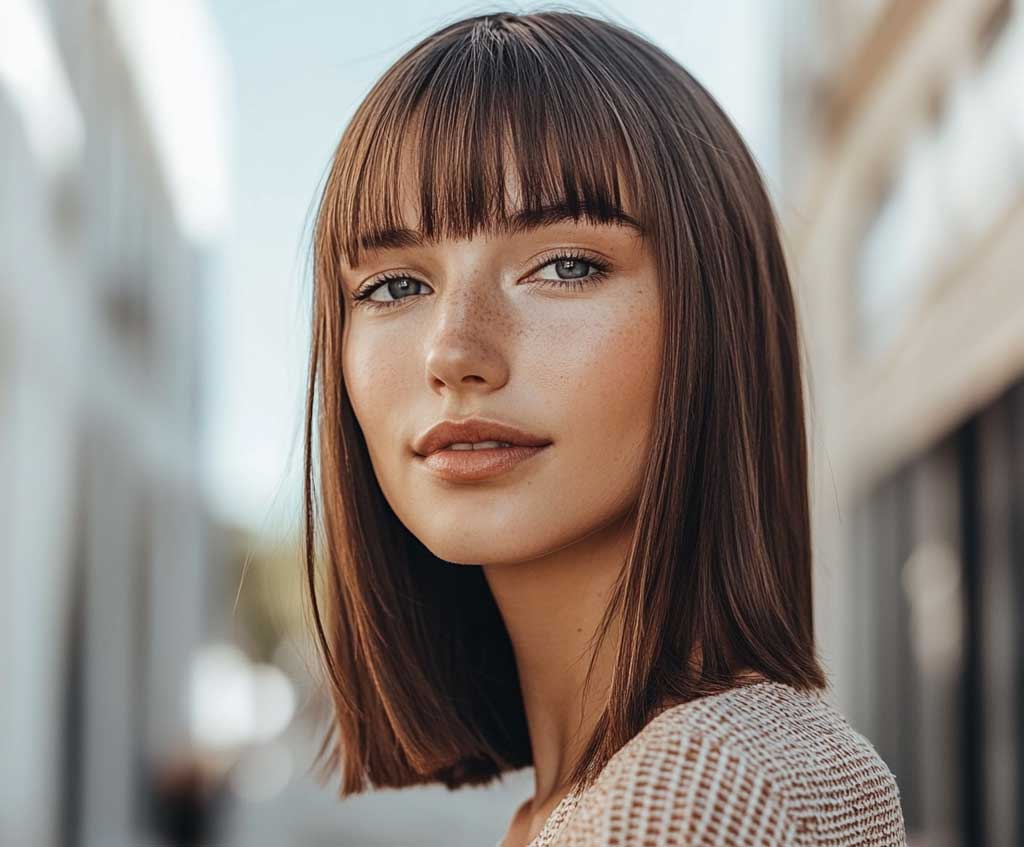
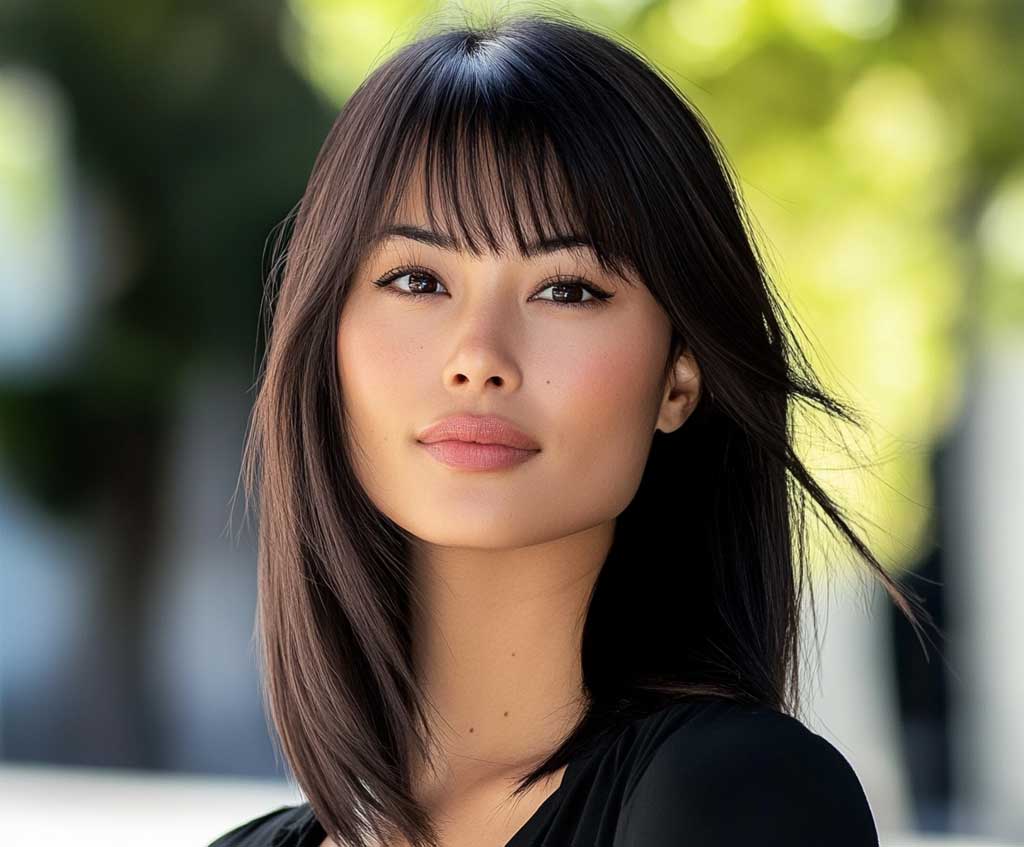
The placement rule is specific: sweep the bangs so they cross the brow at a 30-degree angle and tuck behind the ear on the shorter side. This pulls the gaze across the forehead diagonally instead of down the center, which breaks the circular framing effect of a round face. What doesn’t work? Sweeping the bangs but leaving them thick and heavy. Heavy bangs droop and cover the eye, which adds width to the upper face. Keep them thin enough to show skin at the temple.
For wavy hair, the trick I stole from my stylist at the salon: blow-dry the bangs with a round brush rolling them toward the face, then immediately cool them with the dryer on low. They hold the sweep for 12 hours without product. For straight hair, a touch of Kenra Platinum Silkening Mist ($24) dragged through with a fine-tooth comb is enough. Curly hair needs the bangs blown straight first — fighting the curl on a side-swept bang gives you a poof, not a diagonal.
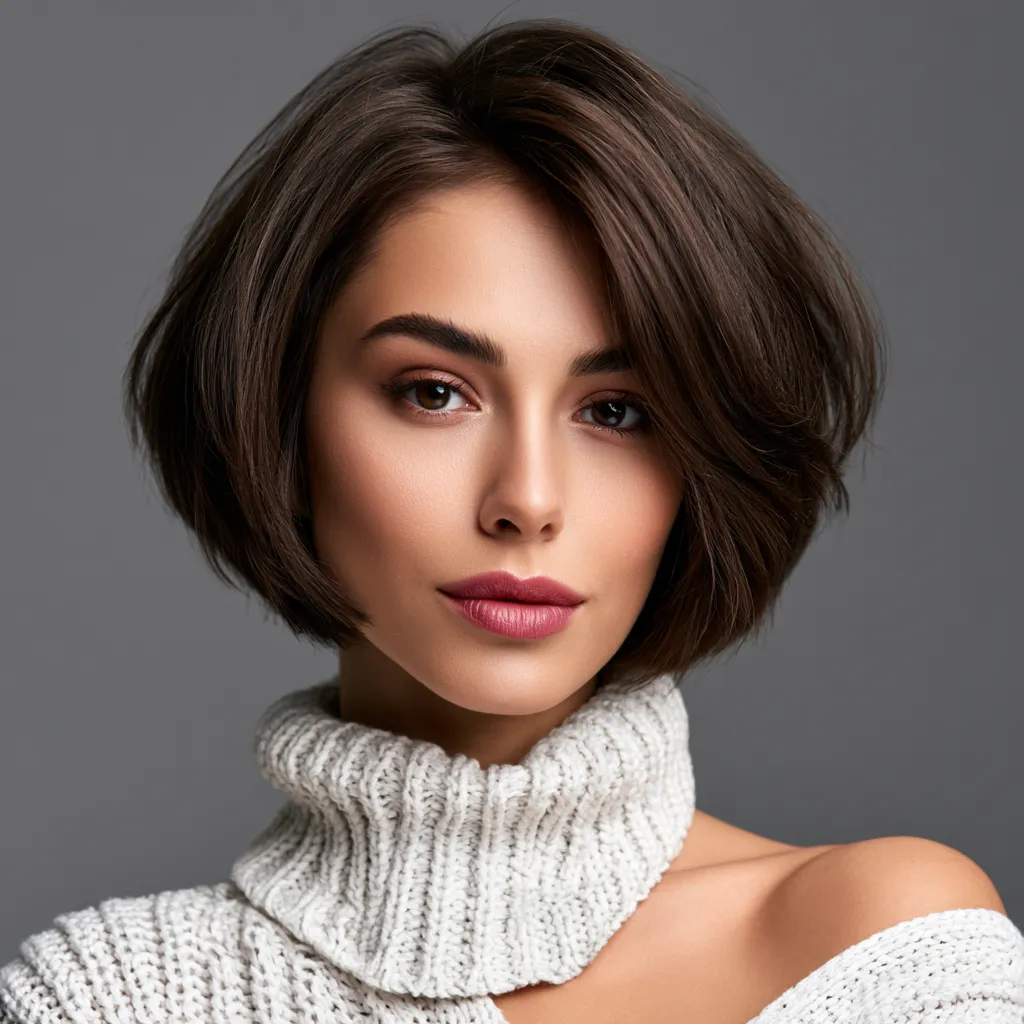
Don’t Do This with Round Face Hairstyles
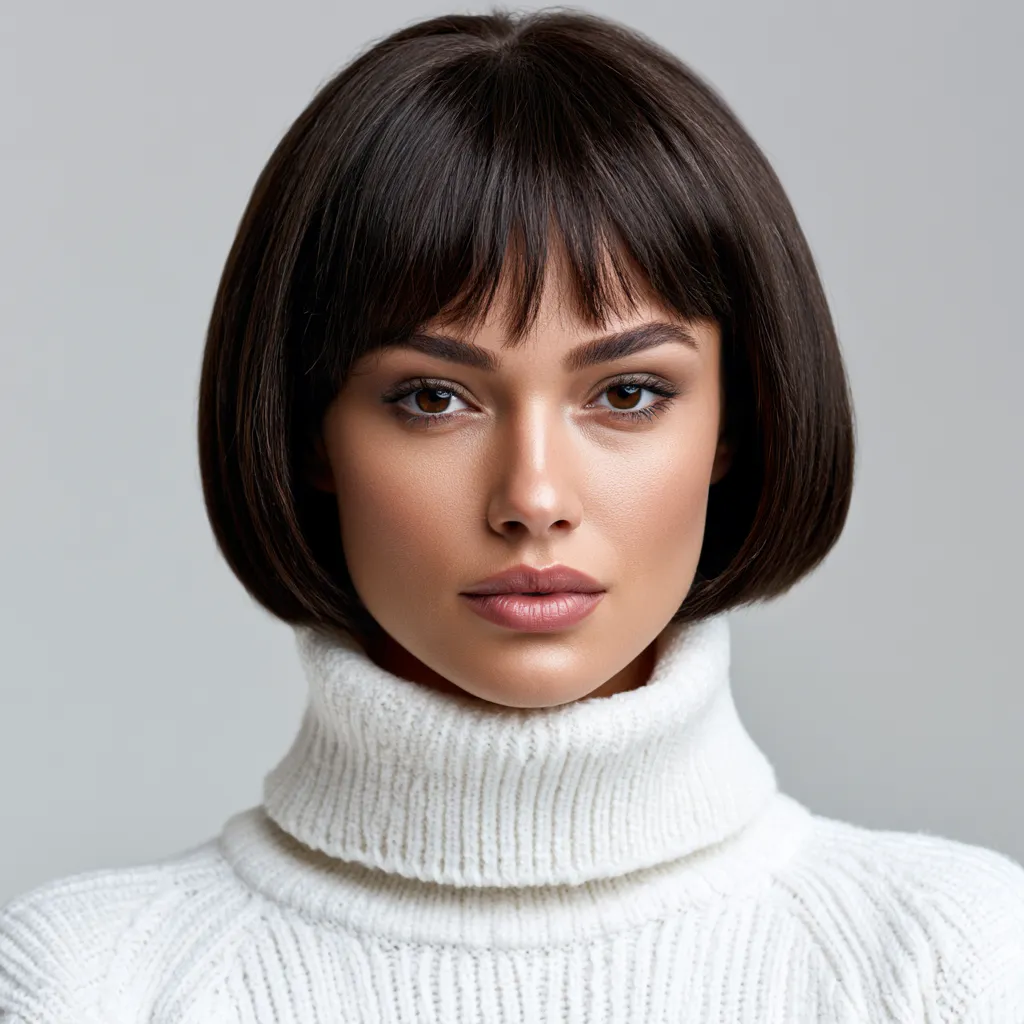
- Blunt chin-length bobs with no layers. They stop exactly at the widest point of a round face and emphasize the horizontal line. I had one in 2019. Every photo from that year confirms it.
- Curtain bangs that part dead center on a round face. They frame the face like parentheses and make it rounder. Curtain bangs work on oval faces. On round ones, the gap in the middle widens the forehead visually.
- Tight curls kept loose and wide at the sides. Volume at the sides is the one thing to avoid. If you have naturally curly hair, pin or clip the sides up slightly to direct volume upward, not outward.
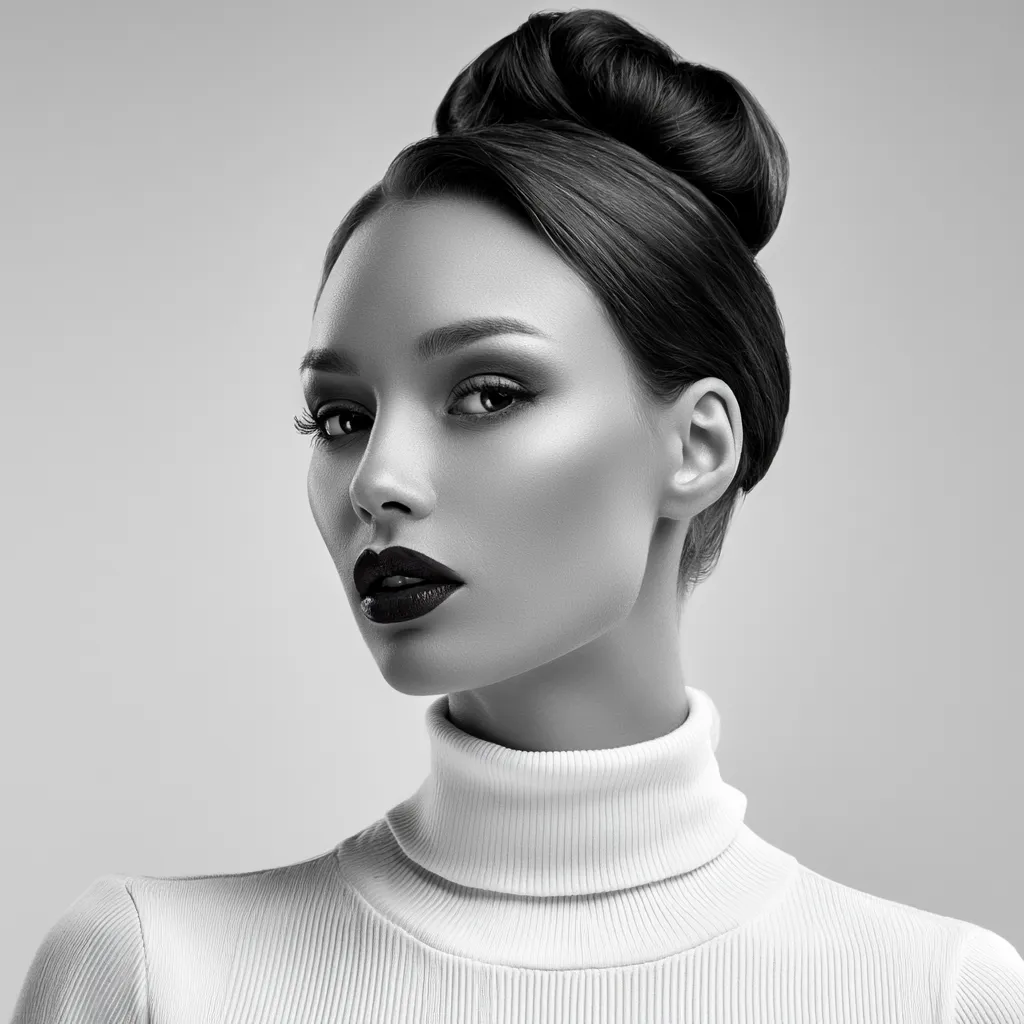
- A low, centered bun at nape height. This shortens the neck and removes all vertical length from the face. Go high or go home.
- Full, wide layers ending above the shoulder. They add horizontal bulk. Layers need to be long enough to fall below the collarbone to work for a round face shape.
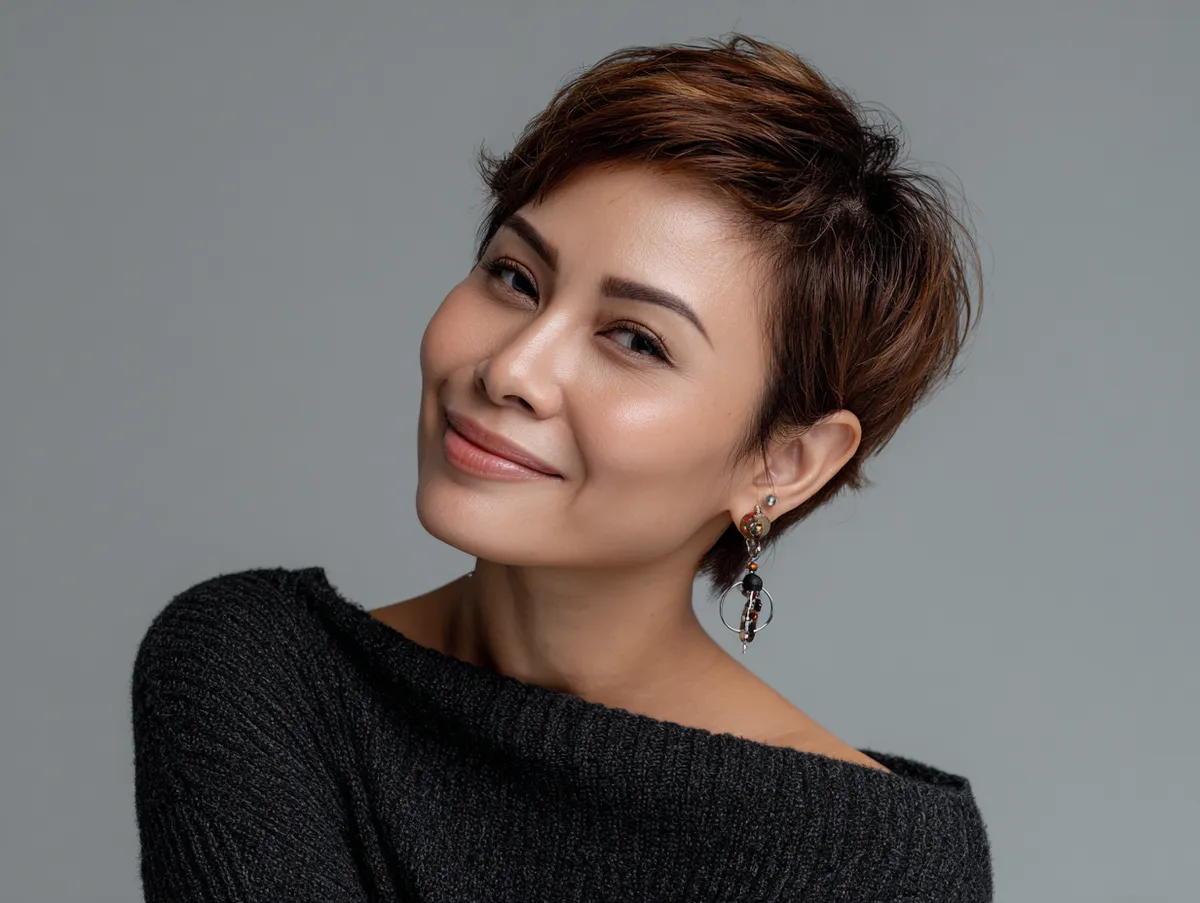
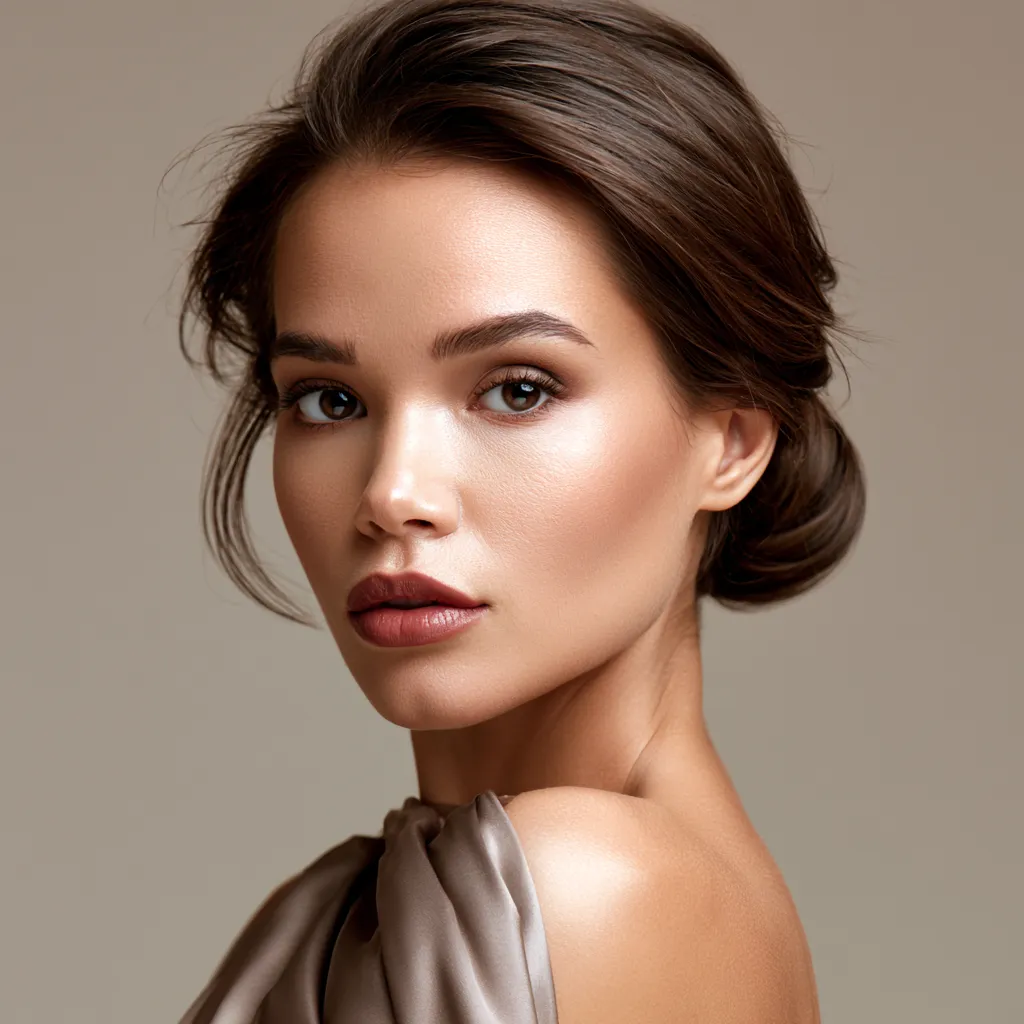
High Ponytail — No Products, No Salon, Still Works
You’ll find the high ponytail in every round-face hairstyle list for a reason: it works mechanically, not decoratively. Pulling all hair up and backward exposes the neck, elongates the visual line of the face, and creates a crown-height lift in about 90 seconds. I use this on every video call when I haven’t styled anything. No one has ever noticed it’s a default setting.

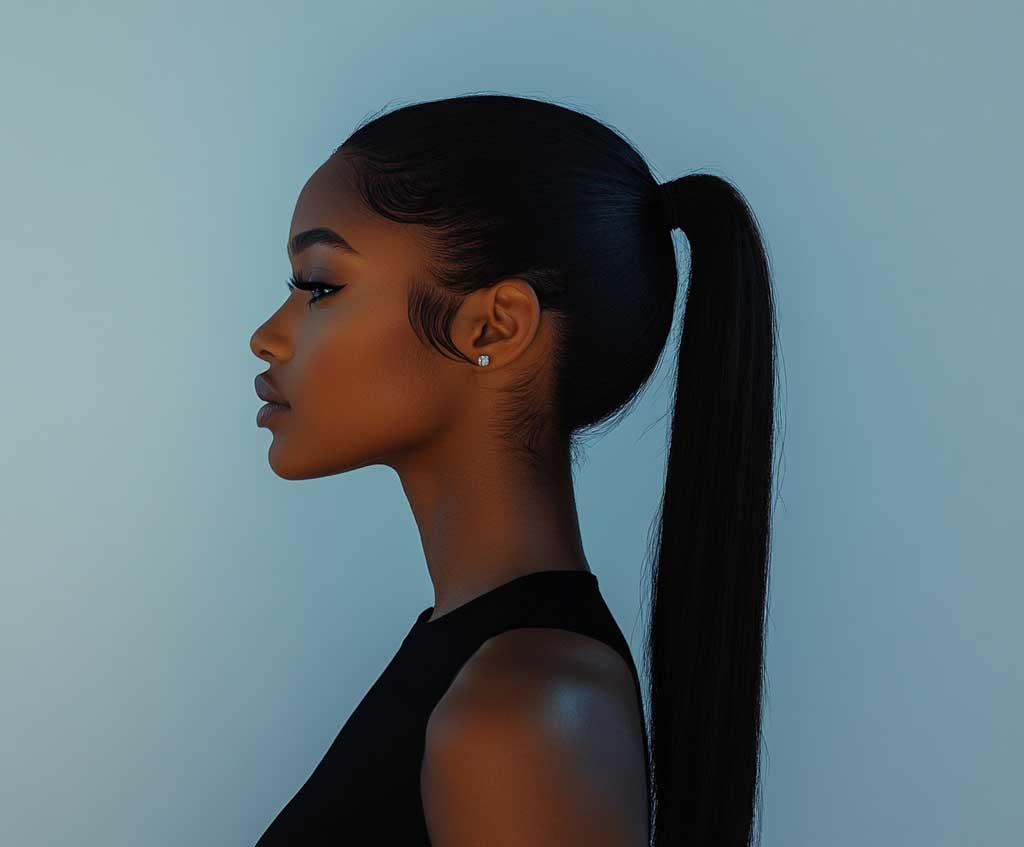
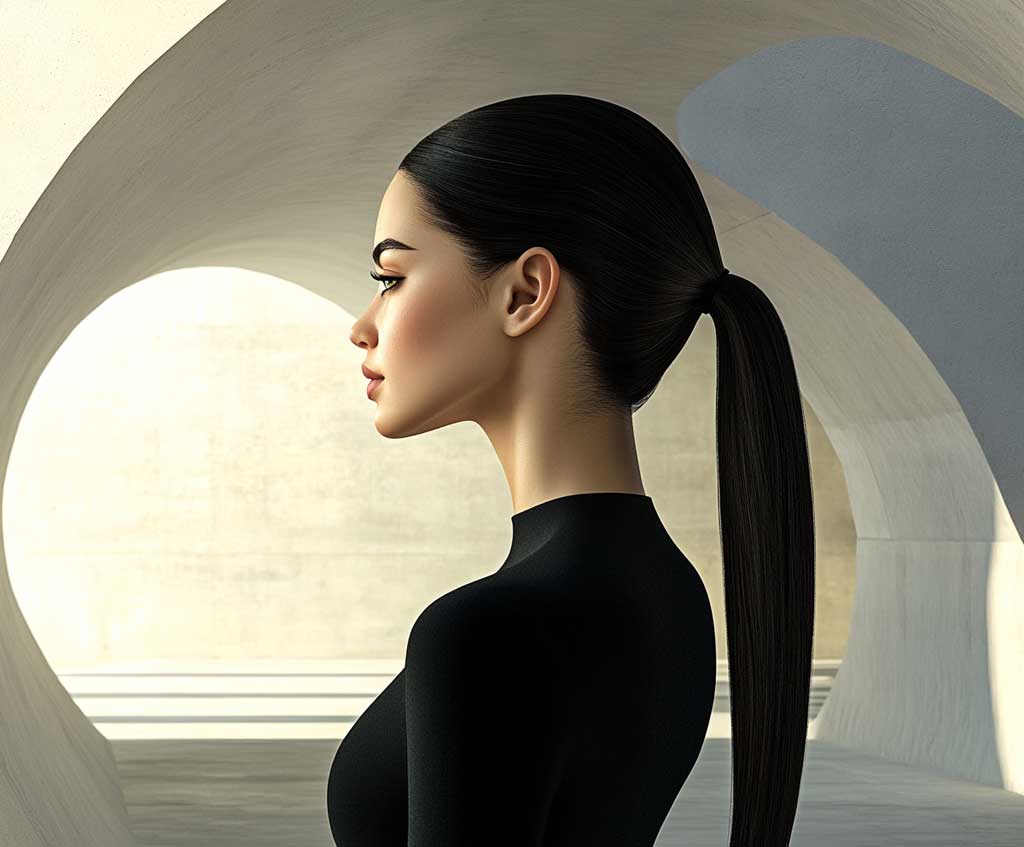
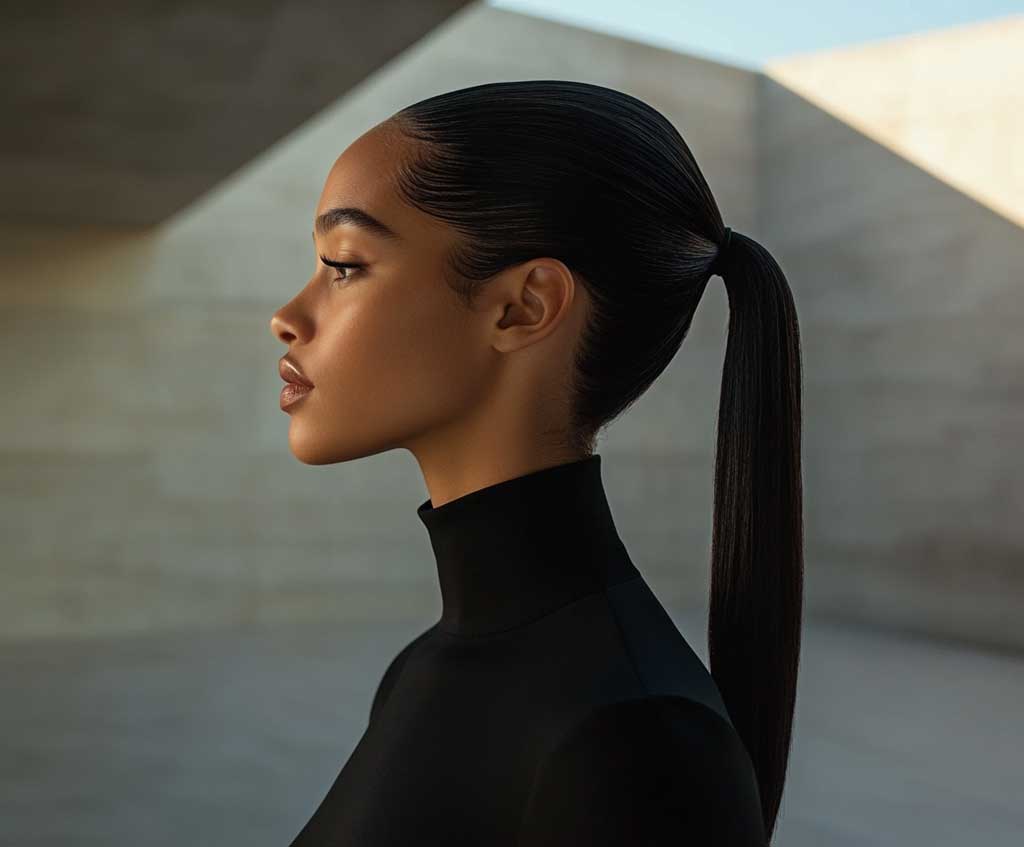
Height placement is non-negotiable. A ponytail at ear level does nothing — it sits at the same horizontal plane as the widest part of the face and emphasizes it. The base of the ponytail needs to sit at the very top of the head, directly above the ears. Pull the front sections tight before securing to avoid any poof at the temples. Poof at the temples is added width. Smooth is slimming.
Want the jawline to look sharper? Pull two thin face-framing pieces out of the ponytail at the front and let them fall alongside the face. This frames the jawline and cheekbones without adding bulk. Don’t curl them — flat and straight reads sharper than wavy here. This works especially well on wedding hairstyle for round face to look slim because it keeps the polish of an updo while adding that defining frame. These round-face flattering styles show the same principle applied to bolder updo variations.
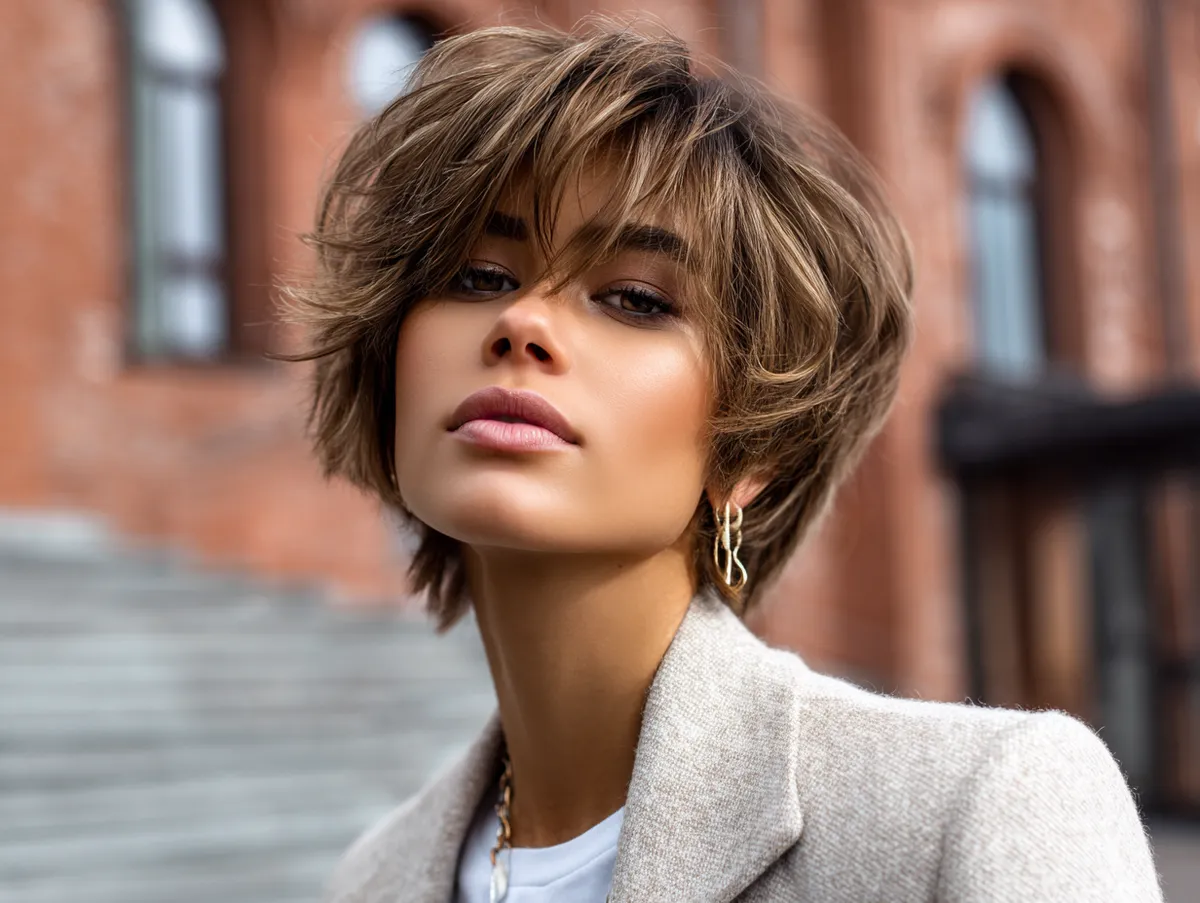
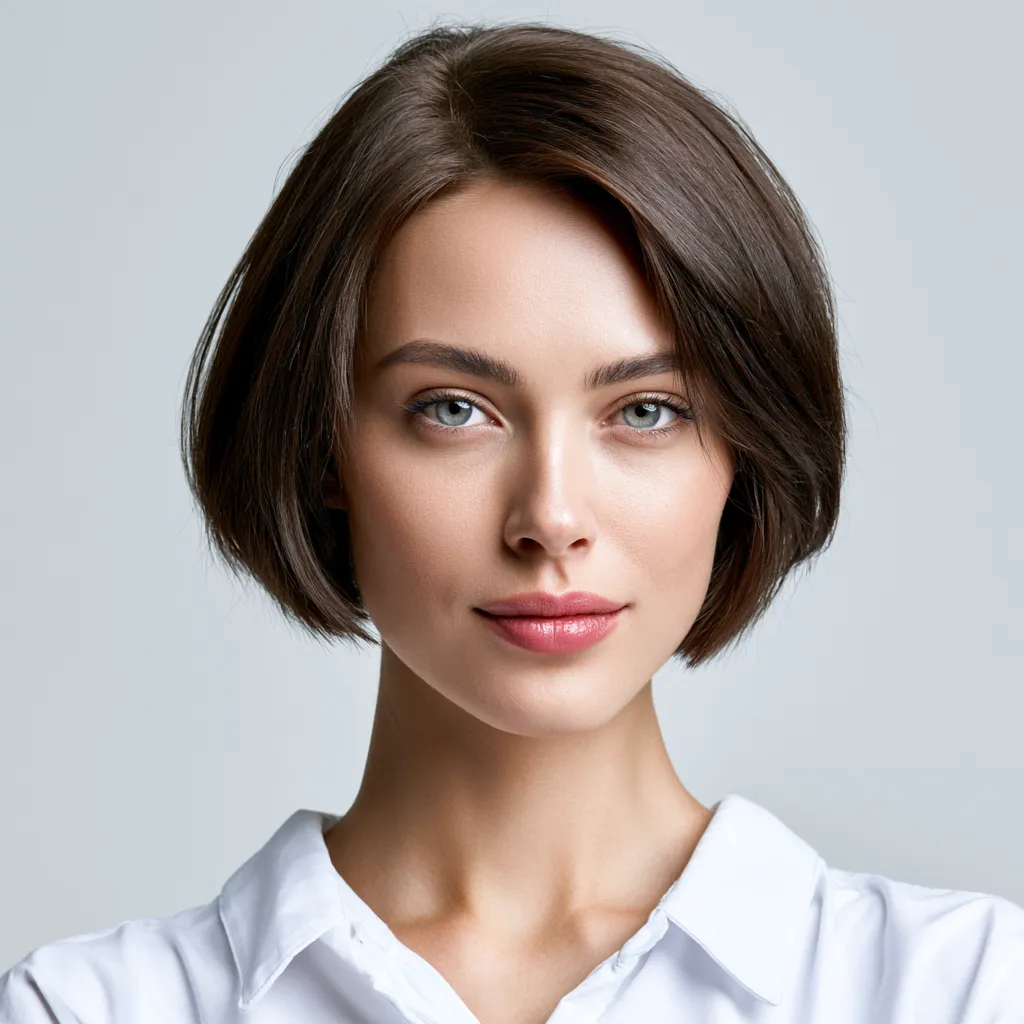
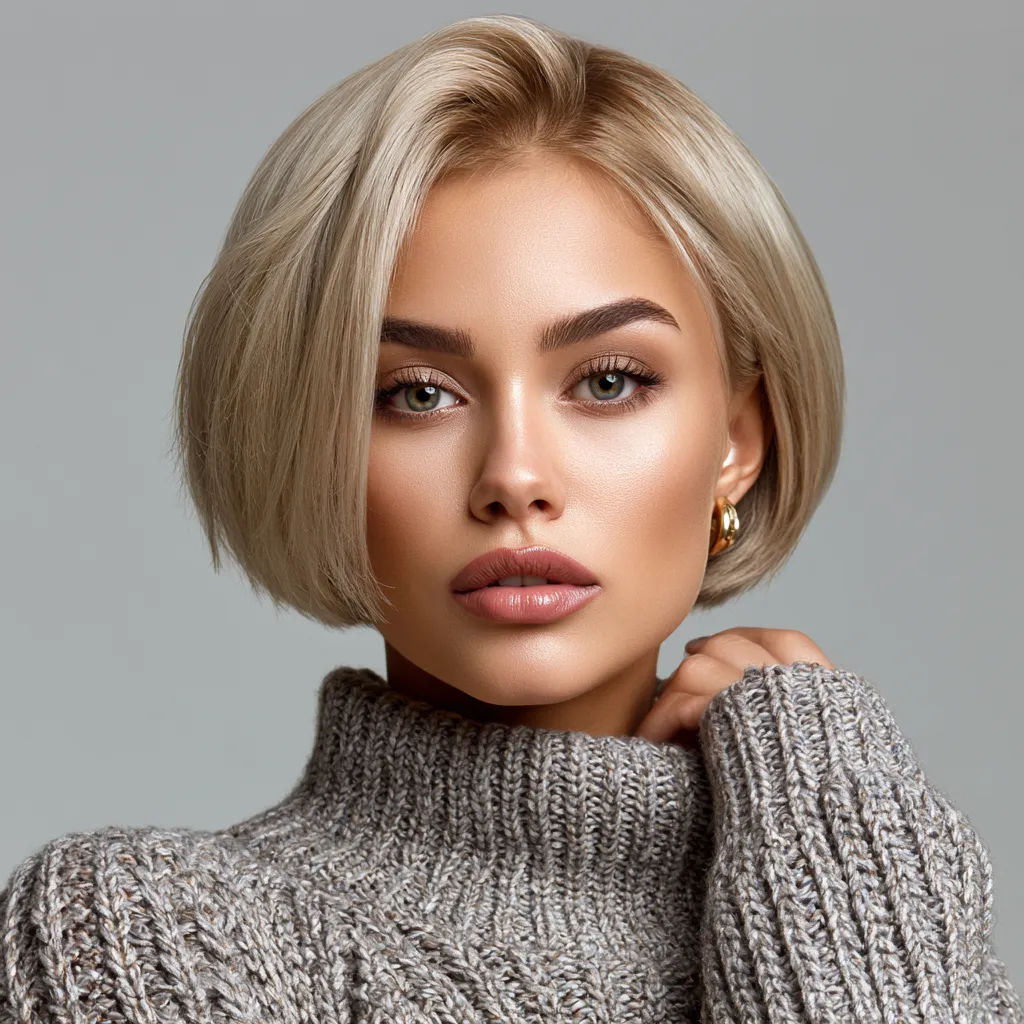
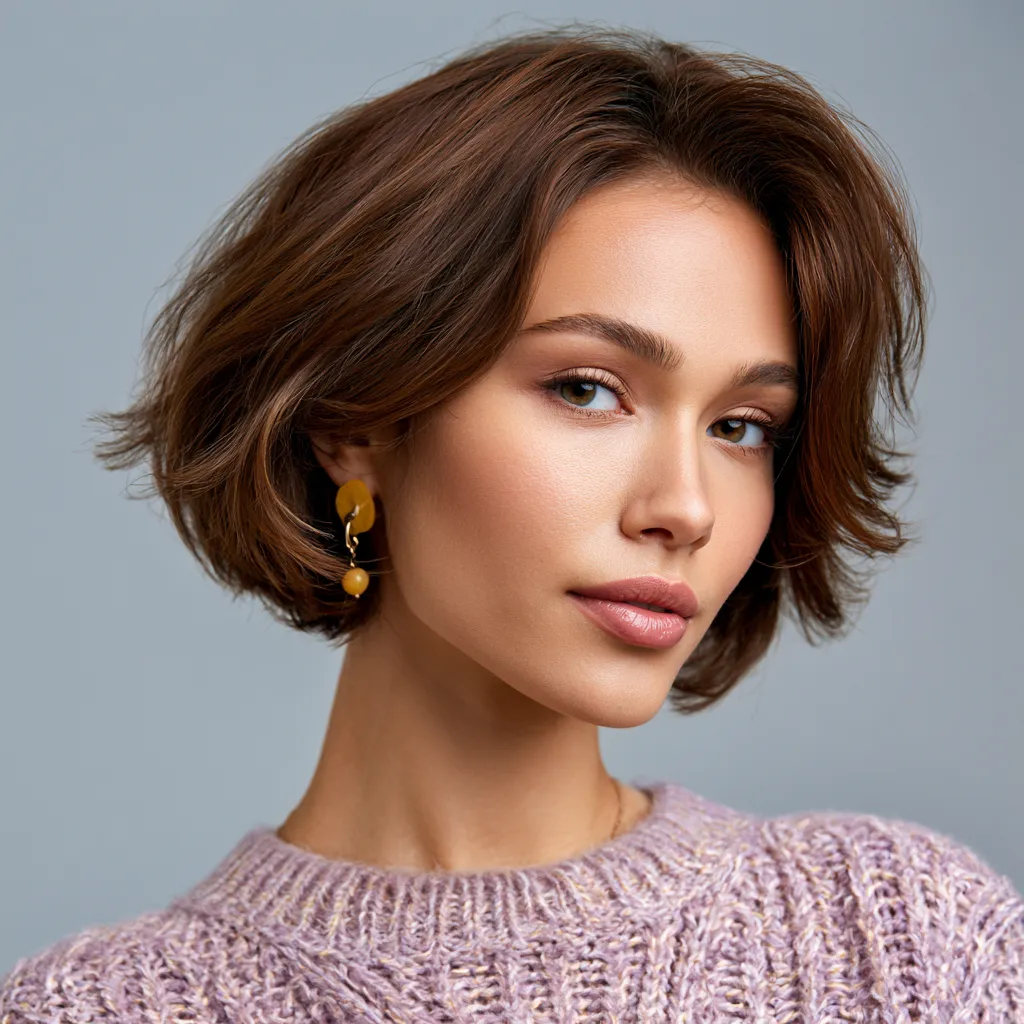
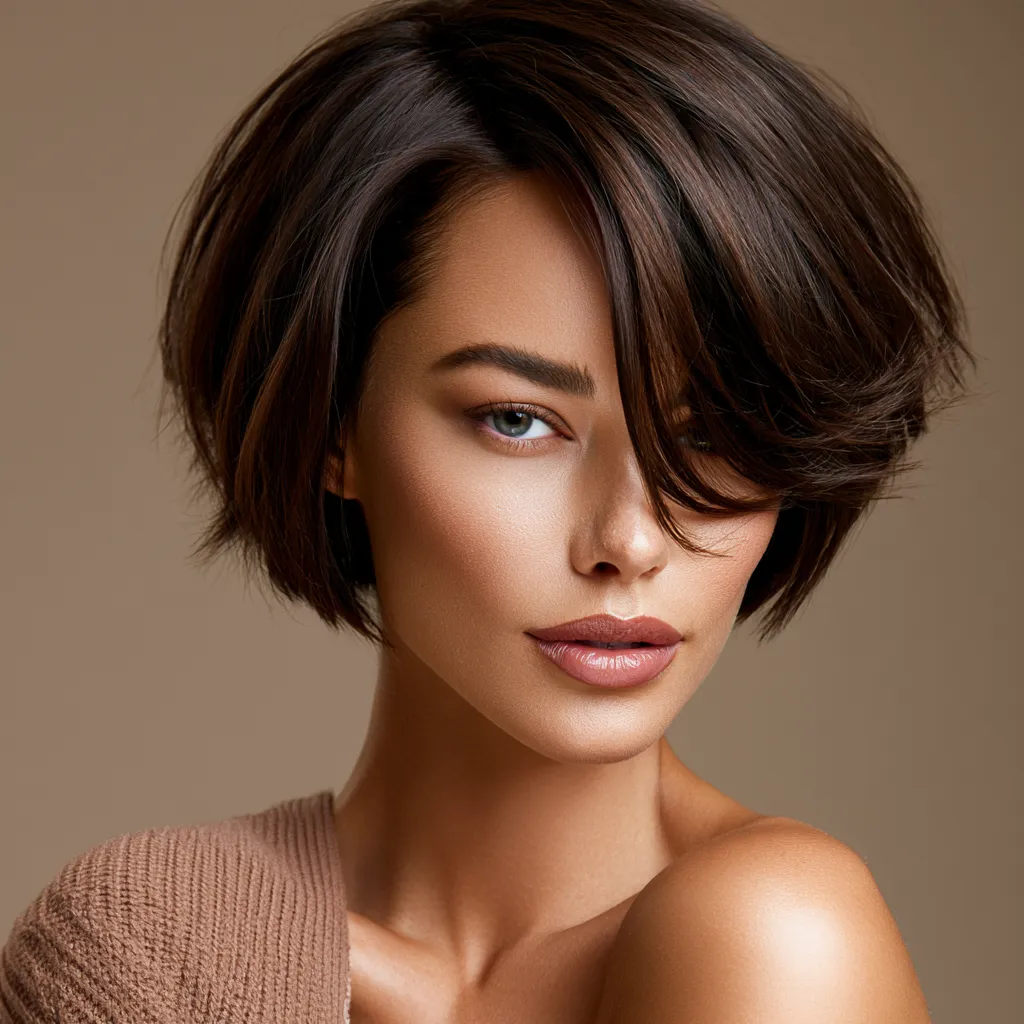
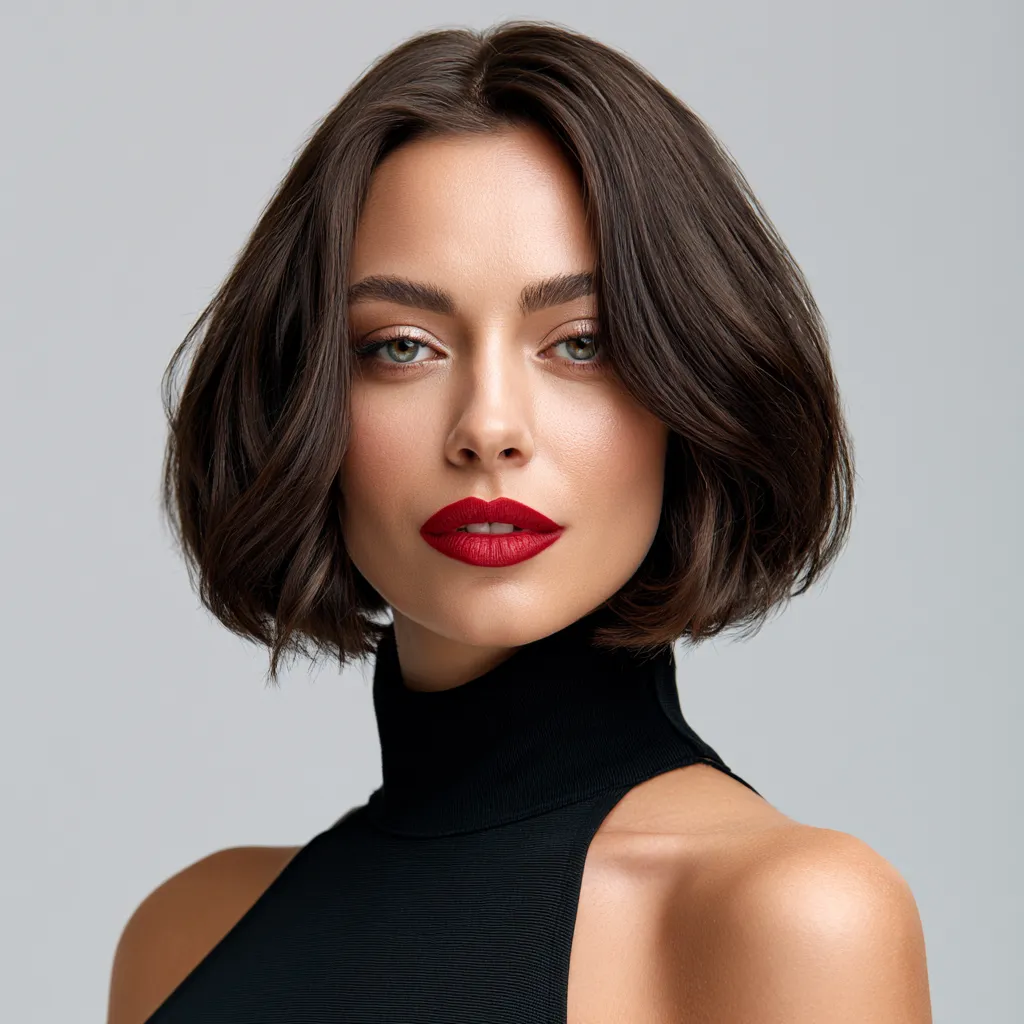
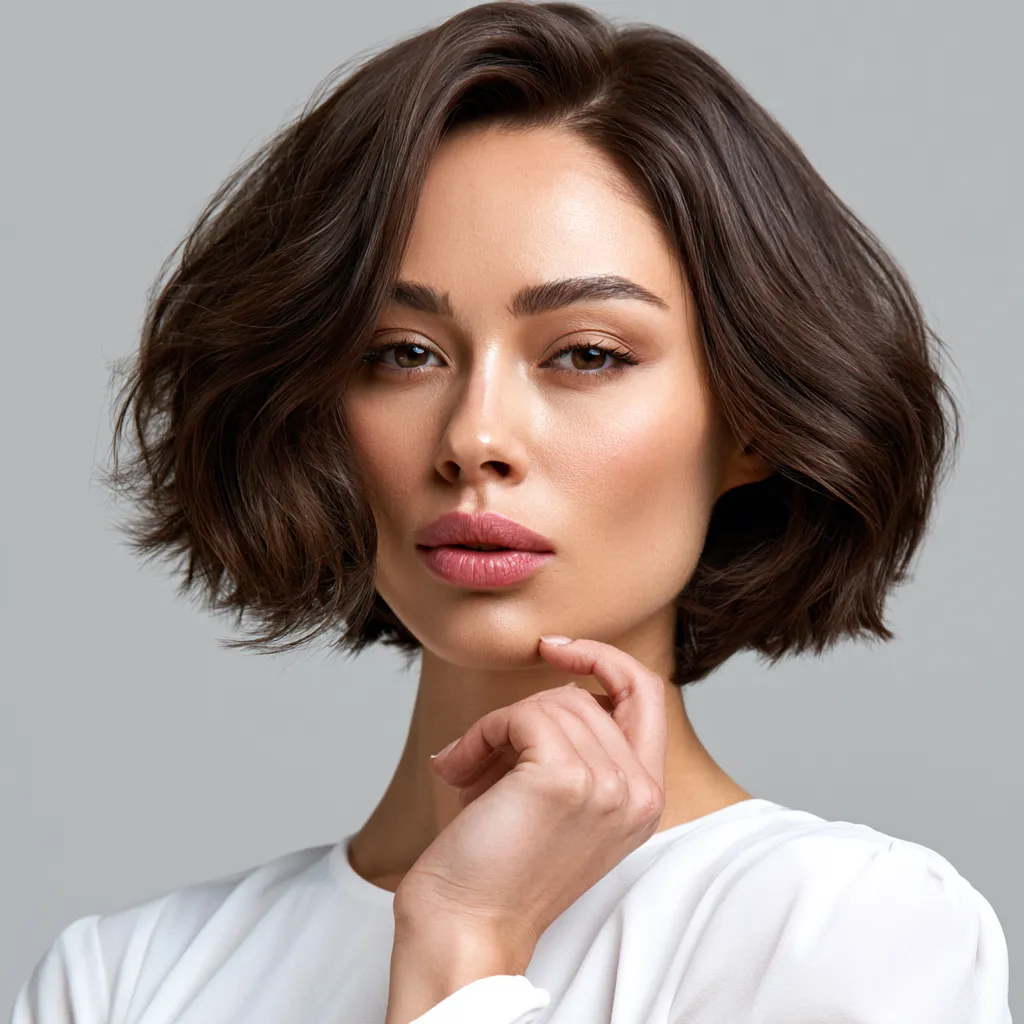
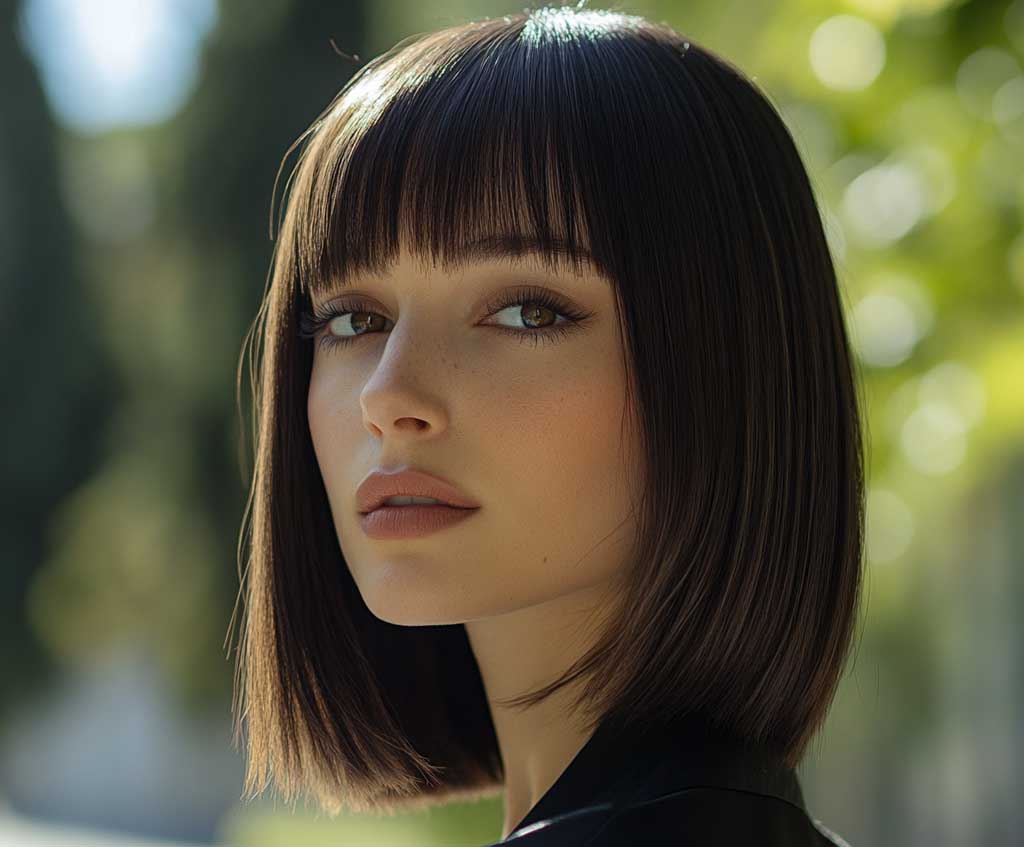
Asymmetrical Bob Earns Every Angle It Creates
The asymmetrical bob works on round faces because uneven lengths force the eye to move diagonally — the same optical principle as side-swept bangs, scaled to an entire cut. The longer side falls past the jaw and creates the impression of length on that half of the face. The shorter side adds contrast. The result is a face that reads more angular than it actually is.
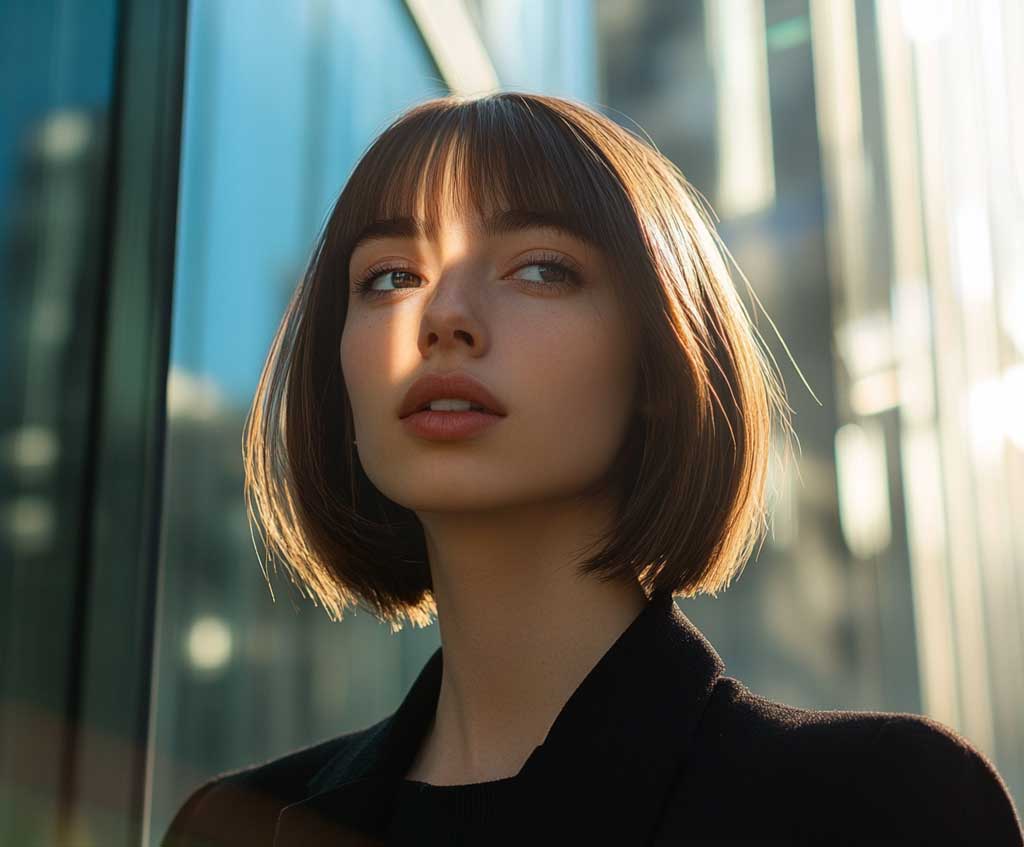
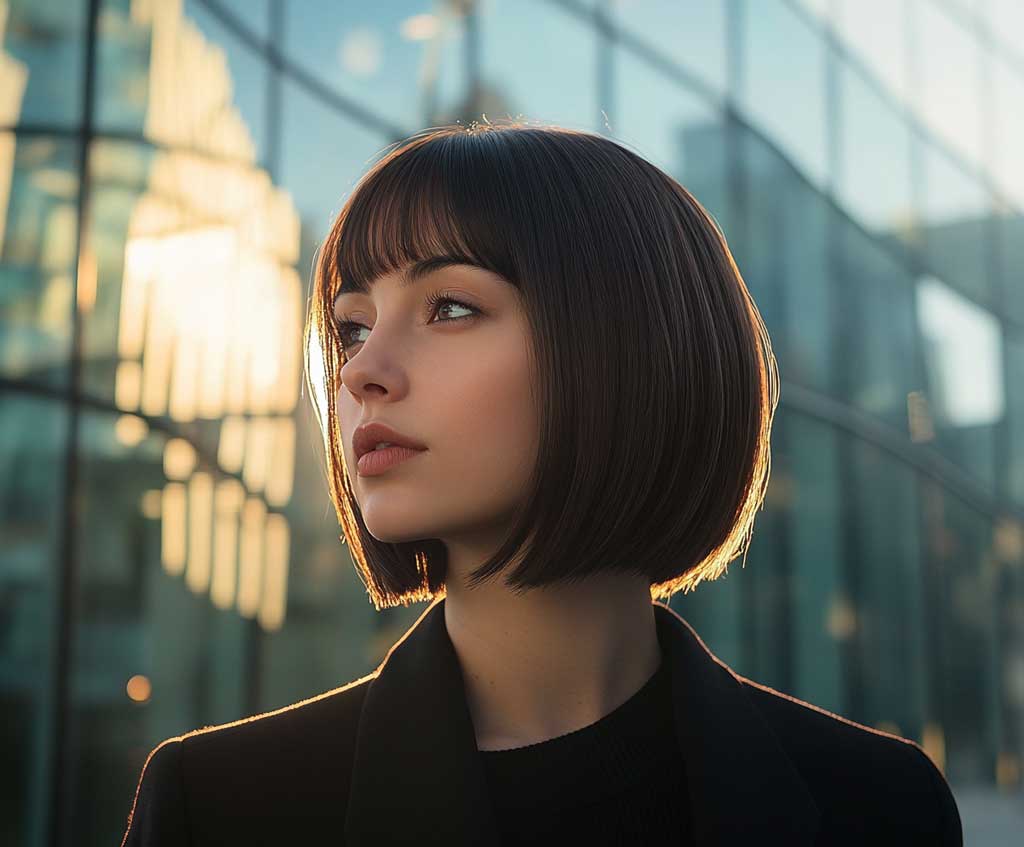

Where most people get this cut wrong: they ask for an asymmetrical bob and end up with a barely-there length difference. The asymmetry needs to be visible — at least 2 inches between the long and short sides — for the optical effect to register. A 0.5-inch difference just reads as an uneven haircut. Be specific at the salon: “I want the long side to reach my collarbone and the short side at the earlobe.” Budget around $65–$90 for the cut at a mid-tier salon; a specialty cut like this requires a stylist who actually knows what they’re doing.
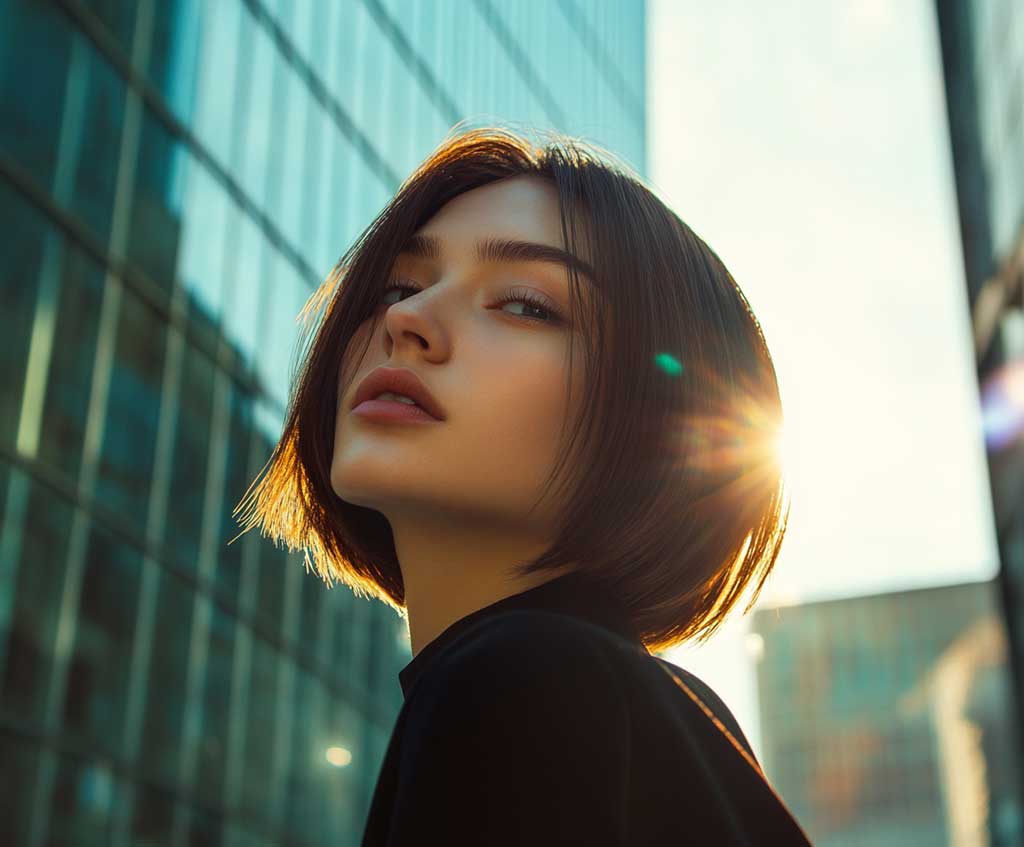
For straight hair, run a flat iron through the long side to keep it sleek. For wavy hair, embrace the natural texture — it softens the angles without losing the asymmetry effect. Curly hair needs the bob blown out to read correctly; the curl pulls both sides toward the same length visually and loses the contrast. A Dyson Airwrap (around $599 new, or $280 refurbished on eBay) or any round brush dryer does the job in about 8 minutes on a short bob length.
Voluminous Curls for Thin Fine Hair — Height Goes at the Crown, Not the Sides
Hairstyles for thin fine hair and round faces are where most advice breaks down — people assume fine hair can’t hold volume, and people assume curls add unwanted width. Both are wrong when you control where the volume lands. The entire framework for this look is: maximum height at the crown, minimum volume at the temples, and curls that taper as they fall. I’ve done this with a $25 Conair curling wand and it photographs identically to a $200 blowout.
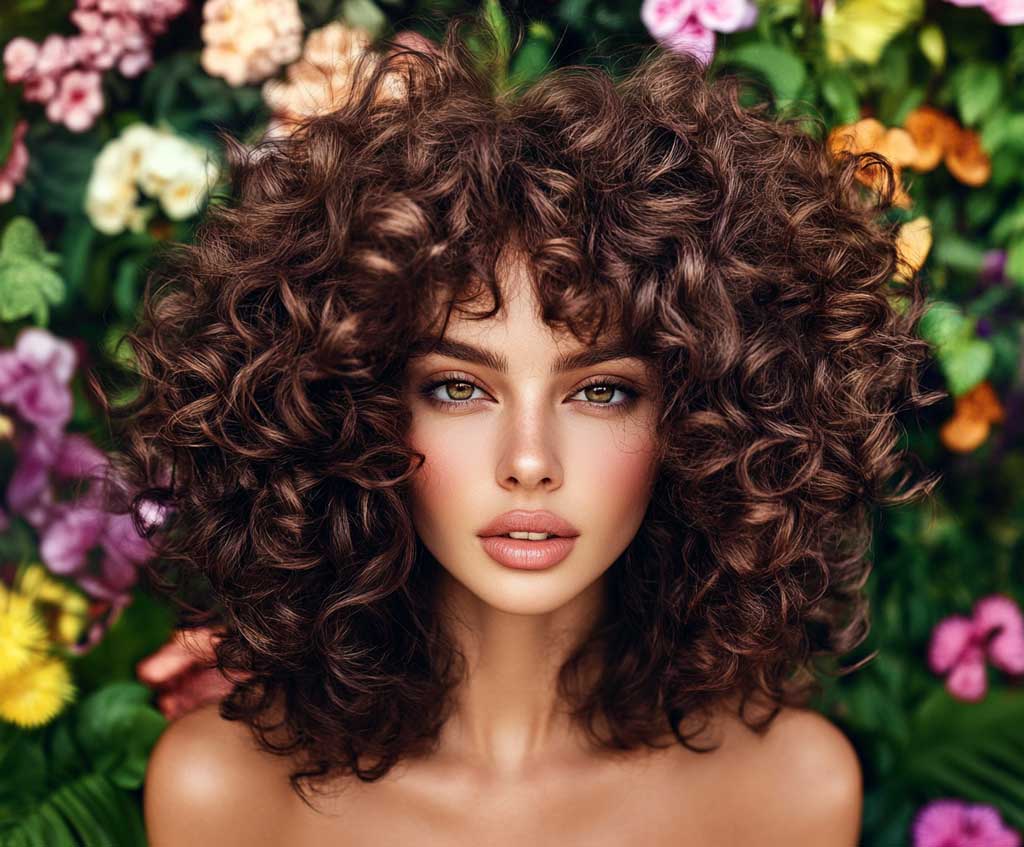
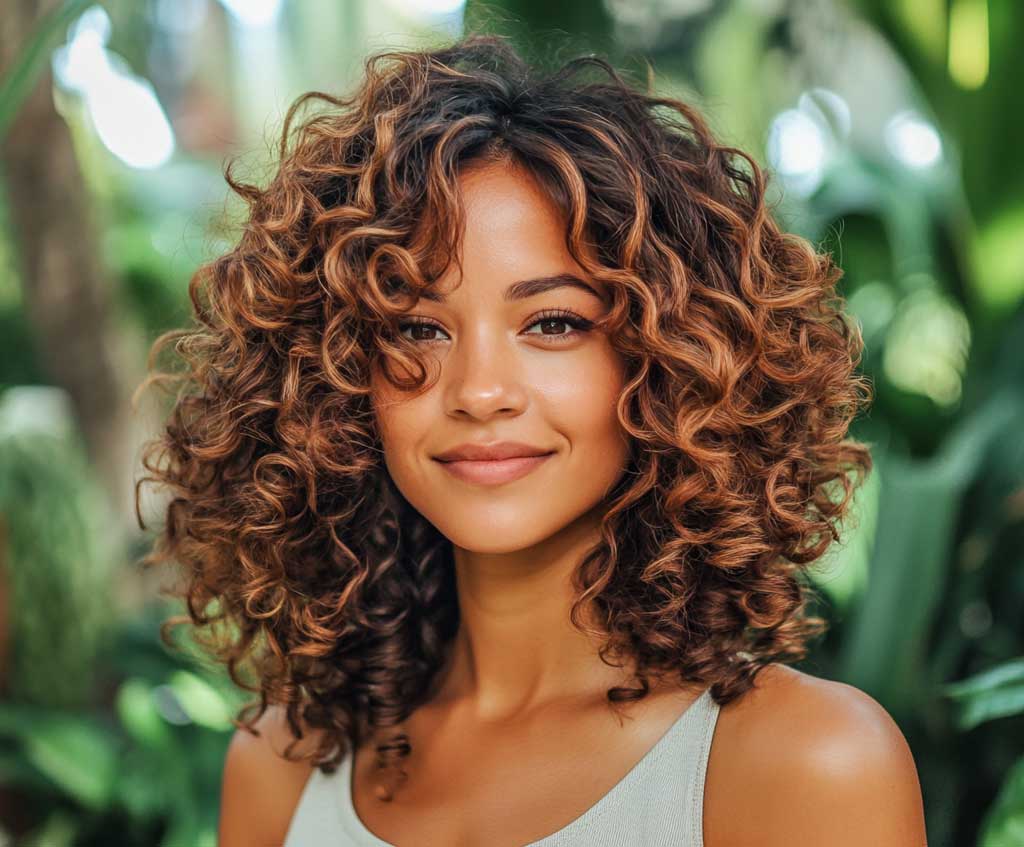
The product sequence for fine hair: spray Oribe Dry Texturizing Spray ($49 at Sephora) at the root before curling. Don’t curl the roots — curl from mid-shaft down. This keeps the crown lifted and loose while the curl forms in the lower section. Pin the curled sections upward while they cool (bobby pins work fine). Release after 10 minutes. The result is curl that sits up rather than falling sideways. That upward direction is the entire slimming mechanism here.
What ruins this for fine hair: heavy curl creams applied before curling. They weigh fine strands down within an hour and the carefully placed crown volume collapses. Stick to a light mousse — Not Your Mother’s Curl Talk Mousse is $7 at Target and works identically to the $40 salon versions I’ve tested. Apply it to damp hair before any heat, then let the texturizing spray do the finishing work. Bob cuts for thin hair that look thicker covers more volume-building techniques for fine strands specifically.
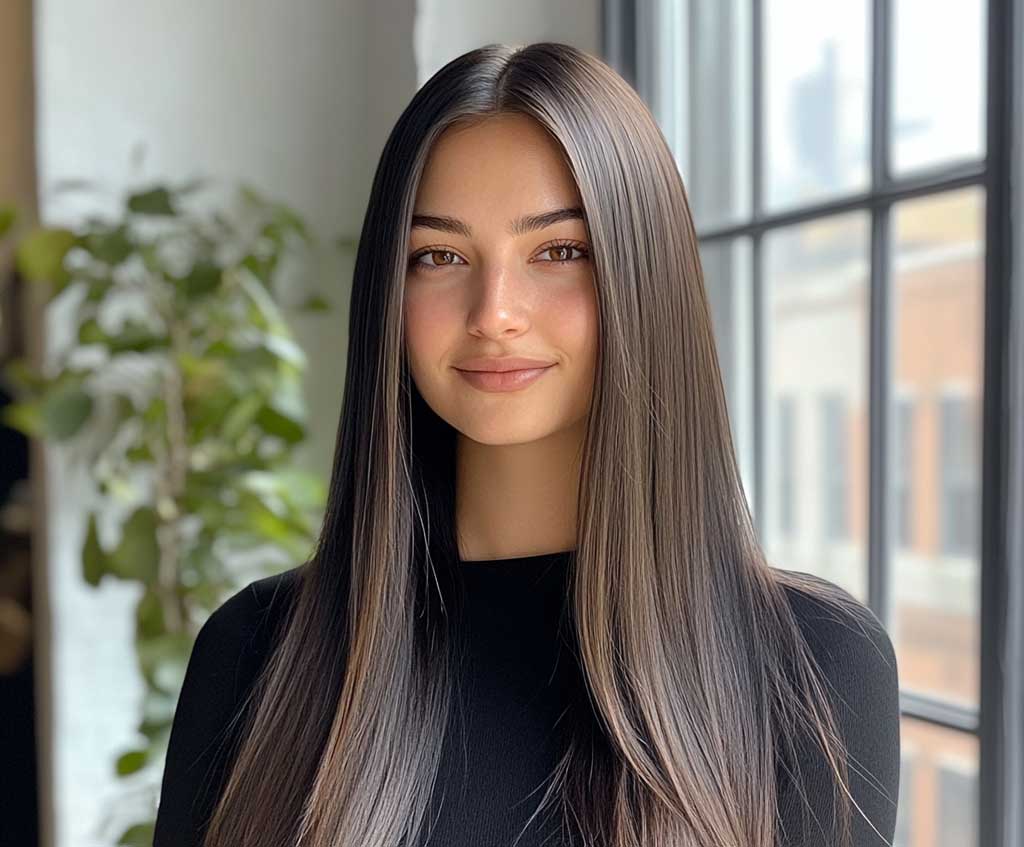
Sleek Center Part Long Hair — Straight Lines Are the Whole Point
Round face haircuts for long straight hair don’t get simpler than a center-part sleek style — and that simplicity is what makes it work. The center part divides the face into two vertical halves. The straight hair falling on each side creates parallel lines. Parallel vertical lines are the oldest optical illusion in fashion: they make things look taller and narrower. Your face is the thing being made taller and narrower. It costs $0 and takes 4 minutes with a flat iron.
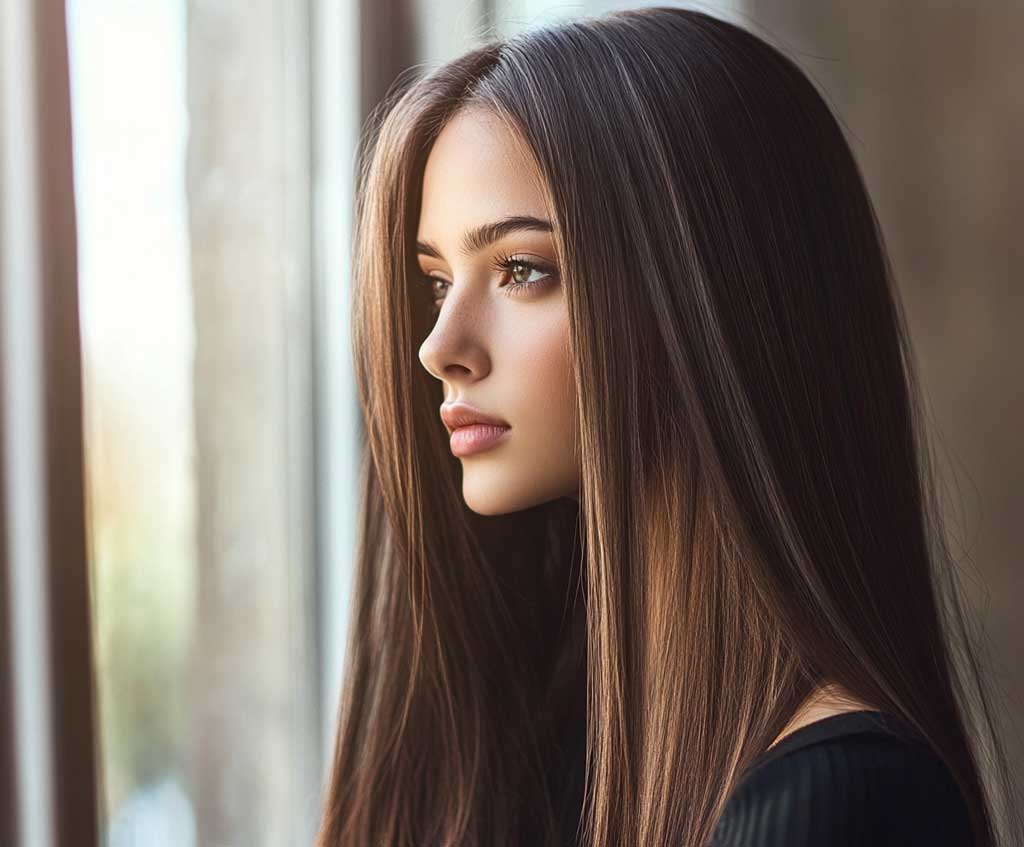
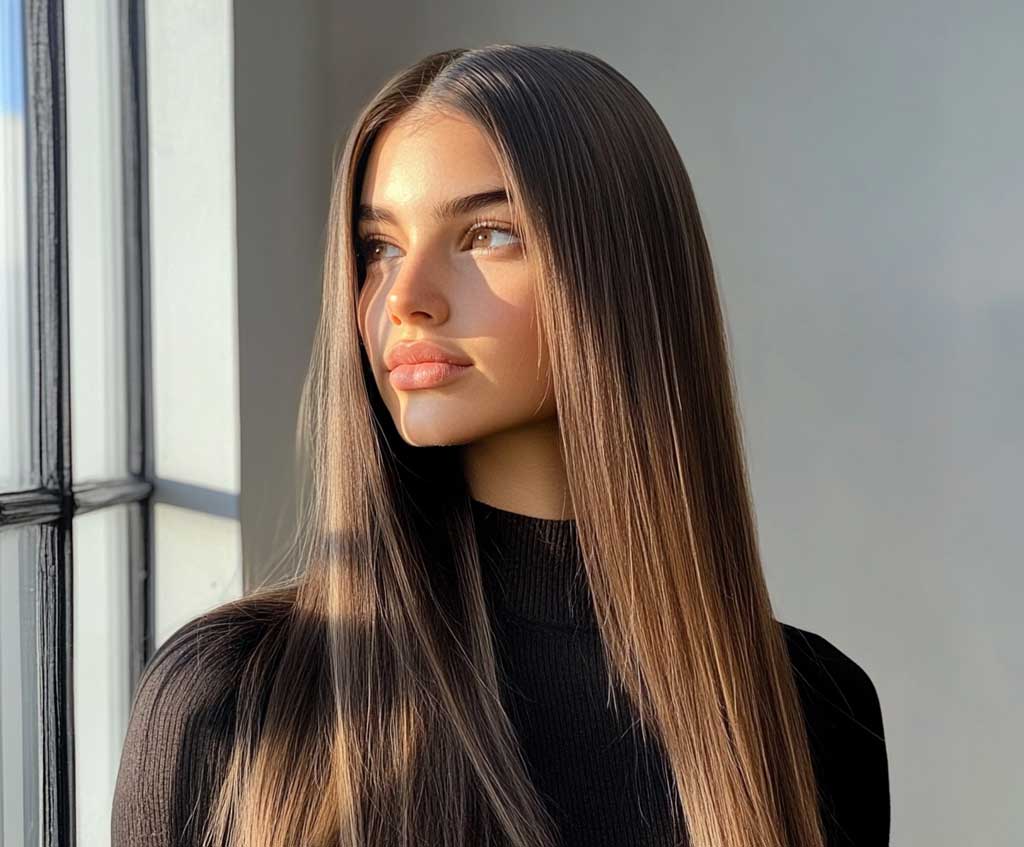

The specific tool that makes this look right: a rat-tail comb for the part, not your fingers. A finger-parted center part wanders and creates a zigzag — you lose the clean vertical line that does the optical work. Draw the part from your hairline to the crown in one straight motion. Press it flat with the comb. Then flat iron in 2-inch sections pulling straight down, not angled outward. Angling outward introduces width at the sides. Straight down only.
Naturally wavy or curly hair can absolutely do this style — it just needs a blow-dry step first. Apply a smoothing serum (GHD Straight & Smooth Spray is around $30 and actually holds against humidity) to damp sections before blow-drying downward. Then flat iron on top. My hair is a 2b wave pattern and this look lasts 6–7 hours without touchup. Tuck behind the ears for the last two hours of the day when it starts lifting and you’ll buy yourself another 3 hours of sleekness. Thin hair and round face haircut examples on The Right Hairstyles shows how stylist-cut versions of this look differ from DIY and what to ask for specifically.
From the Editor
The hairstyle doesn’t slim your face. The vertical line does. Find the line first.
Every style on this list — from long waves to a center-part sleek look — works because it moves the eye up and down rather than side to side. When you test a new hairstyle, look at your face in a photo, not a mirror. Mirrors let you adjust your angle unconsciously. Photos show you exactly what other people see.
The cuts that failed me personally were the ones that looked good in a mirror but collapsed in photos. The asymmetrical bob at chin-length. The chin-length blunt cut I thought read “sharp.” Both added horizontal width in every photo from that year.
Save this post before your next salon visit — these notes are more useful than a screenshot of someone else’s haircut.
Related Topics