Want to create a professional-looking travel video? Then you’ve opened the right page! Here, we’re going to talk about how to make a travel video in 6 steps. Whether you need general tips to get started or a detailed tutorial for editing your footage, you’ll find it all in this article. We’ll show you the process using Clipify, an automatic video editing software suitable for beginners and pros. Ready to find out how to make your travel video stand out? Then let’s jump right in!
Use the Right Equipment
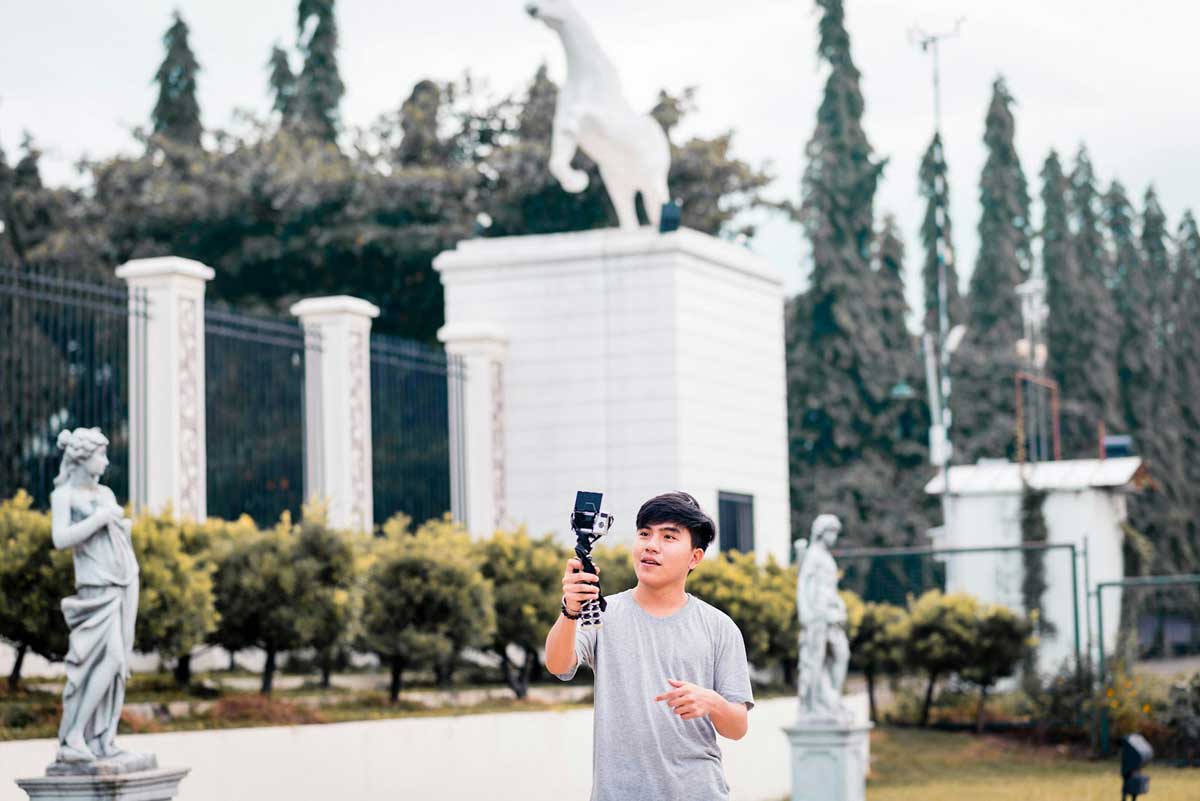
When getting ready for your next trip, you should take a camera that supports at least 4K video. It is necessary for high-quality footage that looks great on various platforms. You should also make sure it has built-in stabilization features to reduce shaky footage, especially when filming while moving.
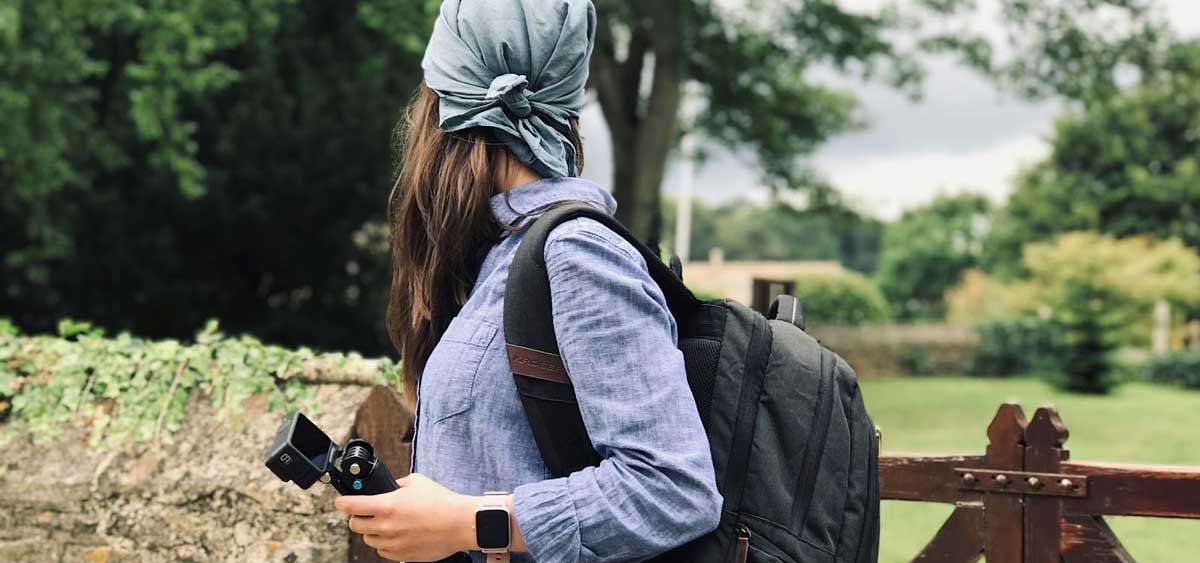
You can also try using GoPro cameras. Designed to capture high-quality video and photos in extreme conditions, these compact cameras are waterproof, shockproof, and built to withstand the rigors of outdoor activities. Whether you’re surfing, hiking, or biking, a GoPro can easily be mounted on helmets, bikes, or even your body, allowing for hands-free filming of your thrilling experiences.
For video blogs, sound quality is just as important as visuals. You need to keep background noise to a minimum when you talk. So, consider investing in an external microphone. For example, clip-on mics are great for interviews while shotgun microphones are ideal for capturing sound from a specific direction, reducing background noise.
In addition, traveling can drain your devices quickly. We recommend you always carry a power bank to keep your camera, phone, and other devices charged on the go. It’s better to choose high-capacity ones that can charge multiple devices simultaneously.
Plan Your Shots
Planning is another crucial step towards a successful travel video. While spontaneity can lead to amazing moments, having a basic shot list can help ensure you capture everything you want.
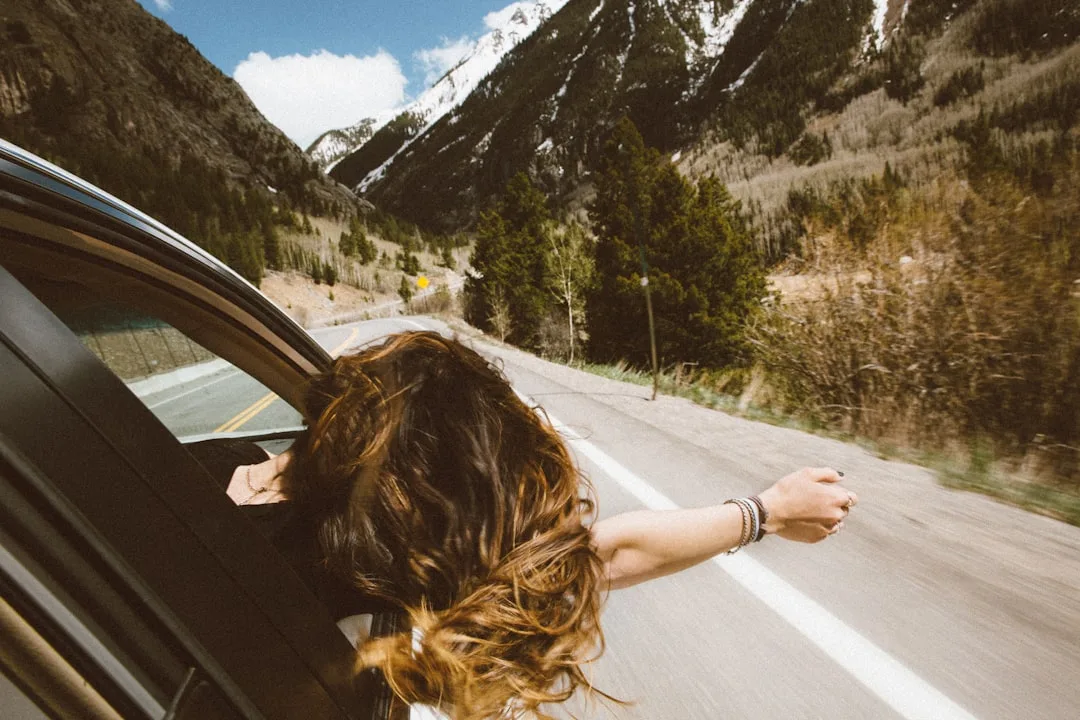
Think about the types of shots you need: wide shots to showcase landscapes, close-ups for details, and action shots of activities you participate in.
You should also consider the different times of day you’d like to film. Early mornings and late afternoons often provide the best light for filming.
Choose the Right Locations
Once you have a vision, it’s time to think about the locations you want to include in your video. Do some research on your destination and make a list of must-see spots. These can be famous landmarks, natural wonders, or local hidden gems. If you have limited time, prioritize the places that resonate most with your theme.
While filming, don’t forget to capture the essence of the local culture. This could mean visiting markets, trying street food, or attending local events. Including these elements adds depth to your video and helps viewers feel connected to the place you are showcasing.

Perfect Your Video in a Video Editor
While original footage might look stunning, a few adjustments can make it even more engaging and, most importantly, professional. Let’s see how you can polish travel videos in Clipify, a beginner-friendly video editor.
1. Stabilize Shaky Video Clips
Even cameras with built-in stabilization might sometimes produce a little shaky footage. In just one click, you can remove all the camera jitters in your video.
2. Fix Colors in Your Footage
Color correction and color grading are also essential for an eye-catching video. You can apply filters, fix colors with RGB curves, and use automatic tools to tweak colors in an instant.
3. Add a Soundtrack
For a cinematic feel, you need to add a music track to your travel videos. There’s a built-in music library that offers over 200 royalty-free soundtracks to choose from. Whether you prefer R&B or Rock music, you’ll find a suitable tune with no problem.
4. Make the Background Blurry
If some of your videos are of a different orientation, you don’t have to crop them. You can just make the background blurry. This not only preserves the important parts of your footage but also gives the video a polished look.
5. Adjust the Audio
Clipify is ideal for perfecting the audio in your travel videos. You can easily adjust the volume or mute parts of your footage. Besides, it lets you record your own voice comments right in the software and upload your voiceover file as well.
6. Export the Video
This software lets you save your travel video as a mobile video and video for the Internet. So, you can share your content right after you finish editing it.

Consider the Ending
Finally, don’t forget to conclude your video effectively – end it with a call to action. Encourage viewers to like, subscribe, or share their own travel experiences in the comments. This interaction can help build a community around your content and foster connections with your audience. Also, share your thoughts about the trip and what you learned. A good ending provides closure and can encourage viewers to share their own travel experiences in the comments as well.
Share Your Video
Now that your travel video is ready, it’s time to share it! There are many platforms where you can upload your video. YouTube is one of the largest video-sharing platforms, allowing you to create a channel and share your travel videos with a wide audience. Vimeo is another great option – it’s known for its community of creators and high-quality video hosting.
Social media platforms like Instagram, Facebook, or TikTok are also excellent for sharing clips or highlights of your trip. But you should tweak your videos to meet the platform’s standards. For example, YouTube videos are normally longer than TikTok clips.
By the way, some websites block videos with unlicensed audio tracks. So, when you prepare your video for uploading, be sure to use royalty-free travel music in it.
Wrapping Up
These were some ins and outs of creating travel videos. As long as you follow these tips, you’ll be able to make scroll-stopping video content like a pro. Begin right now – plan your next trip, grab your camera, and turn your footage into an engaging travel video. And don’t forget to enjoy the process and have fun sharing your journey with others!
You Might Also Like


Related Topics