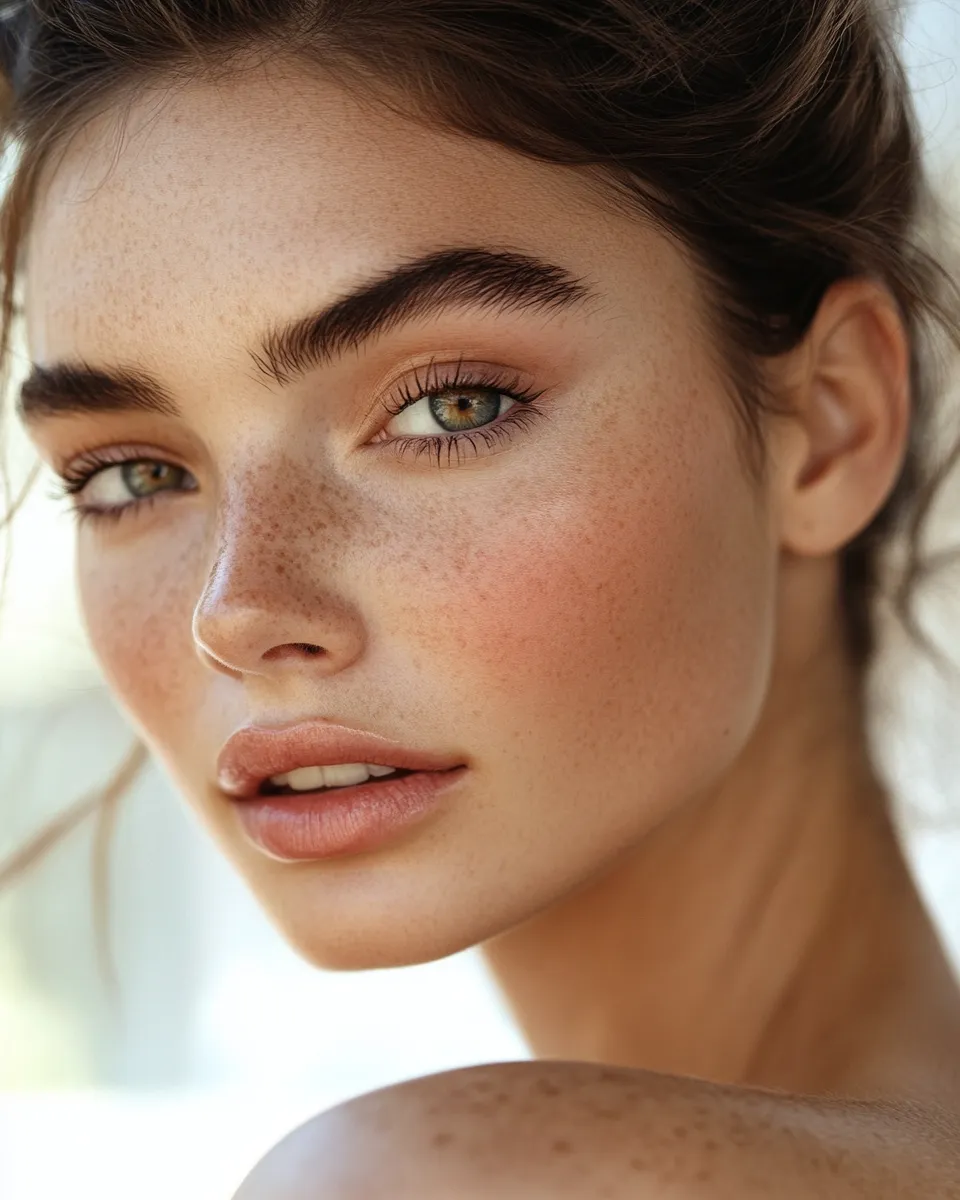
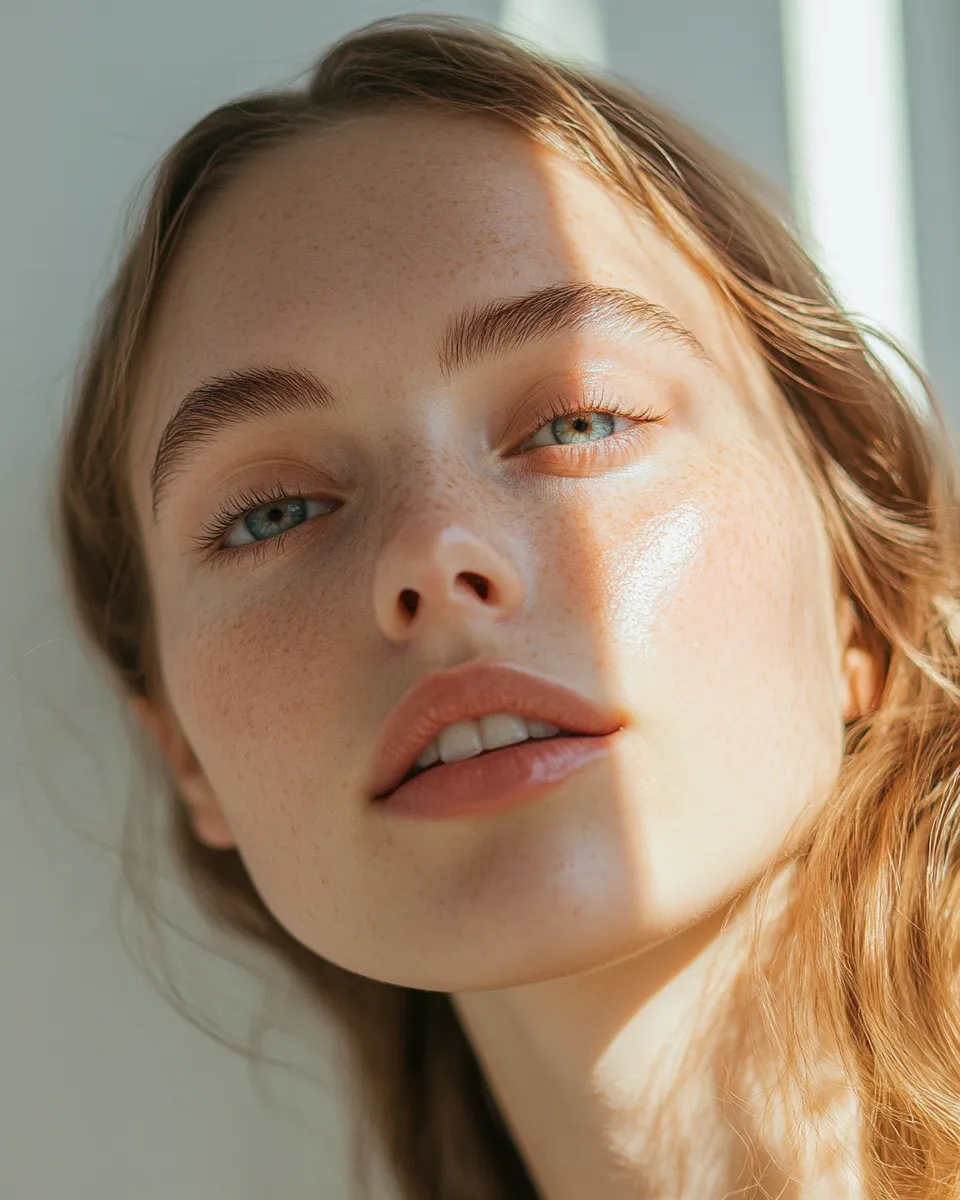
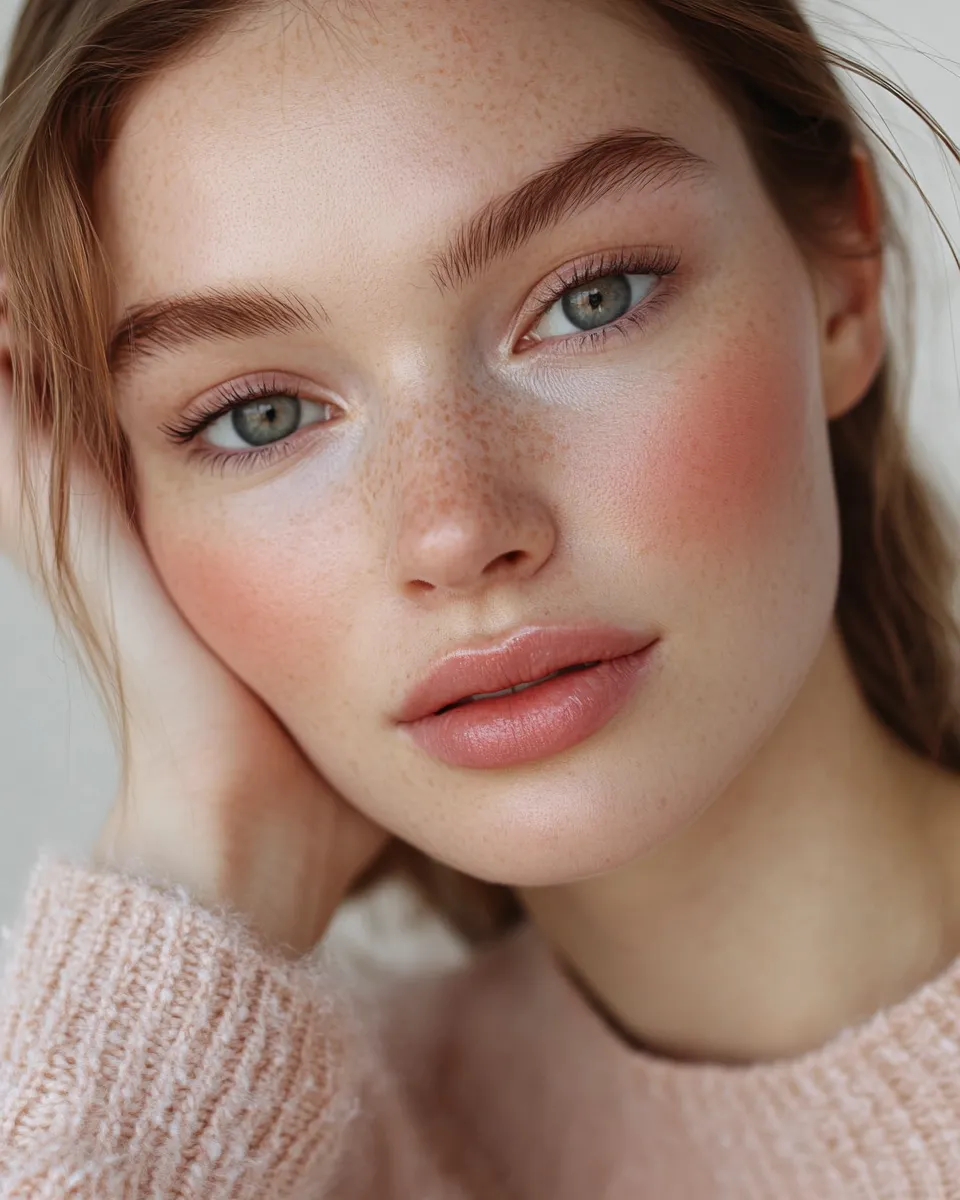
The no-makeup makeup look is one of the most searched beauty techniques for a reason: it makes skin look effortlessly perfect without looking “done.” Whether you’re heading to the office, a brunch, or just want to feel polished without full coverage, this guide breaks down exactly how to achieve that fresh-faced, barely-there finish — step by step.
What Exactly Is the No-Makeup Makeup Look?
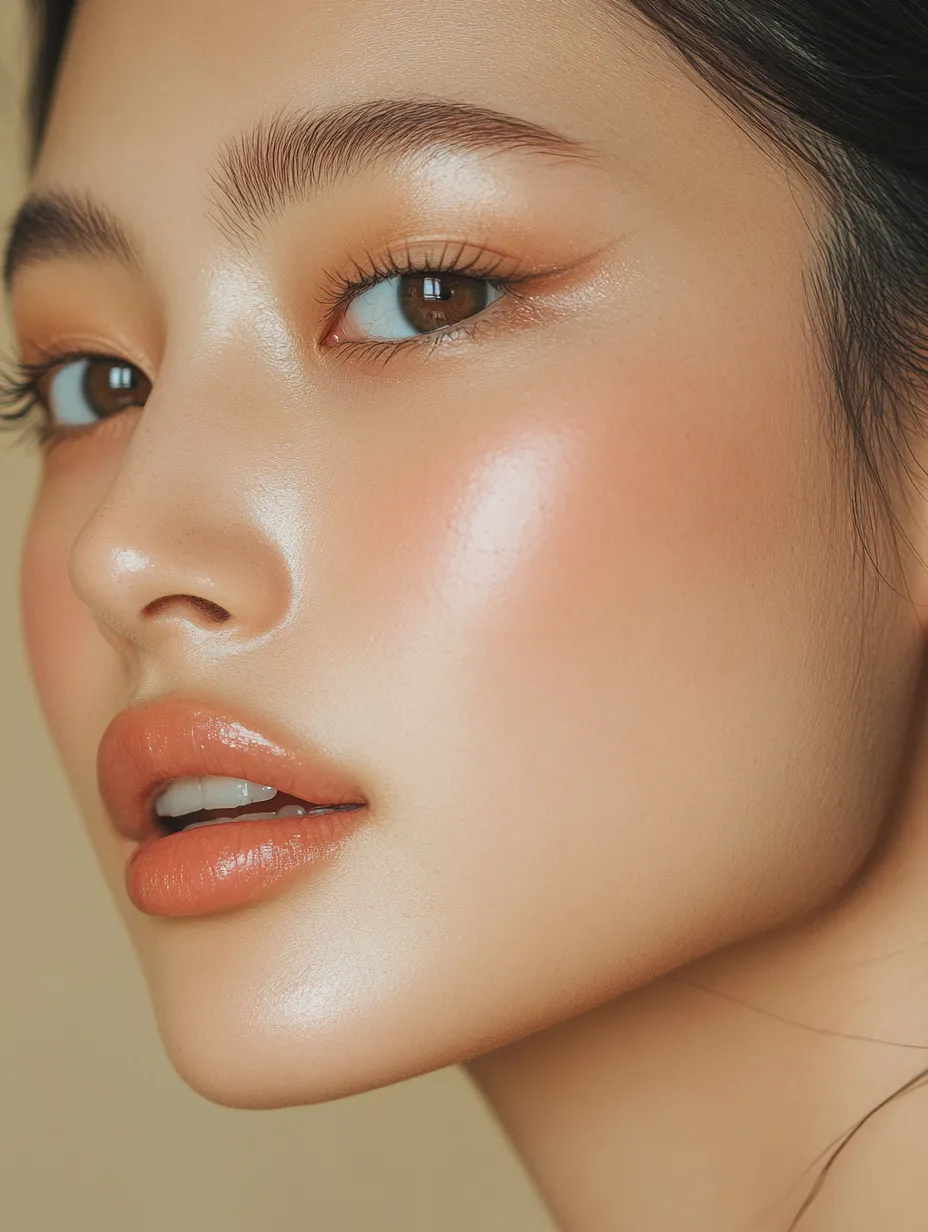
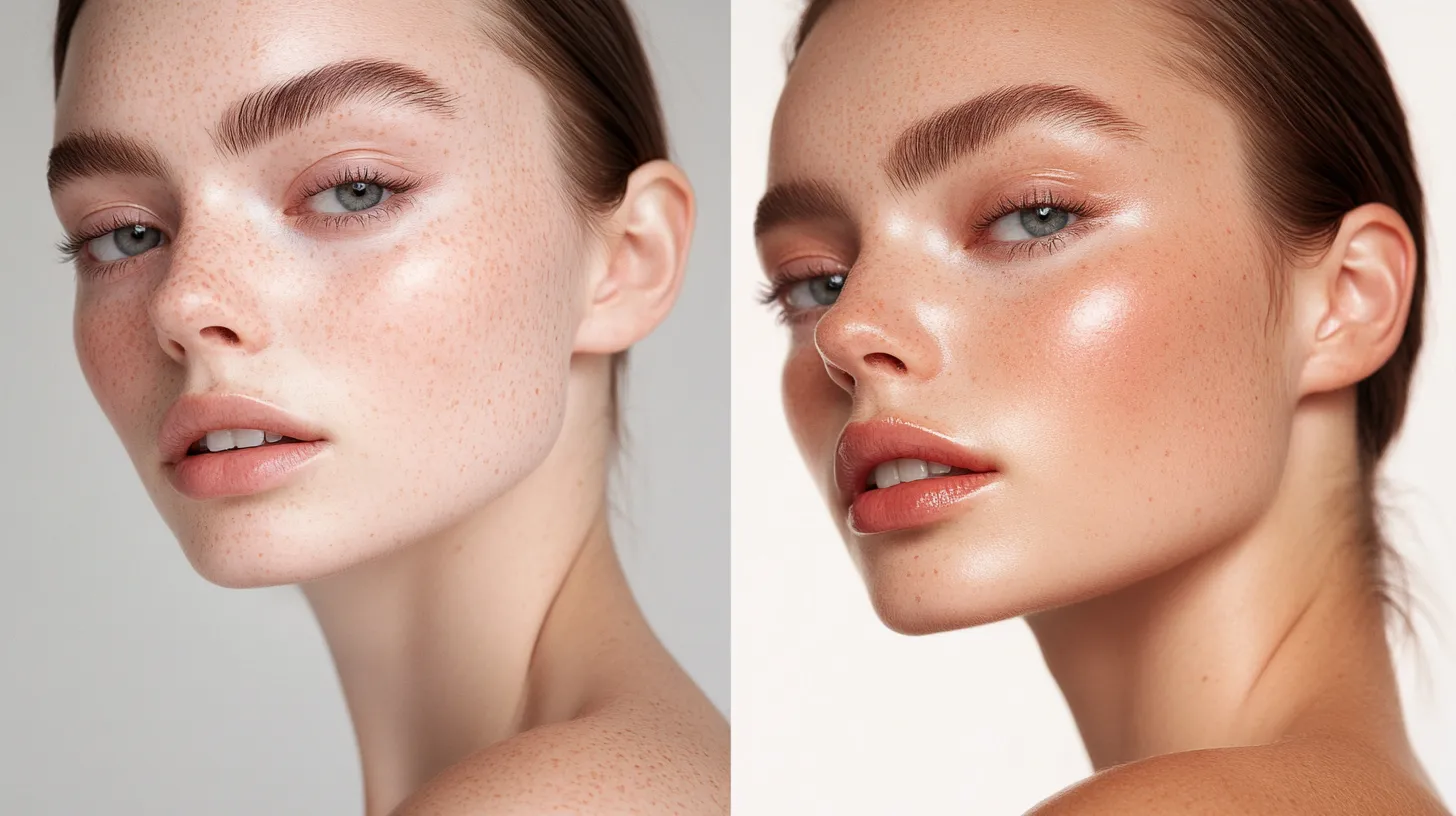
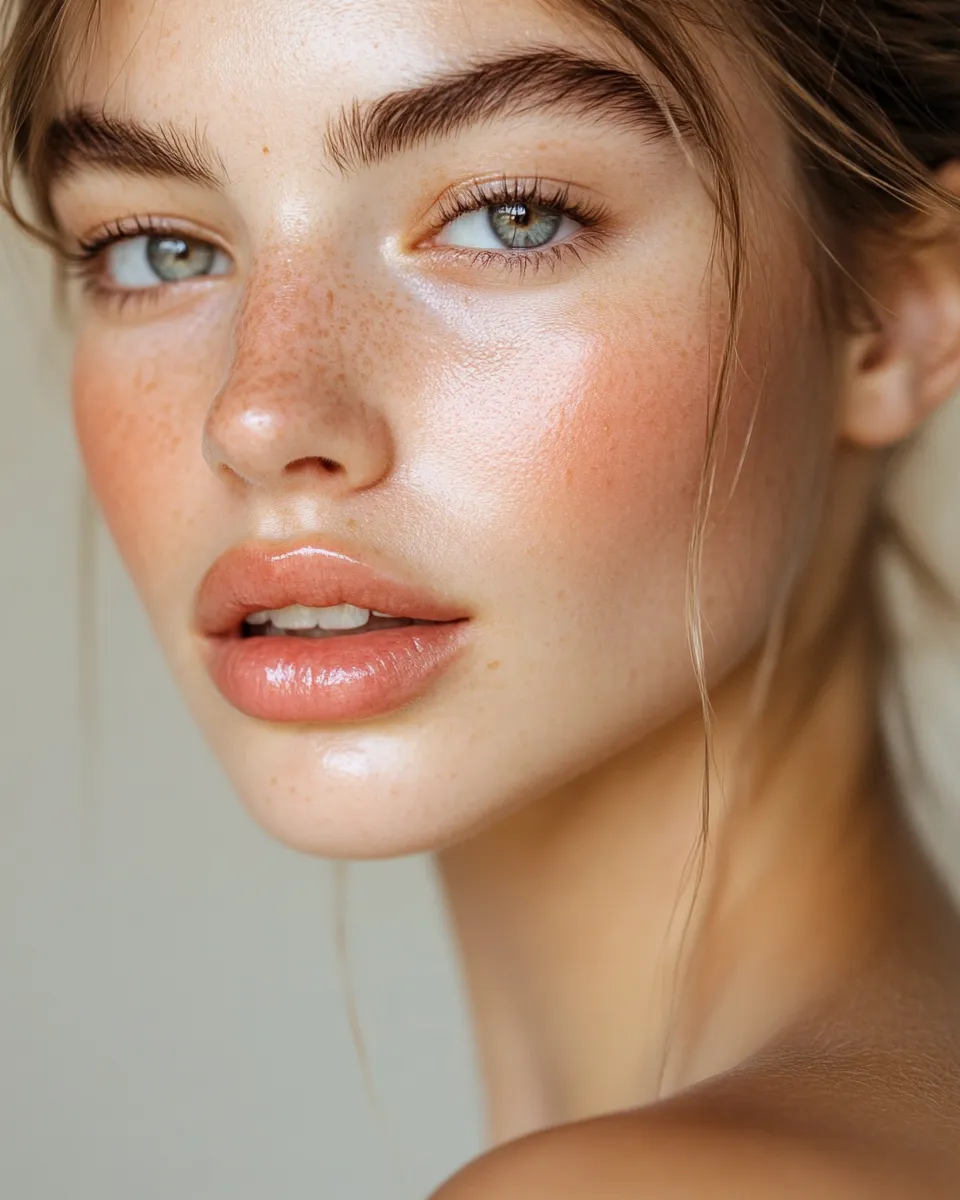
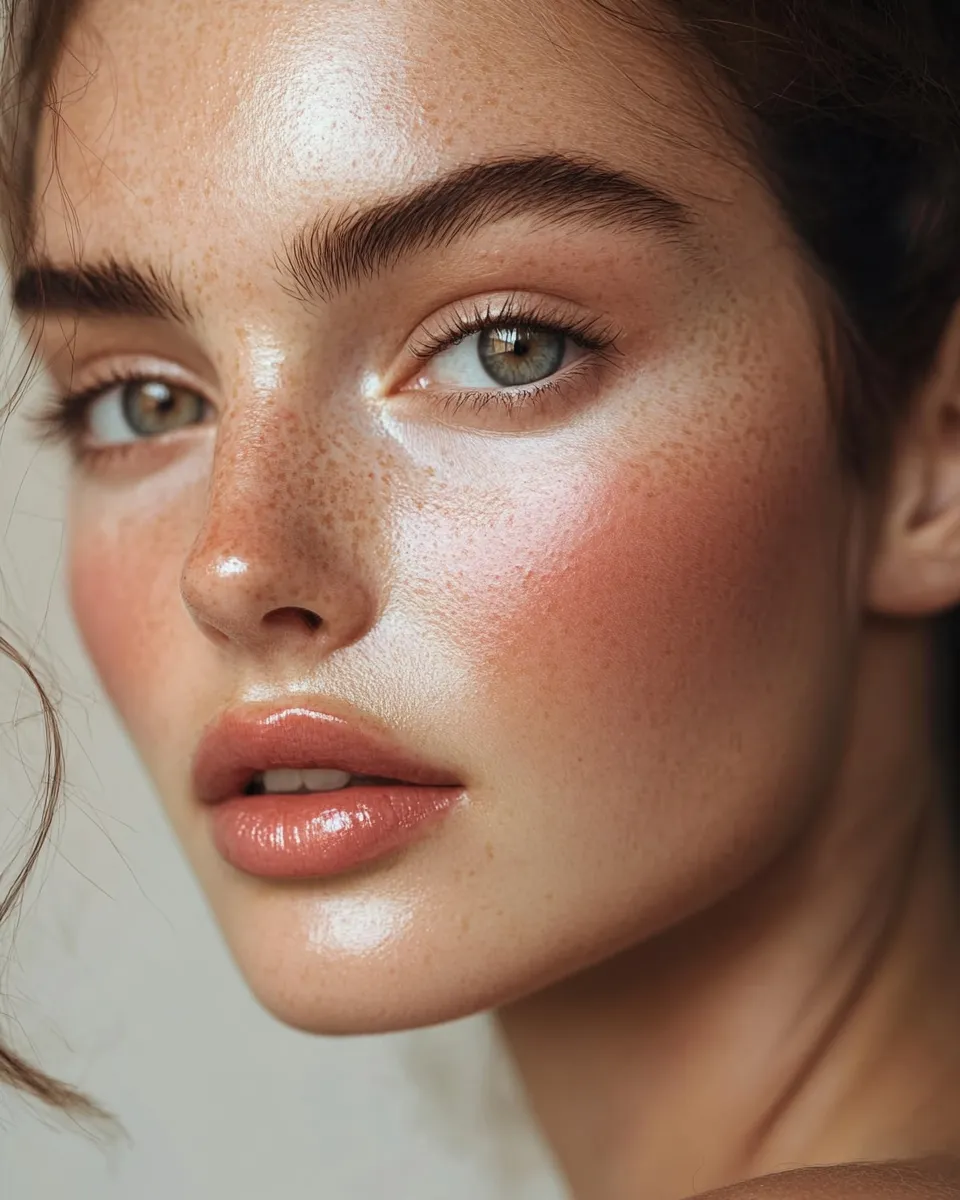
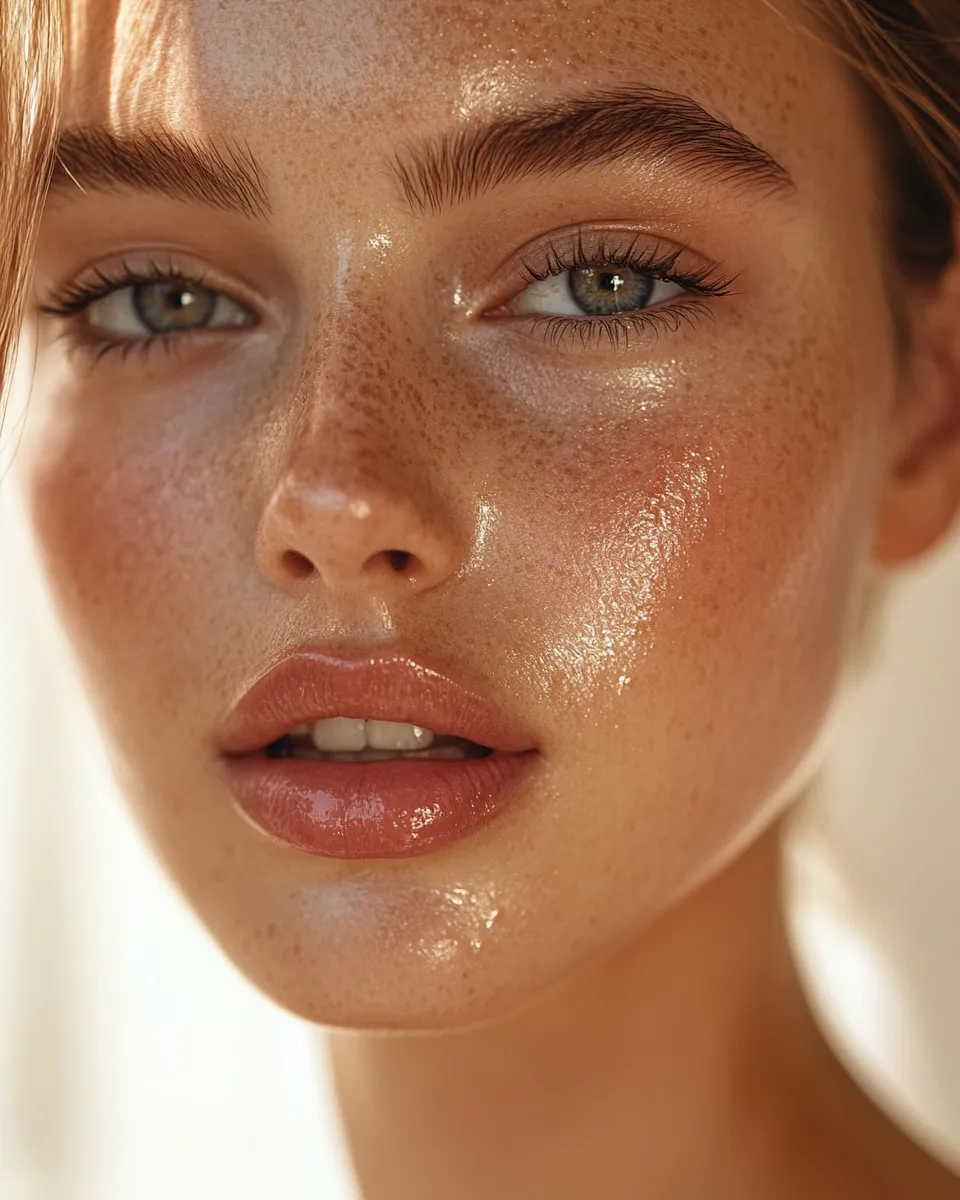
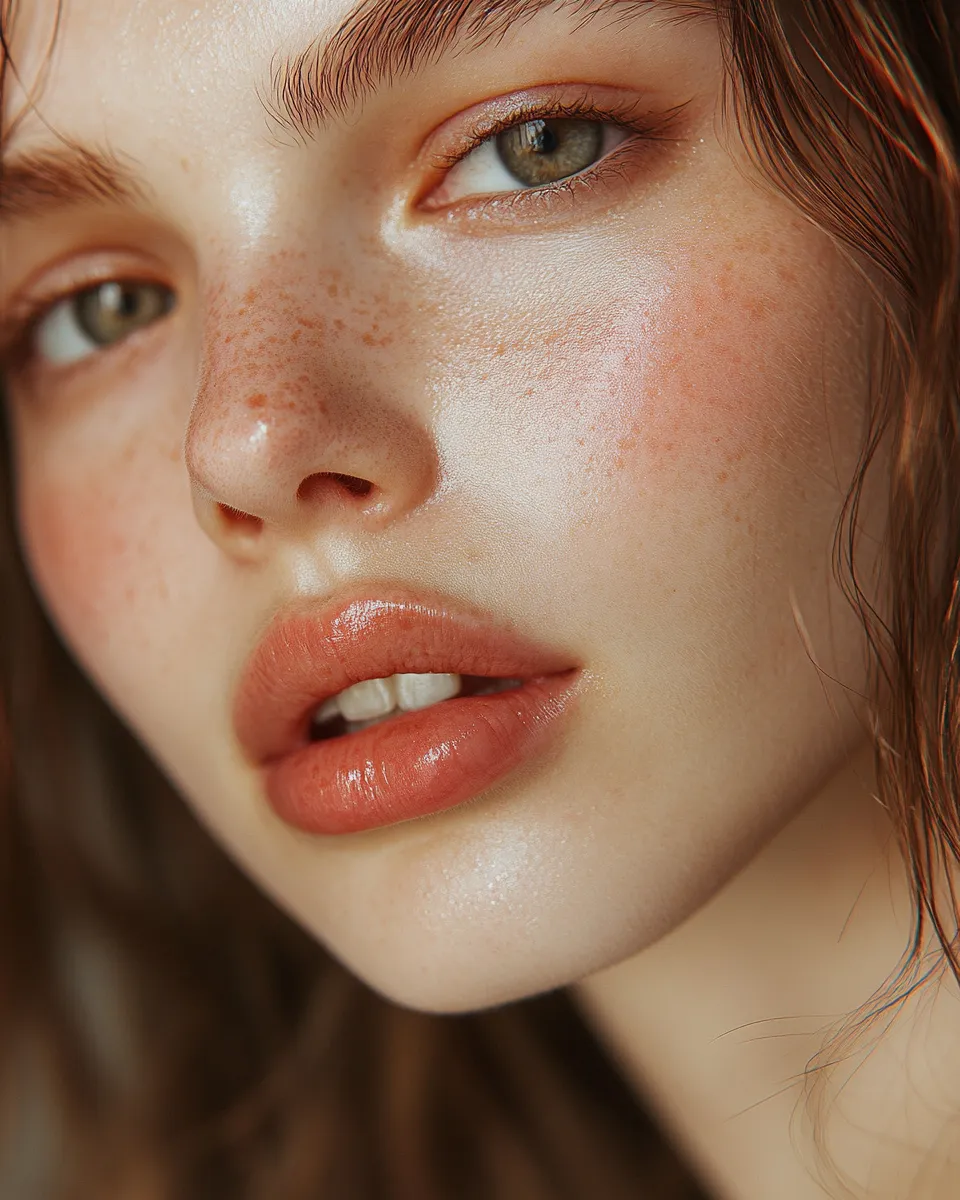
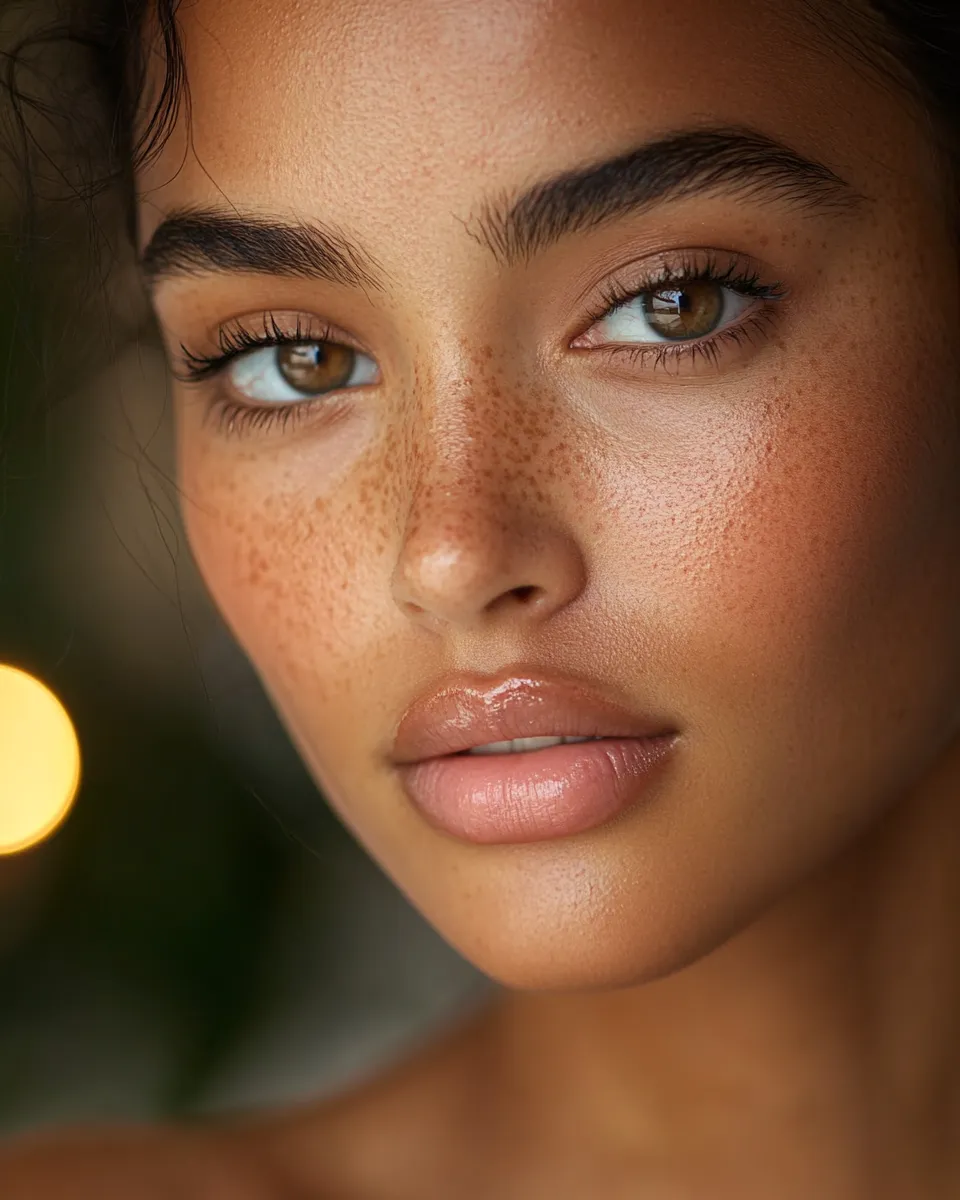
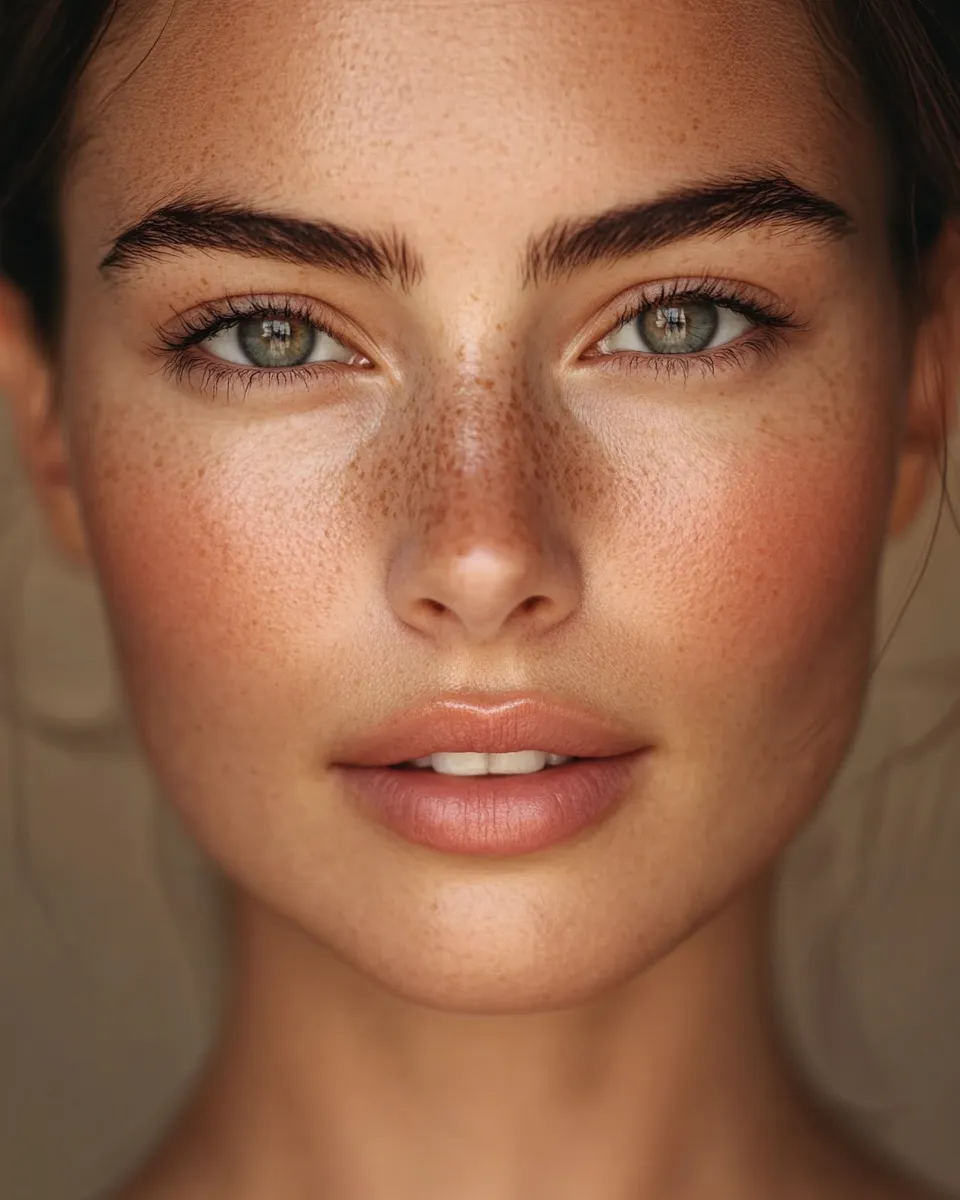
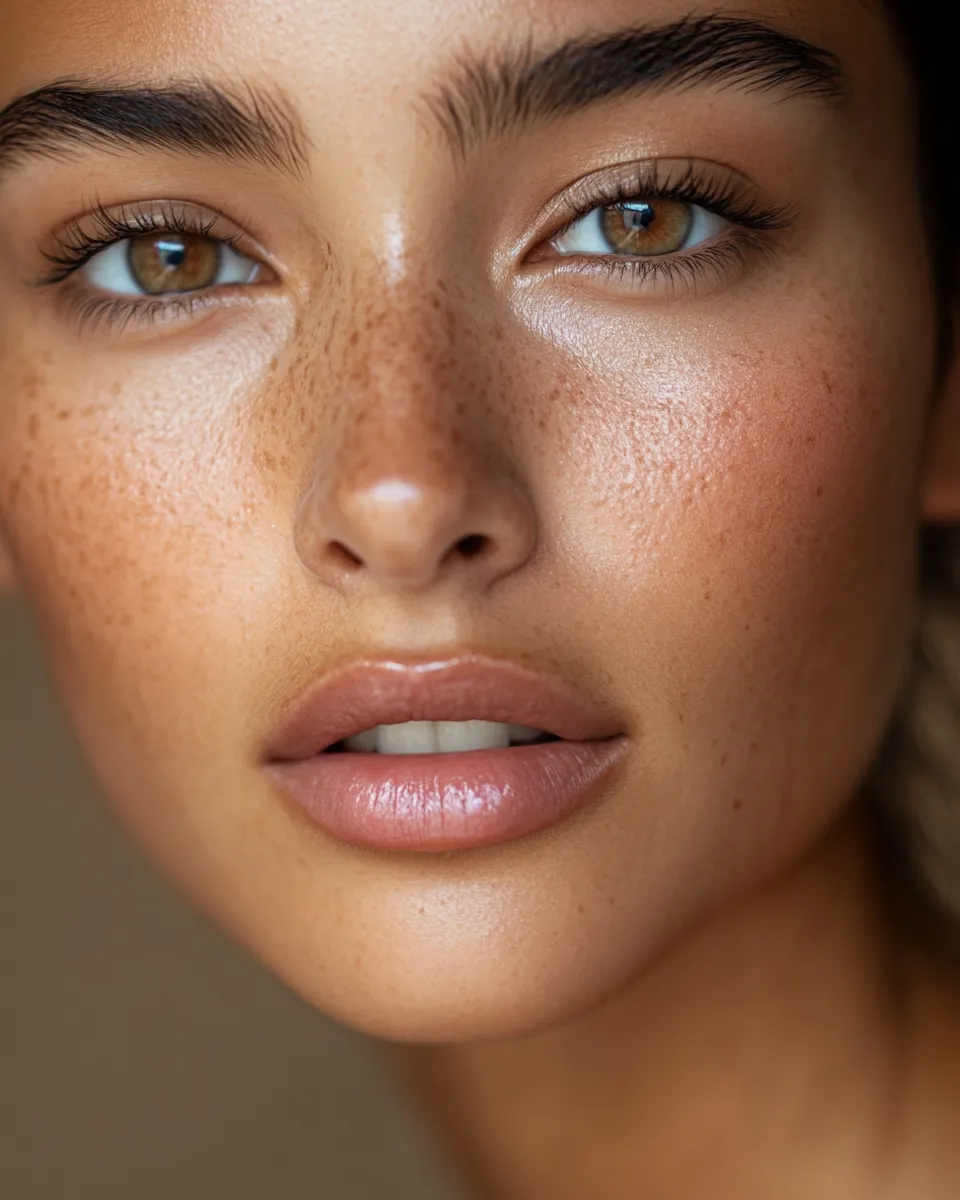
The no-makeup makeup look is a beauty technique designed to enhance your natural features while making it appear as though you’re wearing little to nothing at all. The goal isn’t to hide who you are — it’s to let your skin breathe while correcting minor imperfections, evening out your tone, and adding just enough warmth, definition, and glow to look well-rested and radiant.
Unlike full-glam or heavy-coverage routines, this approach relies on lightweight, skin-like products layered with intention. Think skin tints instead of heavy foundations, cream blushes instead of powder, and lip balms instead of lipstick. The finish should always read as “great skin” — never “great makeup.”
The look works for every skin tone, skin type, and age group. In fact, it’s one of the few makeup styles that genuinely becomes more flattering as skin texture and fine lines come into play — because it works with your skin, not against it.
Why This Look Has Never Been More Relevant
In 2025 and 2026, the beauty conversation shifted decisively toward skin health, authenticity, and minimalism. Social media aesthetics like “clean girl,” “latte makeup,” and “glazed skin” all orbit around the same central idea: less product, better results. The no-makeup makeup look is the original version of all of these — the quiet classic that keeps resurfacing because it simply works.
There’s also a practical reason for its popularity: longevity. A heavy, layered base tends to crease and fade in ways that look worse than bare skin. A minimal, skin-respecting approach holds up through long days, varying humidity, and different lighting conditions — making it ideal for real life, not just photo shoots.
Step 1 — Skin Prep Is the Actual Foundation
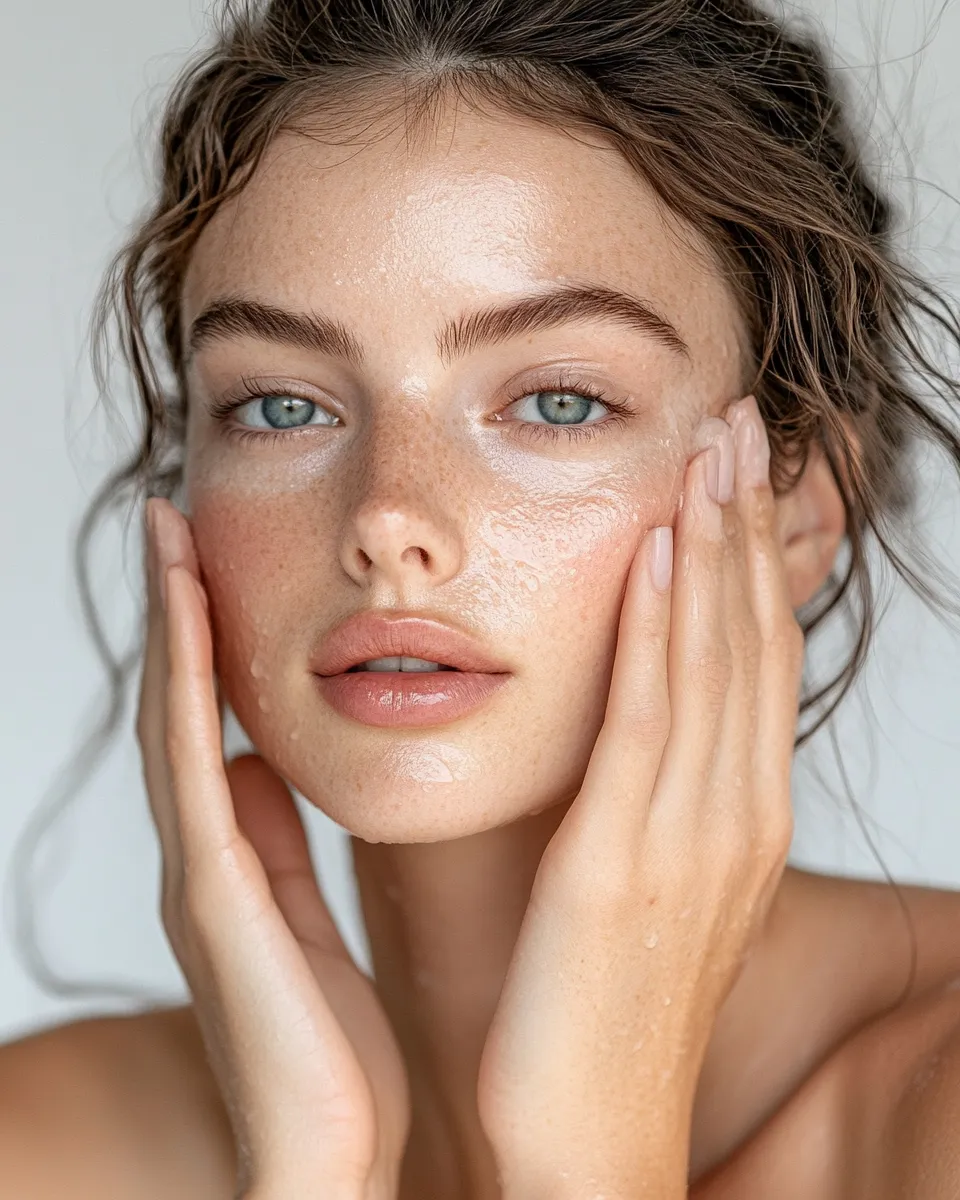
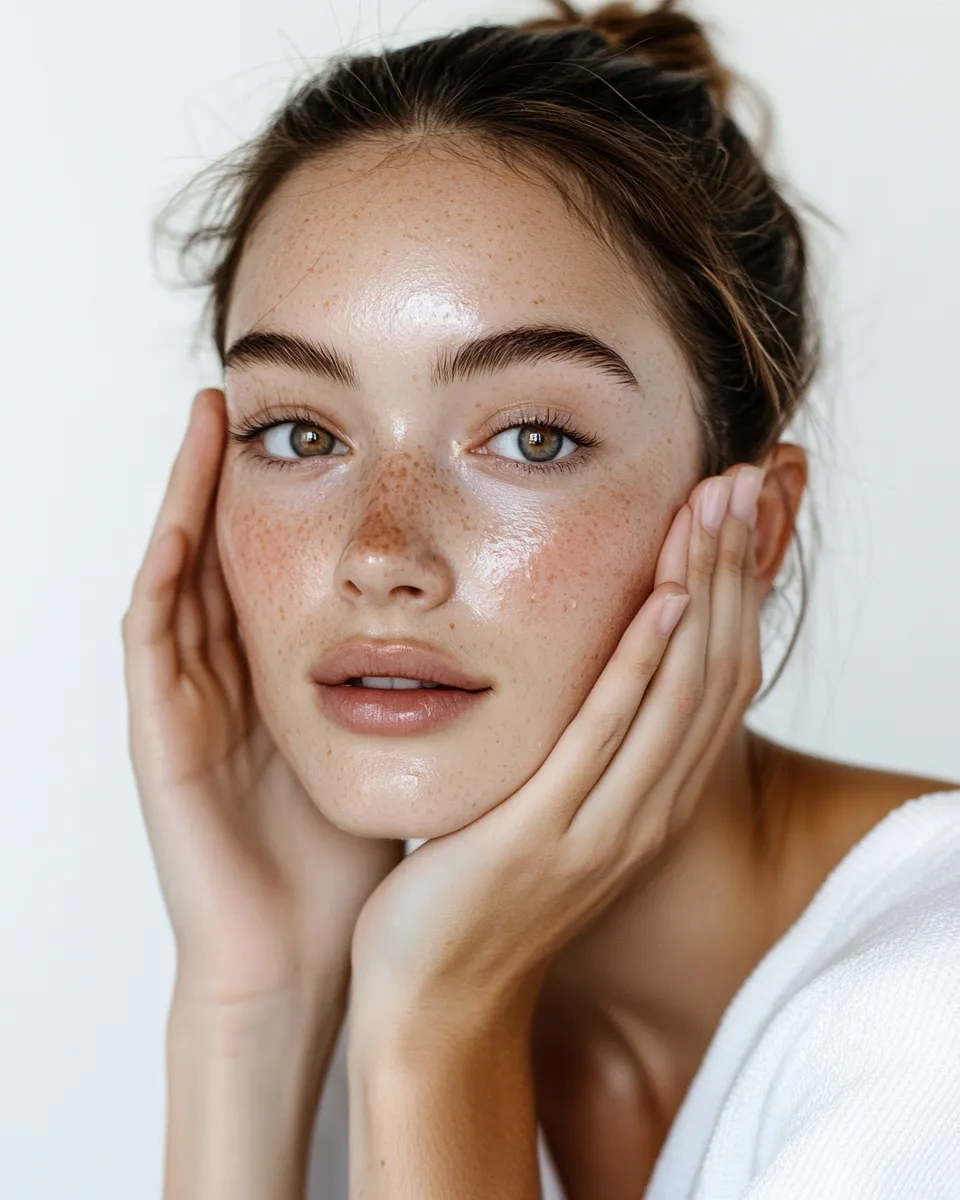
The no-makeup makeup look only works if your skin surface is smooth, hydrated, and primed. Skipping prep is the single most common reason this look falls flat. Before any product touches your face, your skin needs to be genuinely ready to receive it.
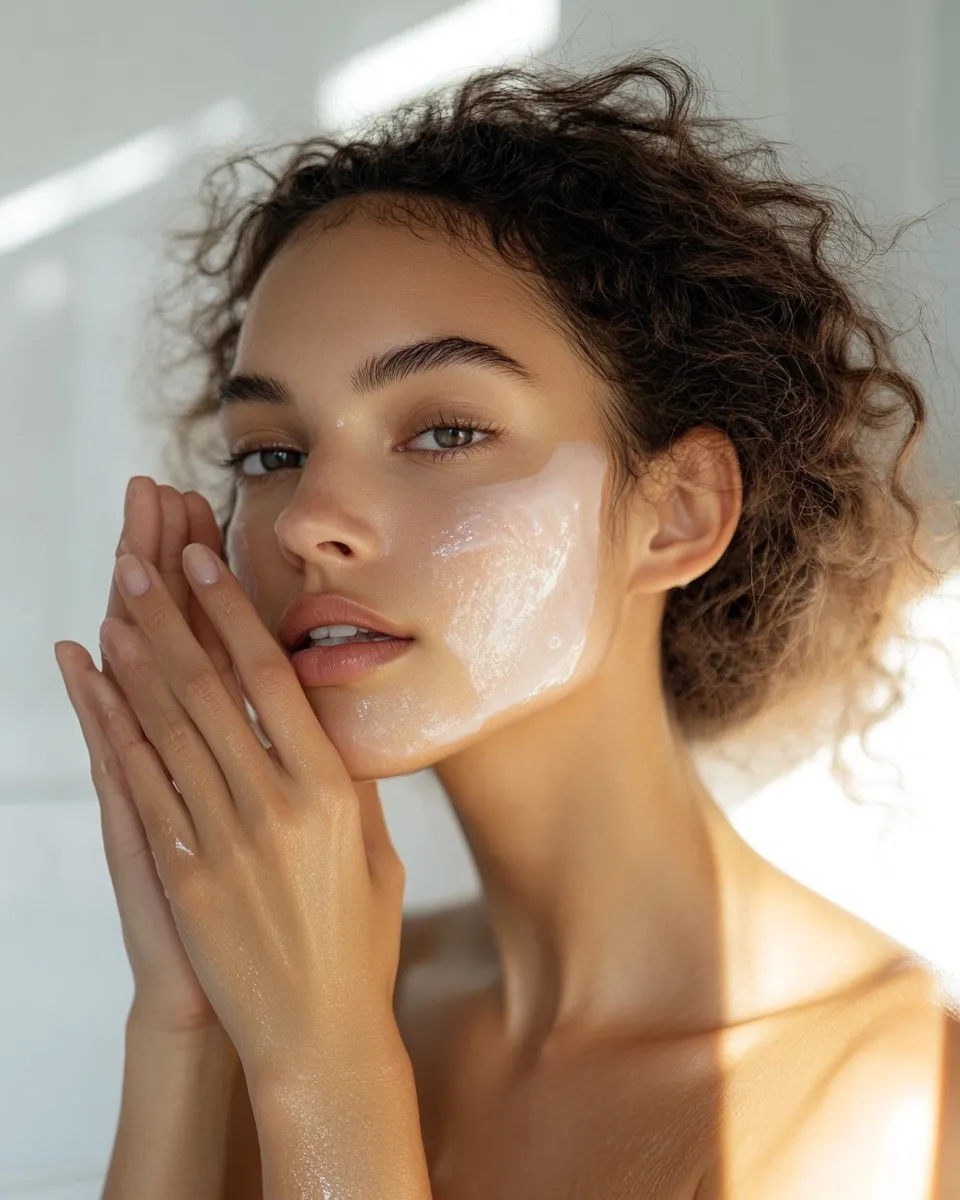
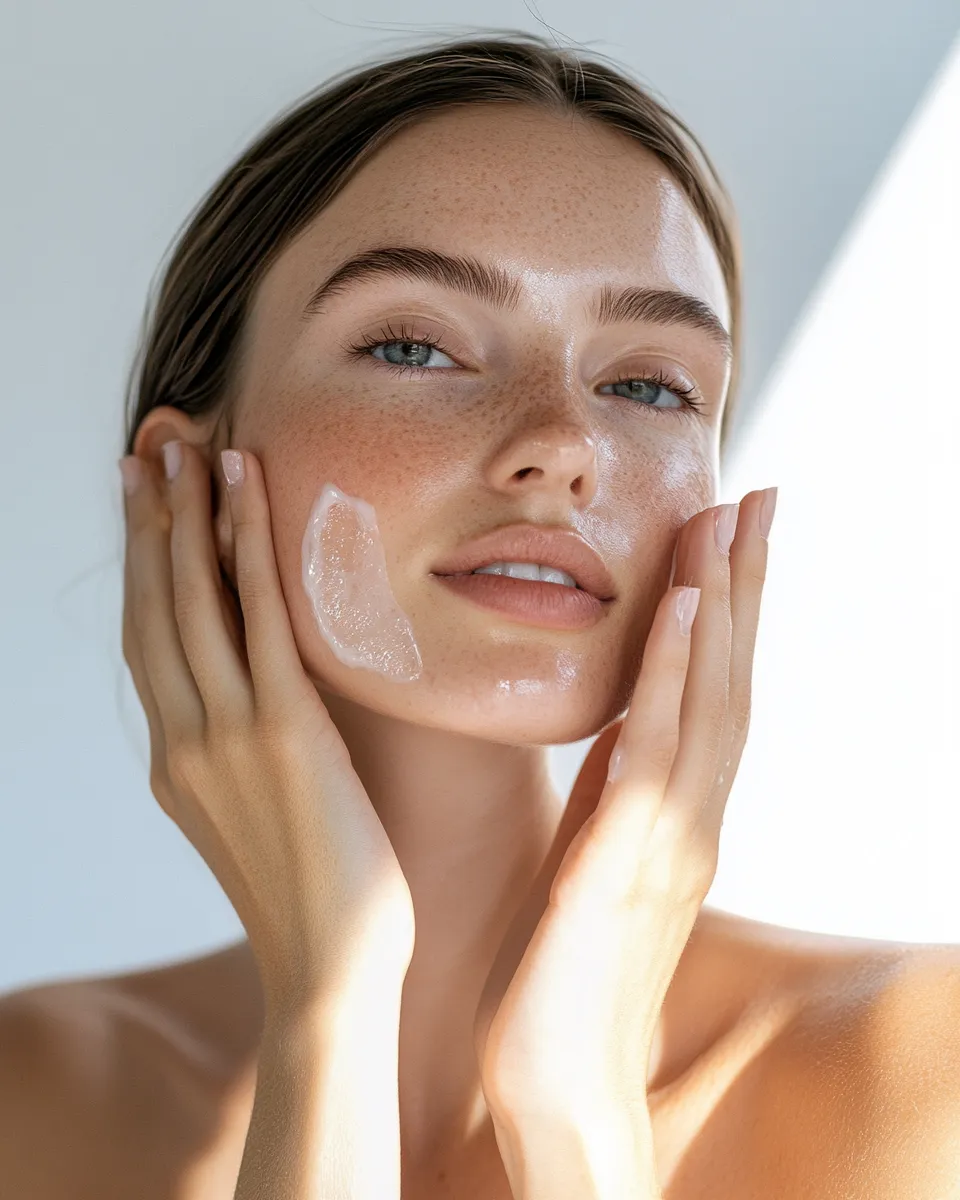
Start with a gentle cleanser that respects your skin barrier — nothing stripping. Follow immediately with a hydrating toner or essence to restore moisture while pores are still open. Then apply a lightweight serum (hyaluronic acid or niacinamide work well), let it absorb fully, and lock everything in with a moisturizer suited to your skin type.
SPF is non-negotiable, even on cloudy days. Choose a formula with a dewy or satin finish — matte SPF will counteract the glow you’re building. Allow your moisturizer and SPF to fully absorb before moving forward. Rushing this step causes pilling and patchy coverage later.
If your skin tends toward dryness or dullness, add a facial mist over your moisturizer and press it in with your palms. This extra layer of surface hydration makes even the thinnest skin tint look plumper and more luminous.
Step 2 — Choose the Right Base Product
This is the step where most people accidentally over-do it. For the no-makeup makeup look, you don’t need — and likely shouldn’t use — a full-coverage foundation. Your base should be the thinnest layer capable of doing the job.
Skin tints and tinted moisturizers are the top choice. They blur minor imperfections while letting your actual skin texture show through — which is what creates that “second skin” effect. Apply with your fingers or a damp sponge, working outward from the center of the face, and don’t try to build coverage. One thin layer is the point.
BB and CC creams work well for skin that needs a bit more evening out, especially for redness. They still feel weightless and photographically natural compared to traditional foundation.
Serum foundations are a newer option worth exploring — they apply like skincare, bond to skin instead of sitting on top, and move naturally throughout the day. If you have naturally even skin with just a few spots, you may find you only need a targeted concealer and no base at all.
Step 3 — Concealer That Looks Like Skin, Not Concealer
Concealer in a no-makeup makeup look should correct, not coat. The goal is to neutralize discoloration under the eyes, around the nose, or on any spots — not to apply a mask that sits visibly on the skin.
Match your concealer as closely as possible to your actual skin tone — or go one shade warmer under the eyes to avoid a ghostly effect. Use a small, tapered brush or your ring finger to press (not drag) the product into the skin. Blending with a damp sponge afterward removes excess and prevents creasing.
For under-eye circles: if the darkness is purple or blue, a peach or salmon corrector applied before concealer will neutralize the tone far more effectively than layering more concealer. Don’t bake. A light dusting of translucent setting powder only where you actually want to reduce shine will keep the look from sliding — but skip it entirely if your skin is dry or mature.
Step 4 — Brows: Defined but Not Drawn
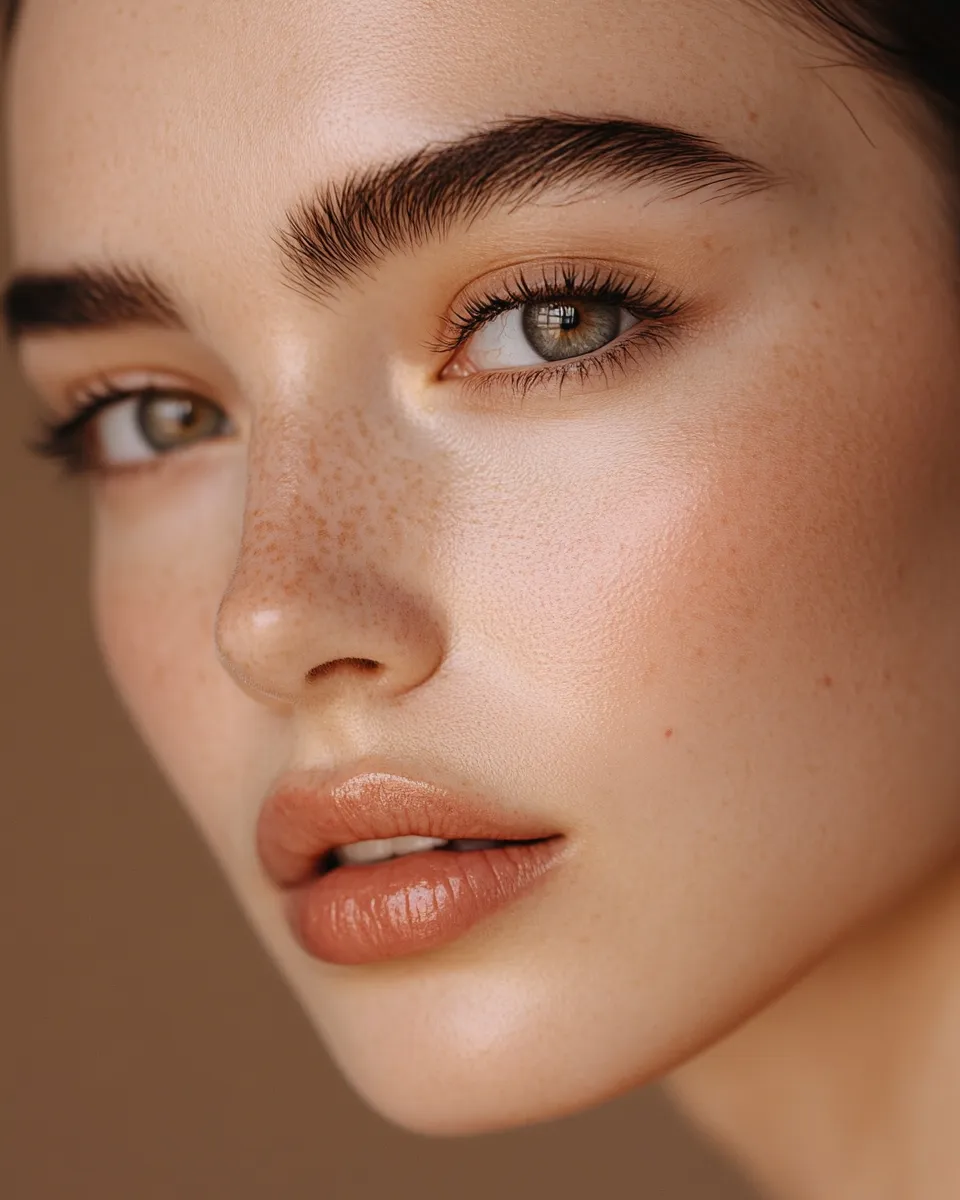
In a look this minimal, your brows carry a disproportionate amount of weight. Well-groomed, defined brows frame the face and make the overall look appear intentional — without any additional eye makeup required.
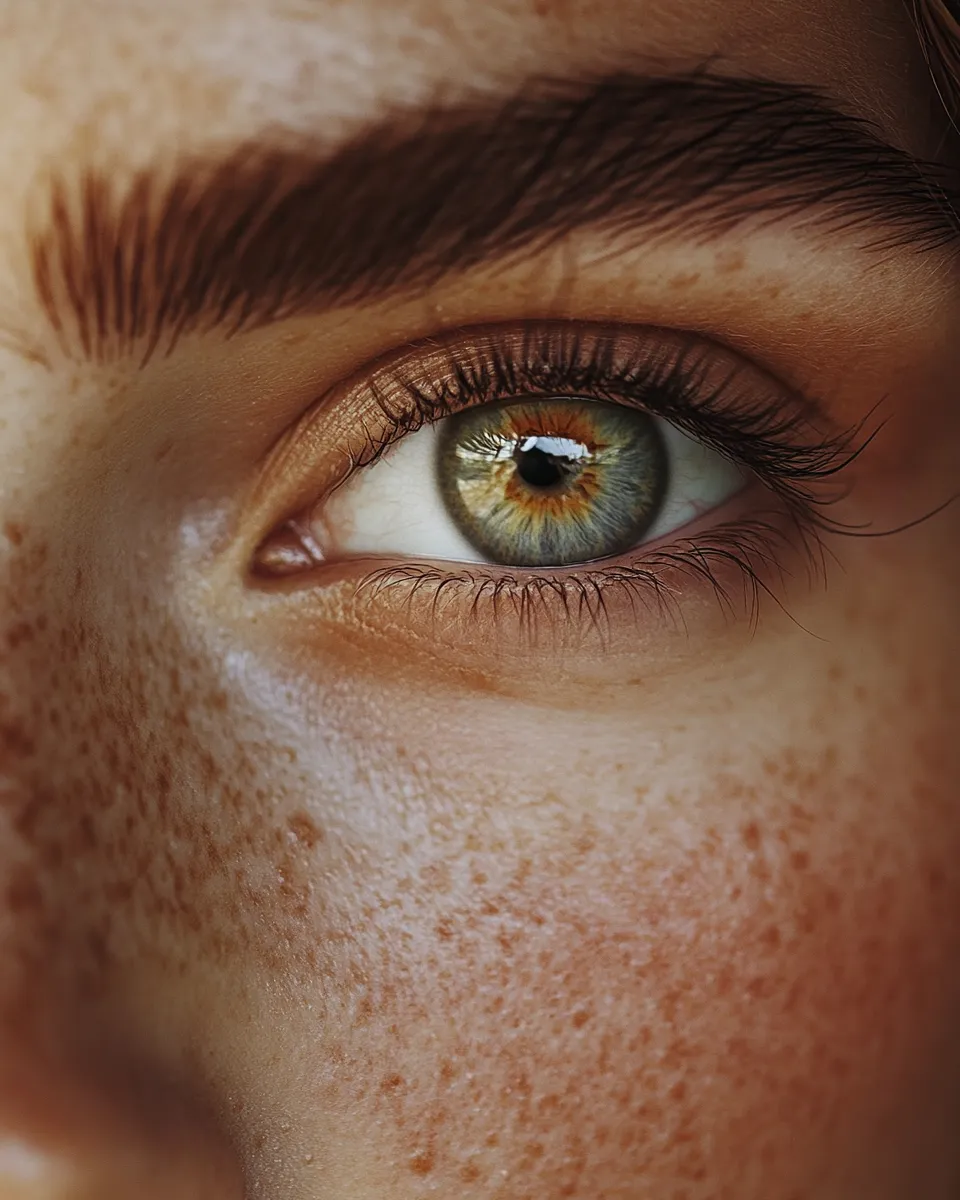
If your brows are naturally full, a clear or tinted brow gel is all you need. Brush the hairs upward and outward to create that “soap brow” effect — fluffy, lifted, and natural-looking. If your brows are sparse or uneven, use a fine-tip brow pencil in a shade that matches your hair color and draw individual hair-like strokes in gaps rather than outlining and filling the whole shape.
Avoid over-arching or over-darkening. The most common mistake in no-makeup makeup is finishing with overdone, harsh brows that immediately contradict the natural effect you just created. Keep them as close to your natural shape as possible, just slightly tidier.
Step 5 — Eyes That Look Awake, Not Made Up
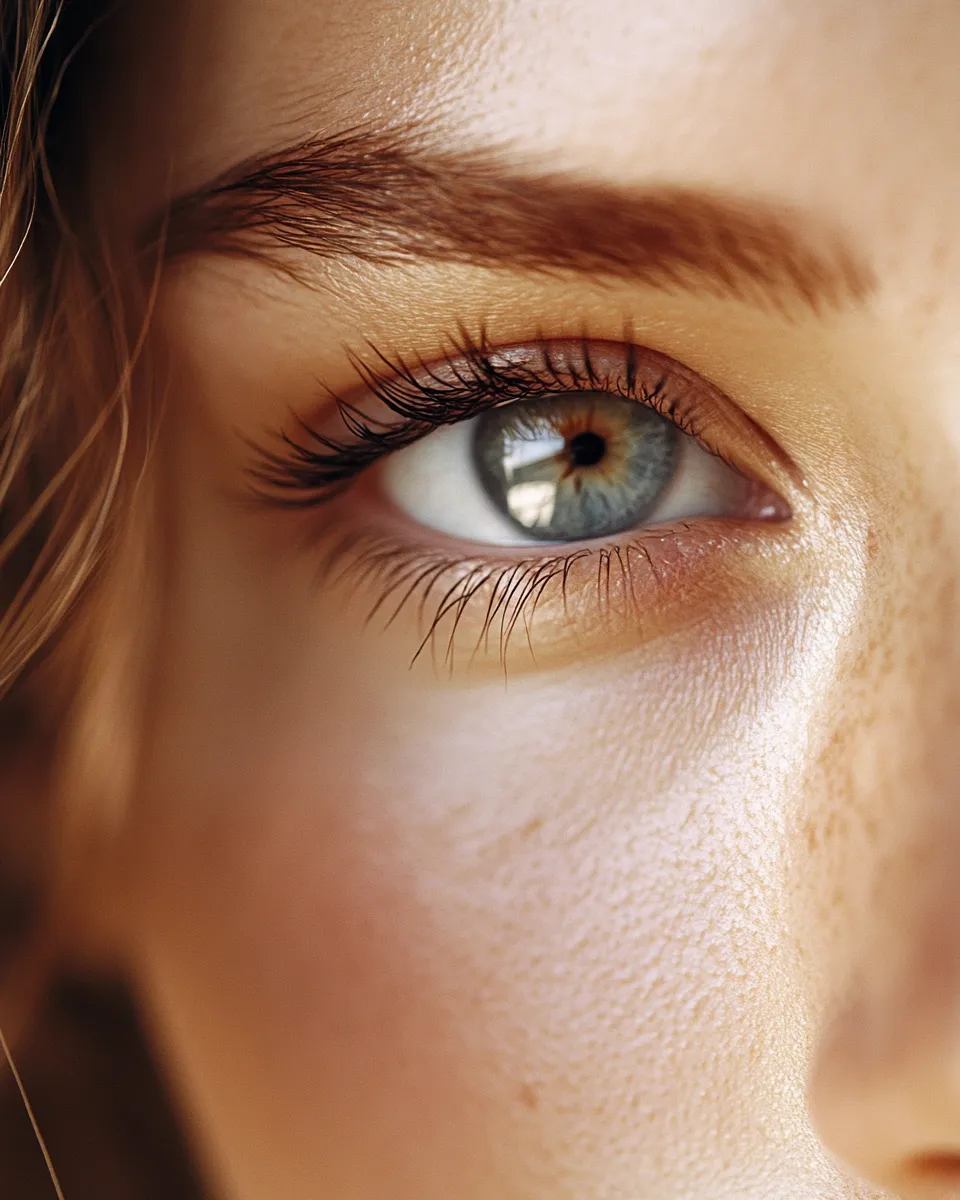
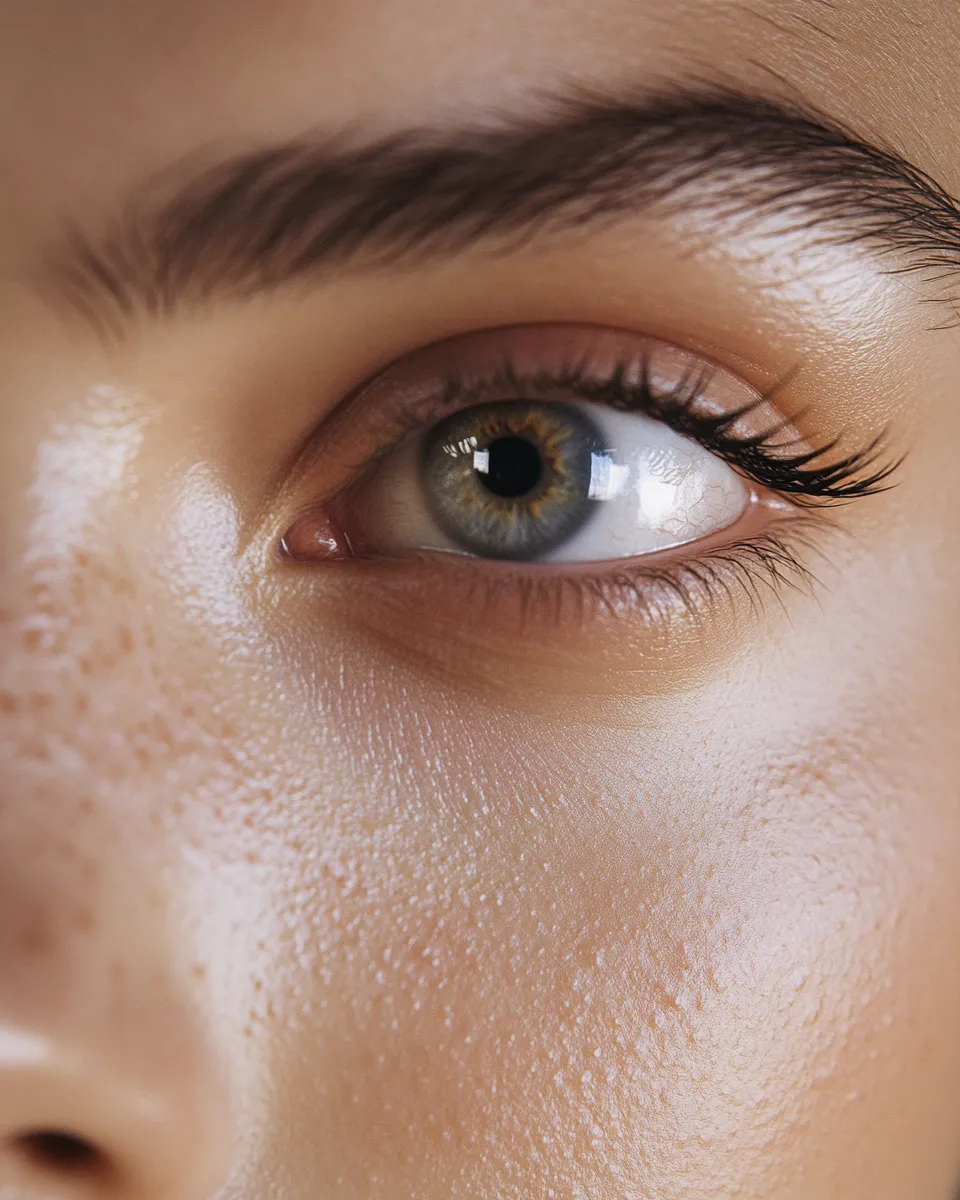
White or flesh-toned eyeliner on the waterline is the single highest-impact, lowest-effort trick in this look. It opens the eyes instantly, making them appear larger and more rested. Use a waterproof pencil and apply directly to the inner rim of the lower lid.
A coat of lash-lengthening mascara (not volumizing) applied only to the upper lashes completes the eye without adding weight. One coat is enough. If mascara feels like too much, a lash curler alone lifts the eye and creates the same awake effect without any product at all.
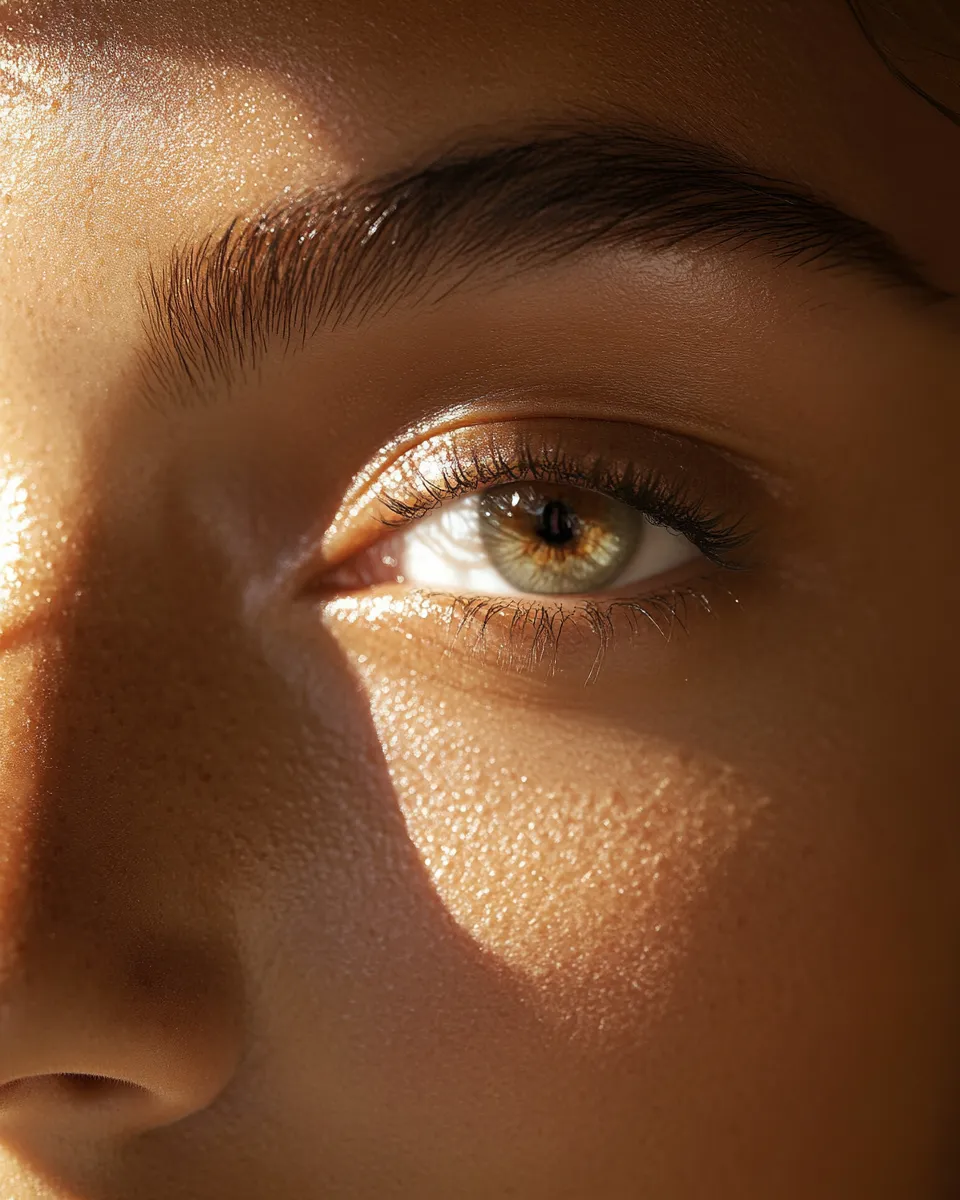
For those who want more warmth: a matte eyeshadow that closely matches your skin tone pressed lightly into the crease adds subtle definition invisible to most people but readable as depth in photographs. Avoid liner on the outer corners or dark shadow on the lids — even the most neutral wing shifts this look into “made up” territory immediately.
Step 6 — Blush That Looks Like a Real Flush
Blush is the most transformative step in the no-makeup makeup look. But the formula, placement, and intensity all matter enormously here.
Cream and liquid blushes are the superior choice. They melt into the skin rather than sitting on top of it, which makes them read as natural flushing rather than applied color. Apply them before any powder products and blend with your fingers by tapping and diffusing the edges until no hard lines remain.
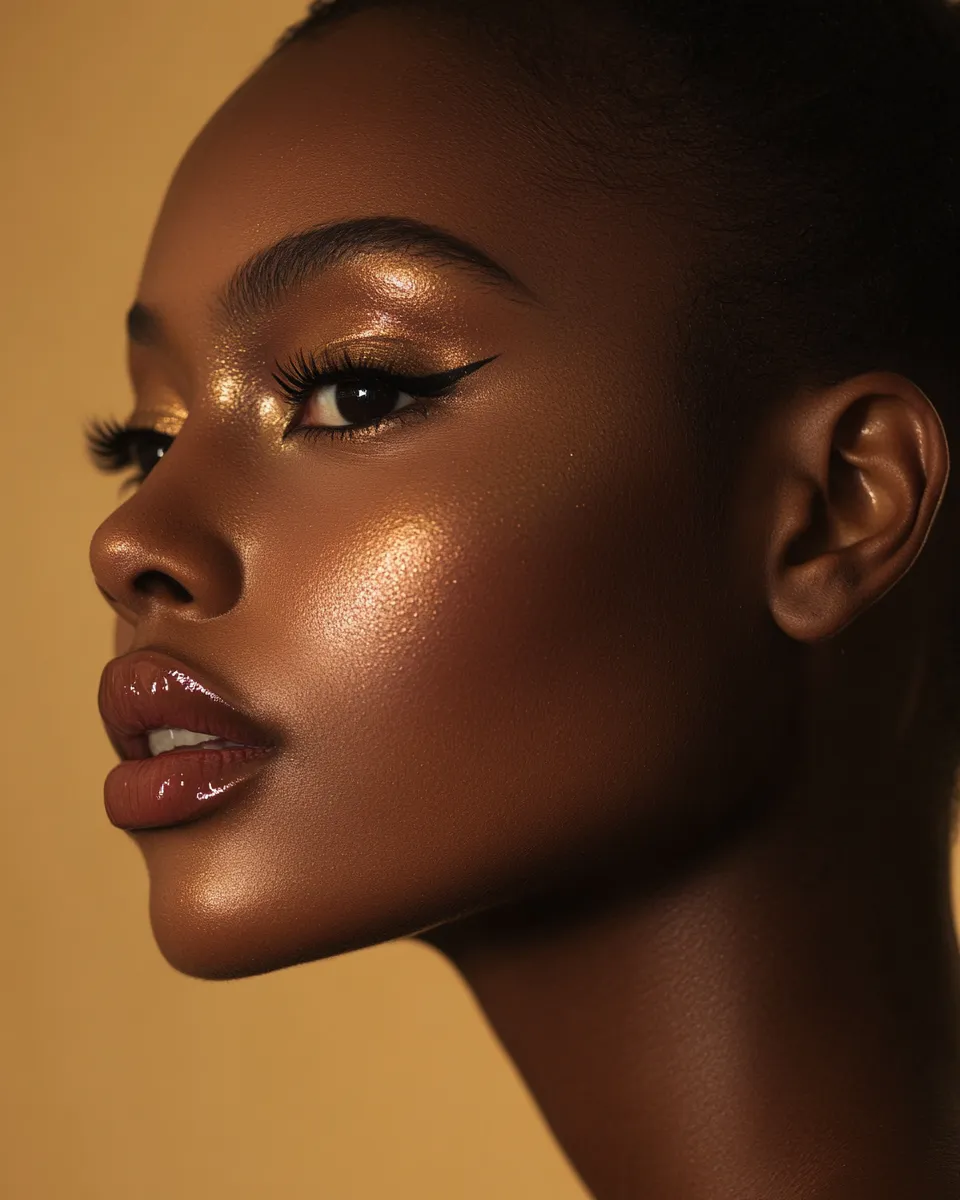
Color selection matters: choose shades that genuinely mimic your natural flush. For fair to light skin — peachy pinks and rose-beiges. For medium tones — warm corals and terracottas. For deep skin tones — rich berries and warm browns. The rule: if someone could mistake it for blood flowing to your cheeks, it’s the right color. Go lighter than you think you need — it’s far easier to add a second layer than to tone down too much.
Step 7 — Lips: Glossy, Balmy, and Barely There
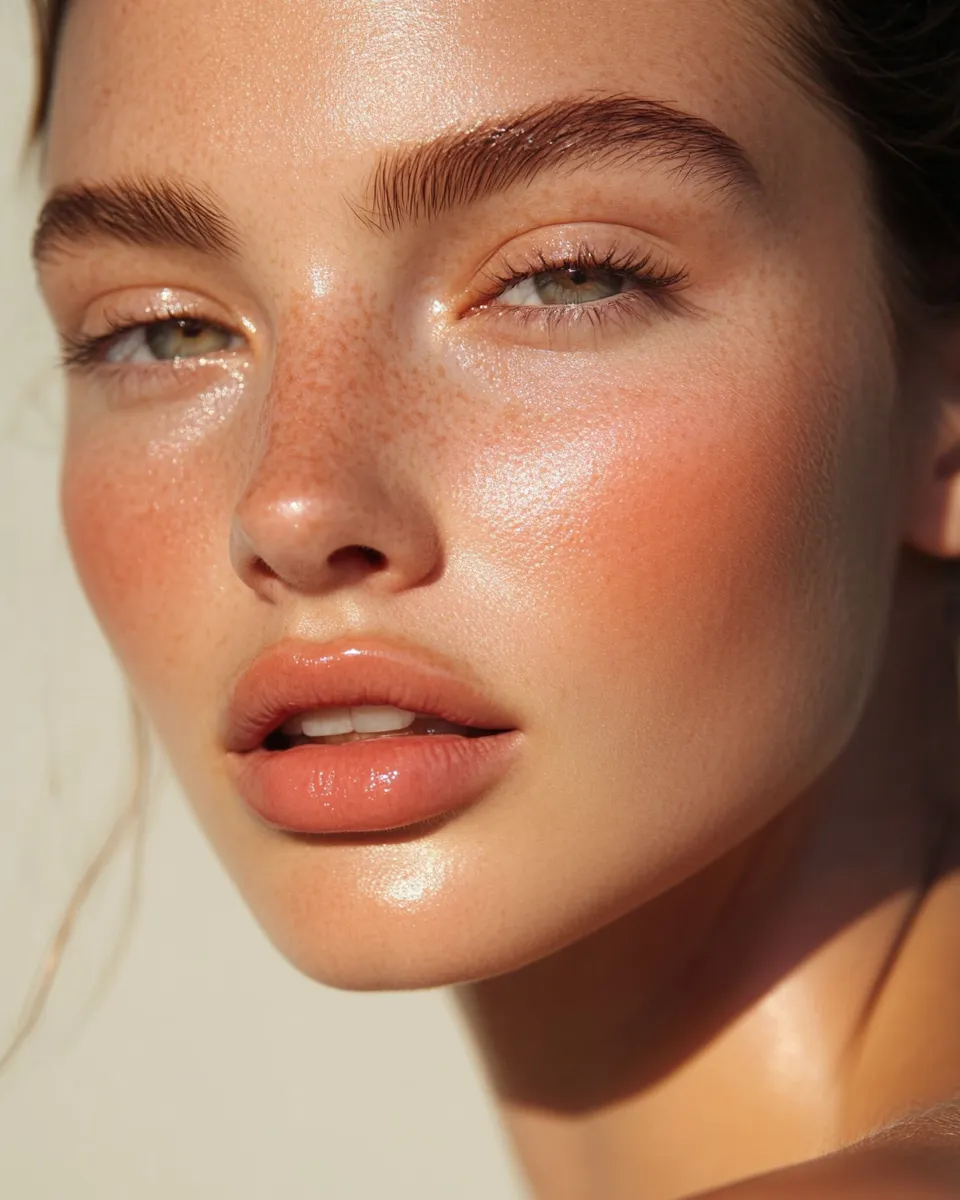
The lips in this look should appear hydrated, slightly flushed, and naturally full — not lined, not painted. Forget lip liner unless you need to correct asymmetry; even then, use a shade nearly identical to your actual lip color and smudge it softly inward.
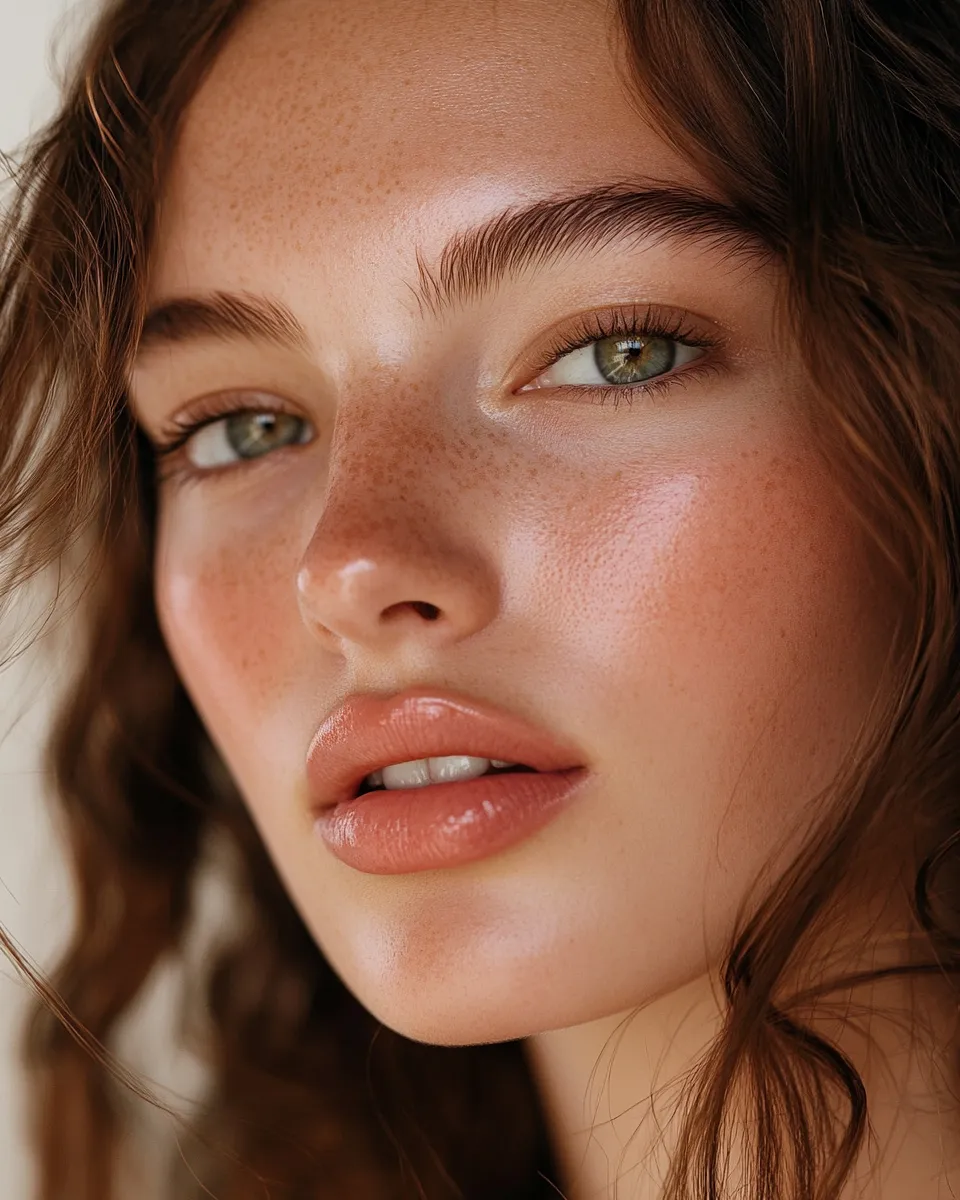
Tinted lip balms are the workhorse product of this look. They nourish lips while depositing a sheer wash of color that builds with each swipe and fades naturally without a harsh line. Clear lip gloss pressed over a tinted balm adds volume and light-reflectiveness that makes the whole face look more luminous — apply to the center of the lips only.
Sheer lipsticks with a satin finish are excellent for longer-lasting wear. The key word is “sheer” — any lipstick you can apply in one swipe and still see your lip color through is likely the right opacity for this look.
Step 8 — Finishing With Glow, Not Shimmer
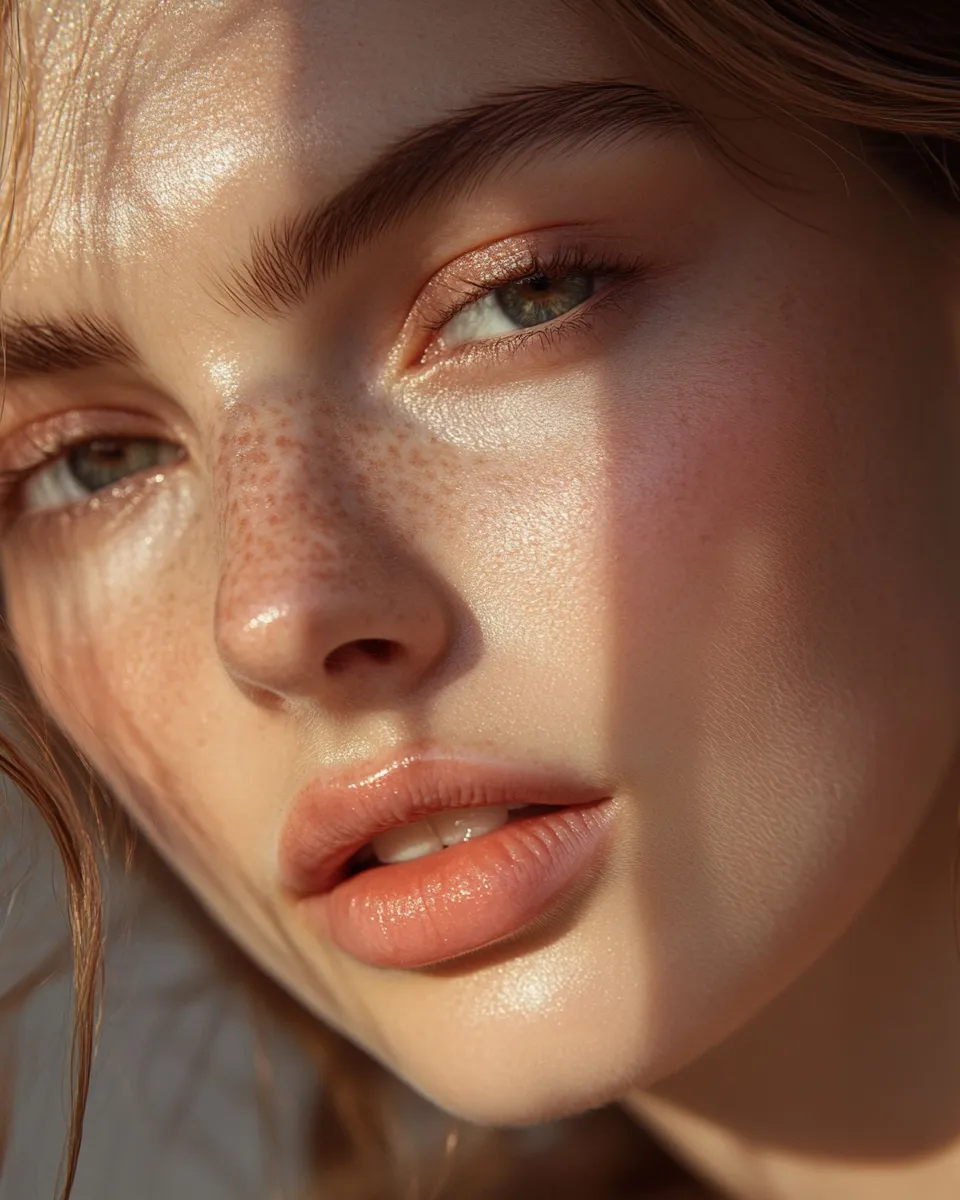
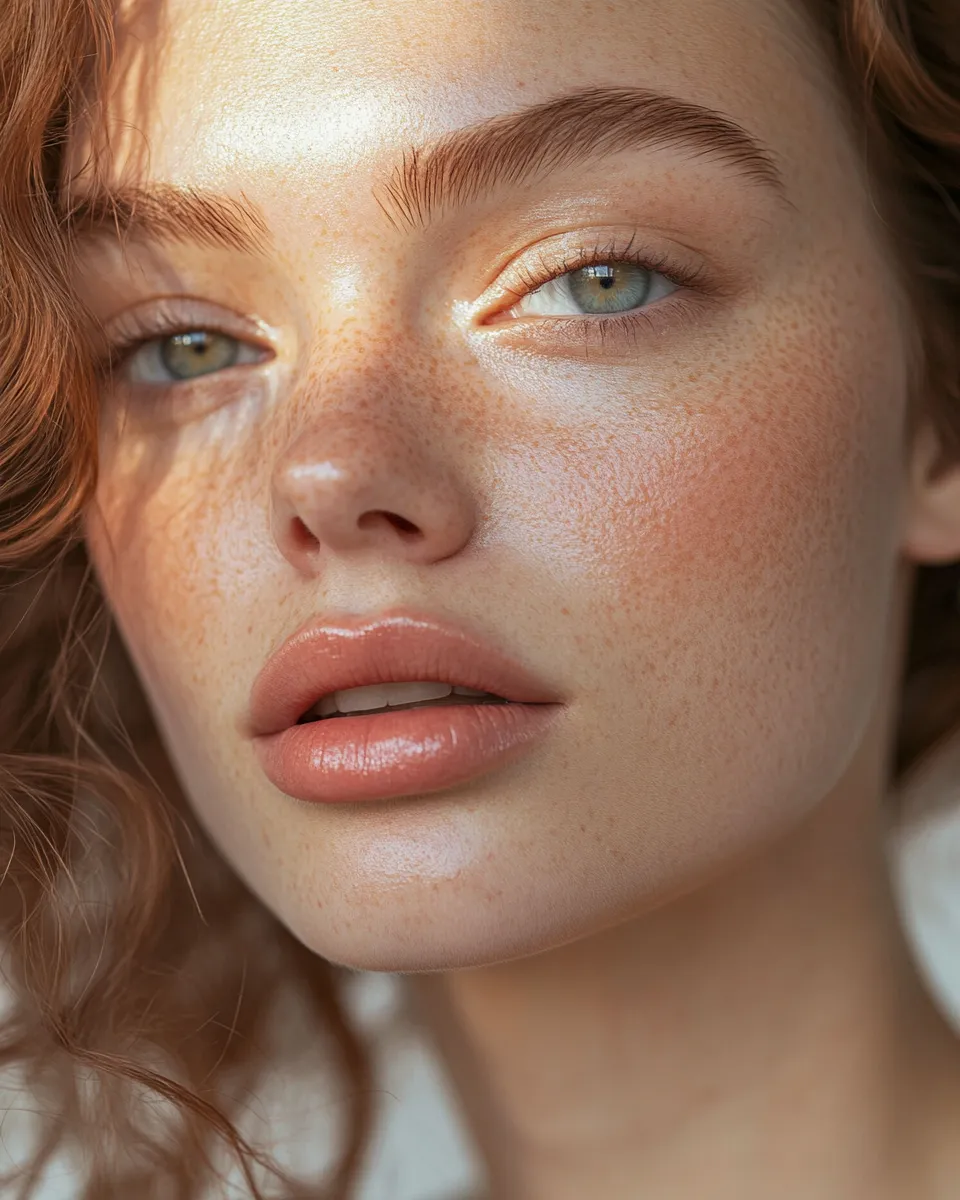
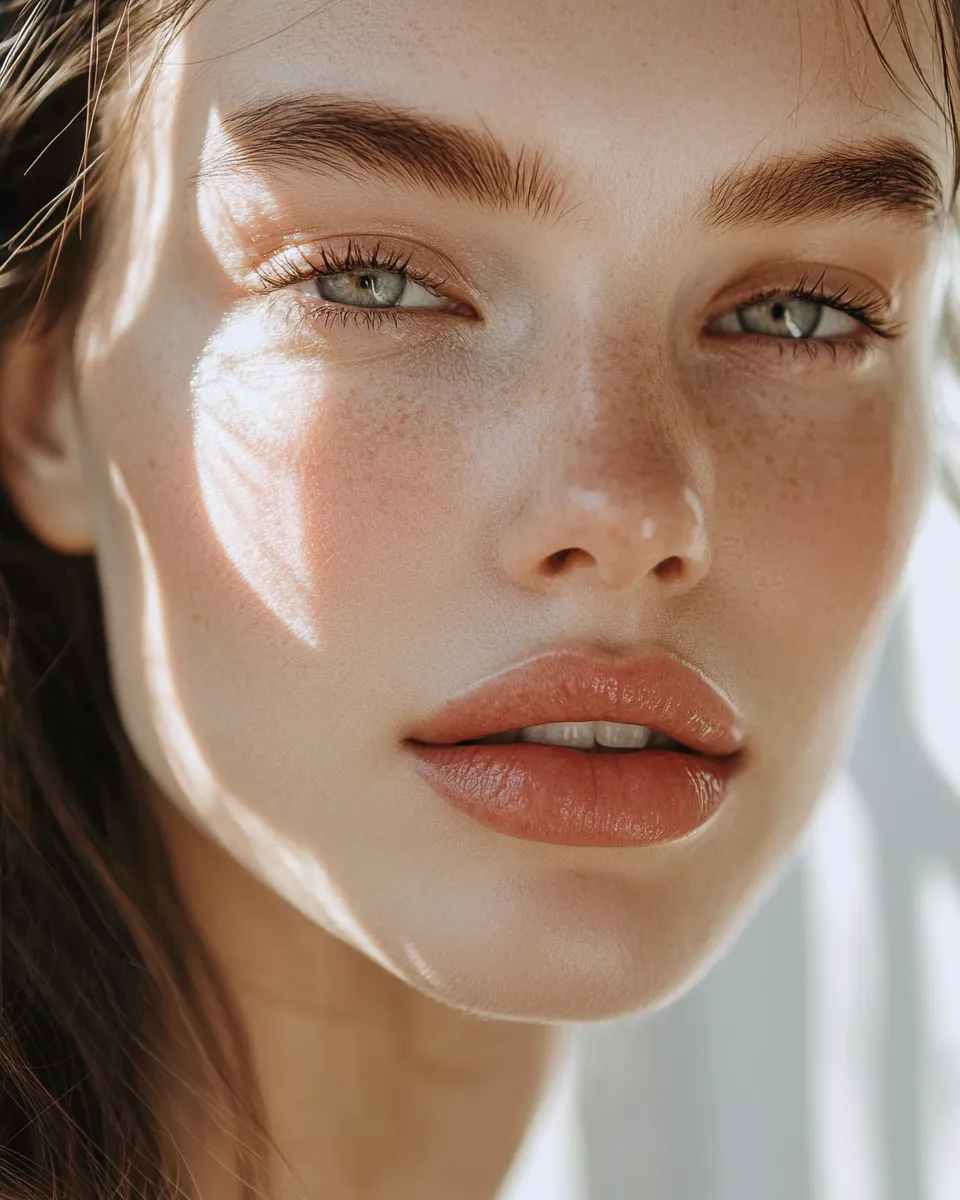
The final layer is light — specifically, how light interacts with your skin. You want natural-looking luminosity, not glitter, not disco shimmer. Think of how skin looks after a great night’s sleep: that inner radiance is exactly what you’re replicating.
A liquid or cream highlighter mixed into your skin tint before application distributes glow evenly across the face without any visible highlight placement. A powder highlighter can be used, but choose one with extremely fine particles and a pearl or champagne tone — apply with a fan brush to the very tops of the cheekbones and the bridge of the nose, lightly.
A setting mist spritzed over the finished look unifies everything, melds powder and cream layers together, and adds a final skin-like finish. Two to three spritzes from 30cm away — let it fall naturally rather than rubbing it in.
Products to Use vs. Avoid
| ✅ Use These | ❌ Avoid These |
|---|---|
| Skin tint / tinted moisturizer | Full-coverage foundation |
| Cream or liquid blush | Heavy powder blush |
| Tinted lip balm or sheer lipstick | Opaque matte lipstick with liner |
| Clear brow gel or light tinted gel | Drawn, filled-in brow arch |
| Lengthening mascara (1 coat) | Heavy volumizing mascara, false lashes |
| Skin-tone concealer (targeted) | Heavy baking, all-over concealer |
| Liquid / cream highlighter | Chunky glitter or foil highlight |
| Setting mist | Heavy setting powder all over |
How to Adapt the Look for Different Skin Types
Oily Skin
Use a pore-minimizing primer on the T-zone only, choose a skin tint with a satin rather than dewy finish, and carry blotting papers instead of adding more powder throughout the day. A light translucent setting powder pressed (not swept) onto the nose and forehead controls shine without affecting the skin-like finish everywhere else.
Dry Skin
Double-layer your moisturizer if needed, use a hydrating primer, and choose a dewy skin tint. Avoid all powder products — even a light dusting can settle into dry patches. Use cream blush and lip balm exclusively. A facial oil pressed gently over the finished look adds luminosity and prevents the makeup from looking patchy.
Mature Skin
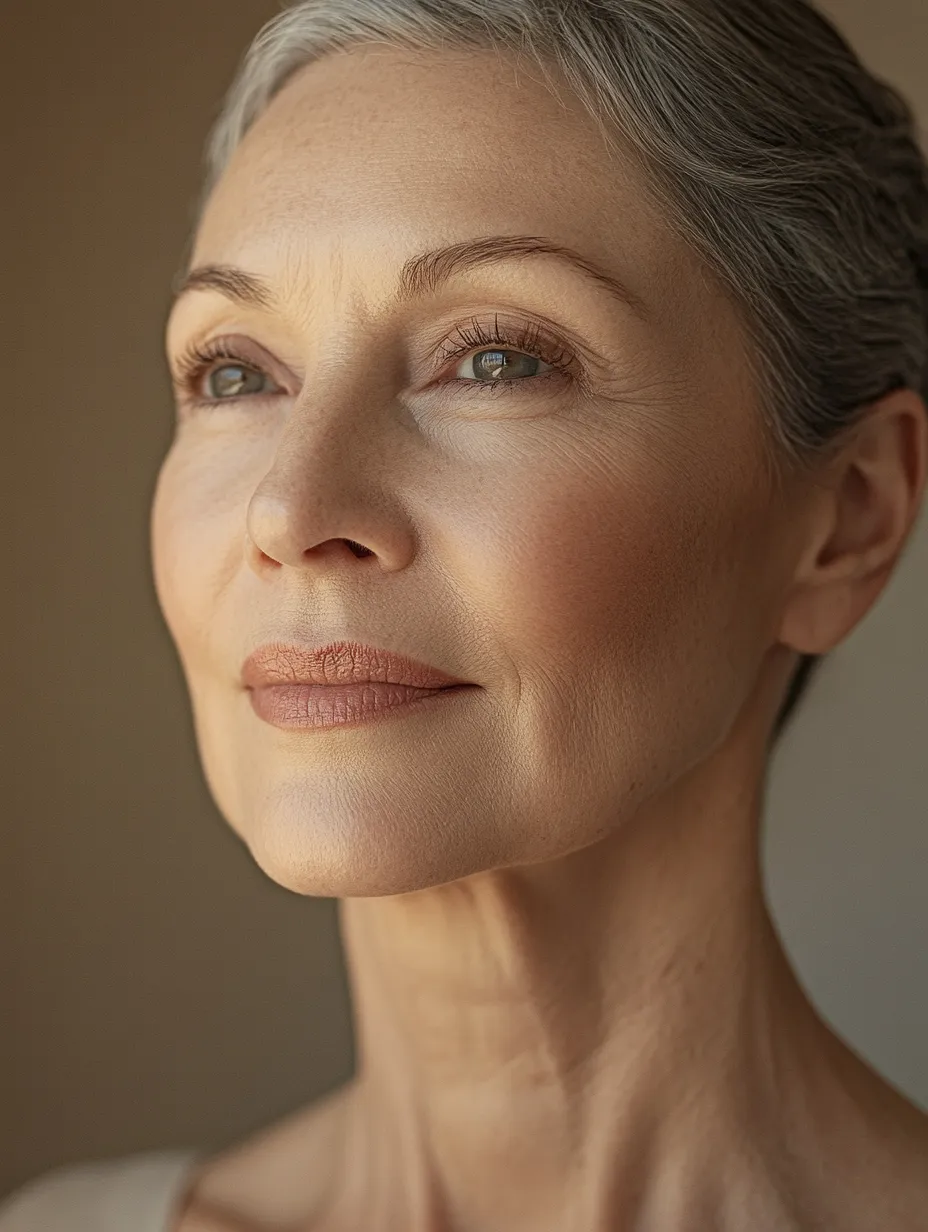
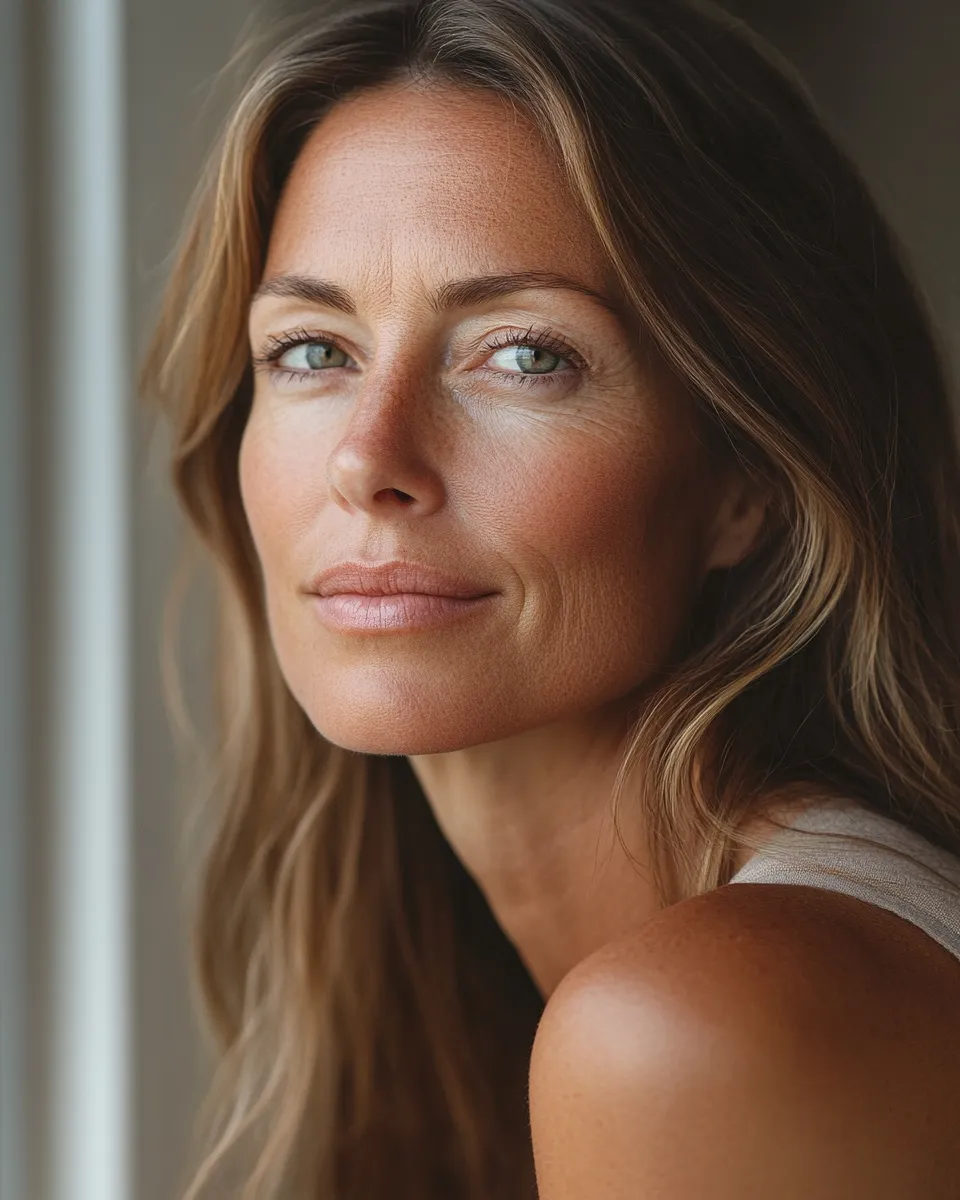
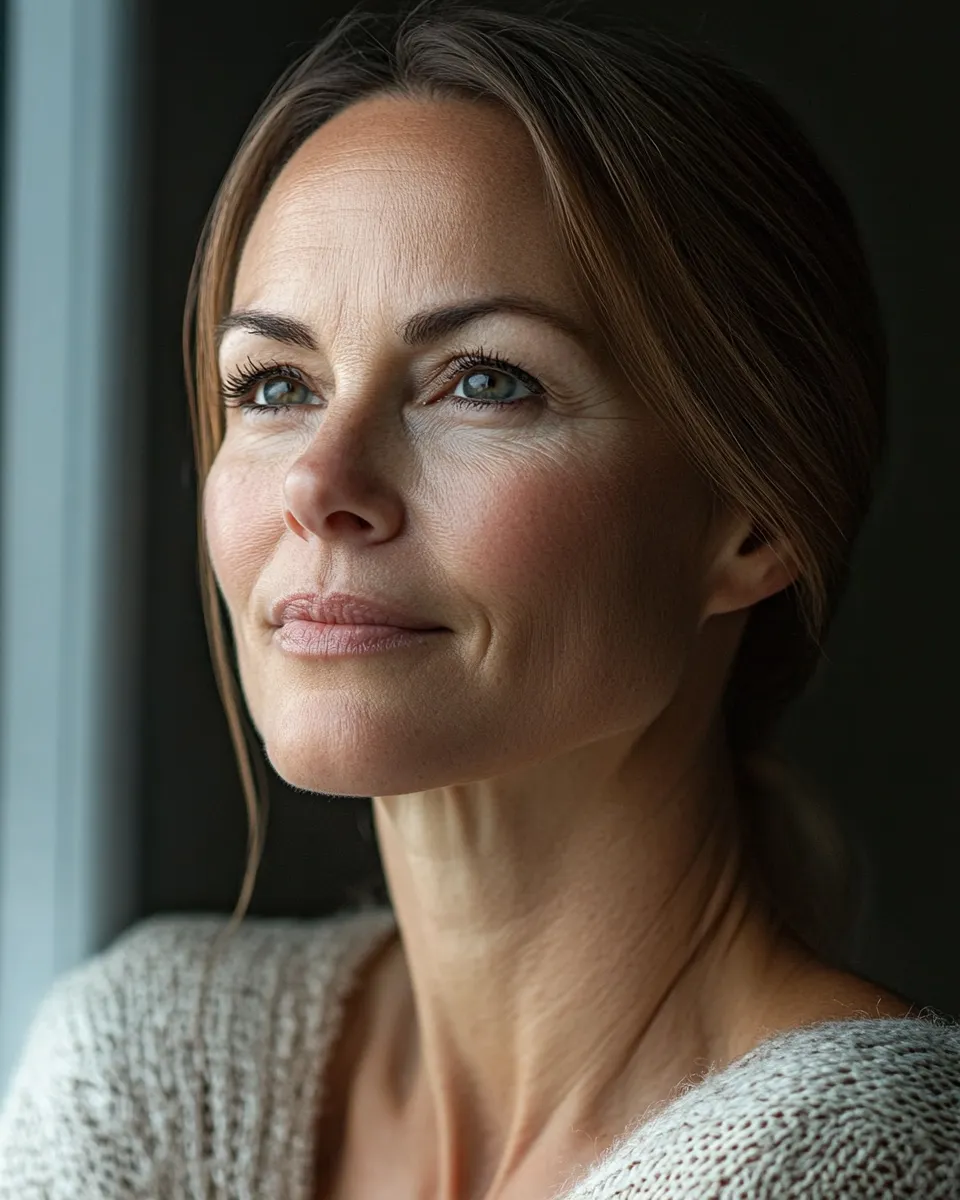
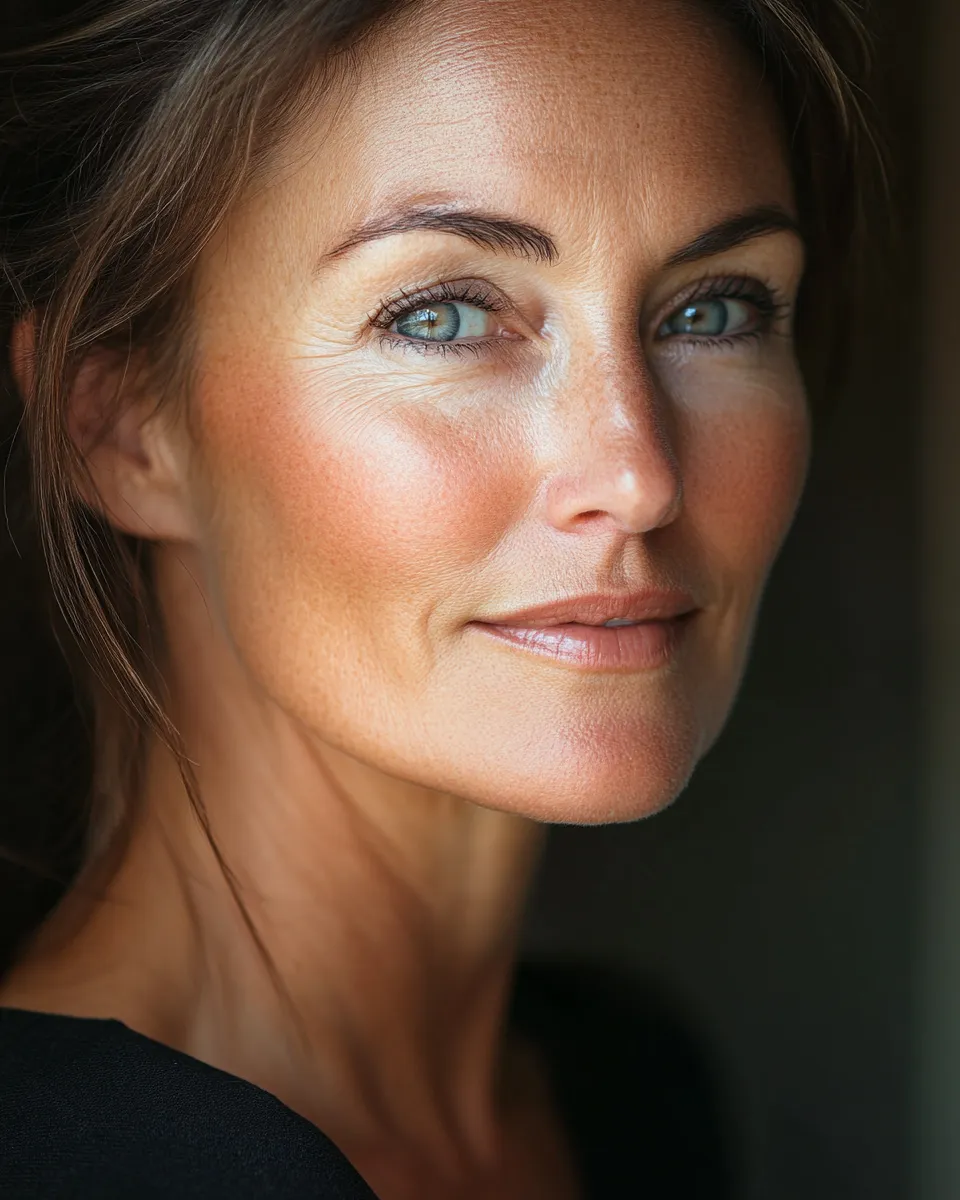
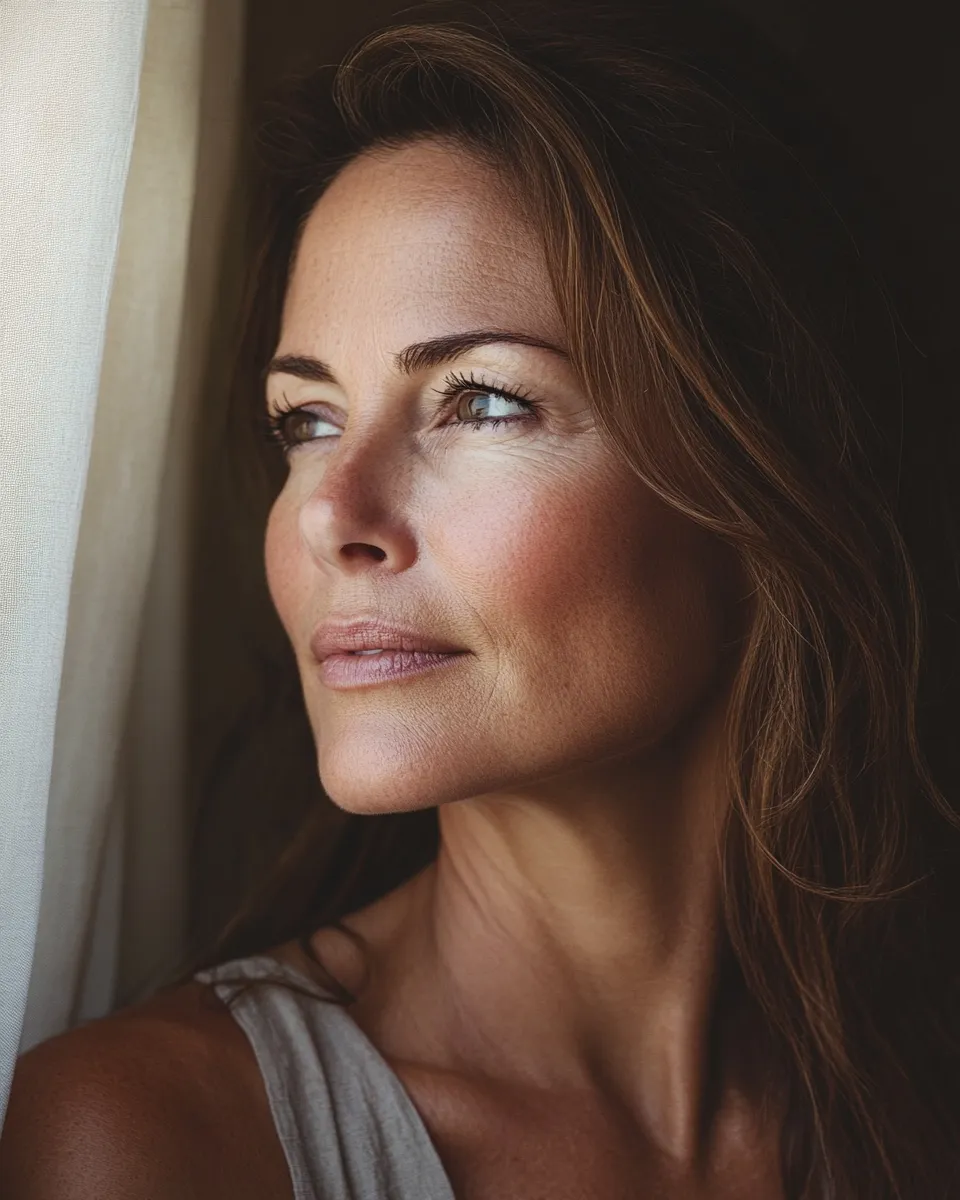
The no-makeup makeup look is arguably the most flattering style for mature skin. Avoid powder-heavy routines, which settle into fine lines. Use hydrating cream products throughout, focus on brightening the eye area with white waterline liner and a single mascara coat, and choose a light-reflecting concealer under the eyes rather than heavy coverage.
Common Mistakes That Break the No-Makeup Illusion
Over-applying base. Additional layers of coverage increase the chance of the product looking heavy or uneven. If your skin-like base isn’t covering something, consider whether it actually needs covering, or whether it’s simply a feature of your natural skin.
Wrong product order. Cream products always go before powder products. Applying powder blush before cream concealer will move the concealer around and create a patchy finish. Always: cream before powder.
Wrong undertone in base or concealer. A concealer even slightly too pink or too orange will be visible in a minimal look — there’s simply less product to blend away the mistake. Undertone matching matters more here than in full-coverage routines.
Too much glow in one spot. Piling highlighter onto the cheekbones creates a spotlight effect that reads as intentional. Keep luminosity diffuse and distributed.
Skipping lip care. Dry, flaky lips with a glossy product on top look worse than bare lips. Exfoliate and moisturize lips before application — thirty seconds, enormous visual difference.
The 5-Minute Version for Busy Mornings
- SPF moisturizer — apply and press in with palms (1 min)
- Concealer — only under eyes and on any obvious spots (1 min)
- Cream blush — two dots on cheek apples, blend with fingers (30 sec)
- Brow gel — one pass through each brow (30 sec)
- Tinted lip balm — swipe on, press lips together (20 sec)
- Mascara — one coat, top lashes only (30 sec)
Total: approximately 4.5 minutes. The result delivers everything the extended version does — just slightly less refined at close range. For most real-world situations, it’s indistinguishable.
Final Thoughts
The no-makeup makeup look is not about wearing less — it’s about wearing smarter. The products are carefully chosen, the technique is intentional, and the result is a face that looks healthy and real rather than painted or hidden. It’s the kind of makeup that earns the compliment “you look great” rather than “I love your makeup.”
Start with skin that’s genuinely prepped, keep your base thin and skin-toned, use cream textures wherever you can, and trust the process. Once you’ve dialled in your personal version of this look, it becomes one of the fastest and most reliable routines in your rotation — and the one you’ll come back to more than any other.