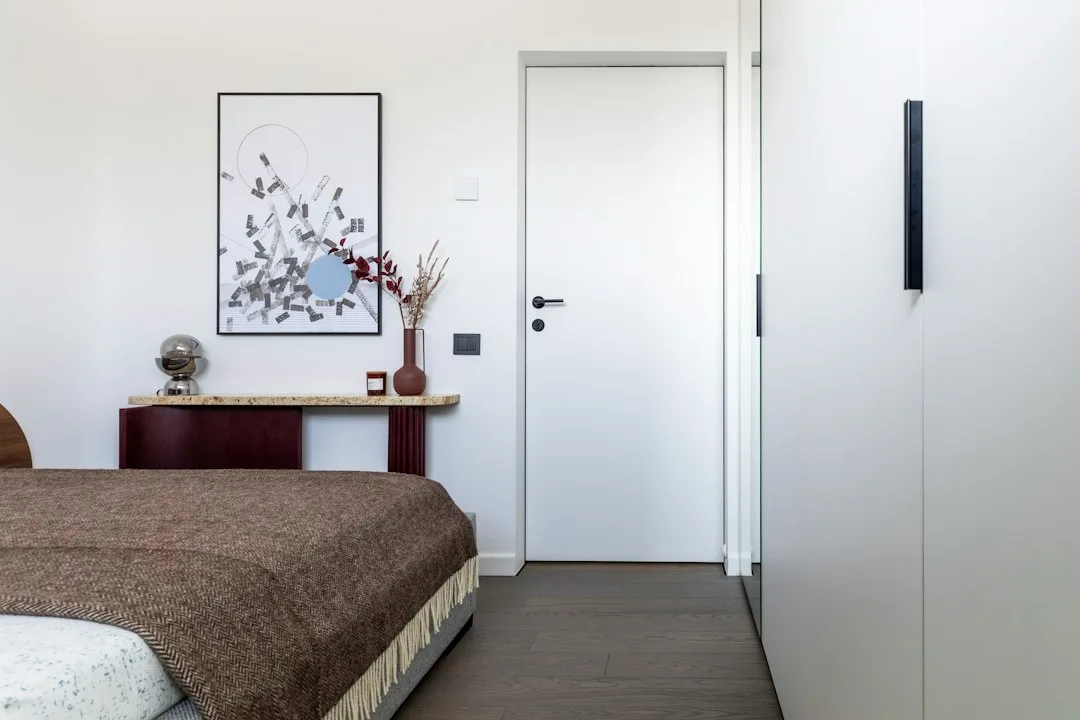
A 36-inch hinged door needs a quarter-circle of open floor, and in a narrow bathroom that arc often swallows the only usable wall. The fix is pocket door installation, which slides the door sideways into the wall cavity so it never swings into the room. It returns square footage. No partition needs to come down to get it.
Older townhomes, compact condos, and 1960s ranches are where this upgrade pays off most. Their hallways and baths were sized for smaller furniture and tighter routines.
Why Pocket Door Installation Frees Up Floor Space
Cavity Sliders, a maker of steel-track pocket door hardware sold through framing and remodeling suppliers, is one brand contractors ask for by name. The mechanics are simple. A 36-inch hinged door sweeps a 36-inch arc into the room, while a pocket door parks flat inside the wall when open.
That difference matters most where furniture has to sit near the opening. A vanity, a laundry closet, or a home office desk can sit within reach of the doorway. Wall space that the swing used to waste becomes usable again.
Quick Tips
- Measure the swing arc first and compare it with the furniture you want near the opening.
- Confirm the wall is deep enough for the frame, usually about 4 to 5 inches, before you commit.
- Check for outlets, switches, and plumbing on both sides of the planned cavity.
- Choose a solid-core slab if the room needs real privacy.
How a Wall Cavity Makes Room for the Door
Johnson Hardware sells pocket door frames and track kits in standard widths. Masonite and Jeld-Wen offer pre-hung pocket door units that arrive assembled, which saves framing time on site.
The frame sits inside the wall, so the cavity must be open before drywall goes up. Plan that step with the framer before anyone cuts a stud. A level header above the opening keeps the track aligned over the years.
| Feature | Pocket Door | Hinged Door |
|---|---|---|
| Floor space when open | Zero, the door sits inside the wall | Full swing arc into the room |
| Wall depth needed | About 4 to 5 inches for the frame | Standard 2×4 partition works |
| Sound isolation | Weaker, since the cavity can carry noise | Stronger with gasketed seals |
| Hardware included | Track, rollers, and a pocket frame | Hinges, latch, and a pre-hung frame |
Where Pocket Doors Fail When Walls Hide Surprises
The most common mistake is cutting into an existing wall without opening it first. Picture a 1960s ranch bathroom where someone marks a pocket opening and starts demolition without checking the wall.
A three-inch drain stack runs through that cavity. Now the door project includes a plumber, new fittings, and a drywall patch that shows under paint. Skip the inspection step and the door becomes the costliest part of the job.
Hardware and Glass Options Worth Comparing
Frosted tempered glass slabs let light into a windowless hallway while keeping the room private. They work well when the pocket door is the only divider between a bath and a dressing area.
Steel track hardware generally holds up better under daily use than light plastic rollers. Specs vary by manufacturer, so check the weight rating against the slab you plan to hang.
What a Pocket Door Project Costs in Time and Money
Pocket door hardware kits often fall in roughly the $100 to $300 range before labor, depending on track length and weight rating. That spend replaces a standard hinged door hardware set, so the real added cost comes from the wall work.
Opening and reframing a wall adds a day or more for most crews. Expect the job to take longer than a simple door swap. For a broader view of bundling room changes, see Upgrade Your Home with These 3 Improvement Projects.
Planning the Project Before Framing Starts
Start with a marked floor plan that shows the door in its open and closed positions. Then mark the wall, outlets, and any ductwork before a single stud comes out.
Ask your framer to confirm the rough opening height and width against the manufacturer spec. Pocket door installation pays off most in rooms where every foot counts, but only after the wall has been opened and checked.
Choosing the right pocket door hardware
The frame and hardware determine how smoothly the door runs for years. Johnson Hardware makes pocket door frame kits that many installers use for standard interior openings, and their steel frames hold the door square inside the wall cavity. Check that the kit matches your door weight and width before you order.
Most kits include a top track with ball-bearing rollers and a bottom guide that keeps the door from swinging. A floor guide is inexpensive, but it must be set into the subfloor or finished floor before the trim goes on. Set the track so the door sits level and clears the finished floor by the gap the manufacturer specifies.
Soft-close mechanisms are available for many pocket door systems and cost more than a basic roller set. They are worth considering for a bathroom or bedroom where the door will be used often. Read the weight rating on the hardware and match it to a solid-core door rather than a hollow-core one.
Sound control and finishing the wall
A pocket door creates an opening in a wall, so sound can travel through the cavity if it is left open. Packing the wall with a sound-dampening batt such as Roxul Safe’n’Sound or Owens Corning QuietZone reduces noise between rooms. Install the batts carefully around the pocket frame so they fill the space without bunching.
Drywall goes on both faces of the wall once the frame and insulation are in place. Screw the board to the frame so the door track stays fixed, and leave the pocket opening clear of drywall screws. Tape and finish the joints, then sand and prime before painting to get a clean edge at the pocket.
Electrical boxes on the opposite side of a shared wall can undermine the sound barrier. If an outlet or switch sits back to back with the pocket, offset the box or move it to a different stud bay. An electrician can confirm the placement before the wall is closed.