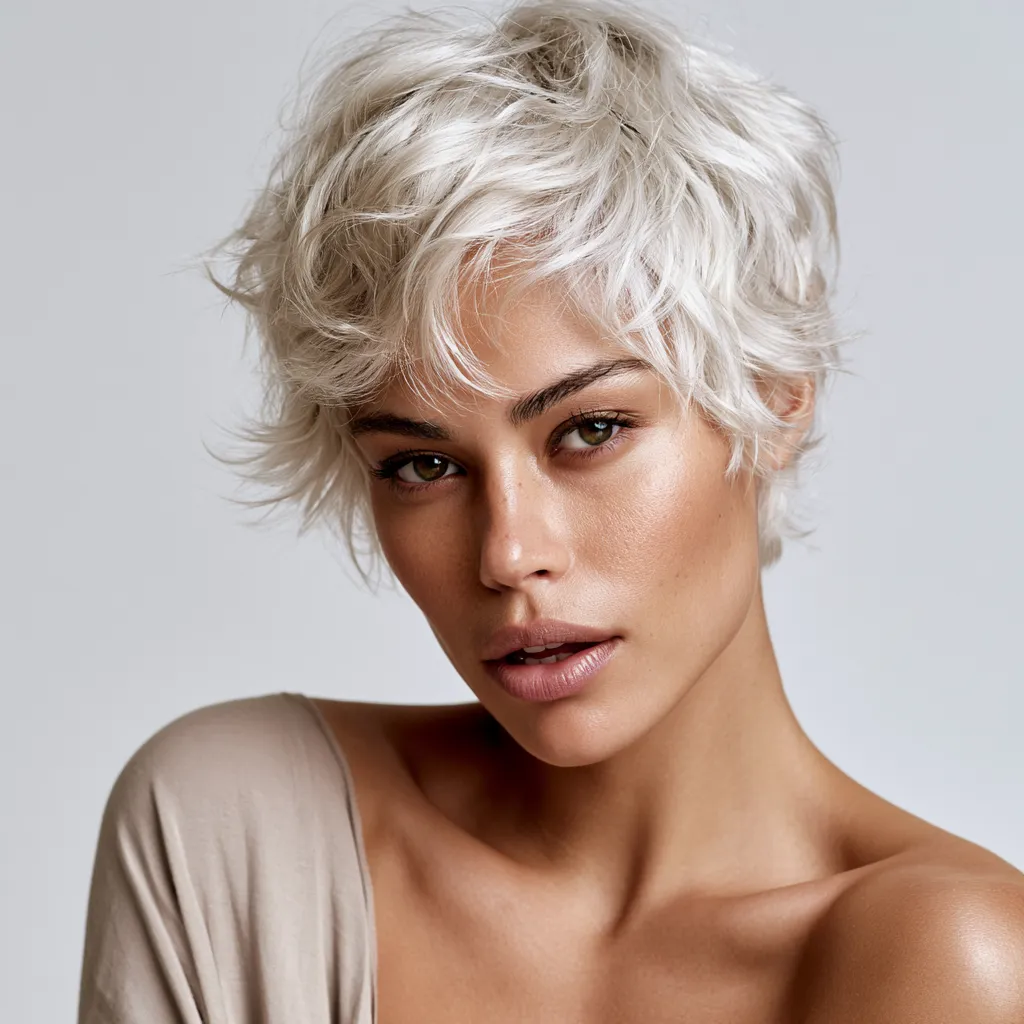
Short blonde pixie cuts with textured white blonde edges are having a moment — and it’s not subtle. The white blonde pixie cut sits at the intersection of precision and wildness: clean enough to look intentional, rough enough to look real. I’ve styled this look on myself twice, switched colorists once because the first one iced me too cool, and landed on a formula that actually photographs well in daylight without looking like a filtered wig. The detail everyone skips? The edge texture. Get that wrong and even a $200 cut reads flat.
The difference between a short blonde pixie that works and one that just sits there is almost always in the perimeter treatment. Razor-worked edges on a white blonde base create micro-movement that catches light from every angle. Your stylist needs to know this is the priority before they pick up a single tool.
Quick Scan: White Blonde Pixie Edge Styles
🔹 Layered crown edges — adds volume, flatters oval and heart-shaped faces
🔹 Sharp side detailing — clean taper lines, angular face-shape friendly
🔹 Soft textured fringe — feathered forward sections, balances round and square faces
🔹 White vs. platinum — white reads cooler and brighter; platinum goes warmer, more champagne
🔹 Maintenance window — expect a salon visit every 4–5 weeks to keep edges sharp
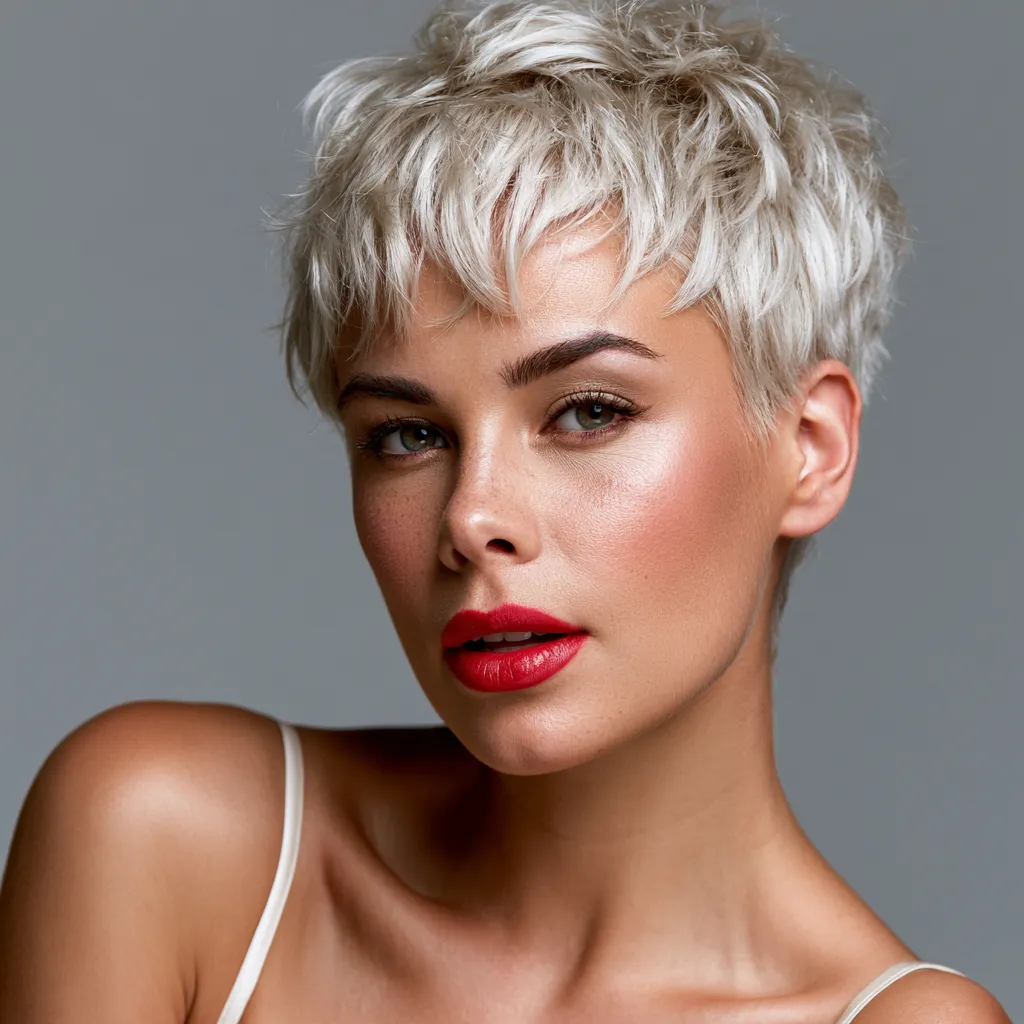

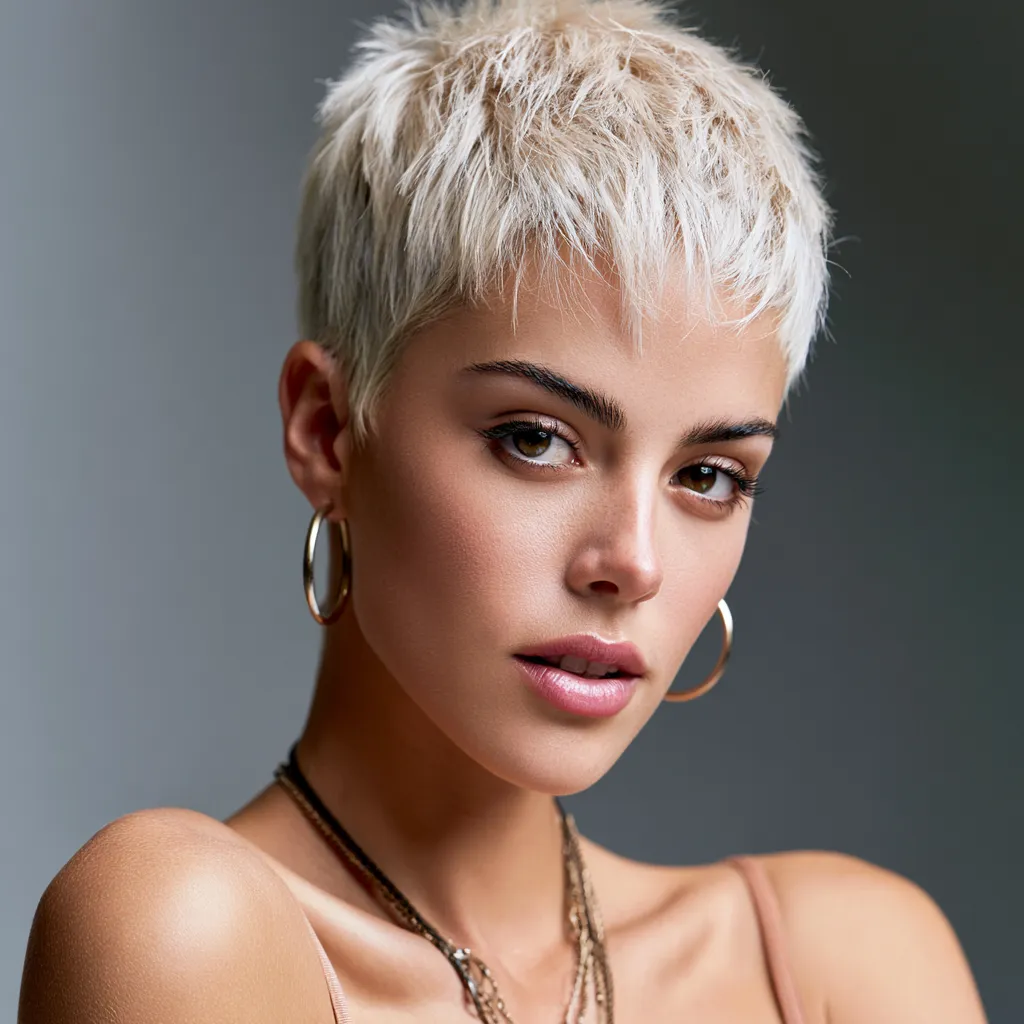
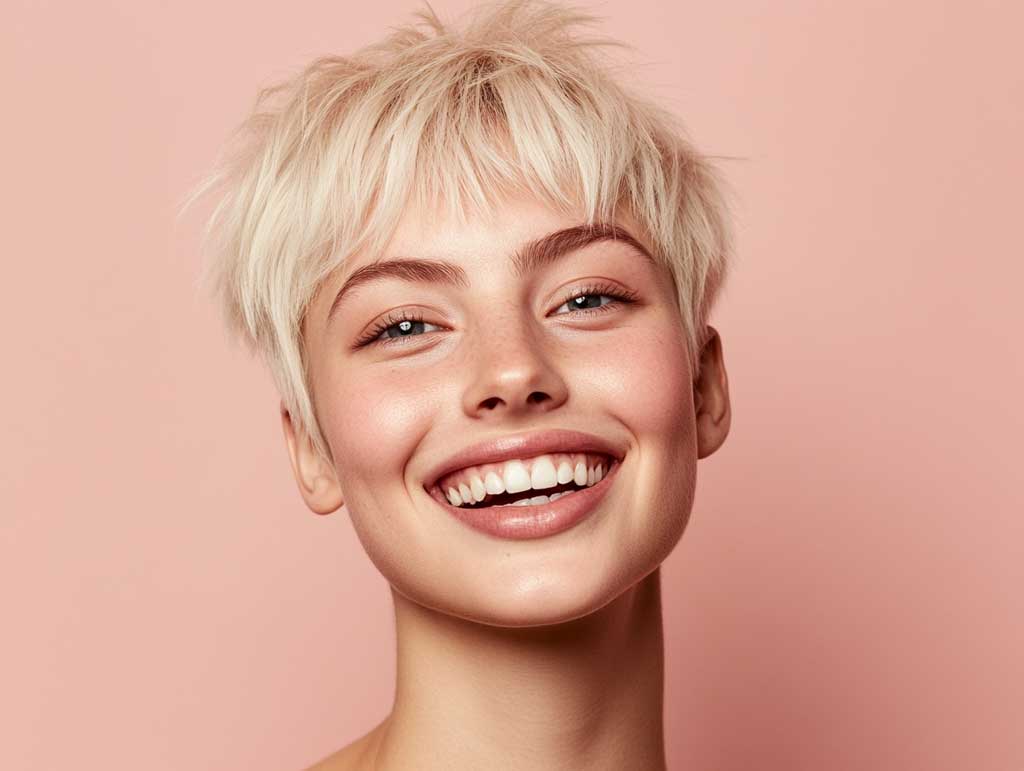
Layered Crown Edges on a White Blonde Pixie Actually Add Volume, Not Weight
Layered white blonde edges at the crown do something counterintuitive: they make short hair look fuller, not thinner. My go-to explanation is that each layer acts like a shelf, catching light from a slightly different angle and creating the illusion of density. The key is keeping those layers razor-cut rather than scissor-blunt — blunt cutting at this length compresses everything flat. You’ll notice the difference on day two, when product wears off and the natural movement is all that’s left.

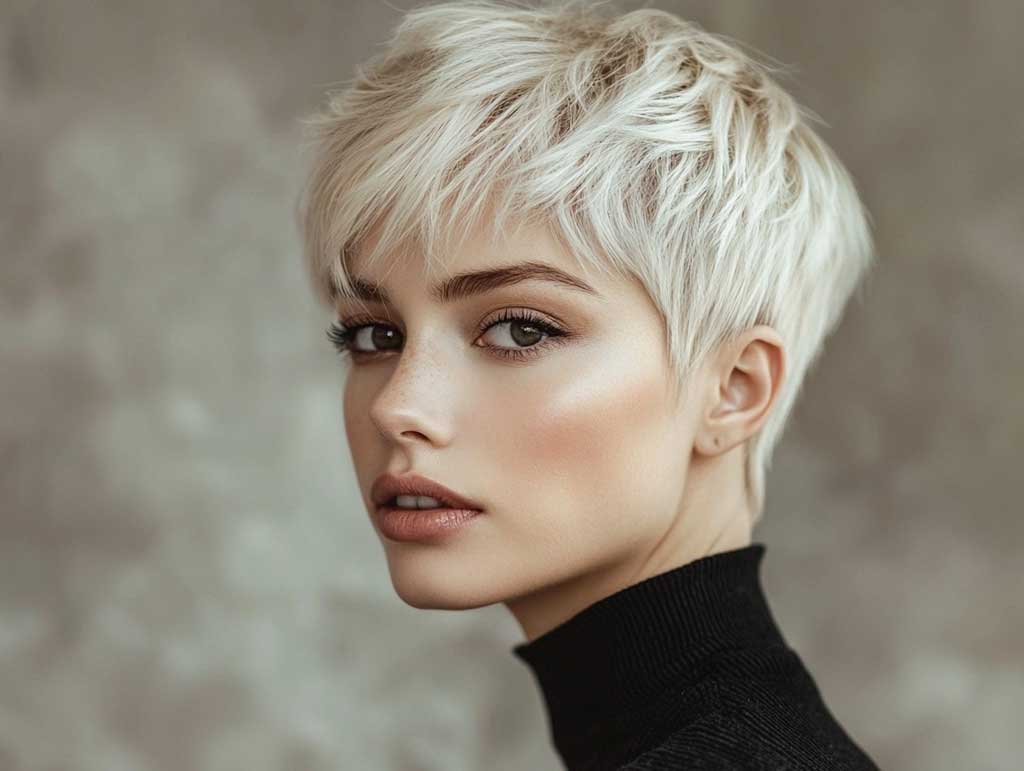
Think of the layered crown section like a stacked soufflé dish: the structure only holds if each layer is independent. Clumping layers together — which happens when you over-apply product or under-dry — collapses the whole thing into one matted mass. I learned this the hard way with a drugstore mousse that turned my crown into a helmet. Use Oribe Dry Texturizing Spray at the roots instead — about $46 — and work it in with fingertips, not a brush.
Oval and heart-shaped faces get the most out of this variation because the added crown volume balances narrower chins naturally. Square faces can pull it off but need the edges kept slightly softer at the temples to avoid adding visual width. Round faces? Proceed with caution — you want height at the crown, not width at the sides, and a heavy-handed layering job can tip in the wrong direction fast. Ask your stylist to keep side layers tighter than the crown by at least a half inch.
The white blonde tone on a layered crown does something platinum can’t quite replicate: it reads almost luminous indoors, not just under direct light. I stole this trick from a colorist in Kyiv who described it as “lighting the hair from inside.” She used Wella Blondor Multi Blonde powder mixed cooler than standard — the result was a shade that bounced light without going gray. Don’t let a colorist talk you into going platinum when white is what you actually want. They’re different tones, different results.
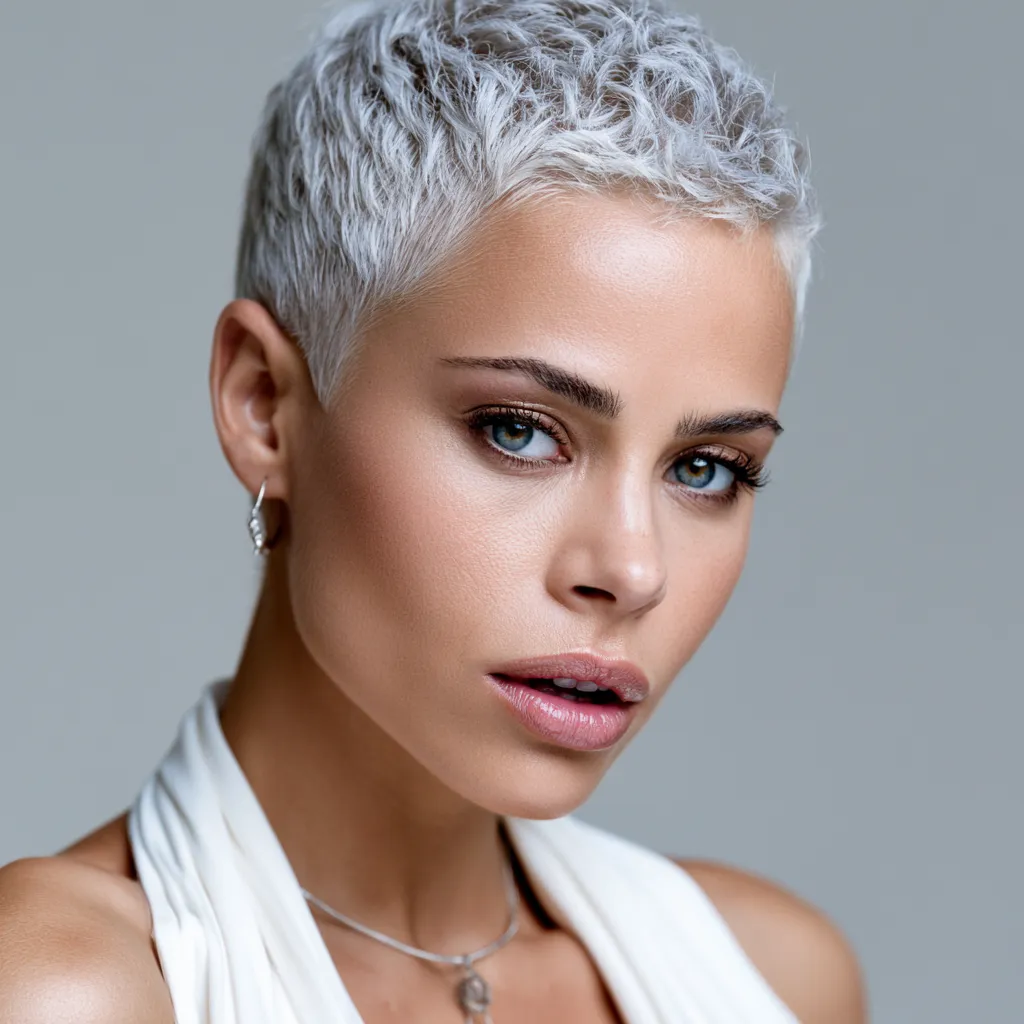
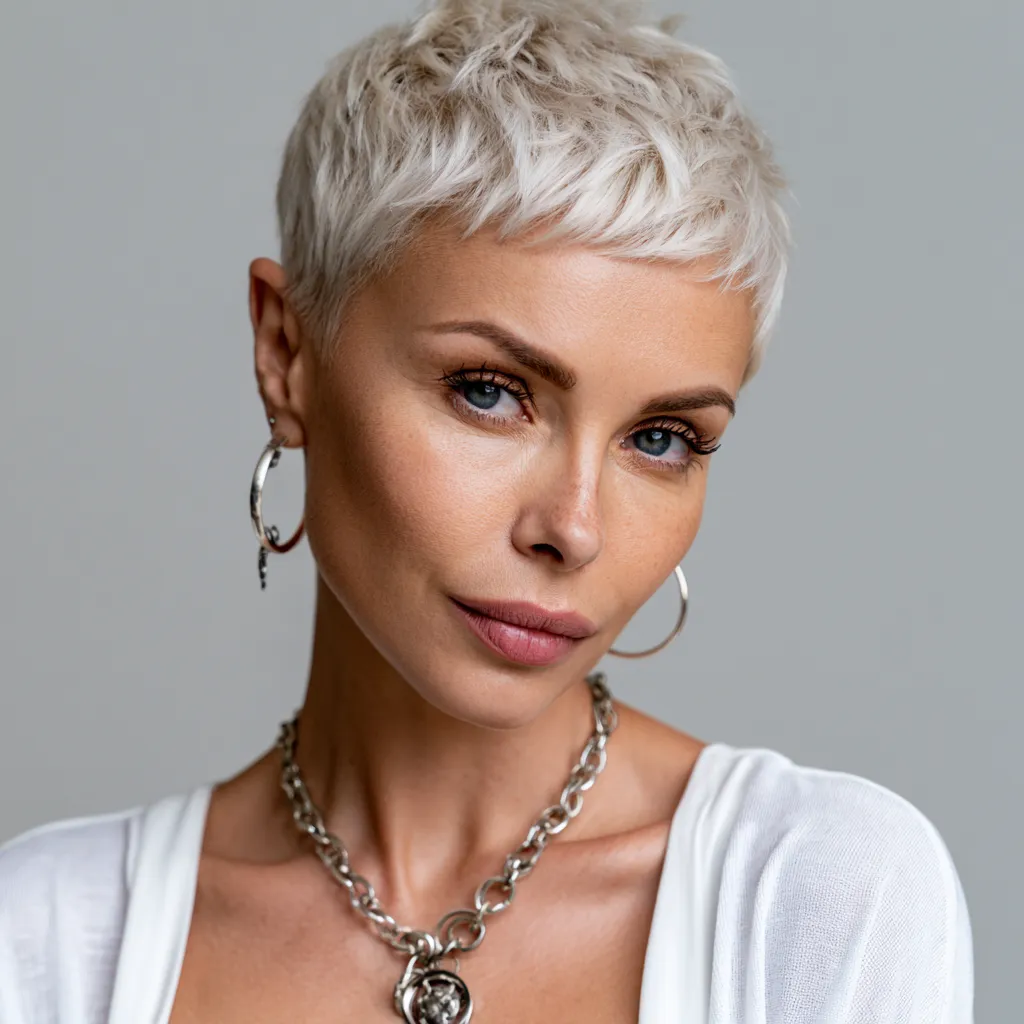
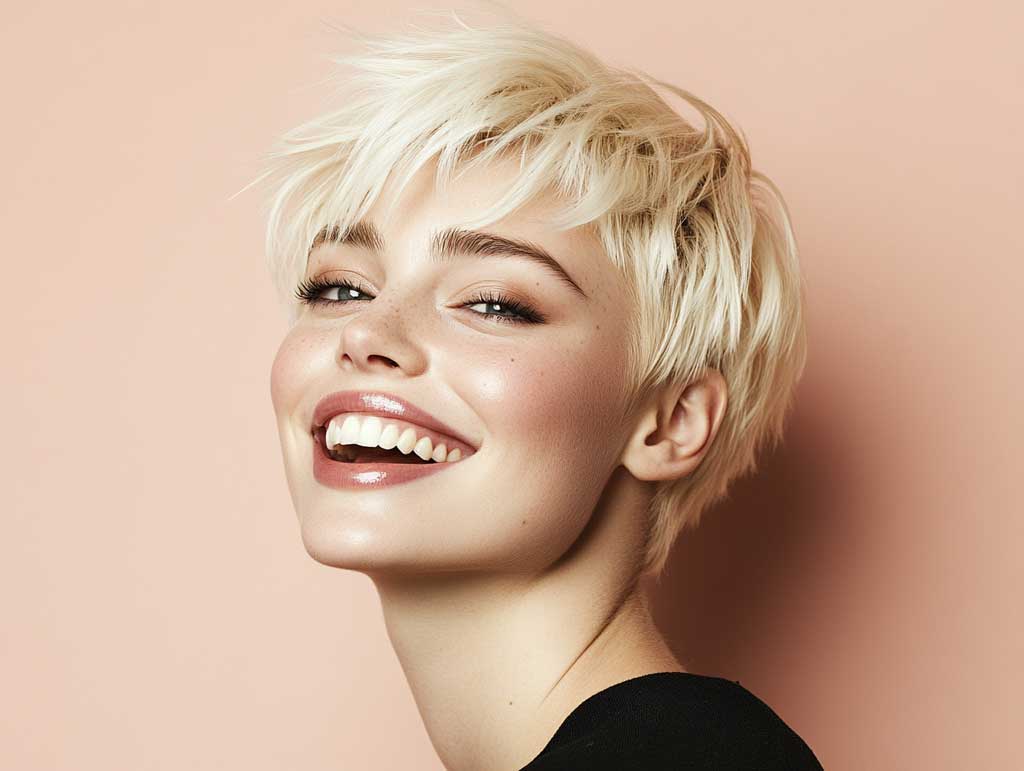
Sharp White Blonde Side Detailing Reads Expensive or Messy Depending on One Thing
Sharp side detailing on a short blonde pixie cut is a commitment. The clean taper lines on the sides against a slightly longer top create that high-contrast silhouette you’ve seen on every editorial pixie reference — but what those photos don’t show is the three weeks between them and the six weeks when it turns into something unidentifiable. You need to be back in the salon chair every 4 weeks maximum to keep this version looking intentional. Miss that window and the taper grows out soft, and “edgy” starts reading “neglected.”
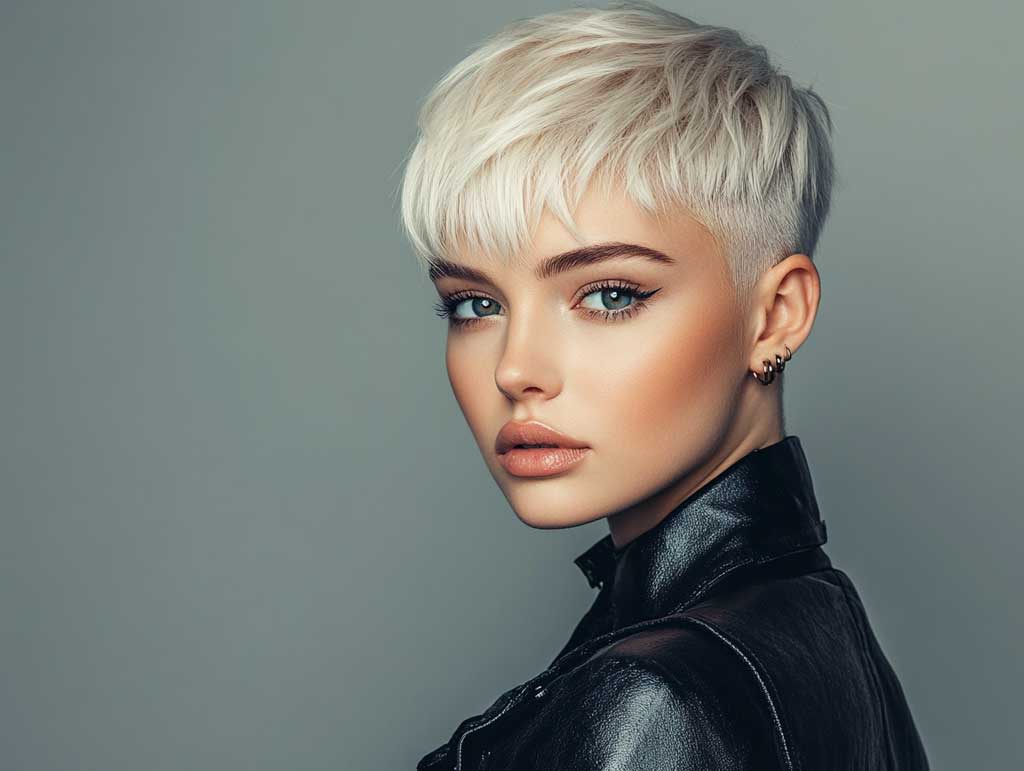

The side taper on this variation works exactly like the margins on a well-typeset page: it creates breathing room that makes everything in the center look more deliberate. Angular and oval face shapes wear it best because the straight taper lines echo rather than fight their natural bone structure. What doesn’t work — and I’ve seen this repeatedly — is sharp side detailing on a round face without any crown height to counterbalance. The horizontal emphasis just widens everything.
For daily styling, Redken Wax Blast 10 at around $22 is the move — it holds the lines without gluing everything together. Gel is the wrong call here. Gel gives you definition for about two hours and then turns into a flaking disaster by afternoon, especially on white blonde hair where the flakes show up like dandruff against pale strands. Smoothing cream followed by a mist of Oribe Superfine Hair Spray is the combination I’ve settled on for days when I need the look to hold past 4pm.
Don’t Do This with Sharp Side Detailing
❌ Don’t use a stiff-hold gel — it flakes visibly against white blonde strands by midday.
❌ Don’t skip the 4-week trim — a grown-out taper loses the entire point of the style within days.
❌ Don’t ask for sharp side detail if your face is round and your stylist isn’t adding crown height — the horizontal line reads as width, not structure.
❌ Don’t go for platinum when you mean white blonde — they photograph completely differently and platinum can read greenish under fluorescent light.
White blonde amplifies sharp detailing in a way that mid-blonde or platinum tones don’t — the high contrast between the near-white strands and the scalp at the taper line is what makes the silhouette read so cleanly in photos. If you’re shooting content or want the cut to read well on camera, this is the version to ask for. Compare the effect to platinum blonde very short pixie cuts and you’ll immediately see why white reads sharper in direct light.
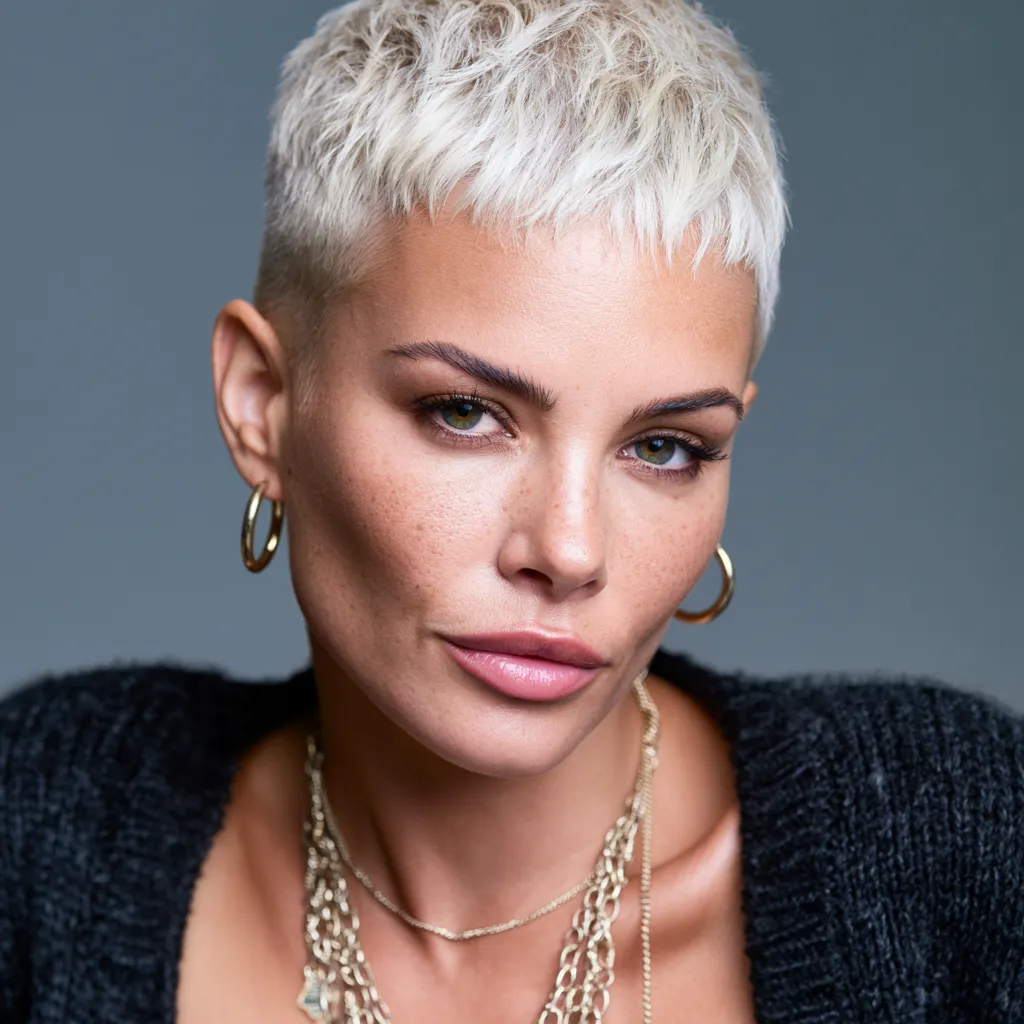
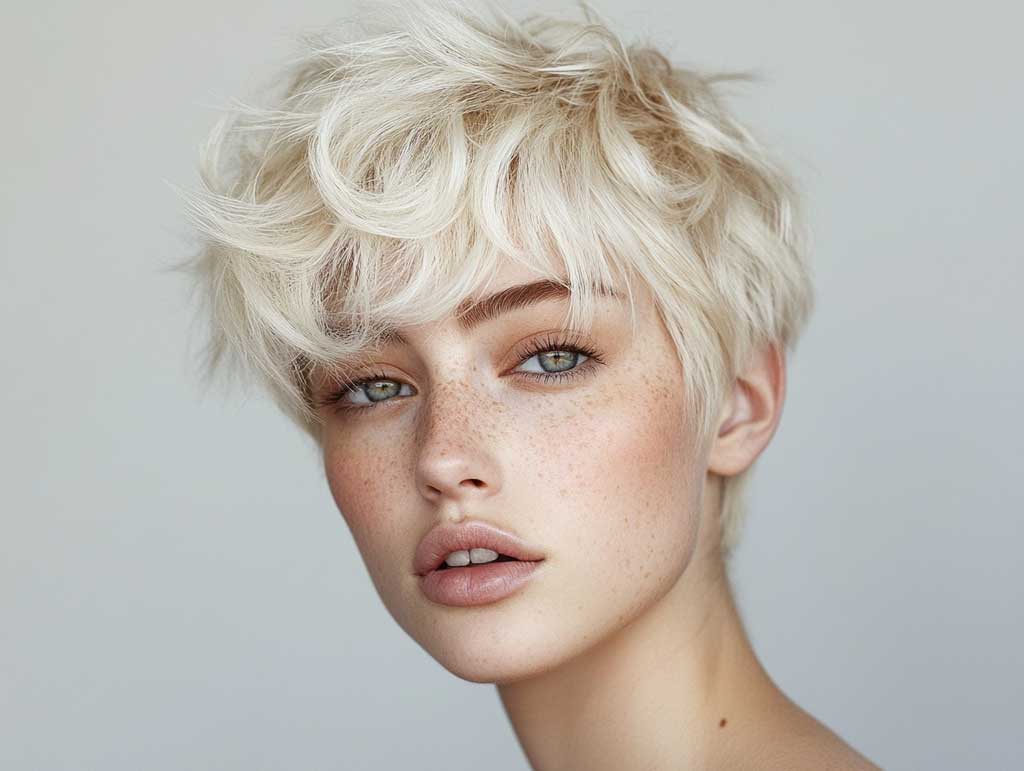
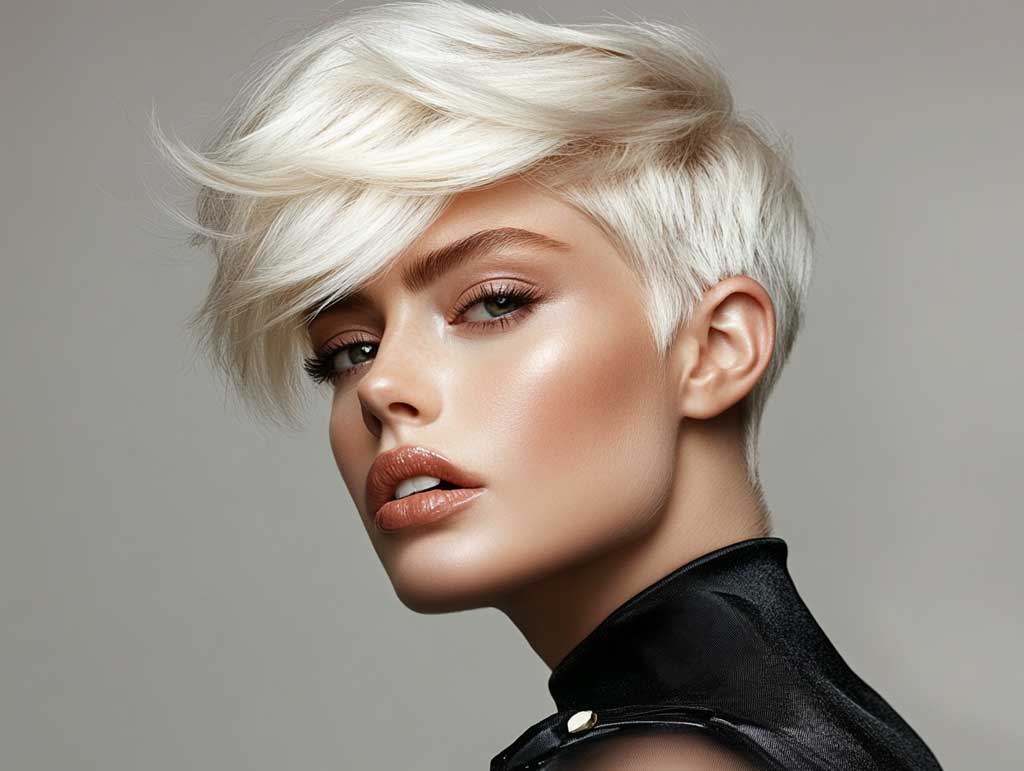
The Soft Textured Fringe Changes Which Face Shapes This Pixie Actually Flatters
A feathered fringe on a short blonde pixie does the opposite of what most people expect: instead of adding softness that blurs the cut, it redirects attention from the sides to the front, making the whole haircut feel more face-forward and intentional. I own two headbands that I stopped using entirely after getting this fringe because the hair itself started doing the framing work. The white blonde on feathered ends catches the light like a halo — it’s the most photographable version of this haircut by a significant margin.
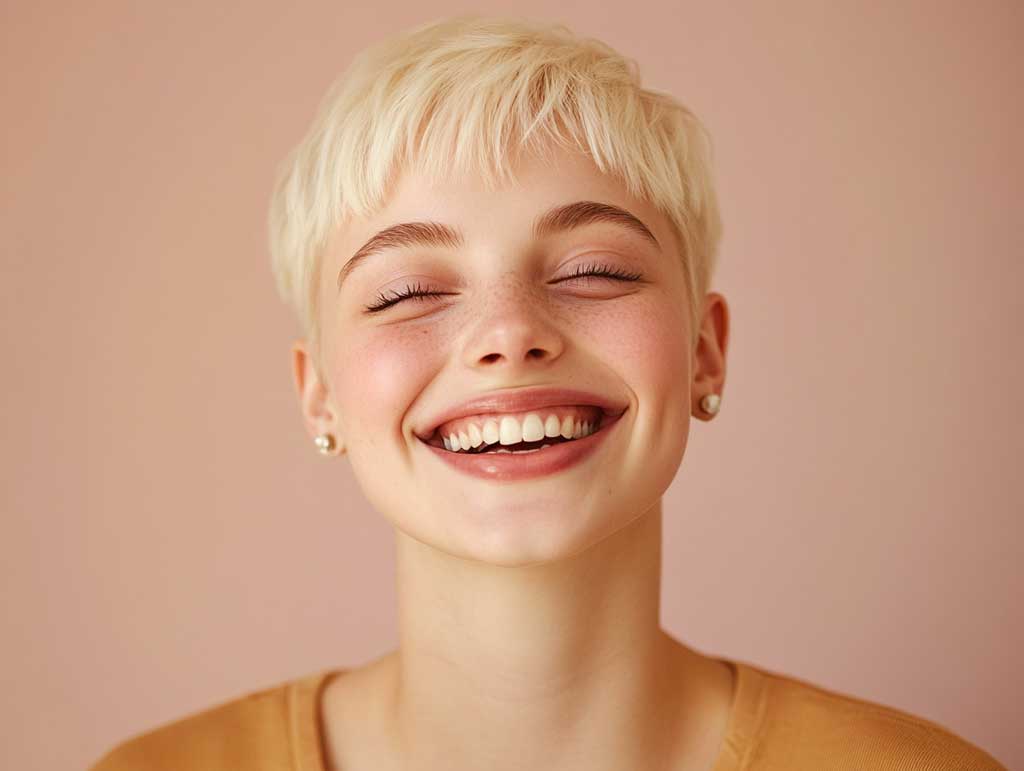
Round and square face shapes are where this variation earns its keep. The fringe draws the eye forward and downward, away from the widest point of the face, which is exactly the opposite of what a cropped side cut does. Heart-shaped faces get a bonus — the soft fringe balances a wider forehead by giving it a visual anchor. The one face shape that struggles? Long and narrow. A short pixie with a forward fringe compresses vertical space, making an already-long face read even longer from certain angles.
Styling this fringe requires almost nothing — which is either a feature or a problem depending on your routine. A fingernail-sized amount of Bumble and Bumble Bb. Curl Defining Cream (about $32) worked through damp strands and blown forward gives you the feathered finish without crunch. The mistake I see constantly is over-drying with a round brush that curls the fringe under instead of letting it fall naturally forward. Straight and slightly swept is the target. Curl it under and you’ve accidentally given yourself a bowl cut.
Color maintenance on white blonde fringes is more frequent than the rest of the cut because the face-framing strands take the most sun exposure and environmental damage. You’ll need Redken Color Extend Blondage Shampoo — around $26 — every wash, not just weekly, to prevent the fringe from going brassy while the rest stays cool. Soft blonde Korean pixie cut variations show how a similar forward fringe reads across different face-forward pixie approaches if you want to compare fringe depth options before your appointment.
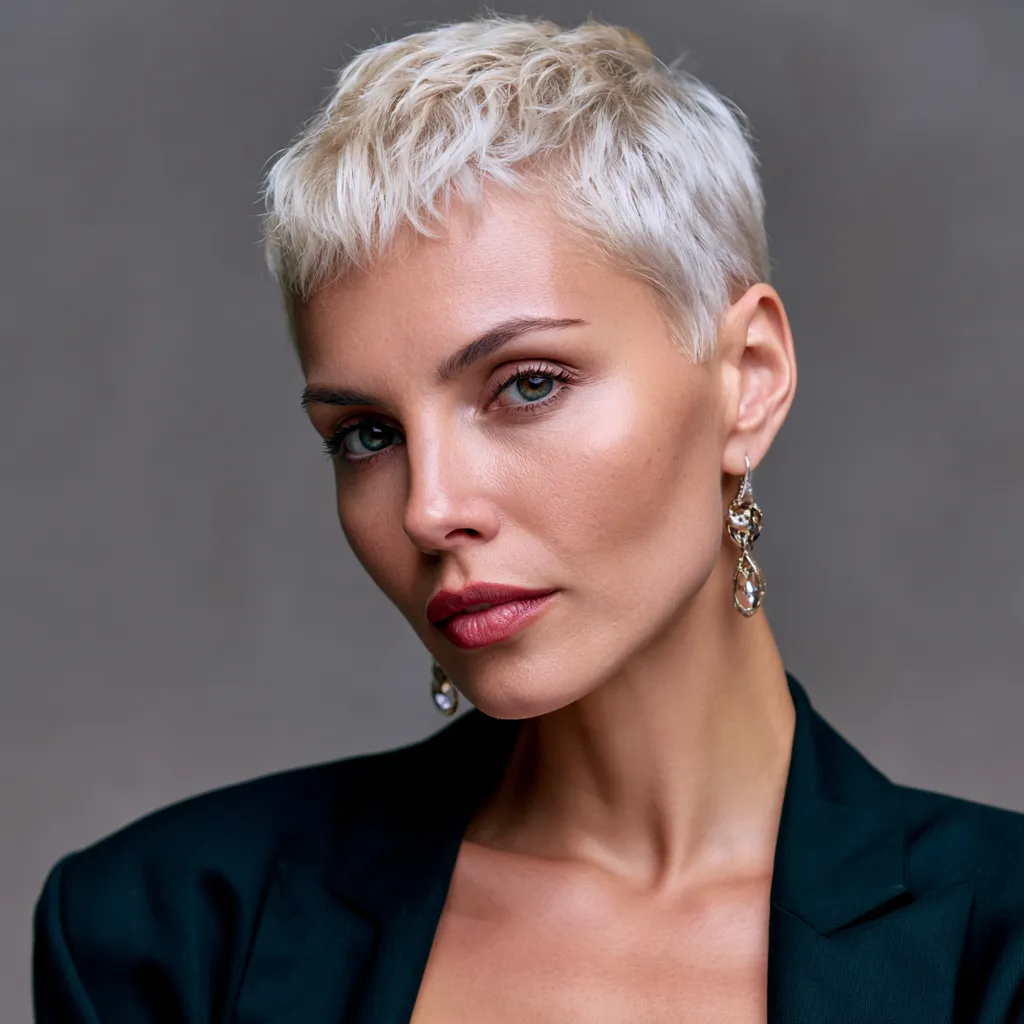
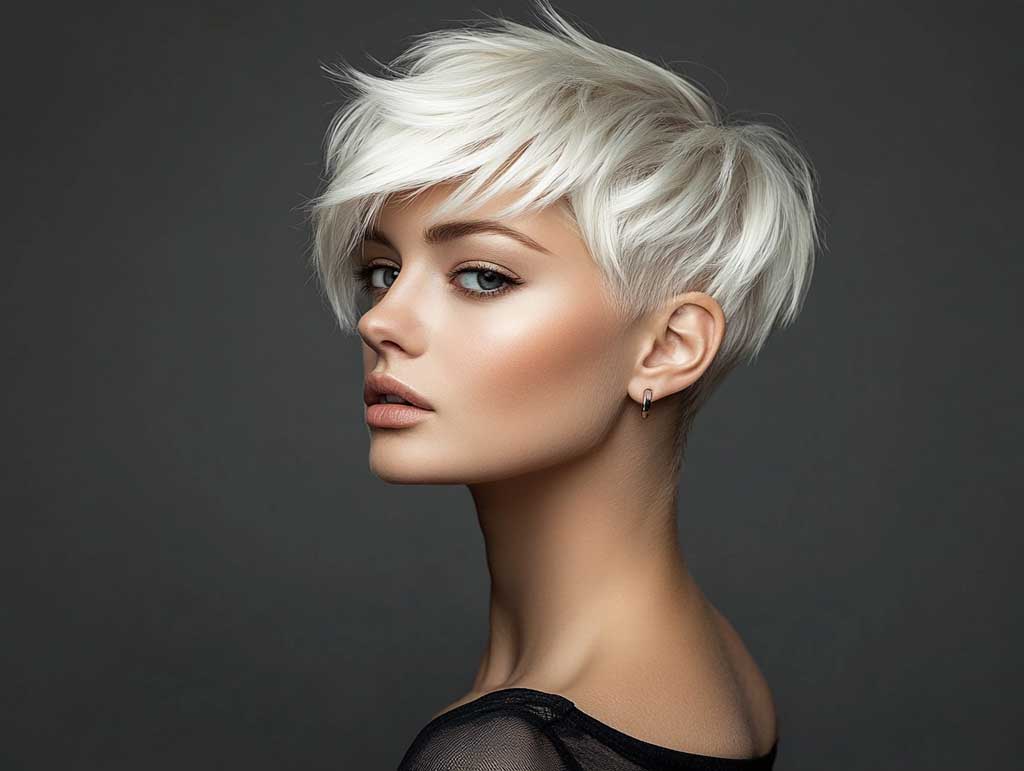
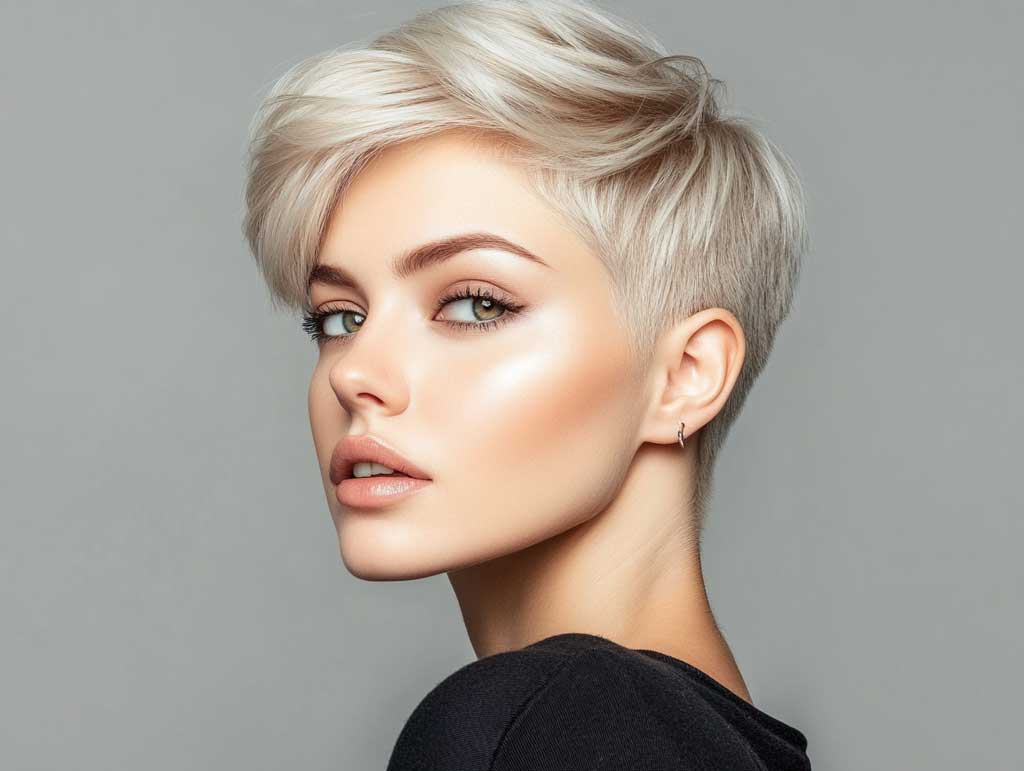
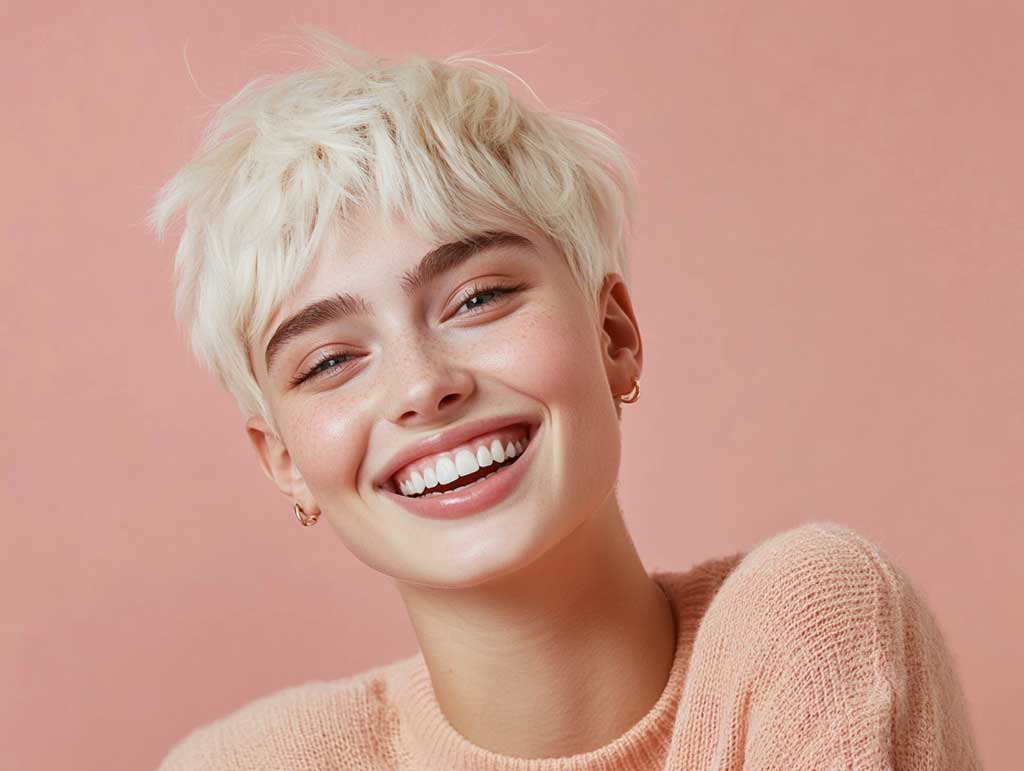
White Blonde vs. Platinum Blonde on a Pixie — the Color Lab Result Nobody Explains
Most colorists use “white blonde” and “platinum blonde” interchangeably. They are not the same thing, and on a pixie cut with textured edges the difference is visible in every lighting condition you’ll encounter. White blonde has a cooler, near-neutral ash base — it photographs with a slightly blue-silver cast in direct light and reads almost luminous in shade. Platinum blonde leans warmer, with more champagne or gold undertones, and photographs closer to a creamy yellow in natural daylight. Pick the wrong one and the edge texture you paid for disappears into warmth.
The formula difference is in the toner applied after lightening. White blonde typically uses a violet-based toner like Wella T18 or Schwarzkopf BlondeMe Cool Ice — both under $20 at a professional supply — held for the full processing time. Platinum blonde uses a warmer toner, sometimes slightly gold-beige, to soften the result. You need to know which one you’re asking for before you sit in the chair, because once the toner goes on, you’re committed for at least 6 weeks of grow-out.
For the edge detail on a short pixie, white blonde wins visually every time. The high contrast between the near-white hair and the scalp at tapering points makes the structural lines of the cut read more sharply. A detailed breakdown of blonde pixie cut variations across different skin tones shows exactly how the undertone of your blonde choice interacts with your complexion — worth reading before you commit to either direction.
The other factor nobody mentions: white blonde fades faster. You’ll need a toning gloss top-up around the 5–6 week mark to prevent the cool tone from going brassy before your next full color appointment. I’ve found a $15 at-home gloss treatment — Joico Color Butter in Pearl — keeps the tone in check between visits without over-depositing. Platinum blonde, by contrast, has slightly more forgiveness in the fade because the warmer undertone looks more intentional as it shifts.
| Feature | White Blonde | Platinum Blonde |
|---|---|---|
| Undertone | Cool ash / blue-violet | Warm champagne / gold |
| Edge contrast on pixie | High — lines read sharply | Softer — edges blend more |
| Fade behavior | Goes brassy at 5–6 weeks | Fades warmer, more gradual |
| Toner example | Wella T18, BlondeMe Cool Ice | Wella T15, warm beige toners |
| Best skin tone match | Cool / neutral undertones | Warm / olive undertones |
| At-home maintenance cost | ~$26/month (purple shampoo + gloss) | ~$15/month (color-safe shampoo) |
Final Word
The Edge Texture Is the Haircut. Everything Else Is Just Color.
Short blonde pixie cuts at their worst are just very expensive trims. The texture at the perimeter — how the edges are razor-worked, how the fringe feathers, how the taper terminates — is what separates a pixie that reads editorial from one that just reads short.
White blonde makes every structural detail more visible. Use that. Tell your stylist exactly which edge variation you want before the first cut, not after.
Save this post before your next salon appointment — show it directly to your colorist and stylist so you’re aligned on tone and texture before anything starts.