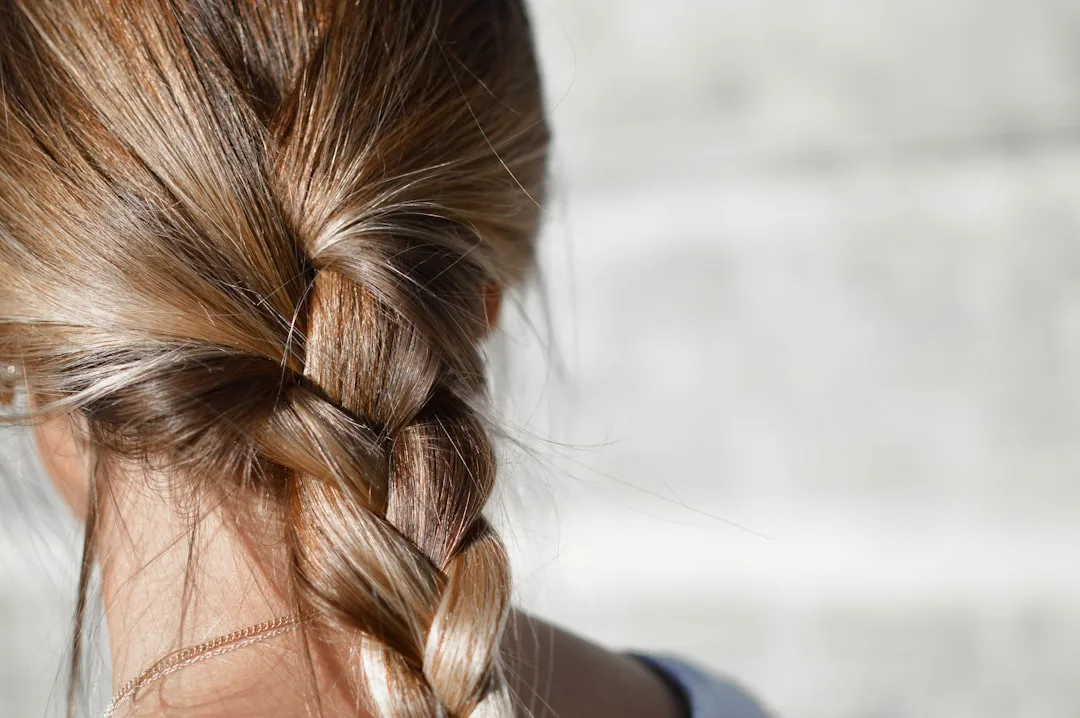
Flat twist hairstyles for natural hair hit differently once you realize how little effort they actually take. I spent years avoiding them because I assumed sculptural styles required a professional — turns out, three sections and the right moisturizing cream are all you need. The flat twist sits directly against the scalp, creating a clean, defined line that holds for days without heat or extensions.
What makes flat twists worth your time is their range. You can wear them as a crown for a board meeting, pin them into a bun for a wedding, or sweep them to one side for a shoot. My go-to is a simple two-row front section with a puff in the back — done in 15 minutes and it lasts a full week with a satin bonnet at night.
You’ll notice that flat twists also pull double duty as a protective style. Ends stay tucked, moisture retention improves, and breakage drops noticeably. If your curl pattern is 3c to 4c, you’ll get the cleanest results — though I’ve seen them work beautifully on looser textures with a little extra hold product.
- Flat twists lie flat against the scalp — they differ from two-strand twists, which hang free
- The copper crown wraps the perimeter of the head; works on medium to long natural hair
- A teal-accented bun takes flat twists from protective to formal without adding hair
- The platinum side sweep uses 4–6 diagonal twists and works for weddings or photo shoots
- Edge control matters: Eco Styler ($4) and Cantu Edge Stay Tack-Free ($7) are the top budget picks
- A satin bonnet at night extends wear to 7–10 days across all three styles
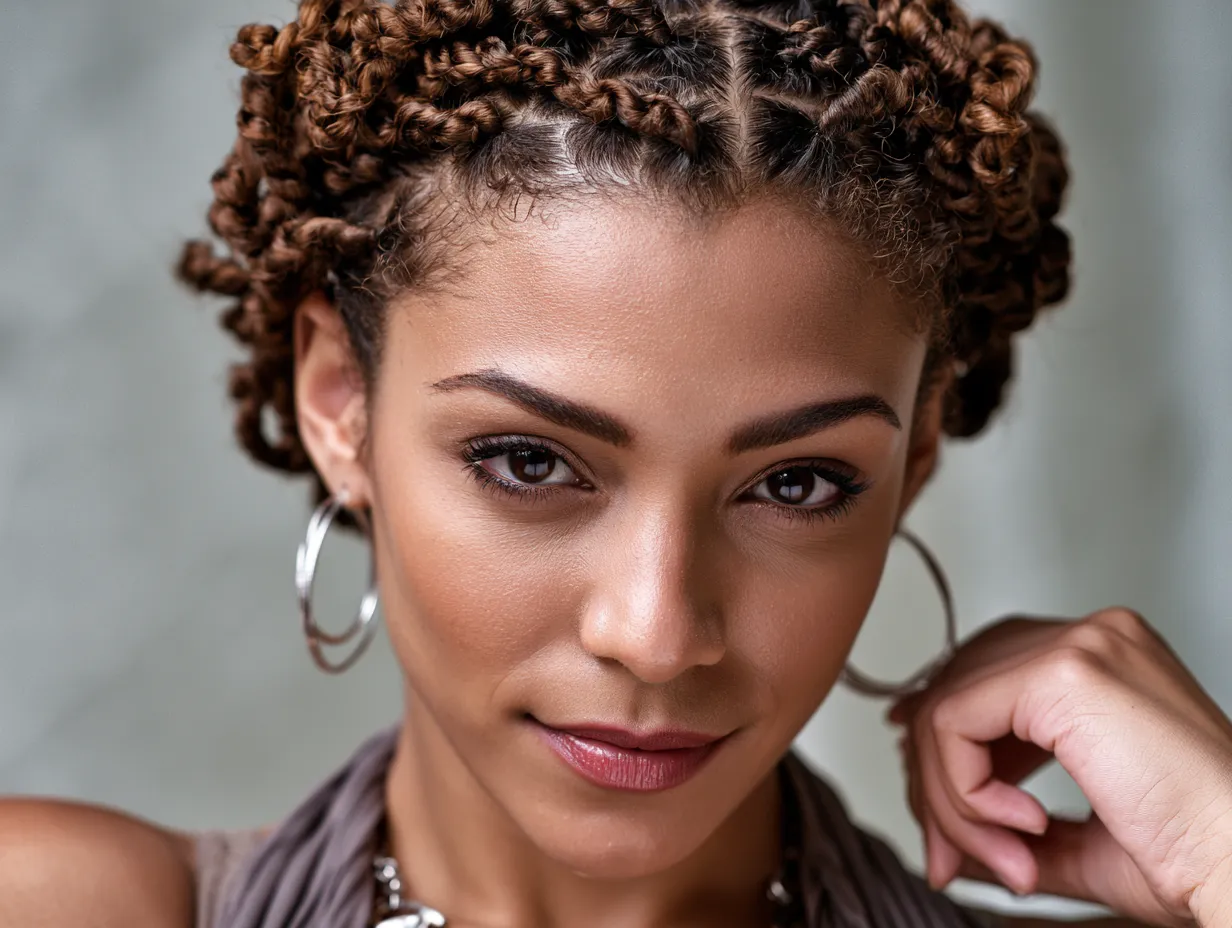
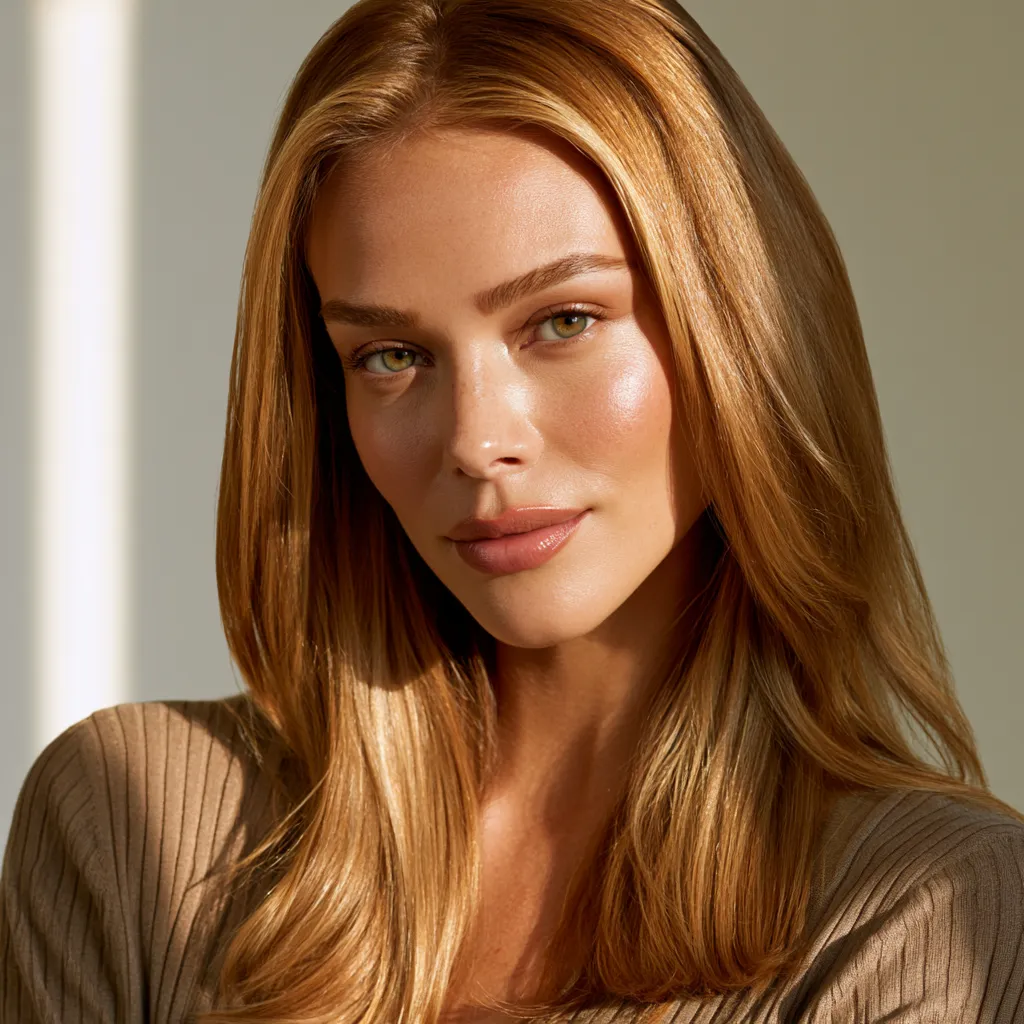
Copper Flat Twist Crown — Sculptural Halo Without Extensions
Flat twist hairstyles for natural hair don’t get more regal than the copper crown, and I say that as someone who has tried every updo shortcut in the book. The style wraps flat twists around the perimeter of the head like a halo — starting at the front hairline, following the ear, and anchoring at the nape. Copper color does something visually loud here: it catches light at every angle and makes each twist look individually sculpted.


Section the hair from the front into 4–6 parts that arc toward the nape, then flat twist each section close to the scalp. The key is keeping tension consistent without pulling — frizz shows up immediately when you rush this part. I use Camille Rose Curl Love Moisture Milk ($13) to keep each twist smooth while I work, and a small amount of Cantu Edge Stay Tack-Free ($7) along the hairline to lock everything in place. Does the copper color require bleaching? Yes, if you’re starting from a dark base — plan for two sessions and a solid deep conditioning treatment afterward.
Medium to long natural hair gets the most visual payoff here. Shorter textures tend to produce crown twists that sit too close together, which kills the sculptural effect. You want enough length for each twist to show clearly, like a row of neat architectural ridges. The style keeps ends protected and reduces daily manipulation — I wore mine for eight days once, refreshing only with a light spritz of water and Mielle Organics Rosemary Mint Strengthening Leave-In ($11).
Copper isn’t the obvious choice — burgundy and honey blonde are far more common — but that’s exactly why it works so well. The warm, earthy tone reads as natural in studio lighting and electric under direct sun. Pair it with gold hardware earrings and a nude lip and the whole look costs nothing extra. One thing I’ve learned: avoid going silver or ash alongside a copper crown. The contrast reads muddy, not intentional.
- Don’t twist on completely dry hair. Flat twists need slip. Without a leave-in or moisturizing cream, the twists unravel within 24 hours and the hair texture looks rough instead of defined.
- Don’t skip sectioning. Eyeballing your parts creates uneven crown sections that look chaotic rather than sculptural — use a rat-tail comb and clip each section before you start.
- Don’t use heavy butters on the surface. Shea butter as a top coat weighs down the twists and leaves white buildup on dark hair. Save it for your pre-twist moisture layer, then seal with a light oil instead.
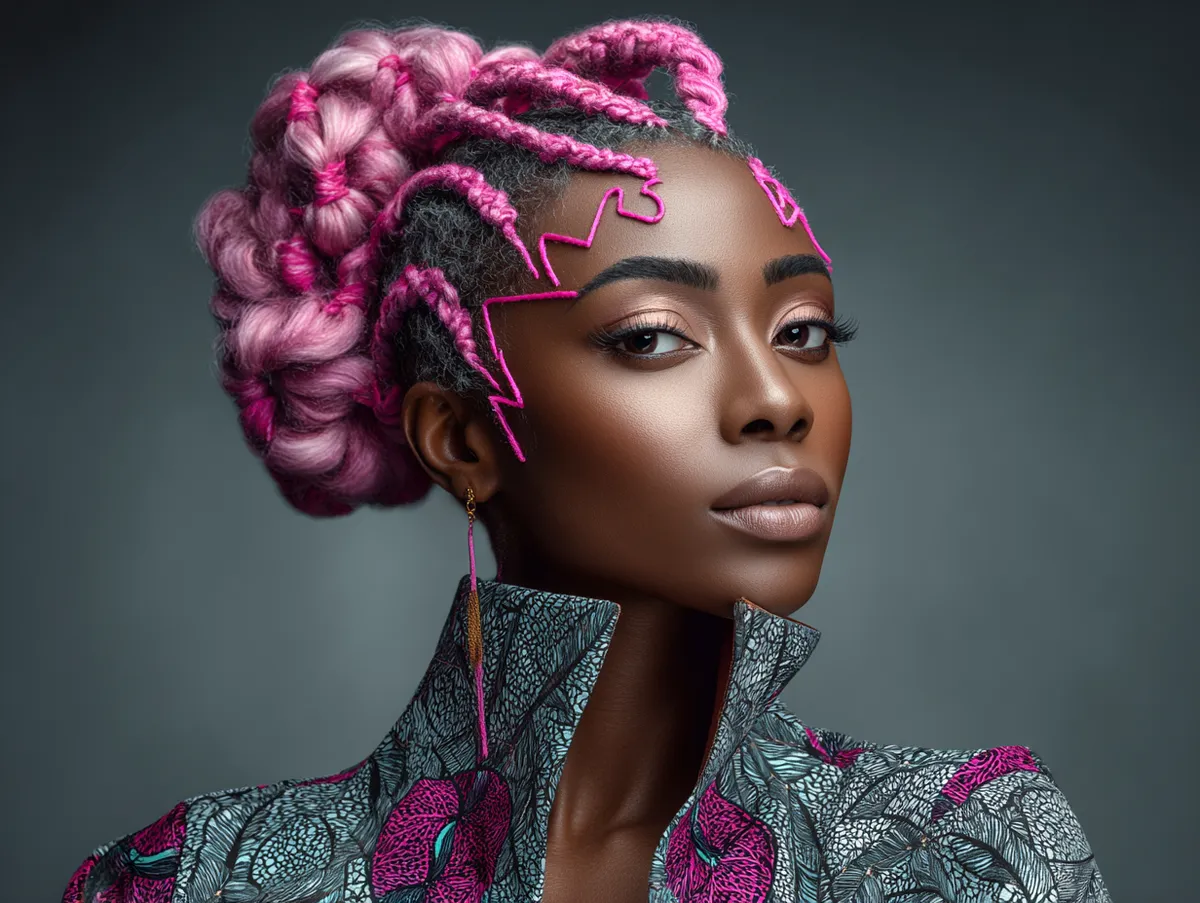
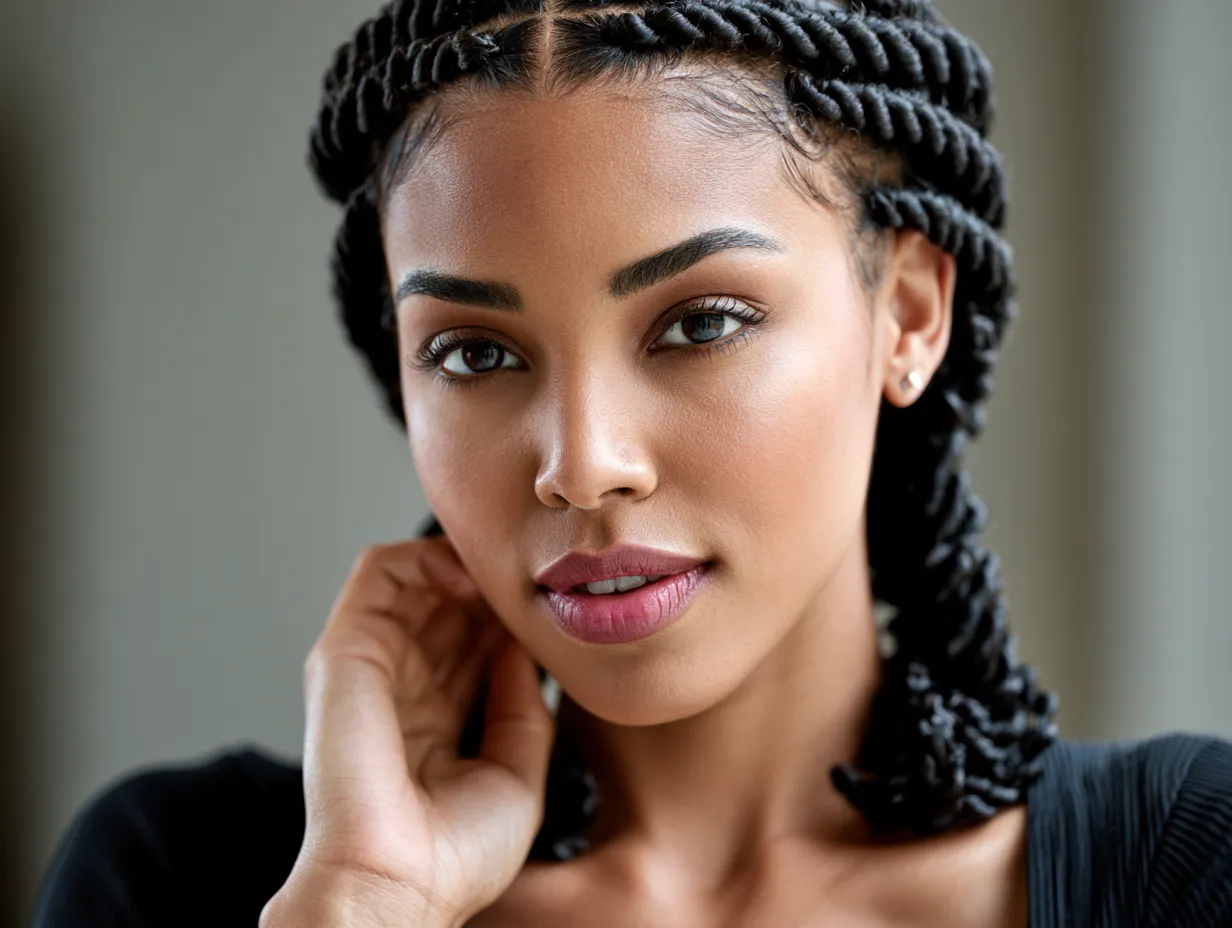
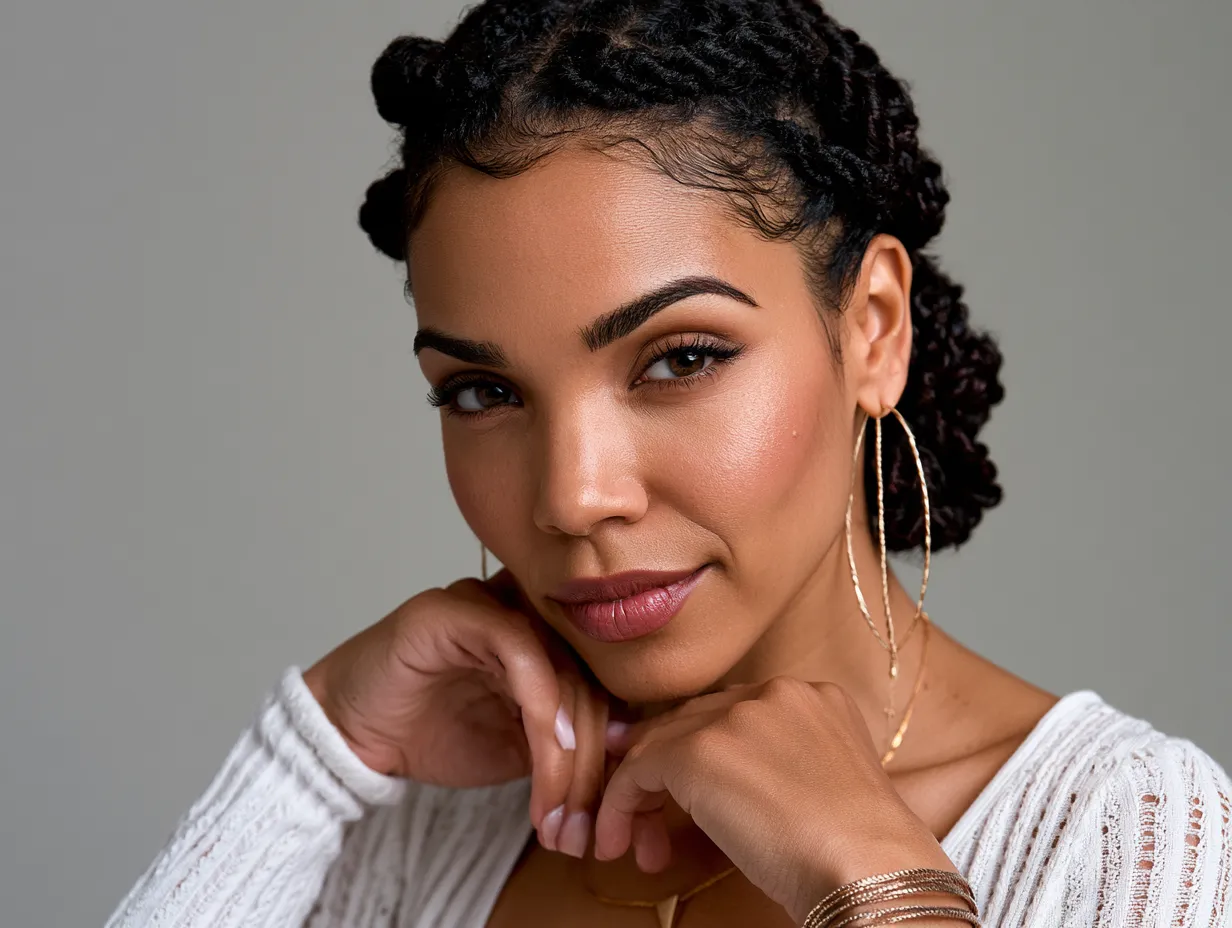
Flat Twist Bun with Teal Accents — Protective Styling at Formal Level
Flat twist hairstyles for natural hair rarely look as polished as this bun variant, and I’ve tested a lot of updos. The concept is simple: flat twist every section toward a single gathering point — crown or nape — then coil the ends into a secured bun. Adding teal color, either as a permanent dye or a temporary rinse like Arctic Fox Aquamarine ($18), gives each twist an identity of its own without adding bulk or synthetic hair.


Start with clean, stretched hair — blown out or banded overnight — then create clean horizontal rows from the nape upward. Flat twist each row toward the crown, maintaining firm but not tight tension. Once all sections are twisted, gather the ends, coil them into a bun shape, and pin with bobby pins in an X pattern for lasting hold. The bun can be coiled tight for structure — think job interview or gallery opening — or loosened and fluffed for softness, which is my preferred weekend version.
What separates this from a regular bun is the visual interest of the rows themselves. You’re not hiding your hair — you’re framing it. Teal reads beautifully against deeper skin tones because the cool tone creates contrast without clashing. If permanent color isn’t your thing, Clairol Natural Instincts Semi-Permanent in Teal works on pre-lightened ends and washes out in 28 shampoos, which gives you plenty of time to decide if you love it. For fully protective results, these year-round protective hairstyles for natural hair cover what to do between styles to retain maximum length.
Teal doesn’t work on every canvas — on hair that’s never been lightened, it reads as a barely-there dark green and loses its punch entirely. You need at least a level 7 lift for teal to show true color saturation. Is it worth a full bleach session just for this bun? Honestly, yes — I did it before a friend’s wedding and kept the color for four months because I couldn’t stop wearing this style. The bun holds for 5–7 days with nightly satin wrapping and a morning mist of water plus a drop of jojoba oil.
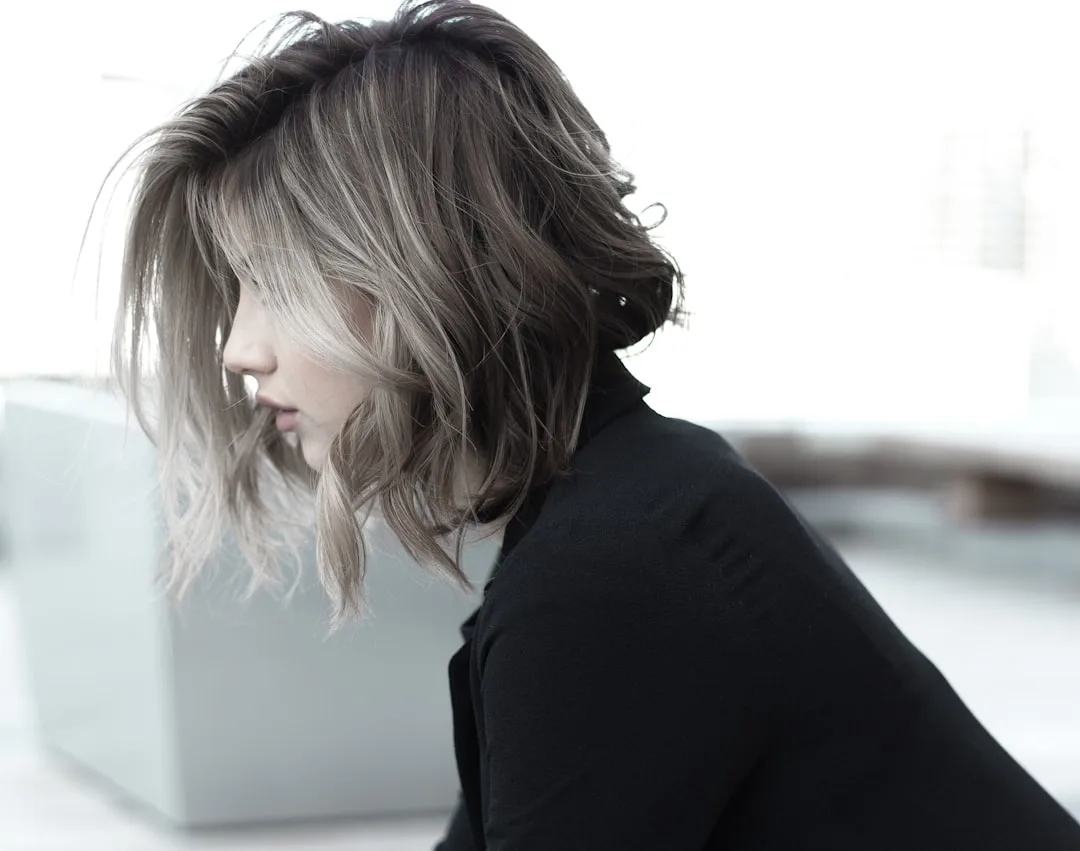
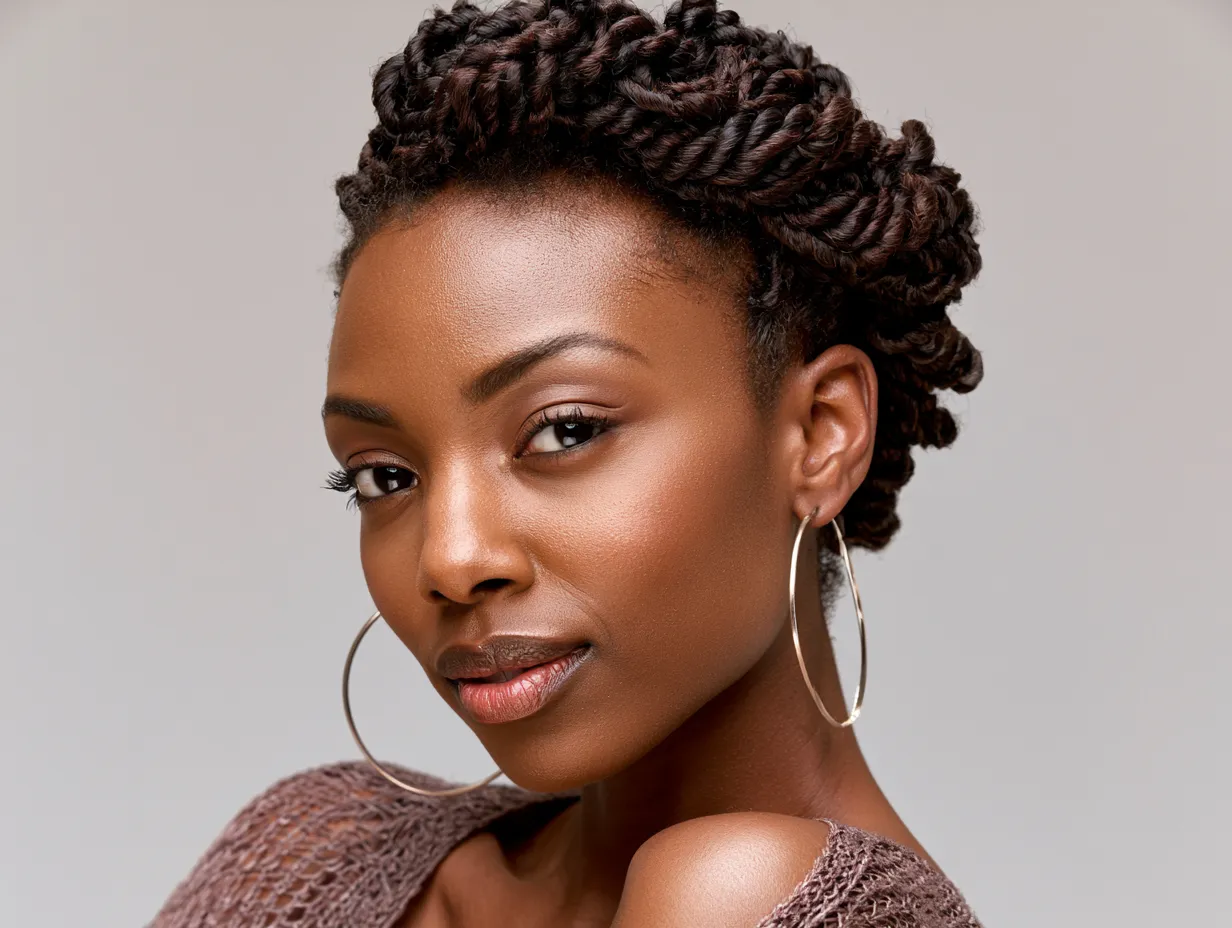
Platinum Flat Twist Side Sweep on Natural Hair
Flat twist natural hair styles rarely reach runway territory, but the platinum side sweep is the exception I keep coming back to. Part the hair deeply on one side, then create 4–6 flat twists that move diagonally from one side of the head toward the opposite ear. The asymmetry does something a centered style can’t — it creates movement and draws the eye across the full shape of the head. Platinum amplifies this by acting like a spotlight: every ridge of every twist becomes visible and photogenic.


Once twisted, the ends have three finishing options: hang loose for a casual effect, coil behind the ear for a tucked formal look, or wrap with perm rods overnight for a defined curl finish the next morning. I prefer the tucked version — it takes about 40 seconds per side and holds without pins if you use enough curl cream in each twist. Camille Rose Naturals Curl Maker ($15) is my go-to here because it defines without crunch, which matters when your ends are hanging free and need to look intentional.
Platinum is a commitment. Your colorist needs to lift the hair to a level 10 before toning, which means two or three sessions for darker starting colors. The result lasts about 6–8 weeks before the warmth creeps back in — Shimmer Lights purple shampoo ($14) used once a week keeps the tone cool between salon visits. Does platinum damage natural hair? Yes, noticeably, which is why deep conditioning with Olaplex No. 3 ($30) every two weeks is non-negotiable if you want the twists to look smooth rather than frizzy. For more color-friendly natural hair twist options, two strand twist styles for natural hair cover honey blonde, chestnut, and burgundy in detail.
Medium to longer natural hair gets the most mileage from this style. Short TWA (teeny weeny afro) lengths won’t produce enough diagonal length for the asymmetry to read clearly — the twists end up looking like a short stack rather than a sweeping line. You’ll notice that once the length passes the ear, the visual impact doubles. A satin wrap at night, light oil in the morning — I own two satin sleep caps and keep one in my gym bag — is genuinely all the maintenance this style needs.
Edge control makes or breaks the finish on this look. Without it, the hairline reads sloppy against the clean diagonal lines of the twists, like a pressed suit with an untucked shirt. StyleCraze’s roundup of expert-approved edge controls for natural hair compares 20 formulas across hold strength, ingredients, and finish — Design Essentials Natural Honey and Shea Edge Tamer ($12) and Mielle Organics Rosemary Mint Edge Gel ($9) both rank high for type 4 textures without flaking or reverting.
THE BOTTOM LINE
Flat twists for natural hair give you five days of style from 30 minutes of work
The copper crown, teal bun, and platinum side sweep each serve a different occasion — but all three run on the same foundation: a good leave-in, consistent sectioning, and a satin bonnet at night.
Skip the heavy butter on the surface. Skip twisting on completely dry hair. And skip any product that promises 72-hour hold with a stiff, crunchy finish — flat twists need flex to stay smooth.
Save this post so you have the product names and step-by-step breakdown ready before your next wash day.
Related Topics
FAQ
What is the difference between flat twists and two strand twists?
How long do flat twist hairstyles last on natural hair?
What products do I need for natural hair flat twist styles?
Can you do flat twists on short natural hair?
What are simple flat twist styles for beginners?
Do flat twists work on fine or straight natural hair?
You Might Also Like