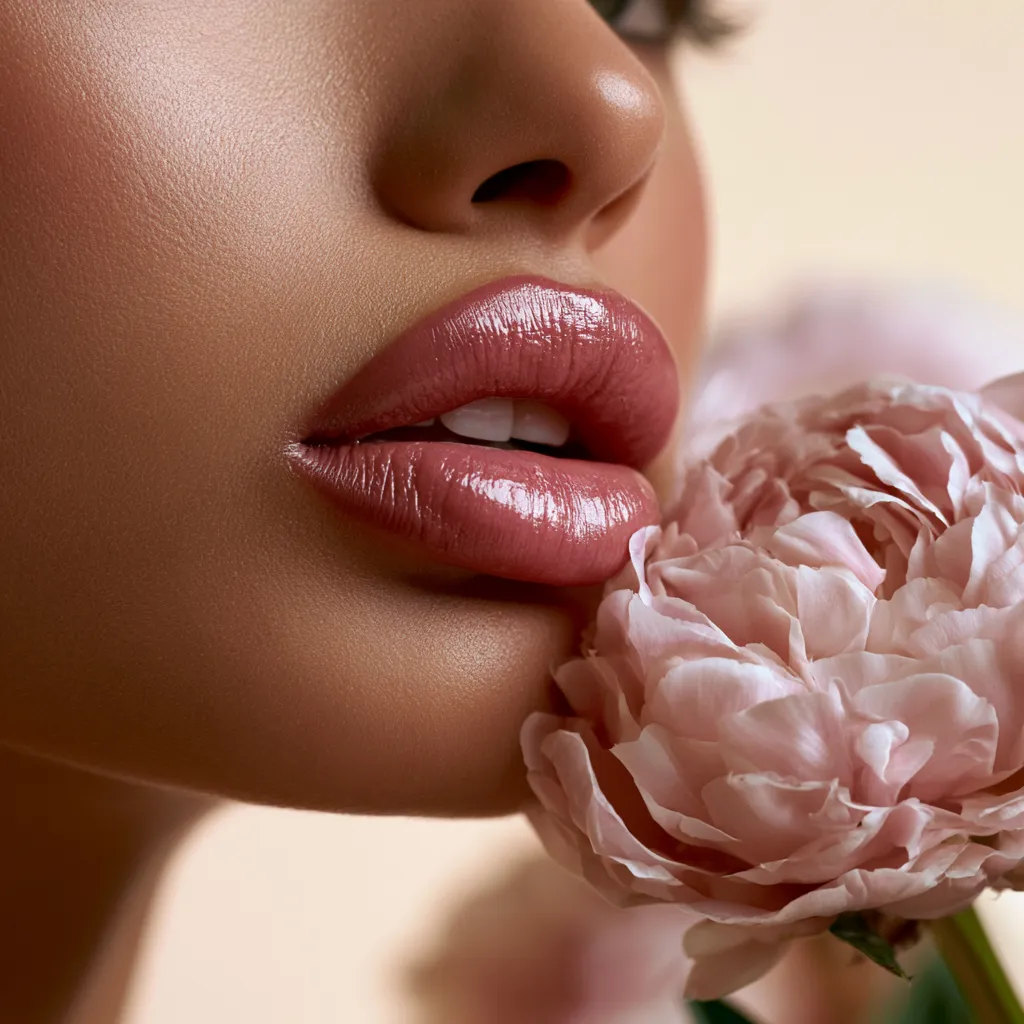
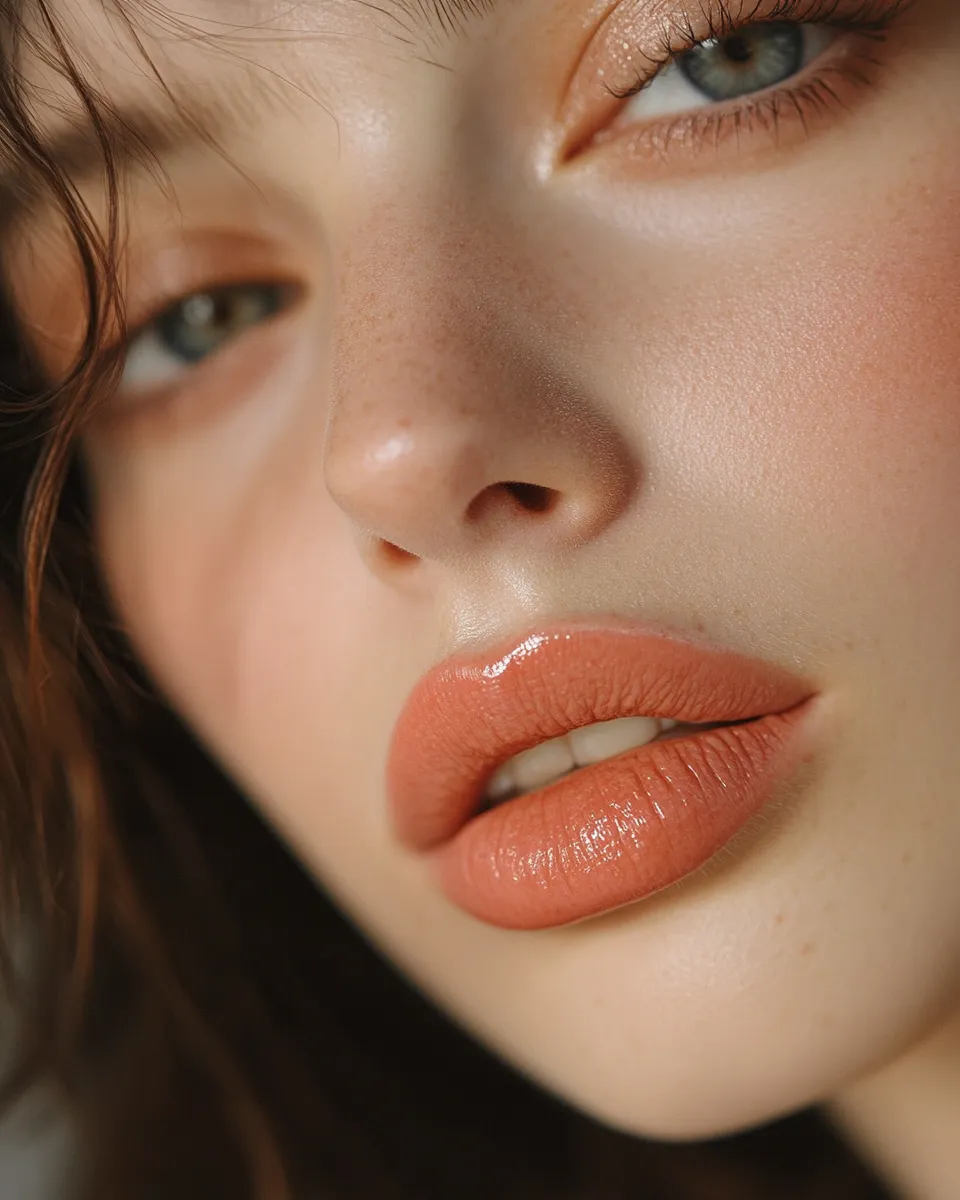
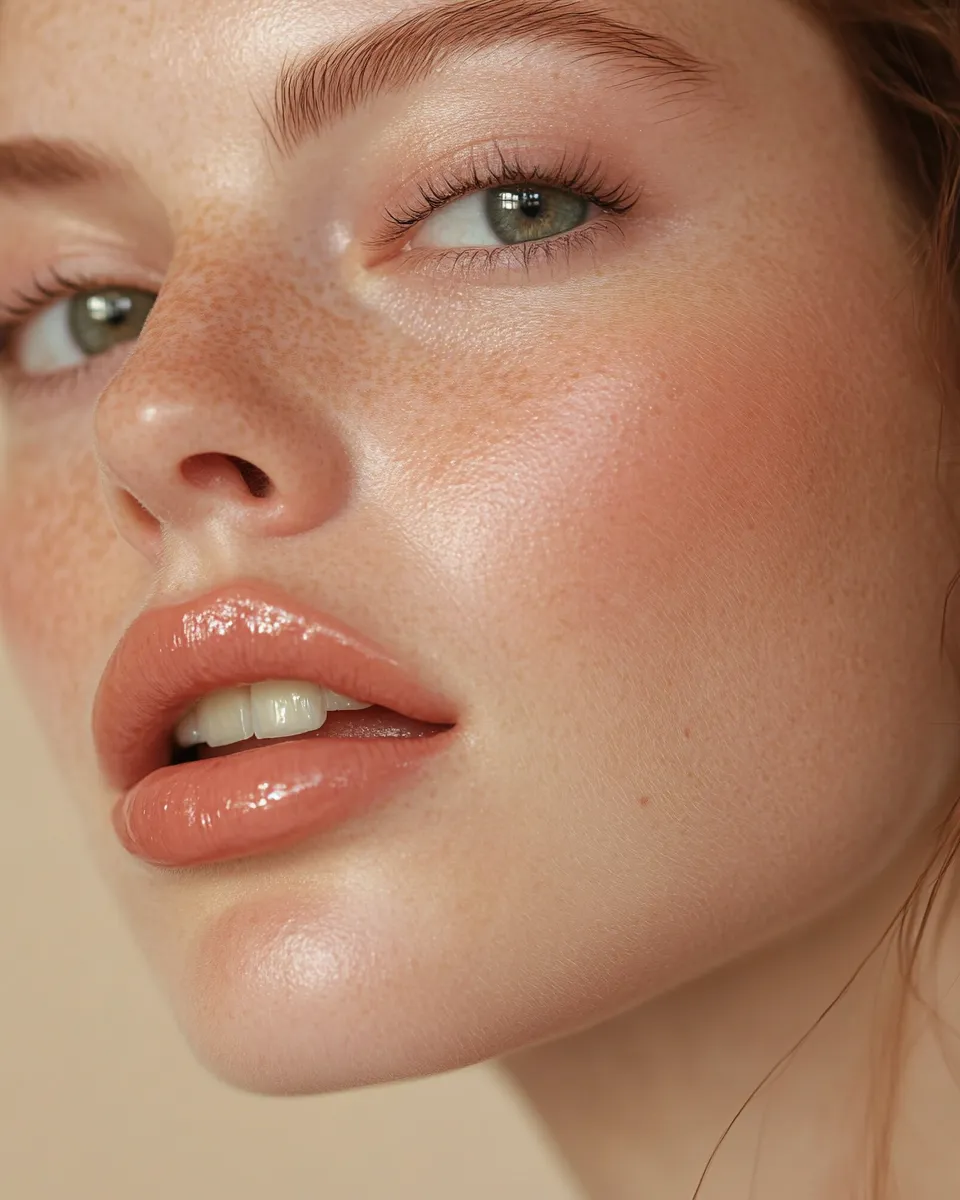
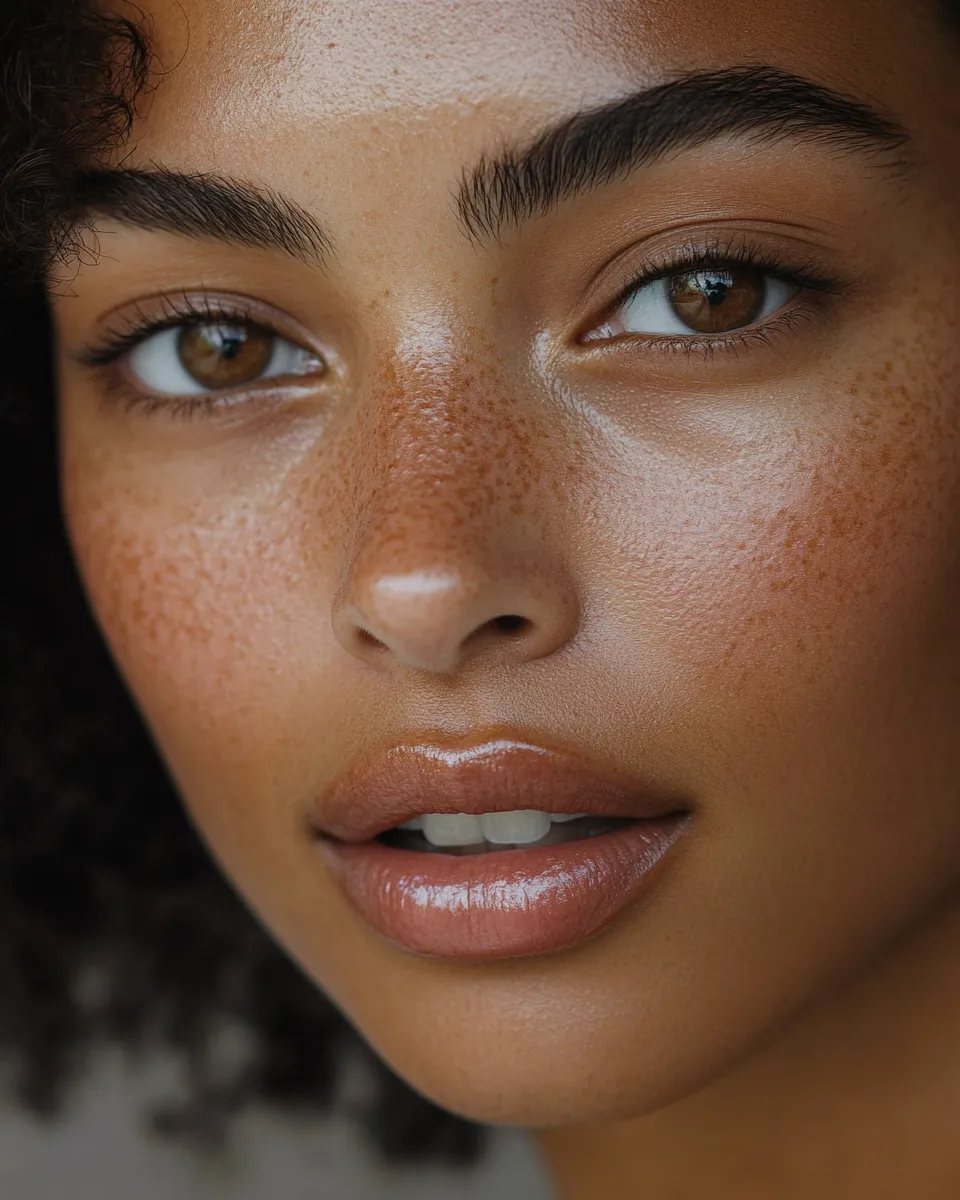
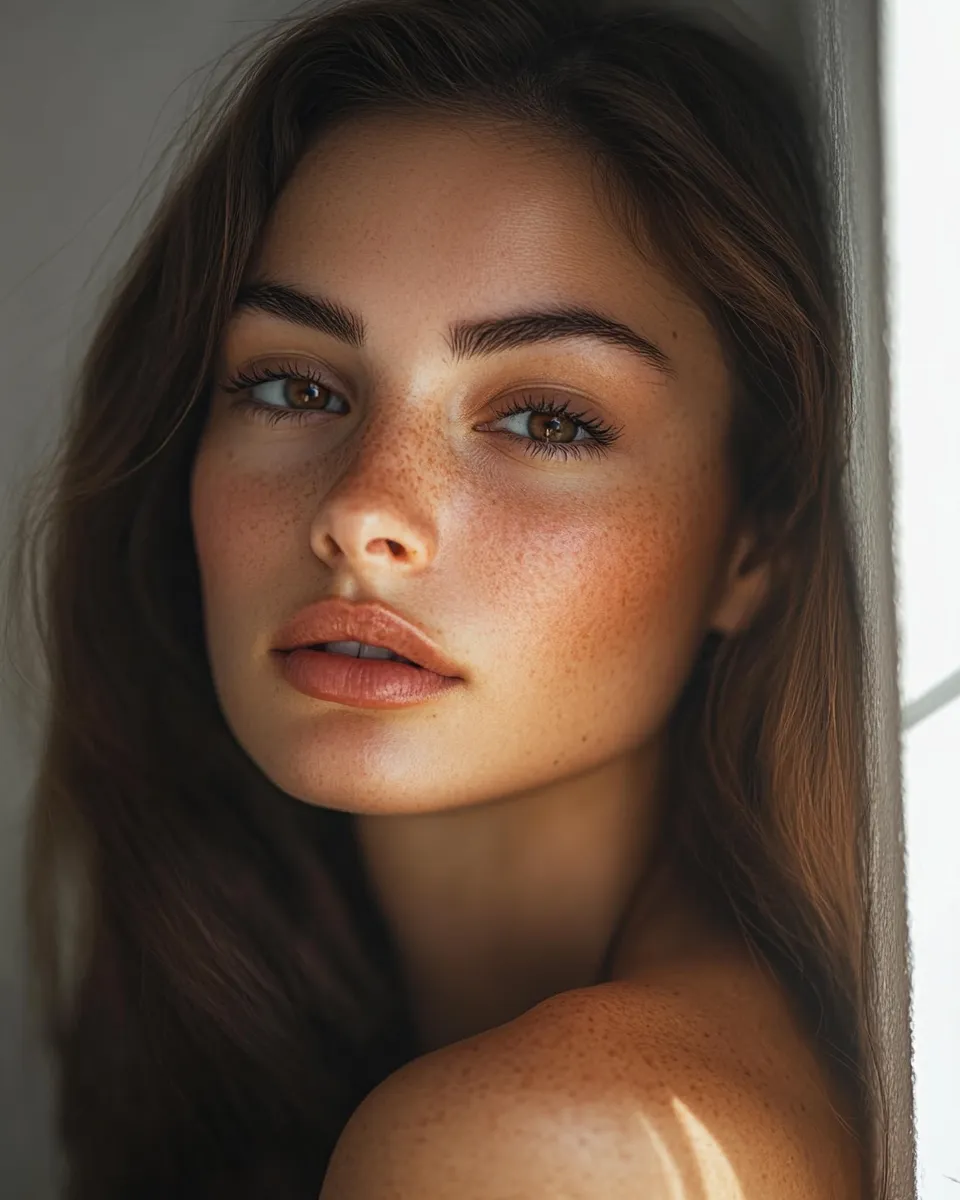
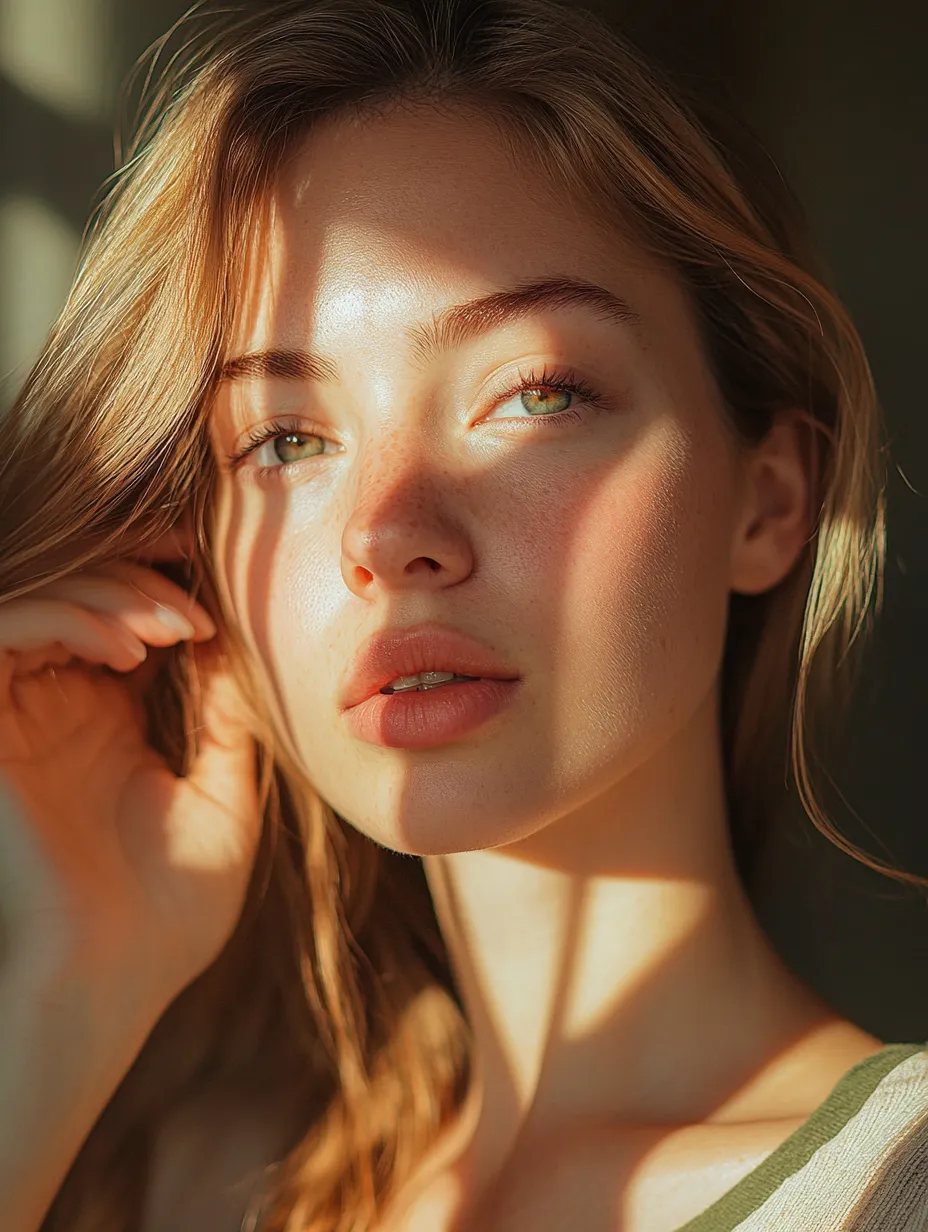
Butter lips are the lip trend of 2026 that managed to replace both the overdefined liner look and the full matte moment with something that feels genuinely new while being deeply flattering on every skin tone and lip shape. The aesthetic is exactly what the name suggests: lips that look like they have been softly coated in melted butter — warm, glossy, pillow-soft, with a natural flush of color beneath a high-shine finish that catches light without looking sticky or artificial. It reads like the most expensive version of doing nothing to your lips, which is precisely why it has stayed relevant far longer than most trend lip moments.
Searches for butter lips surged by 280 percent between December 2025 and March 2026 according to Google Trends data, and TikTok videos tagged with the butter lips tutorial hashtag accumulated over 890 million views in the first quarter of 2026 alone. The look has been worn on runways at Bottega Veneta, Valentino, and Chloé and referenced in editorial coverage at Vogue UK, Byrdie, and Into the Gloss as a defining beauty moment of the year. What makes it commercially durable rather than just culturally visible is that it requires almost no skill, works on thin lips as well as full lips, and can be achieved entirely with products that cost under thirty dollars combined.
This is the complete guide to the butter lips trend and how to get the look at home — from the exact prep steps that create the pillowy texture the look requires, to the layering sequence, to the specific product categories that produce the effect versus the ones that merely approximate it.
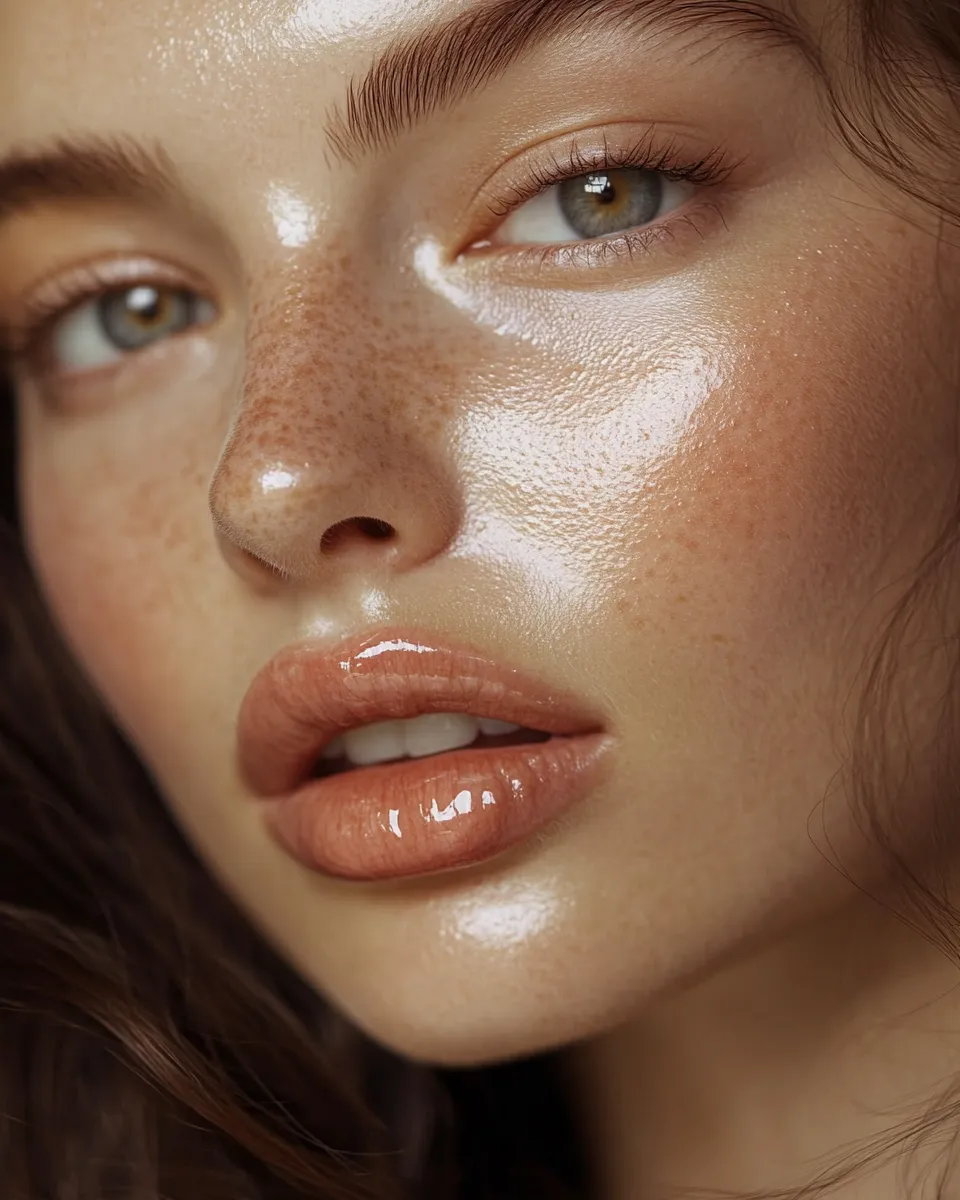
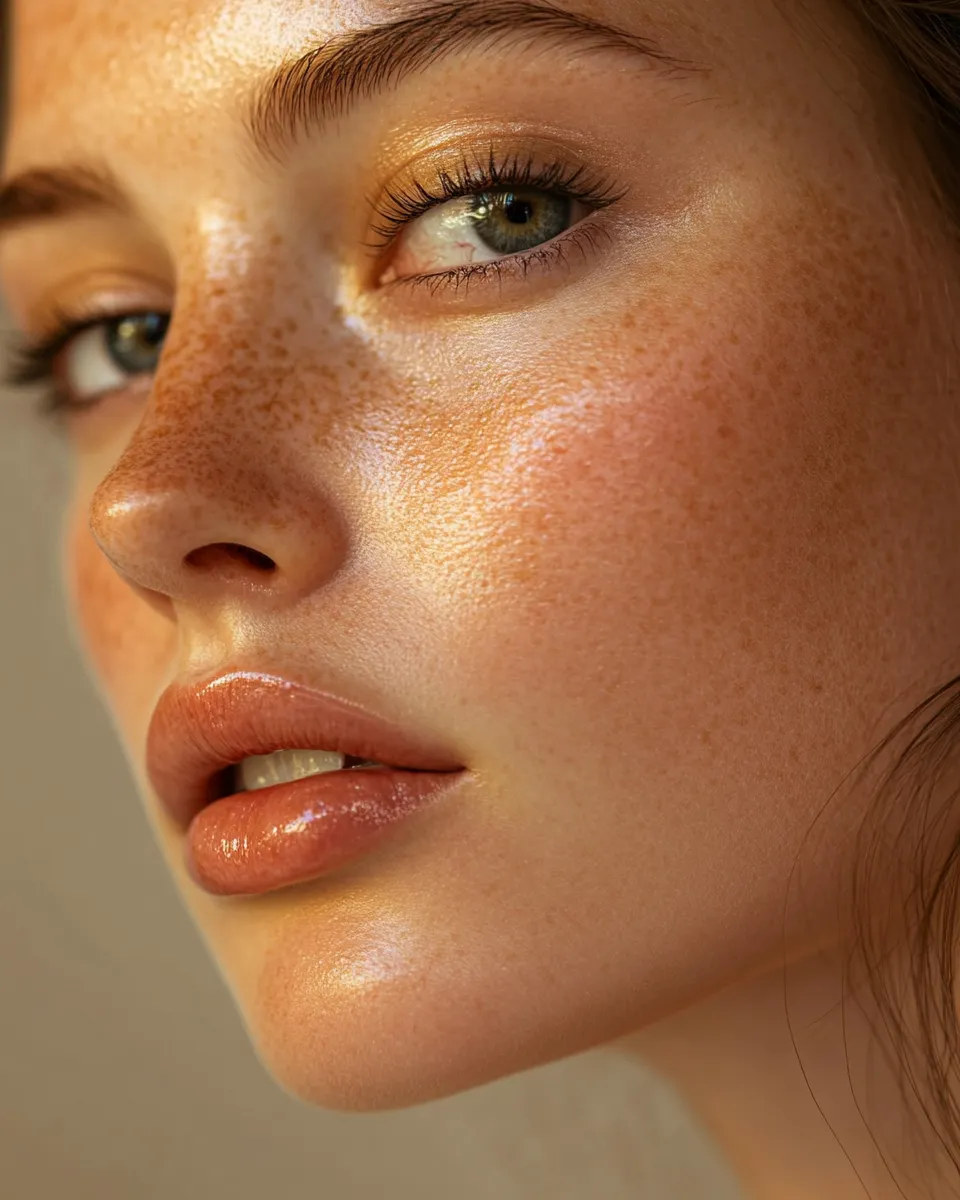
What the Butter Lips Trend Actually Is — and What Makes It Different From Regular Gloss
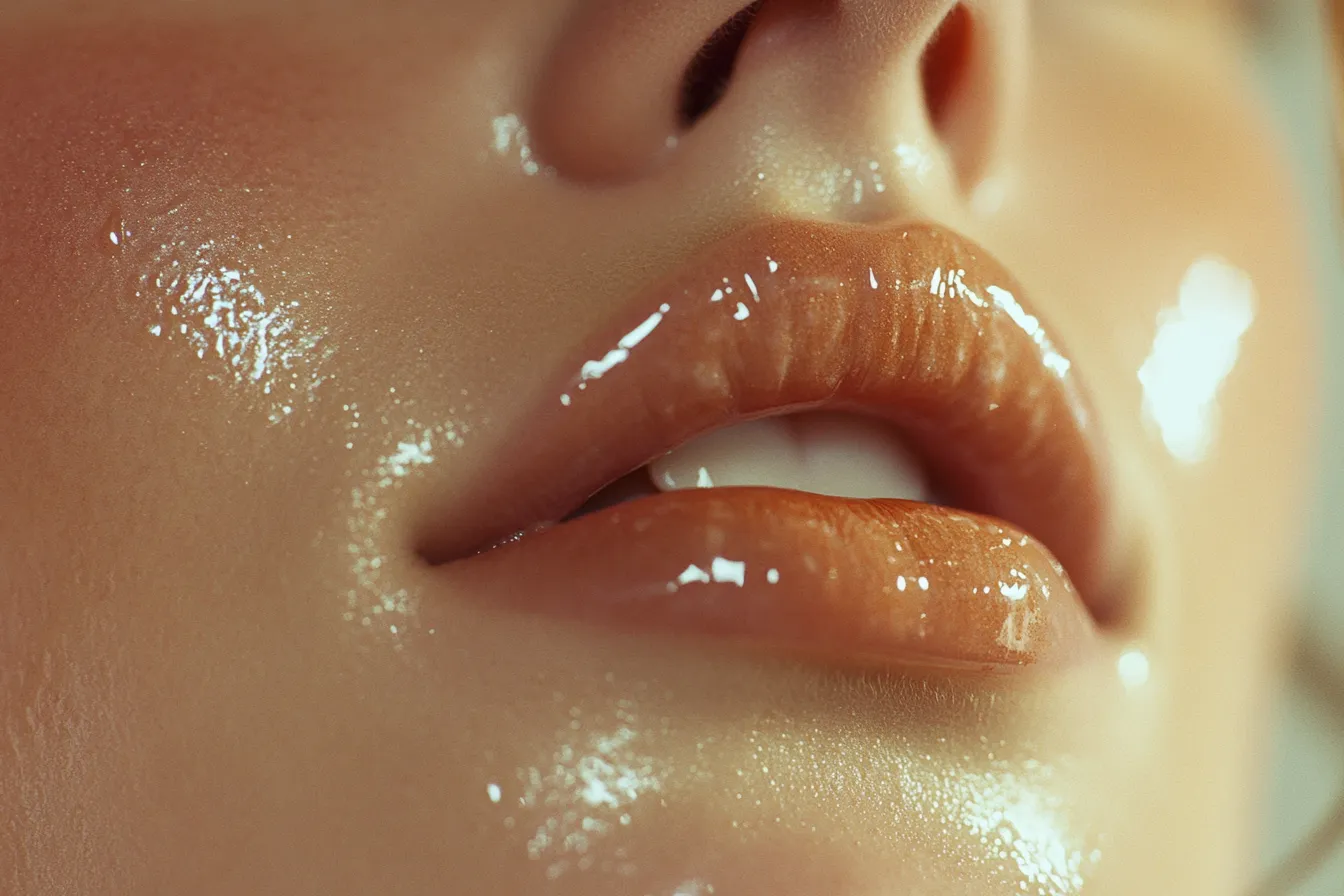
The butter lips look is not simply a coat of lip gloss, though gloss is one of its components. The distinction lies in the quality of the shine and the texture beneath it. Standard gloss sits on the surface of the lip and produces a wet, reflective sheen that is clearly a product application. Butter lips have a different character: the shine appears to come from within the lip tissue itself, as if the lips are naturally full of moisture and warmth rather than coated in something. That quality requires specific preparation and a specific layering sequence to achieve — it cannot be replicated by a single product step.
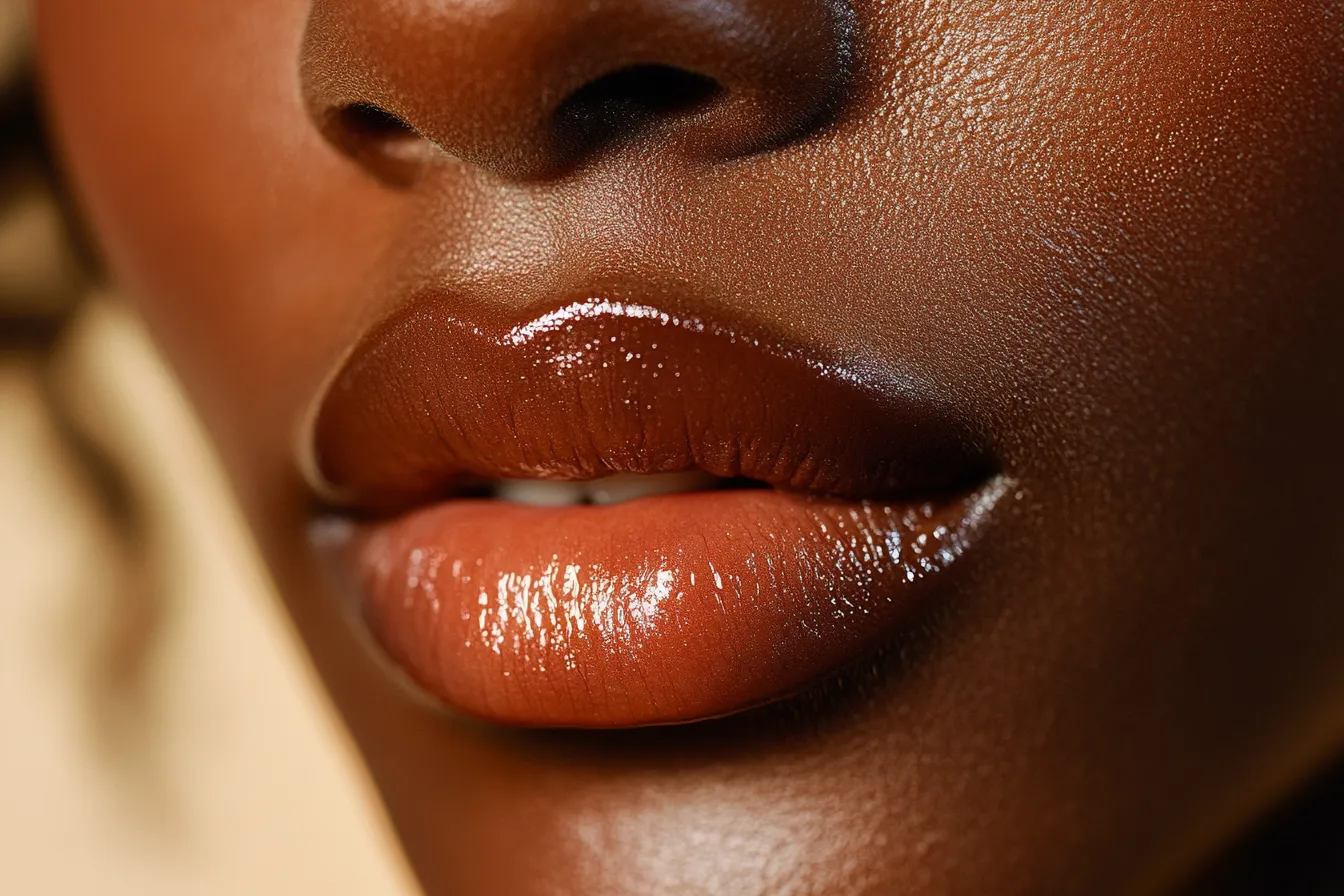
The defining visual characteristics of the butter lips trend are five specific elements working together. First, a soft flush of warm nude-pink, peach, or honey color beneath the gloss — not a bold lip color, not bare skin, but something in between that gives the lips their warm glow. Second, a plumped, pillowy texture created by proper lip prep and hydration rather than filler or liner techniques. Third, a high-shine finish with warmth — the gloss layer has a golden or warm undertone rather than a clear or cool one. Fourth, no hard edge — the color and shine blur softly at the lip line rather than having a defined perimeter. Fifth, visible lip texture — the fine lines and natural texture of the lip surface remain visible through the product layers, which is what creates the natural, skin-real quality of the look.
The trend sits in direct aesthetic conversation with the glazed donut skin trend, the strawberry girl flush moment, and the broader 2026 shift toward makeup that enhances rather than transforms. If you have already been drawn to those adjacent trends, butter lips will feel immediately right as a complement — all three share the same philosophy of warm, skin-close beauty that reads as effortless even when it is deliberate.
Why Lip Prep Is the Entire Foundation of the Butter Lips Look
The pillow-soft texture that defines the butter lips trend cannot be faked with product alone if the lip surface underneath is dry, flaking, or uneven. A coat of gloss over dehydrated lips produces a wet-looking uneven surface with visible dry patches and product that migrates into lip lines within 30 minutes. The same gloss over properly prepped lips produces the smooth, full, light-catching finish that makes the look work. Prep is not optional for butter lips — it is the step that separates a successful result from a disappointing one.
There are two levels of prep for butter lips: overnight prep done consistently 2 to 3 times per week, and morning or pre-application prep done immediately before the look. Both matter, and both are simple.
Overnight Prep — the Foundation Built Over Time
Consistent overnight lip masking is the single most effective way to build and maintain the plumped, smooth lip texture the butter lips trend requires. Lip skin is thinner than facial skin and has no sebaceous glands, meaning it cannot self-moisturize and loses water rapidly. An occlusive overnight mask traps the moisture present in the lip tissue and prevents TEWL (trans-epidermal water loss) during sleep, which is when the body is most able to repair and regenerate surface cells.
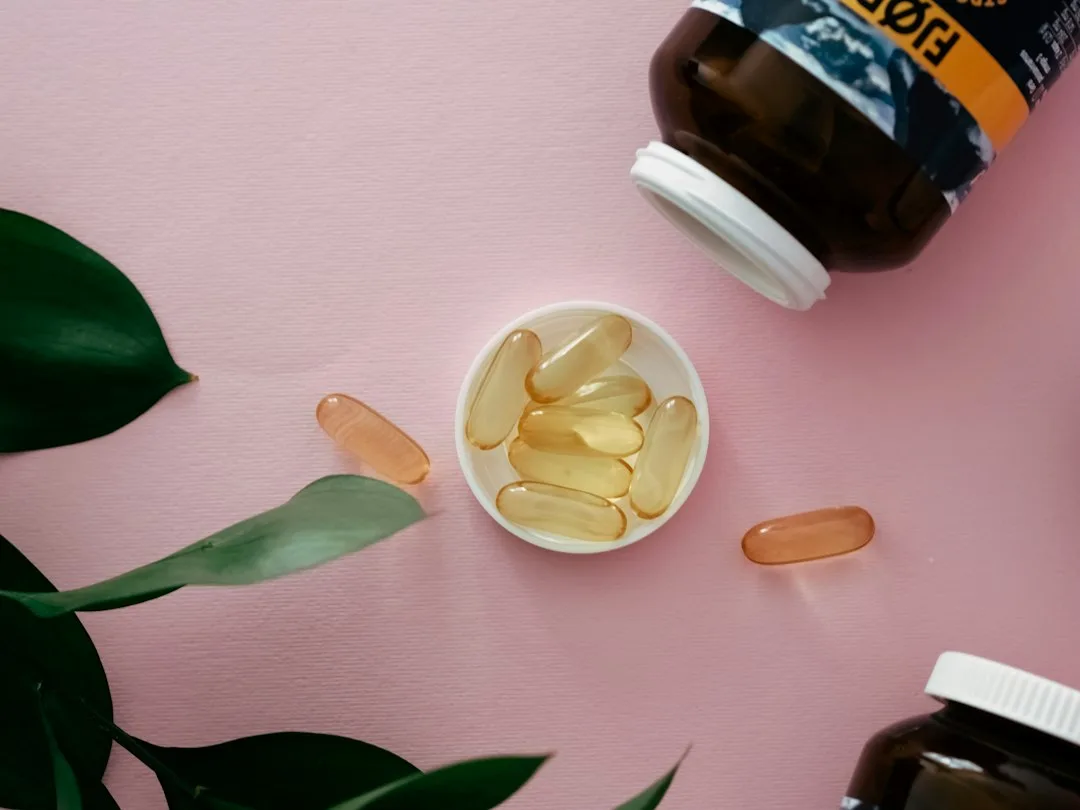
The Laneige Lip Sleeping Mask is the most referenced product in the butter lips trend context — it has accumulated over 12 million units sold globally since its launch and consistently appears in MUA kit lists specifically for preparing lips for glazed, high-shine looks. The Tatcha Kissu Lip Mask, Summer Fridays Lip Butter Balm (the product most directly named in the trend’s origin story), and the e.l.f. Lip Mask and Plumping Balm are all effective alternatives at different price points. Apply a generous amount before sleep 3 to 4 nights per week. Within one to two weeks of consistent use, the quality of the lip surface for product application changes noticeably.
Morning Prep — the Immediate Pre-Application Steps
Immediately before applying the butter lips look, a 3-minute prep sequence transforms the current state of the lips regardless of their baseline condition. Apply a small amount of lip scrub and massage gently in circular motions for 30 seconds — this removes any dry surface cells that would create an uneven texture under gloss. Rinse or wipe clean. Apply a thin layer of a hydrating balm with humectant ingredients (glycerin, hyaluronic acid, or shea butter) and allow it to absorb for 2 full minutes. Press a single ply of tissue lightly against the lips to remove any excess product that has not absorbed — applying gloss directly over a thick unabsorbed balm layer will cause it to move and migrate throughout the day. The lips should feel smooth, slightly tacky, and plumped before any color or gloss is applied.
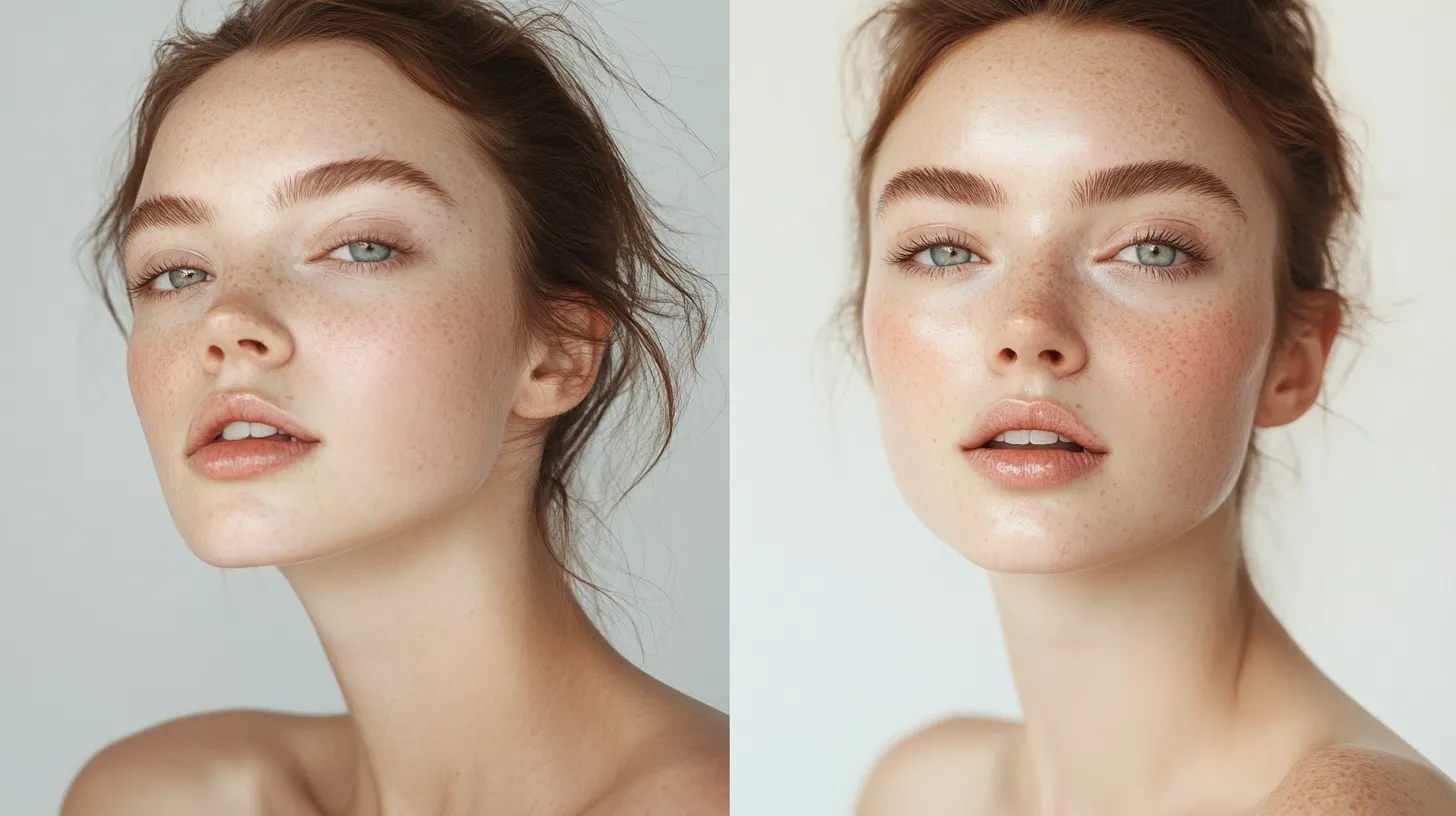
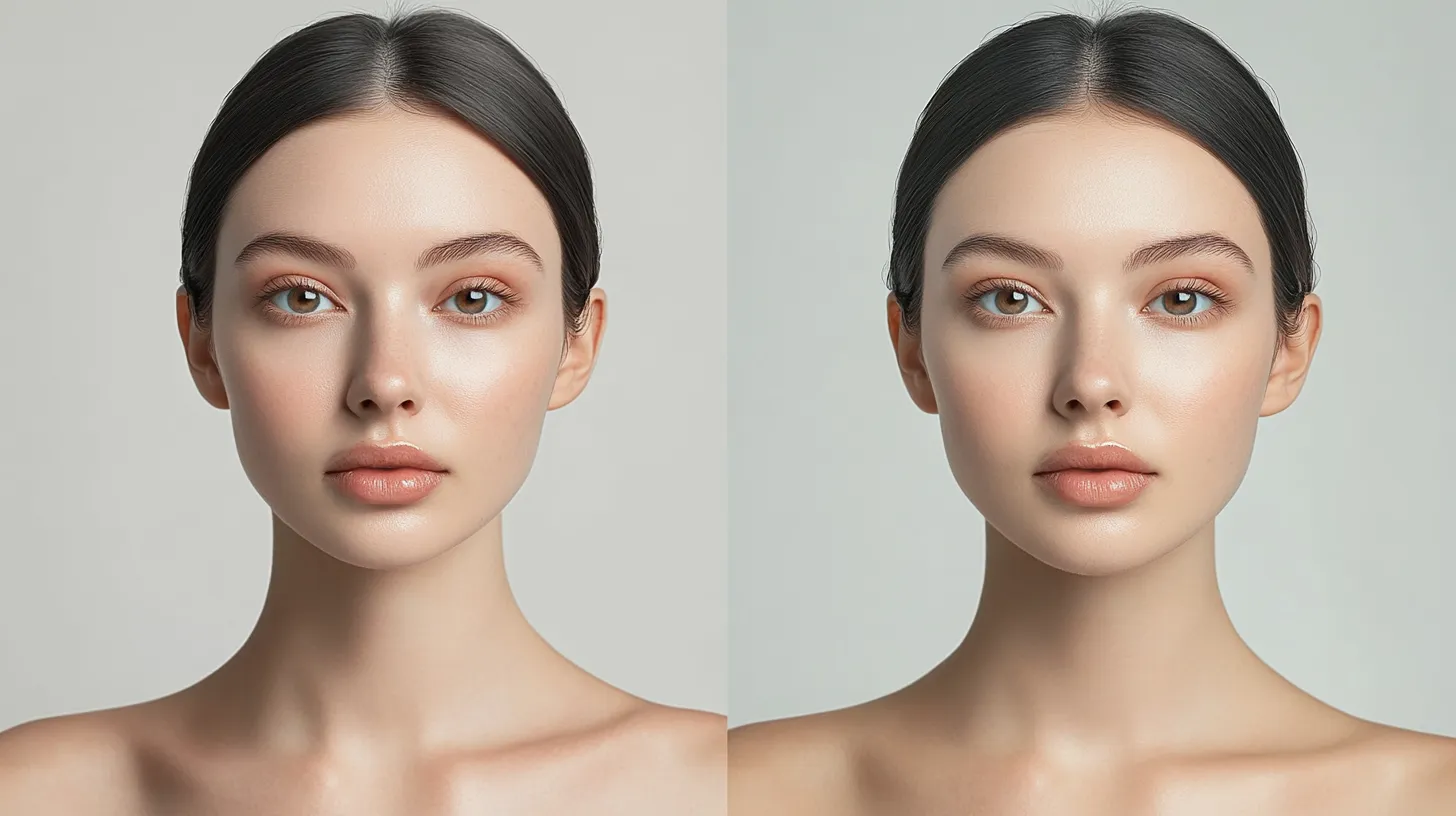
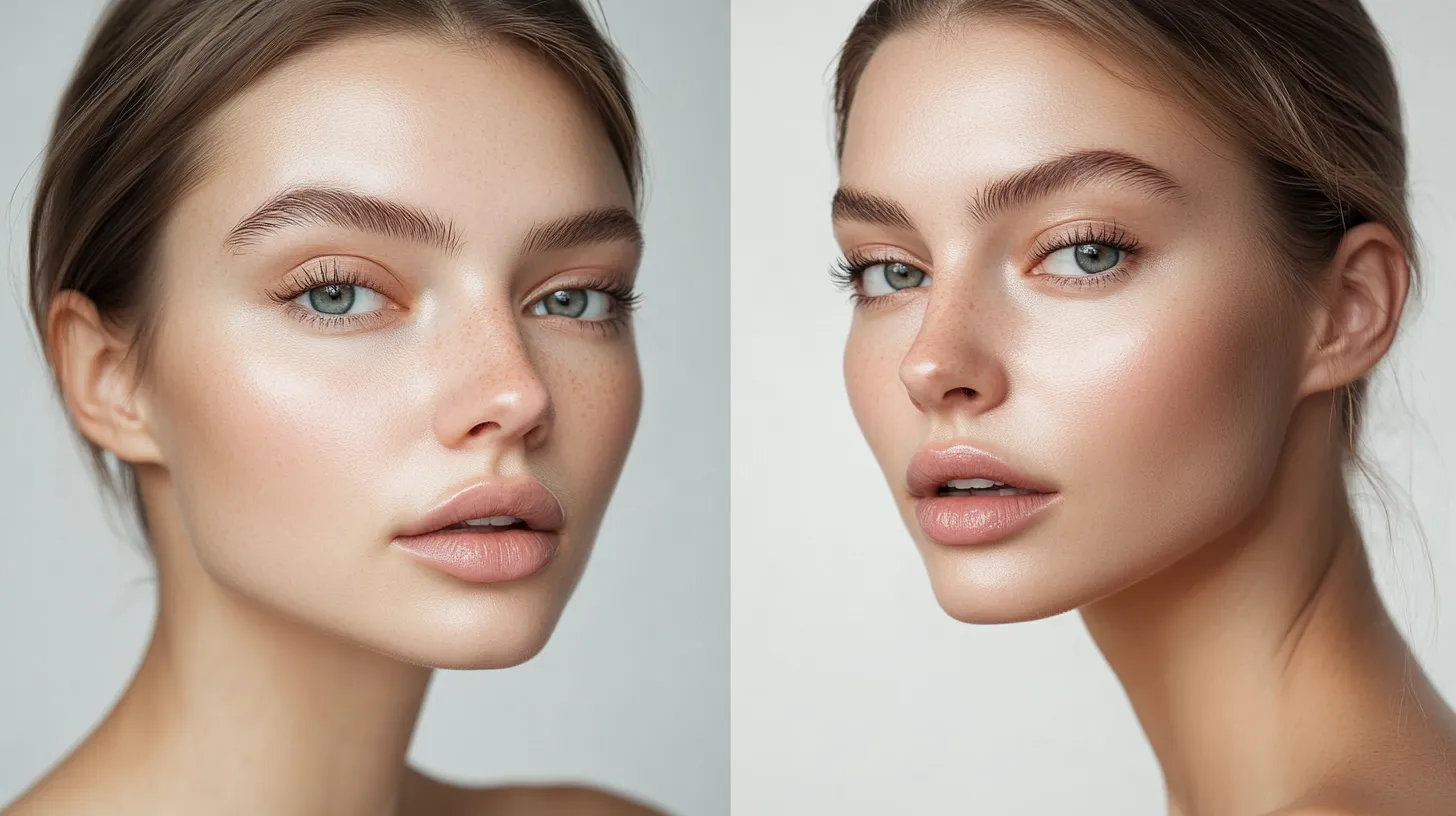
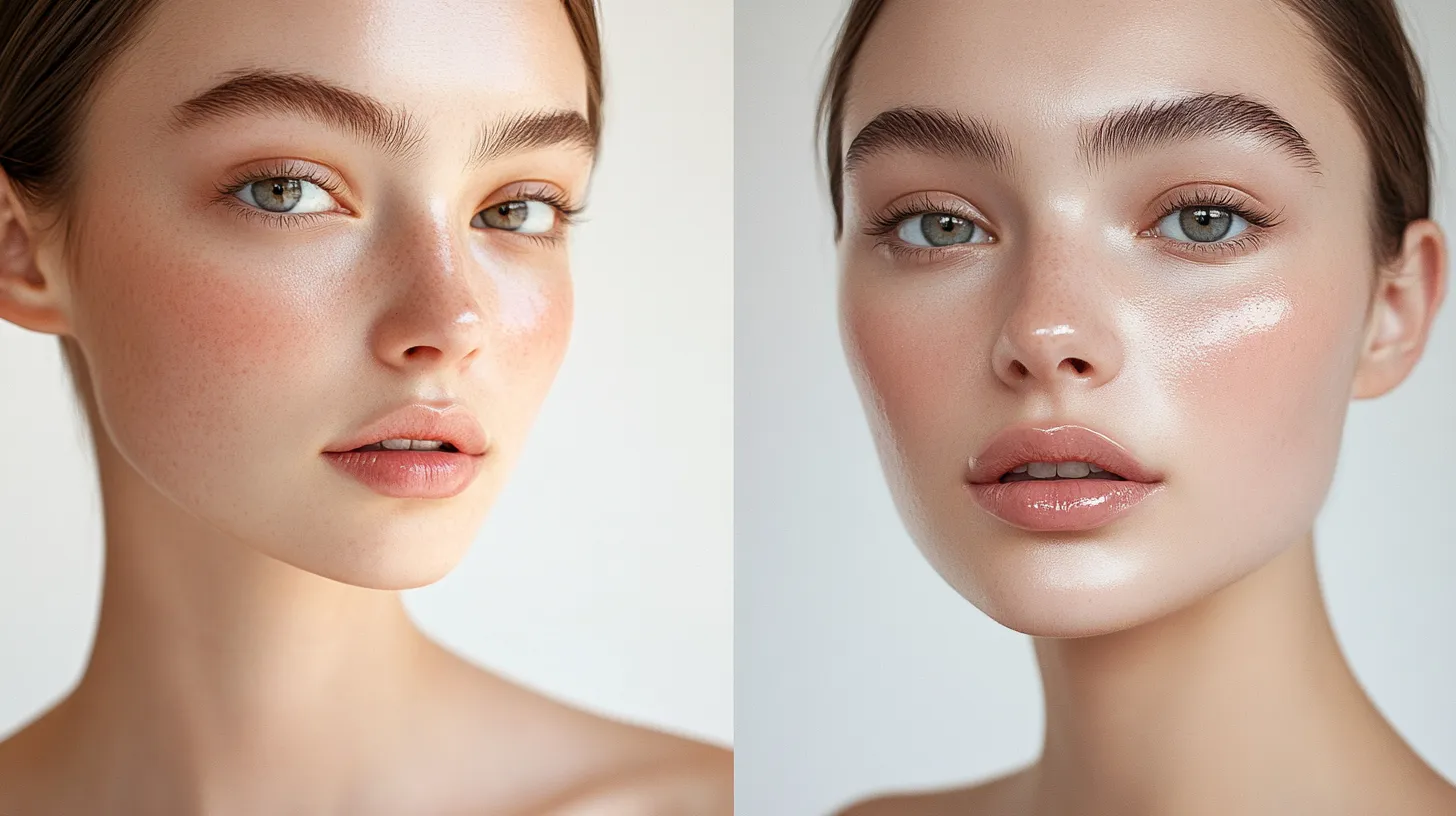
The Three Product Layers That Create the Butter Lips Effect
The butter lips look is built in three distinct layers, each one contributing a specific quality to the final result. Understanding what each layer does makes it easy to choose the right products and to troubleshoot if the result is not landing as expected.
Layer 1 — The Color Base
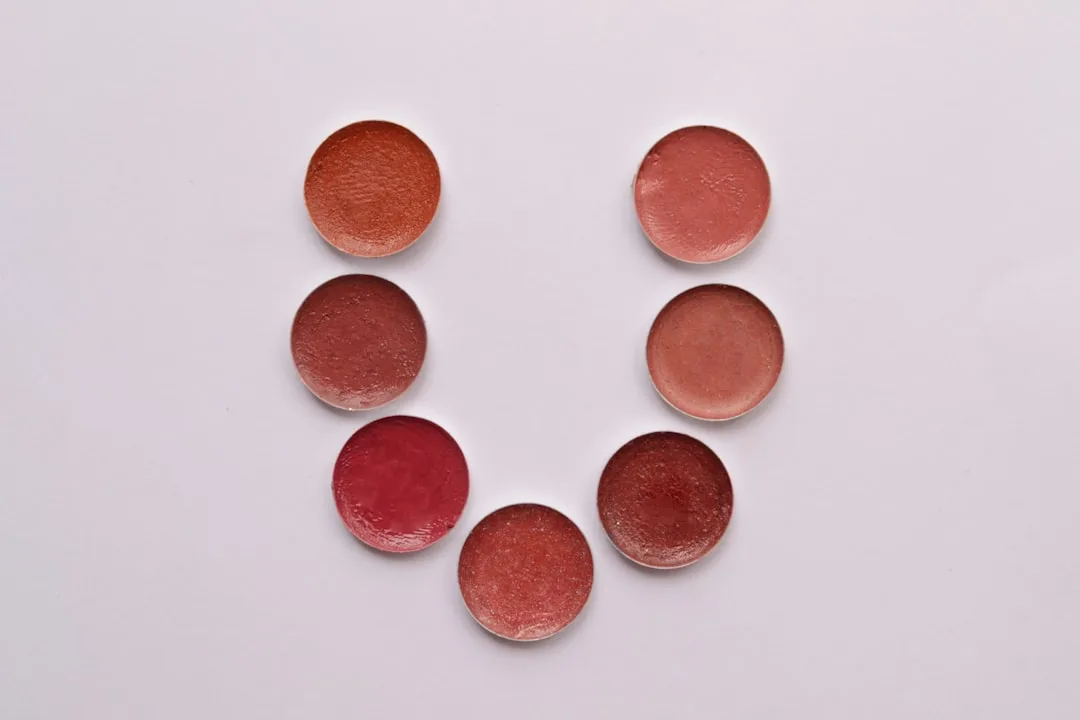
The color base is what gives the butter lips their warm, flushed quality — the appearance of naturally pigmented, healthy lip tissue rather than bare skin. This layer is deliberately sheer: a tinted lip balm, a sheer lipstick worn lightly, a lip stain in a nude-warm tone, or a hydrating lipstick in a skin-close shade. The color should be warmer and slightly deeper than the natural lip tone — nude-pink, honey-peach, soft terracotta, warm rose, or a sheer berry depending on the skin tone and desired warmth level. A color too close to the natural lip tone makes the final look feel flat and undone rather than intentional; a color too saturated or opaque destroys the natural, skin-real quality that defines the trend.
The most commonly referenced Layer 1 products in butter lips tutorials in 2026 include: Charlotte Tilbury Pillow Talk Lipstick worn sheer (press once with a fingertip rather than applying from the bullet), the Fenty Beauty Gloss Bomb Heat in Fenty Glow or Hot Chocolit (the formula contains a warming ingredient that increases blood flow to the lips and enhances the natural pink tone), Rhode Skin Peptide Lip Treatment in Unscented or Salted Caramel (the format that arguably launched the butter lips trend’s mainstream moment), Summer Fridays Lip Butter Balm in Vanilla or Caramel, and at a lower price point, the NYX Butter Lip Balm and the Maybelline Lifter Gloss in sheer warm shades.
Layer 2 — The Gloss
The gloss layer is what creates the high-shine, reflective quality of the look. For the butter lips trend specifically, the correct gloss has a warm or golden undertone rather than a clear or cool one — it should appear slightly warm when viewed in the tube rather than completely transparent. Clear gloss with a cool tone produces a wet look rather than a warm, butter-like glow. A gloss with a golden or champagne tint integrates with the warm color base and creates the depth and warmth that photographs as butter-like luminosity rather than a surface sheen.
The gloss does not need to be thick or uncomfortable to wear. The trend has moved away from the heavy, sticky gloss textures of the early 2000s toward lightweight, comfortable formulas that provide high shine without weight or tackiness. Fenty Beauty Gloss Bomb Universal Lip Luminizer in Fenty Glow, Rare Beauty Kind Words Matte Lip Liner used under a sheer gloss, NARS Afterglow Lip Shine, and the Milk Makeup Odyssey Lip Oil in warm shades all produce the correct texture and finish for Layer 2. Apply to the center of the lips first and press outward to the perimeter with a fingertip — pressing rather than swiping keeps the product evenly distributed and prevents the pooling at the center that makes gloss look product-heavy.
Layer 3 — The Optional Plumping or Shine Topper
The third layer is optional but significantly elevates the result for anyone who wants the fullest expression of the butter lips trend. A clear lip oil or a peptide-infused balm applied over the gloss layer adds dimension, a slight plumping effect from ingredients like cinnamon oil, ginger root extract, or hyaluronic acid, and a top-layer luminosity that makes the lips appear to have depth rather than just a surface coating. This is the layer that creates the most convincingly pillowy, 3D quality of the look when seen in person and on camera.
Clarins Lip Comfort Oil, the Kiehl’s Lip Fuel Hyaluronic Lip Treatment, and the affordable e.l.f. Lip Oil in Crystal Clear or Strawberry Sorbet are all effective as Layer 3 options. Apply a single drop to the center of the lower lip and press gently together to distribute. The combined three-layer result should feel comfortable, not heavy — if the lips feel sticky or overloaded, the issue is usually excess product in Layer 1 that was not fully absorbed before the gloss was applied.
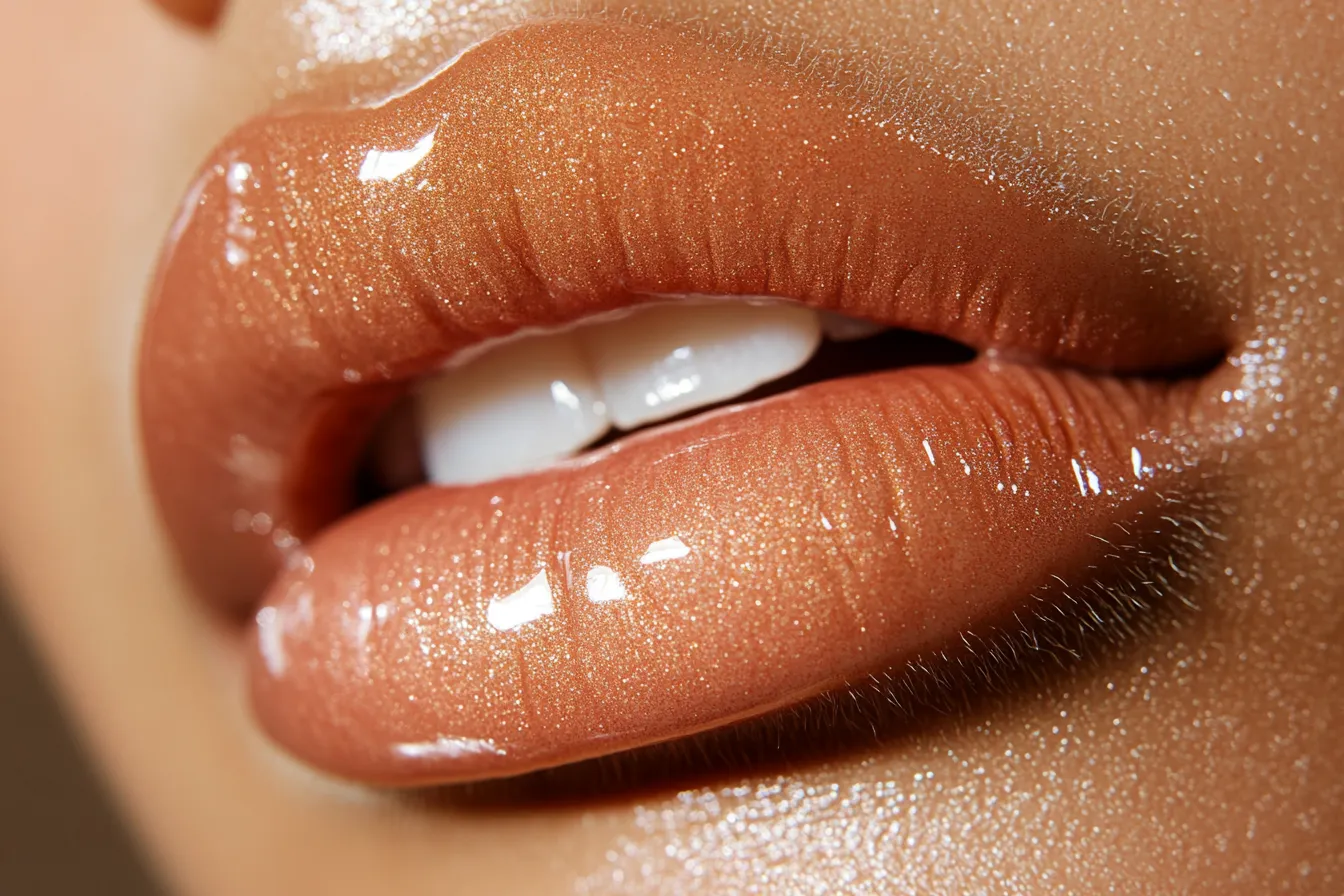
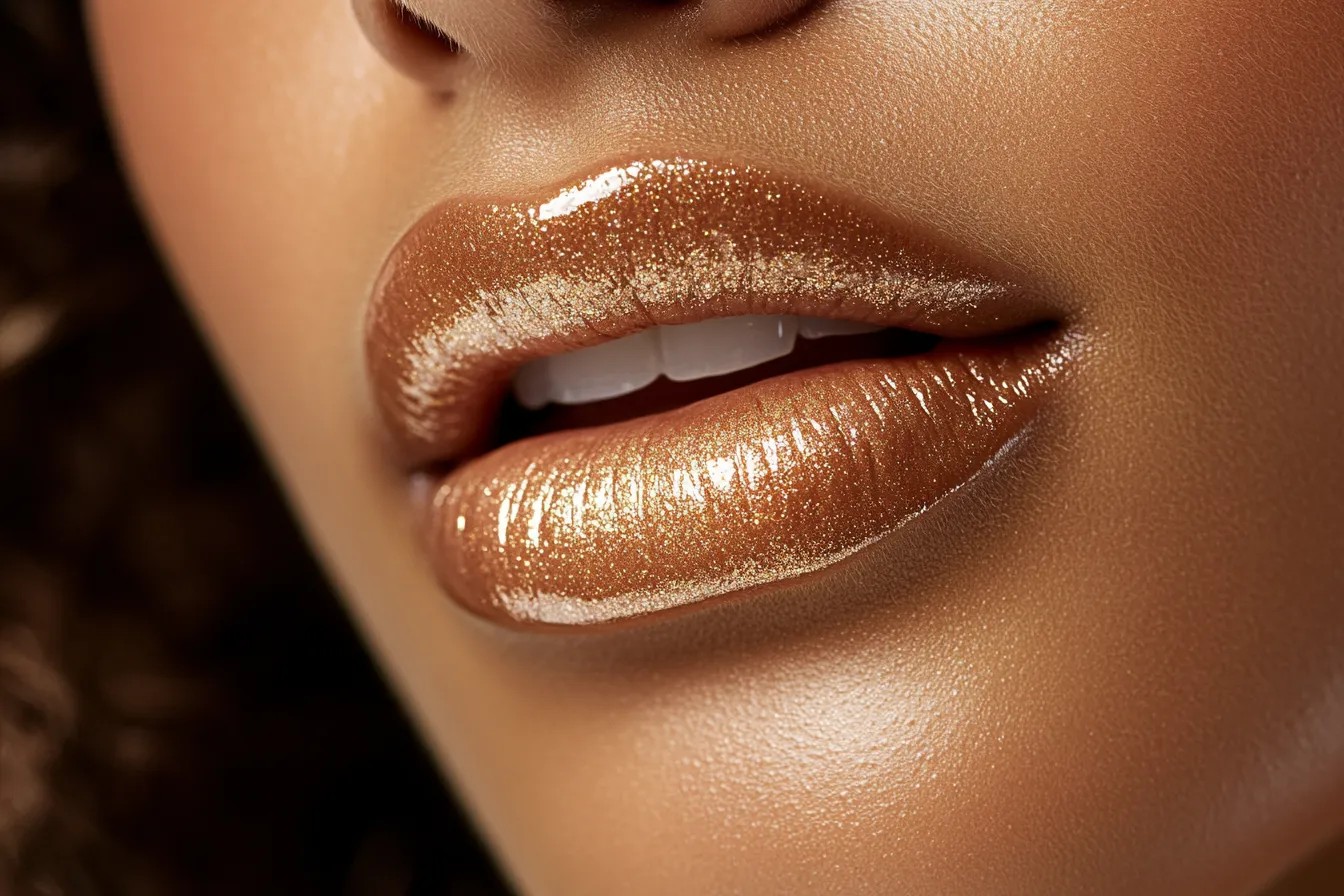
How to Get the Butter Lips Look at Home — Step by Step
Here is the complete step by step process for getting the butter lips trend look at home, from prep through final product layer. The entire process from beginning to finished result takes 8 to 12 minutes, or as few as 5 minutes if the overnight prep has been done consistently and the lip surface is already in good condition.
- Exfoliate (1 min). Apply a pea-sized amount of a sugar or enzyme lip scrub and massage in small circular motions for 30 seconds. Remove with a damp cloth or tissue. If you do not have a lip scrub, a clean toothbrush with a tiny amount of petroleum jelly or honey works identically. This step removes dry surface cells and creates the smooth canvas the look requires.
- Hydrate (2 min). Apply a generous layer of a hydrating lip balm containing glycerin, shea butter, or hyaluronic acid and allow it to absorb for 2 full minutes. Use this time to complete any other makeup steps — the balm should not be rushed to absorb. After 2 minutes, blot any unabsorbed excess with a tissue.
- Apply Layer 1 — the color base (1 min). Apply your chosen tinted balm, sheer lipstick, or lip stain directly to the center of the lips and press outward with a fingertip. Do not apply from the bullet and expect a clean edge — the butter lips look has no clean edge. The color should appear as a soft wash of warm tone across the lips rather than a defined shape. Build very slightly at the cupid’s bow and center of the lower lip for a subtle gradient that adds dimension.
- Apply Layer 2 — the gloss (1 min). Using the applicator or a fingertip, apply your warm-toned gloss to the center of the upper and lower lips. Press outward to the perimeter rather than swiping. The gloss should cover the full lip surface but appear thicker at the center, creating a natural convex volume effect that enhances the pillowy quality of the look.
- Optional — Apply Layer 3 — the lip oil or plumping topper (30 sec). Apply a single drop of lip oil to the center of the lower lip only and press lips together gently to distribute. The oil layer should be very thin — this is the top coat, not the primary product.
- Check and adjust (30 sec). Look at the result with lips slightly parted rather than pressed together — this is how the lips will appear throughout the day, and the product distribution often looks different in this position. If the color is too subtle, press slightly more Layer 1 to the center. If the shine is too heavy, press a single ply of tissue against the lips once to reduce.
Butter Lips Shade Direction by Skin Tone
The warmth of the butter lips trend translates beautifully across all skin tones, but the specific shade of the Layer 1 color base needs to be calibrated to each complexion for the look to read correctly. Here is the shade direction for each skin tone range:
| Skin Tone | Layer 1 Shade Direction | Layer 2 Gloss Tone | Product Examples |
|---|---|---|---|
| Fair with pink undertone | Soft rose, pale peach, sheer nude-pink | Clear warm gold or champagne gloss | Charlotte Tilbury Pillow Talk, Rhode Peptide Lip Treatment in Unscented |
| Fair to light with warm undertone | Warm peach, honey nude, apricot | Warm honey gloss, light copper shimmer | Summer Fridays Lip Butter Balm in Vanilla, Fenty Gloss Bomb in Fenty Glow |
| Light to medium neutral | Warm mauve, soft terracotta, dusty rose-peach | Warm bronze-tinted gloss, amber-tinted lip oil | Rare Beauty Lip Soufle in Glaze, Milk Makeup Odyssey Lip Oil in Dusk |
| Medium to tan warm | Deep peach, warm caramel, brick-rose | Deep amber gloss, warm copper tint | Rhode in Salted Caramel, NYX Butter Lip Balm in Peach Cobbler |
| Deep and rich | Deep terracotta, warm brown-nude, rich berry-peach | Deep bronze gloss, warm deep gold | Fenty Gloss Bomb in Hot Chocolit, Juvia’s Place lip gloss in warm brown |
The principle across all skin tones is the same: the Layer 1 color should be warm, slightly more saturated than the natural lip tone, and close enough to the skin that the overall effect reads as an enhanced version of the natural lip rather than a distinct color application. The gloss above it should add warmth and depth, not coolness or contrast.
Butter Lips vs Other 2026 Lip Trends — How They Compare
Butter lips is one of several lip aesthetics active in 2026. Understanding how it sits in relation to the others helps you decide where it fits in your makeup rotation and whether specific adjacent looks require the same products or different ones.
| Lip Trend | Key Visual | Color | Finish | Liner | Skill Level |
|---|---|---|---|---|---|
| Butter Lips | Glazed, pillowy, warm glow | Warm nude to honey-peach | High shine with warmth, no stickiness | None or very soft blur | Beginner |
| Strawberry Girl Lip | Bitten, berry-flushed, glossy | Berry, strawberry-red, coral-rose | Gloss over sheer berry stain | None | Beginner |
| Glazed Donut Lip | High-shine, nude, monochromatic | Nude-pink, neutral | Maximum shine, wet look | None to subtle | Beginner |
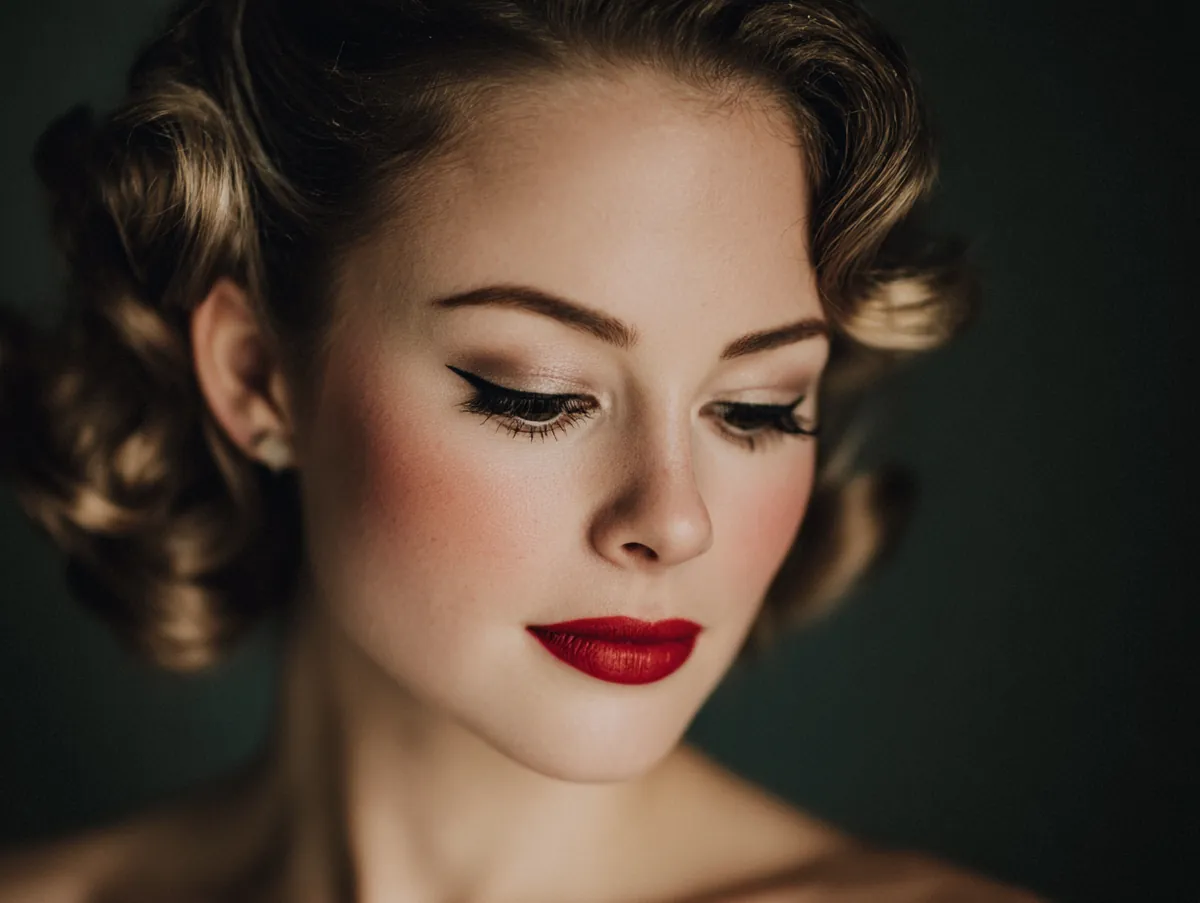
| Lip Liner Overlined | Defined, full, structured | Any, often warm brown or berry | Matte to satin | Heavy, overlined beyond lip edge | Intermediate |
| 90s Brown Lip | Dark, defined, editorial | Dark brown, mocha, deep nude | Matte or satin | Defined, same shade as lip | Intermediate |
| Ombre Lip | Gradient, dimensional, precise | Any, two shades same family | Satin to gloss | Defined, lighter than center | Advanced |
Butter lips and the strawberry girl lip are the two most compatible and most commonly combined looks of 2026 — the strawberry girl blush flush and warm complexion preparation pair naturally with a butter lips finish. If you want to understand how to build the complete strawberry girl look that butter lips sits within, our detailed guide on the strawberry girl makeup look step by step for 2026 covers the full routine from base to lip with all the specific product placements and shade choices that make both elements work together as a cohesive look.
How Long the Butter Lips Look Actually Lasts — and How to Extend It
The honest answer about butter lips longevity is this: the gloss layer lasts approximately 1.5 to 2 hours with normal activity and 45 to 60 minutes through eating or drinking. This is shorter than most other lip looks, but it is also why the look is typically carried as a reapplication moment rather than a set-and-forget routine. The good news is that reapplying takes under 30 seconds since the Layer 1 color base tends to stain the lips slightly and persists as a warm flush even after the gloss layer is gone.
If you need the butter lips look to last significantly longer without reapplication — through a date, a presentation, or a long evening — a specific layering strategy extends wear to 3 to 4 hours. Apply a lip stain in a warm nude or peach tone as the first step rather than a tinted balm. Allow it to dry completely for 60 seconds before the balm layer. The stain provides a pigment base that does not move even when the product layers above it wear away. Apply the balm, then the gloss, then the lip oil as described above. When the top layers wear, the warm stain remains and the look reads as slightly faded butter lips rather than completely bare. A quick one-step gloss reapplication restores the full look from this base in seconds. For a more detailed breakdown of the lip stain layering technique that creates the most durable version of any glossy or glaze lip look, our guide on lip stain layering for lasting color covers the exact stain-plus-gloss system with timing, product choices, and the blotting technique that makes it last.
The Butter Lips Trend at Home With Minimal Products — the Stripped-Down Version
If you want to try the butter lips trend immediately with what you already own rather than buying new products, here is the minimum viable version that captures the essential quality of the look with two or three products that most people already have at home.
- Any petroleum jelly-based balm (Vaseline, Aquaphor, basic chapstick). Apply a thin layer to prepped lips as the hydration base. This provides the occlusive moisture layer that creates the pillowy texture.
- Any warm-toned lipstick or tinted balm you own. Press a small amount to the center of the lips with a fingertip and blend outward. The specific shade matters less than the warmth — anything in the pink, peach, rose, or nude family rather than a cool or dark shade works for the base color.
- Any lip gloss you own. Apply over the top. Even a clear gloss creates approximately 70 percent of the butter lips effect when placed over a warm color base and proper prep. A warm-tinted gloss produces the full effect.
The full three-product budget build costs under fifteen dollars: a basic sugar lip scrub from e.l.f. or NYX (approximately four dollars), the NYX Butter Lip Balm in a warm shade as Layer 1 (approximately five dollars), and the e.l.f. Lip Oil in Crystal Clear as the combined Layer 2 and 3 (approximately five dollars). This combination produces the butter lips look with a result that is almost indistinguishable from luxury product versions in real-life wear.
The Rest of the Face — What Works With Butter Lips
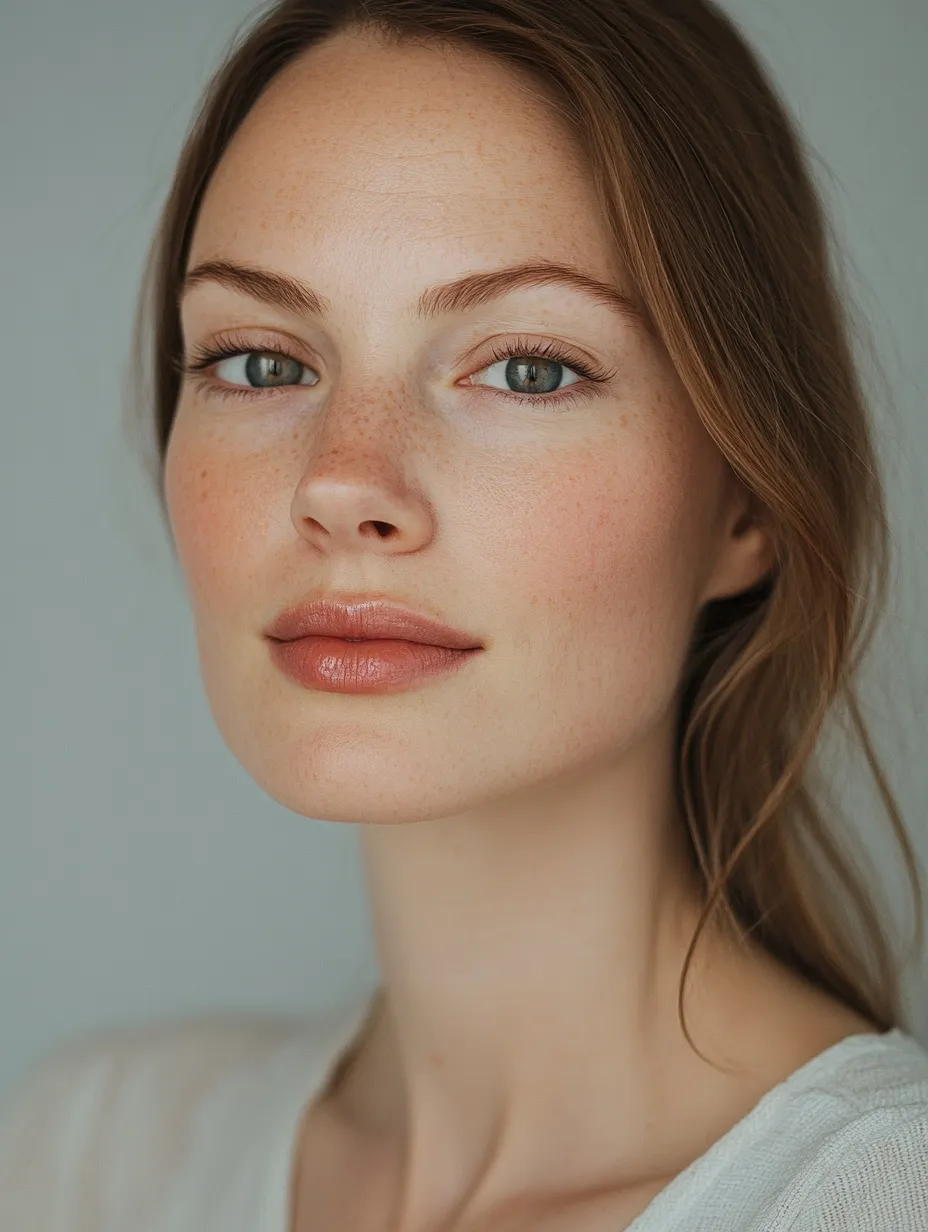
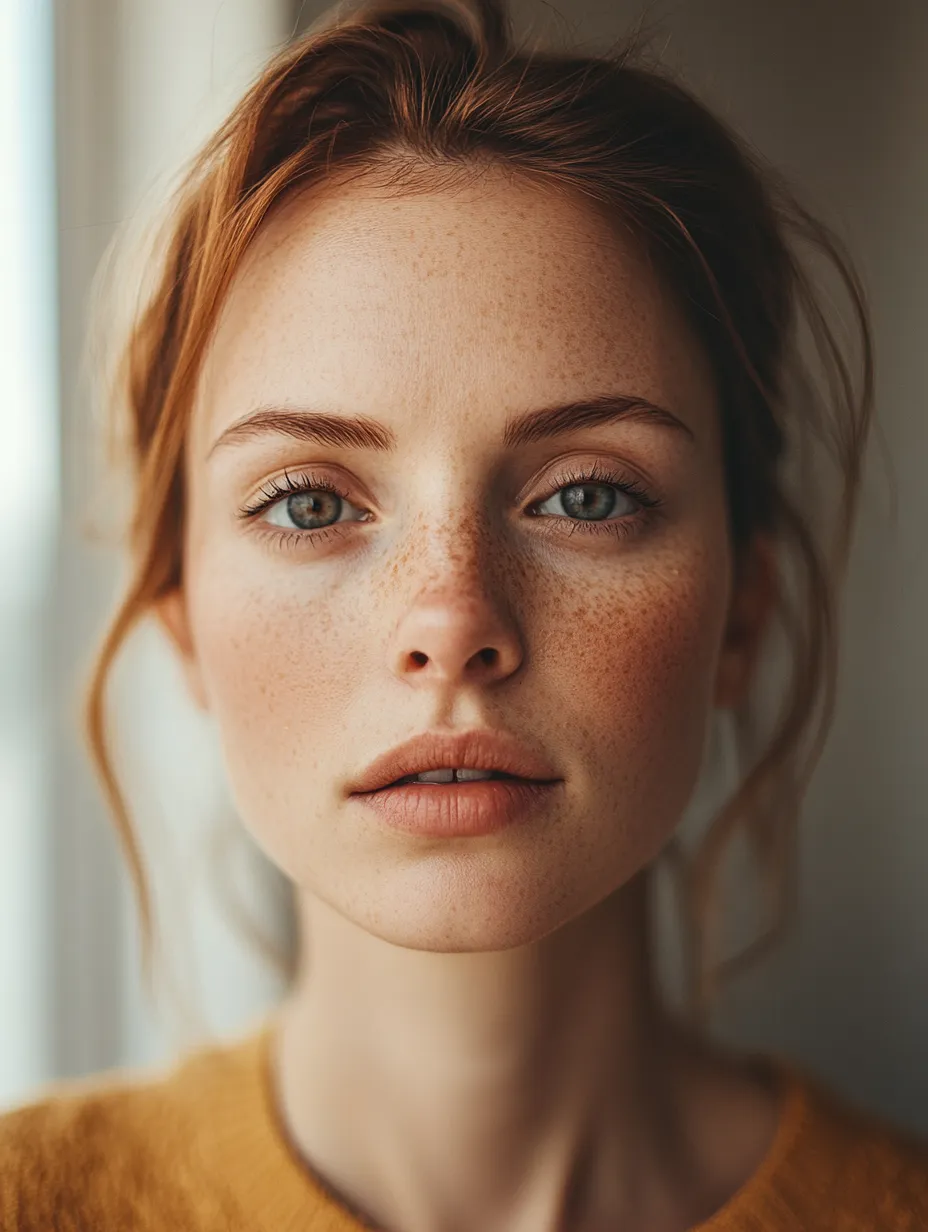
Butter lips are a statement by 2026 standards, which means the rest of the face functions best when it complements rather than competes. There are two approaches that consistently work well alongside the butter lips look.
The Minimal Face
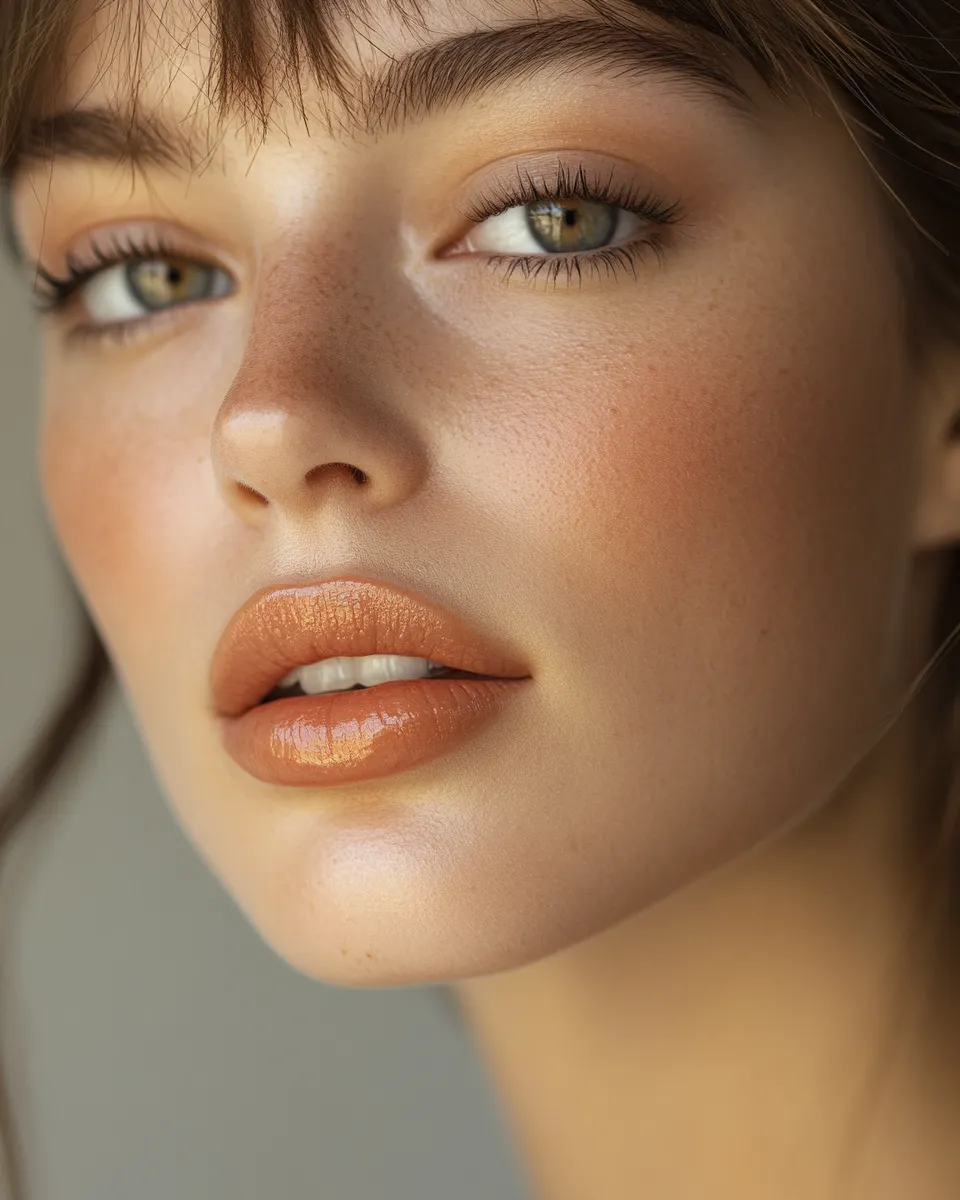
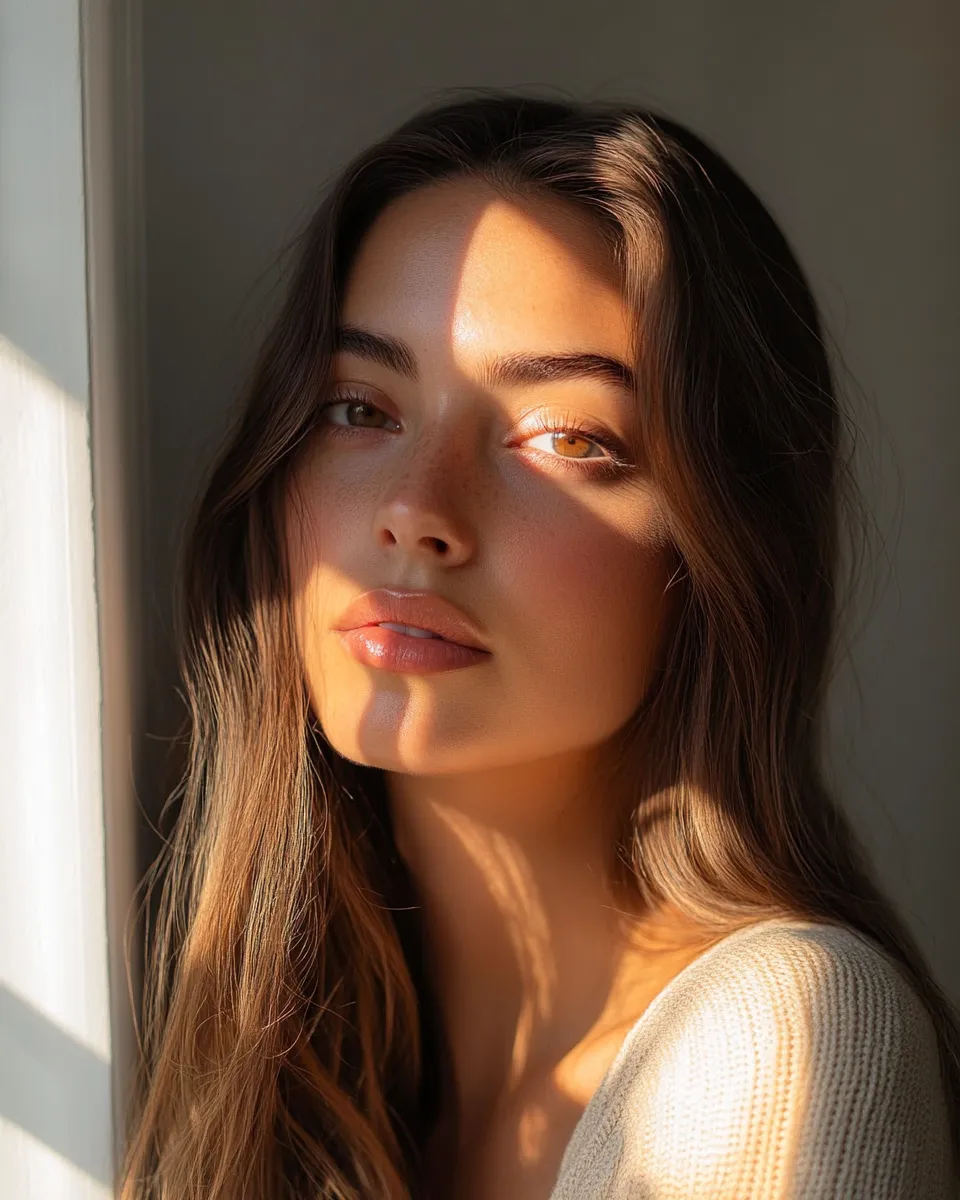
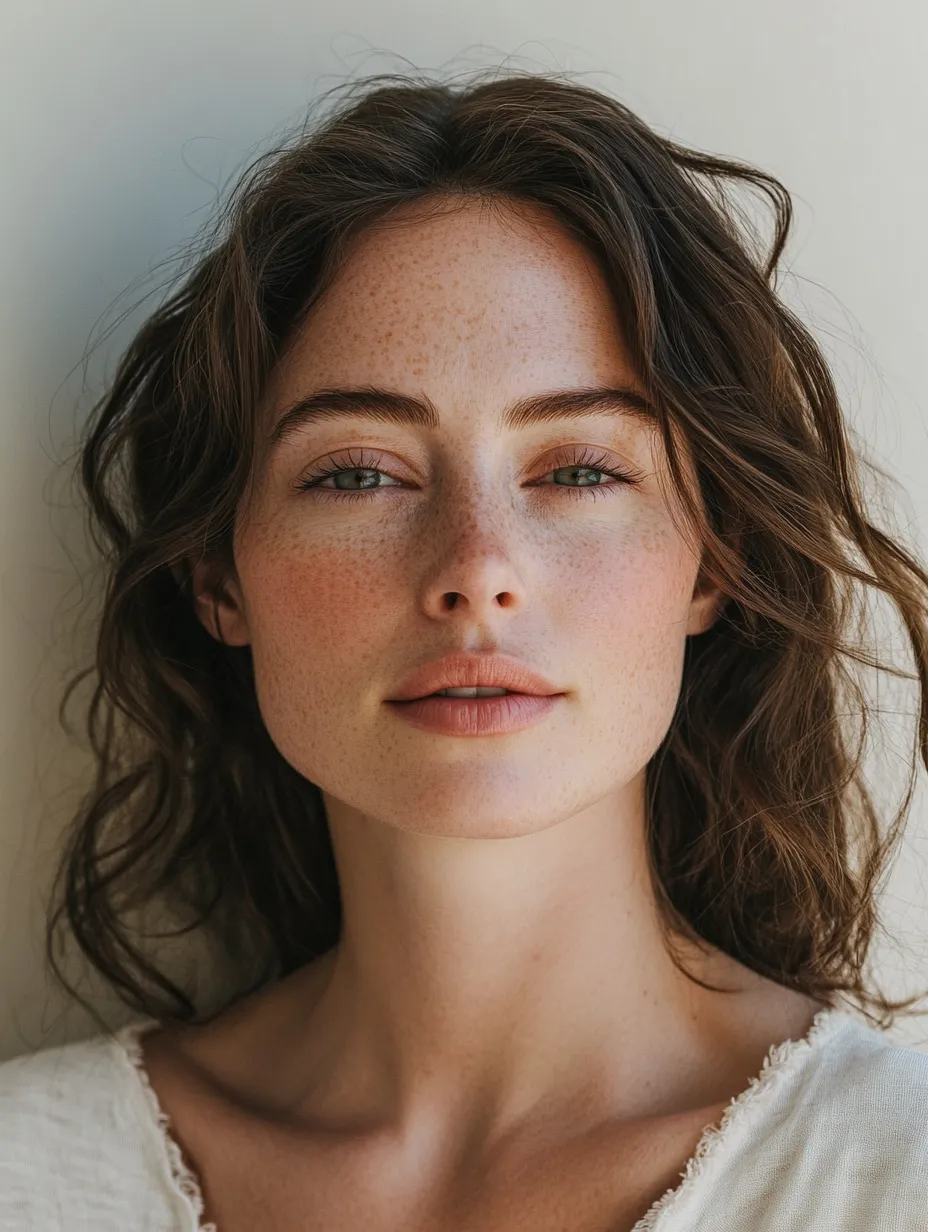
Let the butter lips be the focal point with a completely minimal face: a skin tint or light coverage foundation, a touch of cream blush in the same warm family as the lip color, groomed brows, and one coat of mascara. No eye shadow, no liner, no contour. This is the most editorial version of the look and the one most commonly worn by the butter lips trend’s early adopters. The face reads as skin-first and effortless, and the lips provide all the intentional makeup energy of the look.
The Warm Cohesive Face
Use the butter lips as the anchor of a fully warm, cohesive face look: warm bronze eyeshadow pressed onto the lid, a sweep of deep peach or coral cream blush, a gold highlighter on the cheekbones, and the butter lips as the final element. This approach makes the lip feel fully integrated rather than isolated and produces a complete, polished look appropriate for an evening out or a social event. The strawberry girl blush and the butter lips share enough of the same warm, flushed, natural-glow aesthetic that they combine seamlessly — both looks are built on the same philosophy of warmth and skin-closeness.
For skincare that builds the luminous, healthy skin base that makes the minimal face approach most effective alongside butter lips, our guide on glass skin routine covers the exact layering sequence that creates that glowing, poreless skin quality that makes a butter lips-focused minimal makeup look its most polished and intentional. The two approaches — skin cycling plus glass skin prep plus butter lips — represent the core of the 2026 skin-first beauty philosophy in a single cohesive routine.
Long-Term Lip Care That Makes the Butter Lips Look Better Over Time
The quality of the butter lips result improves measurably with consistent lip care over several weeks. Lip skin turns over approximately every 7 to 10 days, meaning a consistent exfoliation and moisture routine builds a progressively smoother, plumper lip surface that requires less prep before the look and produces a more convincing pillowy result with each application.
The most effective long-term lip care protocol for butter lips results: exfoliate twice per week with a gentle sugar scrub, apply a hydrating lip mask three to four nights per week before sleep, use a balm with SPF during the day (UV exposure thins the lip skin and accelerates moisture loss over time), and stay well hydrated systemically — lips reflect overall hydration status more visibly than almost any other body part. Within 3 to 4 weeks of this protocol, the lip surface texture and fullness improves to the point where the overnight masking step occasionally becomes sufficient prep on its own without the morning exfoliation.
Consistent skincare that supports barrier health and hydration at the systemic level also contributes to lip quality in ways that topical products cannot fully replicate. Our breakdown of how niacinamide and vitamin C work together in a skincare routine is relevant here because both ingredients support the skin barrier and cellular hydration in ways that translate visibly to lip tissue health — particularly niacinamide’s ceramide-boosting and barrier-repair mechanisms that help the lip skin retain moisture more effectively over the long term.
Why the Butter Lips Trend Has Staying Power Beyond 2026
Most lip trends have a lifecycle of 6 to 18 months before the aesthetic starts to feel dated and the next trend takes over. The butter lips look has a stronger claim to longevity than most for a specific reason: it is not built around a color, a liner shape, or a specific product, all of which date quickly. It is built around a texture and a quality of finish — warmth, gloss, pillow softness, skin-real appearance — that are perennially flattering and visually pleasing independent of any trend cycle.
The preparation steps that make it work — exfoliation, overnight masking, balanced hydration — are simply good lip care that will continue to benefit any lip look beyond the current trend moment. The layering principle of color base plus gloss plus oil is a technique that applies to any glossy lip aesthetic regardless of what it is called in a given season. And the warm, natural quality of the finished look sits within a broader aesthetic shift toward skin-positive, enhancement-over-transformation beauty that shows no sign of retreating from mainstream beauty culture in the near term.
Getting the butter lips look at home is genuinely one of the simplest beauty techniques of 2026. It requires no special skill, no expensive products, and no tools beyond fingertips. What it requires is prep — consistent, deliberate lip care that builds the surface the look lives on — and a three-step layering sequence that takes less than three minutes once the prep is in place. The result is a lip that looks like the most beautiful version of your own lips on their best day: warm, full, glowing, and effortlessly alive.