
Glass skin is not a filter. It is not a product. It is a skin condition — one you can achieve with the right layering method, the right ingredients, and a commitment to hydration that goes far deeper than a single serum. The phrase comes from Korean beauty culture, where “yuri-pibu” (유리 피부) describes skin so smooth and luminous it appears translucent, almost reflective, like a sheet of glass. In 2026, this aesthetic has moved from K-drama close-ups into the global mainstream, and the routine behind it is more achievable than ever.
This guide breaks down every step of a complete glass skin routine — from double cleanse to sealing occlusive — with the ingredients, textures, and layering logic that actually deliver results.



What Glass Skin Actually Means (and What It Is Not)
Glass skin is often confused with oily skin or the “wet look” trend. The difference is critical: oily skin reflects light because of excess sebum sitting on the surface. Glass skin reflects light because the skin surface itself is smooth, even, and deeply hydrated — so light bounces off uniformly rather than scattering through texture and dry patches. The result looks polished without appearing greasy.
Achieving glass skin requires working on two things simultaneously: surface refinement (exfoliation, pore clarity, even tone) and deep hydration stacking (layering moisture-binding ingredients in the correct order). Skip either pillar and you get a partial result — either a smooth but flat finish, or a dewy but textured one.
Who Can Get Glass Skin?
Every skin type can work toward glass skin — but the routine looks different depending on your starting point. Dry skin needs more occlusive sealing. Oily skin needs lightweight hydration and careful barrier work to stop the overproduction cycle. Combination skin benefits from targeted layering — lighter textures on the T-zone, richer ones on dry cheeks. Sensitive skin needs to move slowly through actives to avoid inflammation, which is the fastest way to destroy a glass skin result.
The one universal requirement: a healthy, intact skin barrier. If your barrier is compromised — tight, flaky, reactive, or chronically red — glass skin is not the starting goal. Barrier repair comes first. (Our guide to barrier repair serums and when to use them walks through exactly how to assess and rebuild your barrier before adding actives.)
The Complete Glass Skin Routine: Step by Step
Step 1: Double Cleanse
Double cleansing is the foundation of Korean skincare and non-negotiable in a glass skin routine. The first cleanse uses an oil-based cleanser or cleansing balm to dissolve SPF, makeup, and sebum. The second cleanse uses a gentle water-based cleanser to clear residue from the skin itself. Together, they leave the skin clean without stripping — which matters enormously, because a stripped skin barrier cannot hold hydration, no matter what you apply next.
Look for: pH-balanced water cleansers (between 4.5 and 5.5), fragrance-free formulas, no sulfates for sensitive or dry skin. Cleansing should never leave your skin feeling tight. If it does, your cleanser is too harsh for a glass skin goal.
Step 2: Exfoliate (2–3 Times Per Week)
Dead skin cell buildup is the number one enemy of glass skin. It scatters light, creates uneven texture, and blocks the absorption of every serum and moisturizer you apply. Chemical exfoliation — using AHAs (glycolic, lactic acid) or BHAs (salicylic acid) — dissolves the bonds holding dead cells together without the micro-tears caused by physical scrubs.
For glass skin, low-dose lactic acid (5–10%) is particularly effective: it exfoliates while also drawing moisture into the skin, making it a two-in-one for both refinement and hydration. PHAs (polyhydroxy acids) are the gentlest option for sensitive skin and still deliver visible smoothing. Do not exfoliate more than three times per week — over-exfoliation damages the barrier and produces the opposite of glass skin.

Step 3: Toner — The Hydration Reset
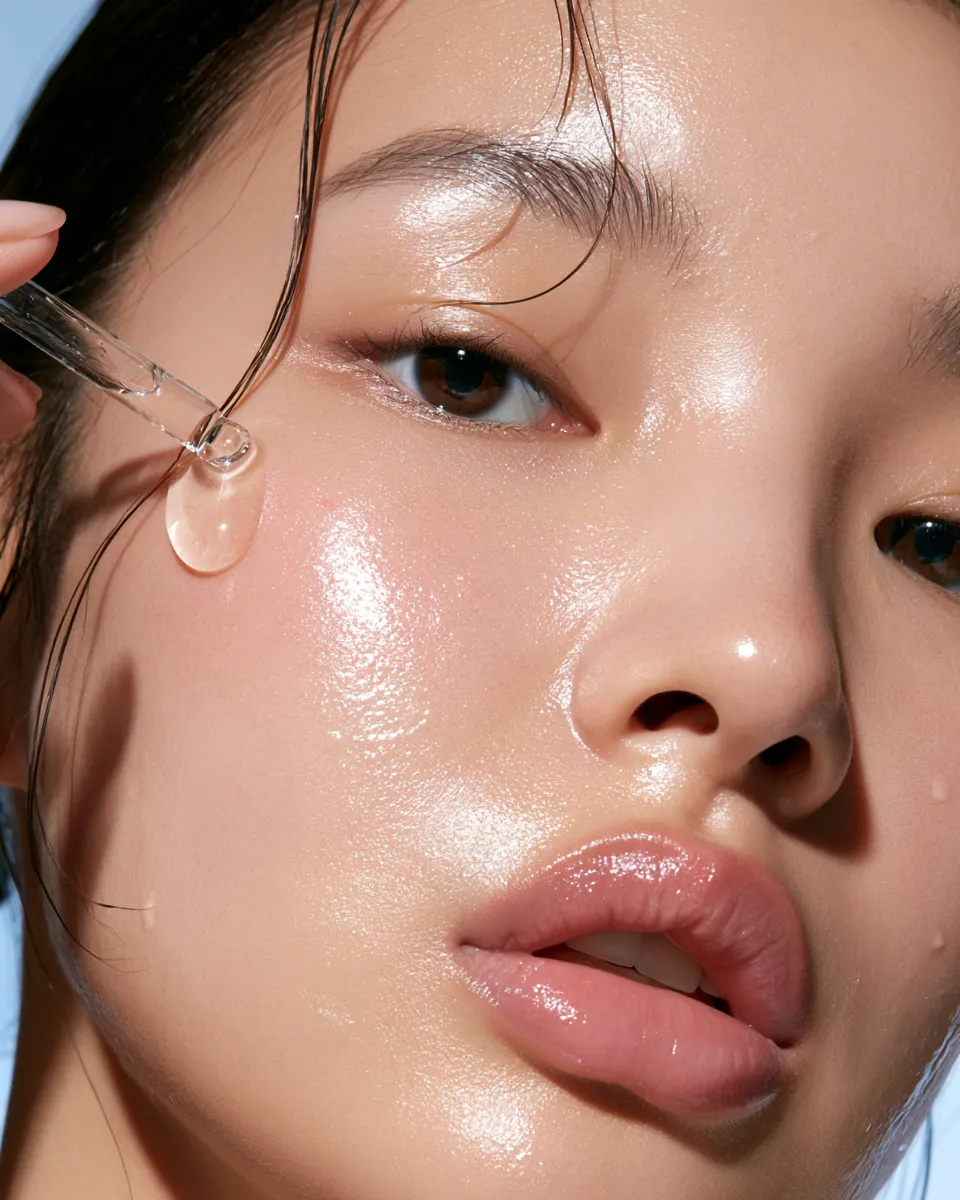
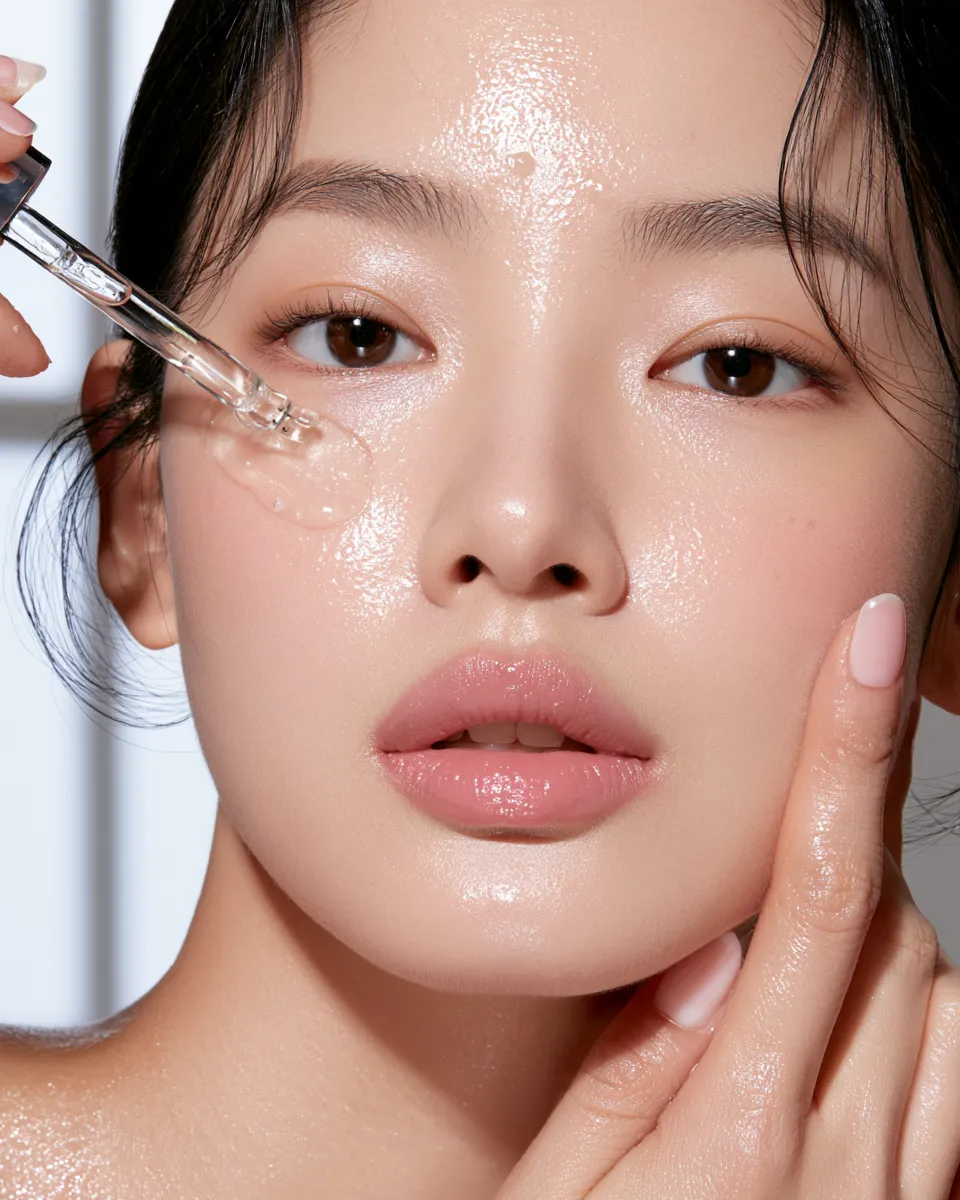
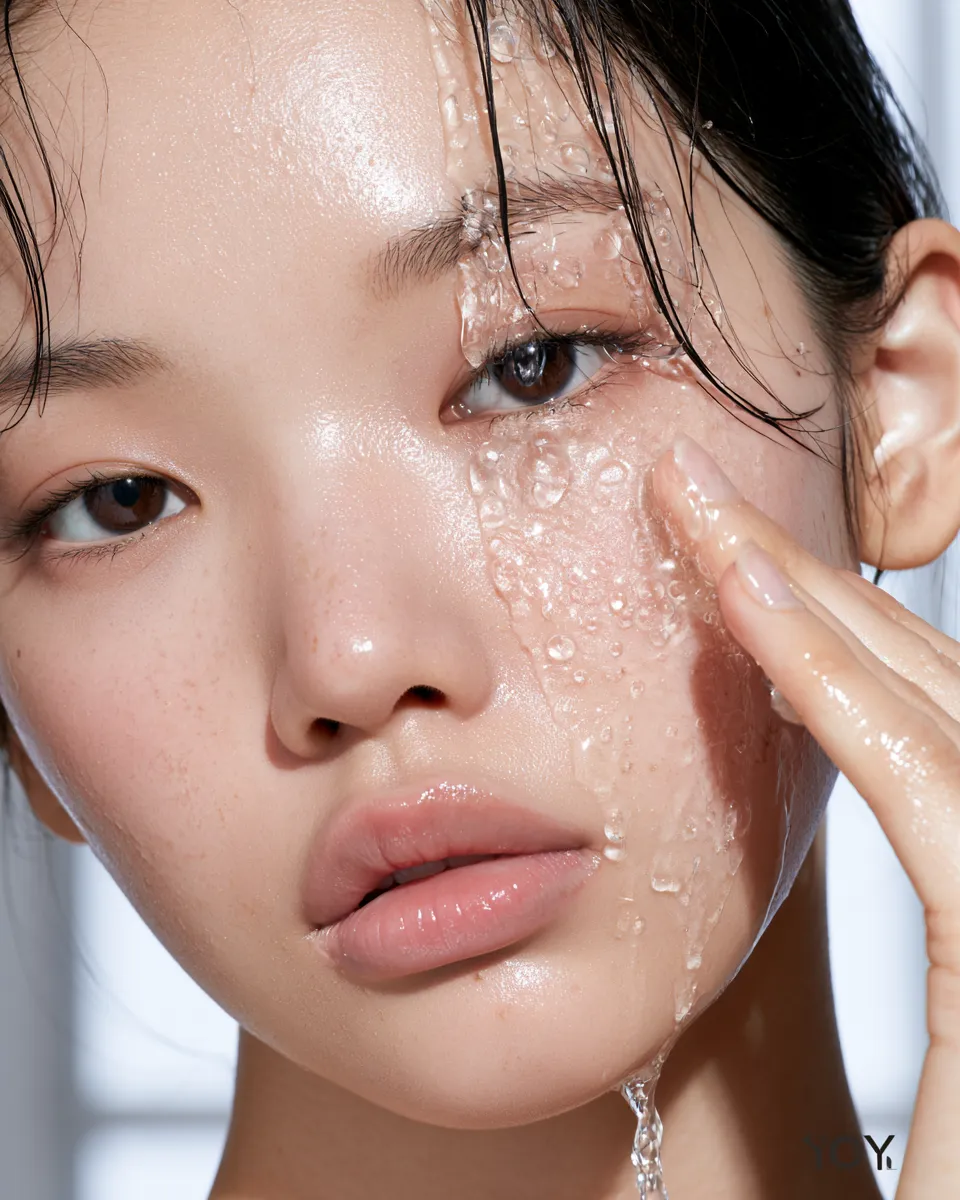
In the Korean skincare system, toner is not a pH-correcting astringent. It is the first layer of hydration — a lightweight water-based solution that preps skin to absorb everything that follows. Look for toners containing hyaluronic acid, beta-glucan, or aloe vera. Apply by gently patting into skin (not wiping), which increases absorption by pressing hydration deeper into the surface layers.
Some glass skin devotees do “7-skin method” — applying the toner in up to seven thin layers, one by one, each patted in before the next. This technique saturates the skin with water-binding molecules and creates a visibly plumped, cushioned base. Even two or three layers produce a noticeable difference over a single application.
Notably, many people are now replacing traditional chemical toners with hydrating face mists for this first layer of moisture — an approach that delivers the same hydration reset with even lighter textures. For a full breakdown of this shift, see our article on why hydrating face mists replaced toners in modern skincare routines.
Step 4: Essence
The essence sits between toner and serum in viscosity and function. It is more concentrated than a toner but lighter than a serum, and its job is cellular communication — ingredients like fermented extracts (galactomyces, bifida ferment lysate) signal skin cells to behave more like younger, healthier versions of themselves. Regular essence use improves skin clarity, evenness, and the lit-from-within glow that defines glass skin over weeks of consistent use.
Galactomyces ferment filtrate in particular has decades of clinical research behind it — it visibly reduces pore appearance, improves sebum regulation, and increases luminosity. It is one of the most important ingredients in a glass skin routine.
Step 5: Serum — The Active Layer
This is where targeted treatment happens. For glass skin, the two most impactful serums are:
- Hyaluronic acid serum: Draws water from the air and deeper skin layers into the surface, creating instant visible plumpness. Apply to damp skin for maximum effect — on dry skin, hyaluronic acid can draw moisture out of the skin instead of into it.
- Niacinamide serum: Regulates sebum, minimizes pore appearance, brightens uneven tone, and strengthens the barrier — making it one of the most versatile actives for glass skin across all skin types.
For skin prone to dullness or uneven tone, adding a stabilized Vitamin C serum (applied in the morning routine) accelerates brightening. Be aware that Vitamin C serums oxidize rapidly when exposed to light and air — an oxidized serum not only stops working but can cause discoloration. For everything you need to know about keeping your Vitamin C serum effective, see our guide on Vitamin C serum oxidation and how to prevent it.
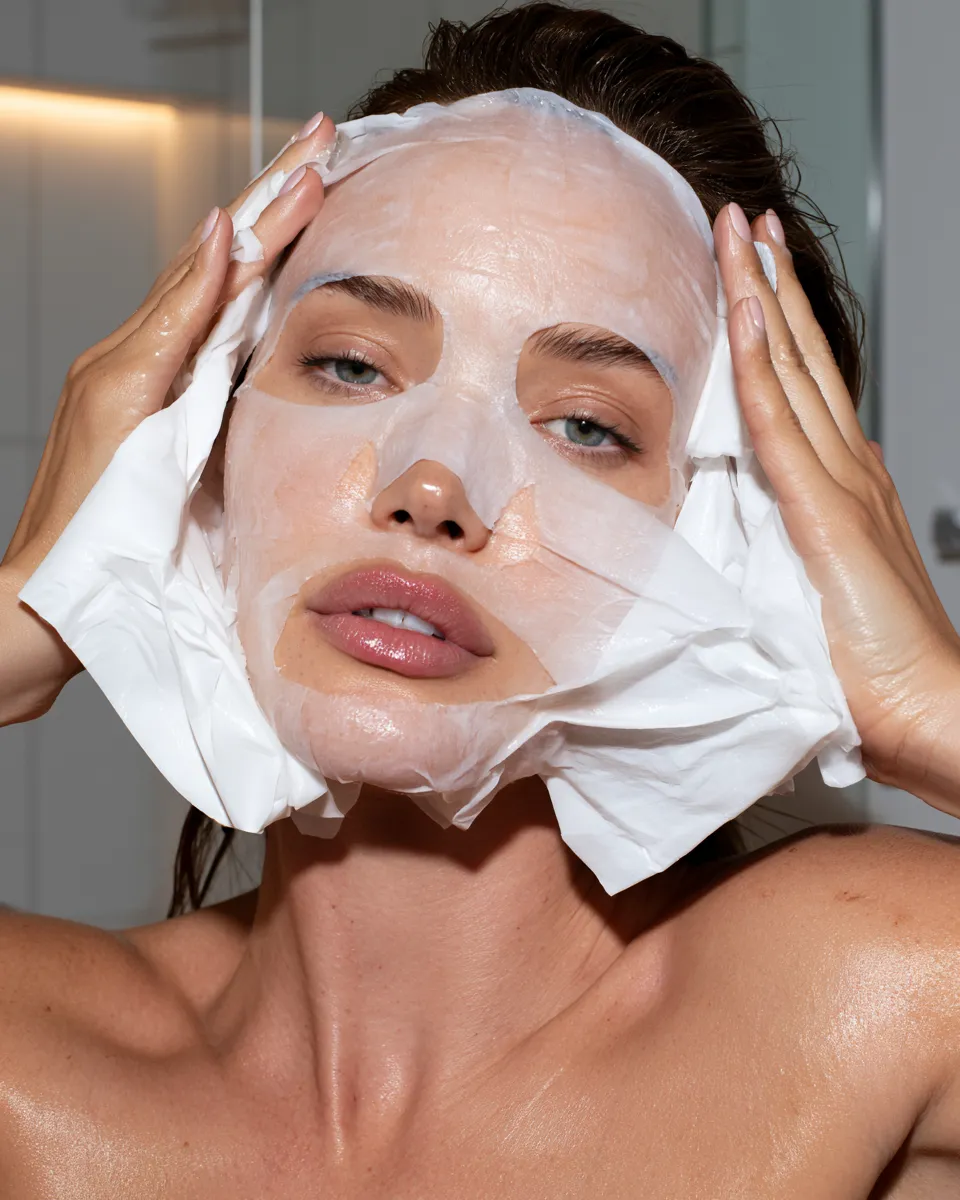
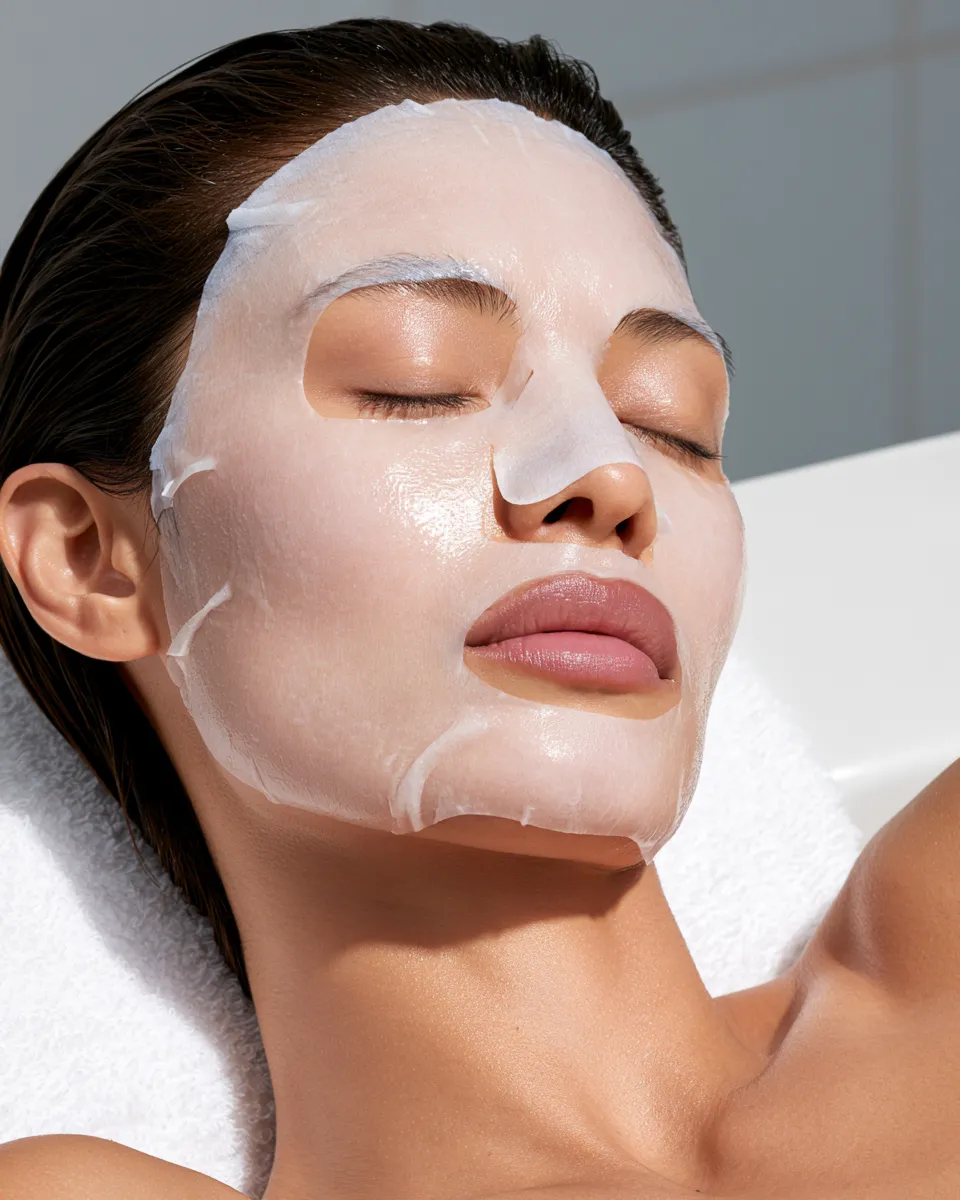
Step 6: Sheet Mask (1–3 Times Per Week)
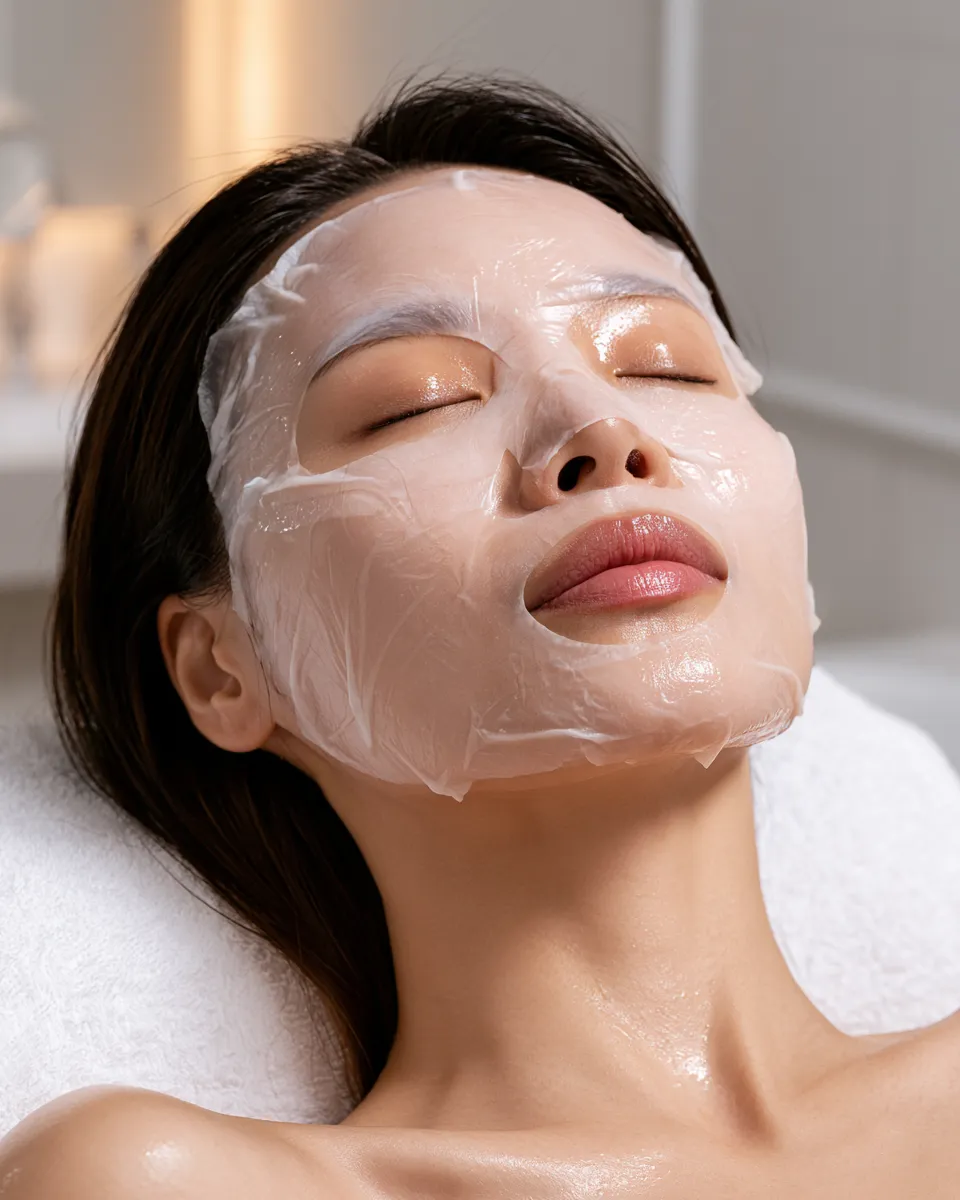
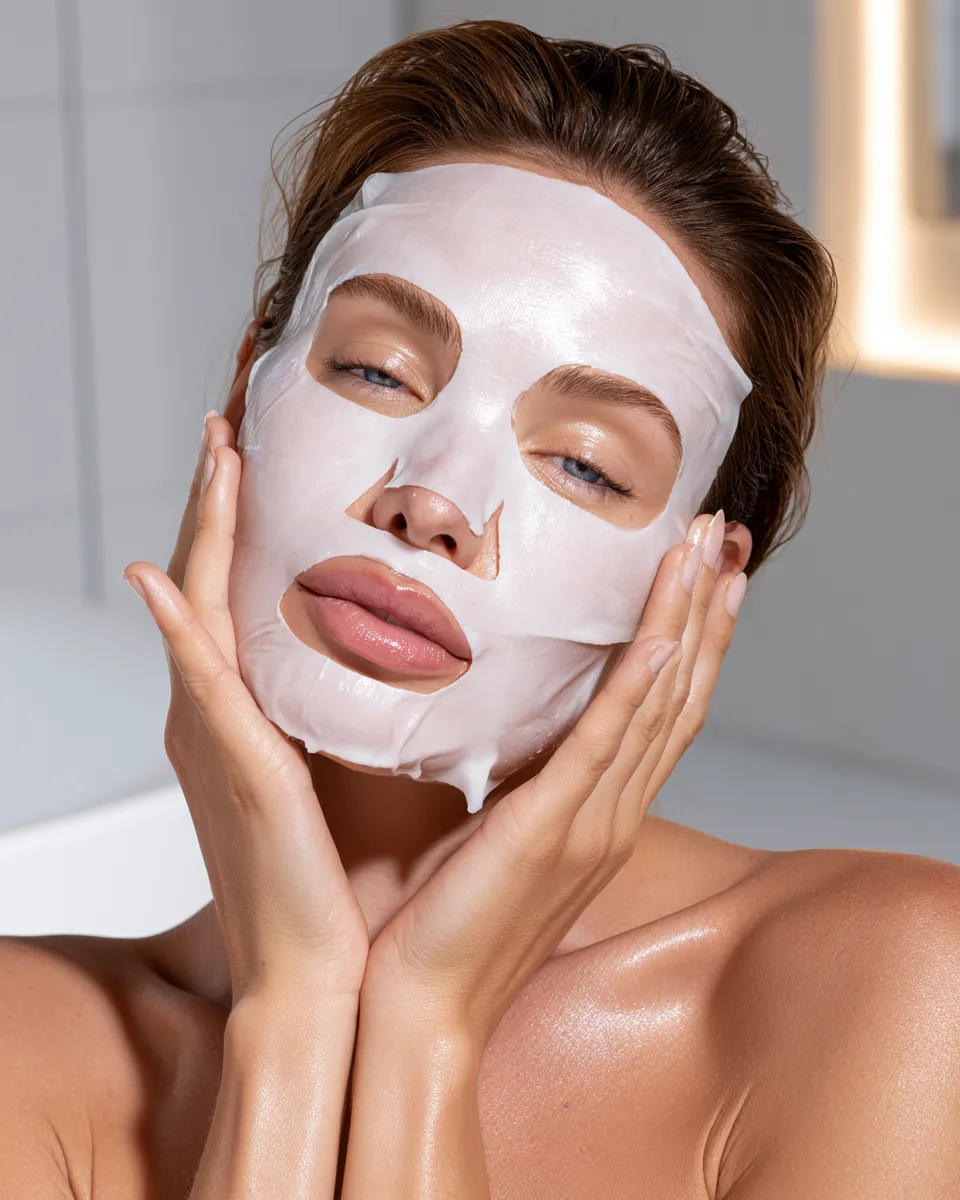
Sheet masking is the glass skin routine’s most visible single-session booster. A well-formulated sheet mask delivers a concentrated dose of hydrating actives in an occluded environment — the mask prevents evaporation, forcing moisture deeper into the skin. The result after one 20-minute mask session is an immediate, visible plumpness and glow that can last 24–48 hours.
For glass skin, prioritize masks containing hyaluronic acid, centella asiatica (cica), beta-glucan, or ceramides. Do not rinse after removing — pat in the remaining essence gently. This is a core glass skin technique: waste nothing.
Step 7: Moisturizer — Locking In Layers
The moisturizer seals the hydration layers beneath it and adds its own occlusive or emollient action. For glass skin, texture matching to skin type matters: oily skin does best with gel-cream or water-cream formulas; dry skin benefits from richer emollients with ceramides and fatty acids; combination skin can layer a lighter formula overall and use a richer one on drier zones.
Ceramide-containing moisturizers earn a special place in a glass skin routine because they replenish the lipid matrix of the skin barrier. A strong barrier is what allows hydration to stay in the skin — without it, every layer you applied underneath simply evaporates. This is the interconnected logic of glass skin: each step enables the next.
Step 8: Facial Oil (Optional but Powerful)
A facial oil applied over moisturizer is one of the fastest ways to achieve the reflective, luminous finish that defines glass skin. Oils add a softness and glow to the skin surface that no water-based product can replicate — they fill in micro-texture and scatter light more evenly. Squalane, rosehip, and marula oils are particularly popular for glass skin because they are lightweight, absorb quickly, and do not clog pores.
The technique matters as much as the product: warm two to three drops between palms and press — do not drag — across the face. This preserves the smooth surface you have built up through the previous steps. For a deeper look at how oil layering compares to serum-only approaches, our feature on facial oil layering for deep hydration covers the method in full detail.
Step 9: SPF (Morning Routine Only)
SPF is not optional in a glass skin routine — it is the single step that protects every other step. UV exposure causes collagen breakdown, uneven pigmentation, and rough texture: the three things a glass skin routine works hardest to address. Using actives to brighten and smooth your skin while skipping SPF is a losing equation.
For glass skin, choose a chemical or hybrid SPF with a non-greasy, skin-flush finish. Korean and Japanese SPF formulations are widely regarded as the most cosmetically elegant for this purpose — thin, invisible, and non-pilling over skincare layers. SPF 50 PA++++ is the standard.
Glass Skin Routine at a Glance
| Step | Product Type | Key Ingredients | Frequency |
|---|---|---|---|
| 1 | Oil cleanser | Mineral oil, jojoba, micellar oil | Daily (PM) |
| 2 | Water cleanser | Amino acids, gentle surfactants | Daily |
| 3 | Exfoliant | Lactic acid, PHA, glycolic acid | 2–3× per week |
| 4 | Toner / mist | Hyaluronic acid, aloe, beta-glucan | Daily |
| 5 | Essence | Galactomyces, bifida ferment | Daily |
| 6 | Serum | Hyaluronic acid, niacinamide, Vitamin C | Daily |
| 7 | Sheet mask | Ceramides, centella, HA | 1–3× per week |
| 8 | Moisturizer | Ceramides, fatty acids, peptides | Daily |
| 9 | Facial oil | Squalane, rosehip, marula | Daily or as needed |
| 10 | SPF 50 PA++++ | Chemical or hybrid filter | Daily (AM only) |
Common Mistakes That Prevent Glass Skin
- Applying hyaluronic acid to dry skin. Without water present on the surface, HA pulls moisture upward from deeper layers, which can temporarily worsen dryness. Always apply to damp skin.
- Over-exfoliating. More exfoliation does not produce better glass skin. A damaged barrier looks dull, inflamed, and rough — the exact opposite of the goal. Two to three times per week is the ceiling.
- Skipping SPF. UV-induced pigmentation and collagen loss undo months of glass skin work within weeks of unprotected sun exposure.
- Using too many actives at once. Layering multiple strong actives (retinol + AHA + Vitamin C in the same routine) triggers inflammation that disrupts skin texture and tone.
- Rushing the routine. Each layer needs 30–60 seconds to be gently patted in before the next is applied. Stacking products too quickly leads to pilling and poor absorption.
- Neglecting the neck and chest. Glass skin on the face with visibly different skin on the neck is a consistency failure. Extend your routine downward.
How Long Does It Take to Get Glass Skin?
This is the most honest answer skincare can give: it depends on your starting point. If your skin is already relatively clear and hydrated, consistent glass skin layering can produce visible results within two to four weeks. If you are rebuilding a compromised barrier or working through significant texture and pigmentation, a realistic timeline is eight to twelve weeks of consistent routine before the foundational changes show at the surface.
The single most reliable predictor of glass skin success is consistency. The routine does not need to be ten steps every single day — a simplified daily version with full steps two or three times a week will outperform a perfect routine done sporadically.




Adjusting the Glass Skin Routine by Skin Type
Dry Skin
Prioritize the 7-skin toner method, choose a richer moisturizer with ceramides and shea butter, and always finish with a facial oil. Add a hydrating sleeping mask two nights per week as the final occlusive layer — this is one of the most effective glass skin techniques for chronically dry skin.
Oily Skin
Focus hydration on water-based layers (toner, essence, lightweight gel serum) rather than oils and heavy creams. Niacinamide is particularly valuable for regulating sebum. Use a mattifying or skin-flush SPF to avoid exacerbating oiliness. Contrary to intuition, well-hydrated oily skin produces less excess sebum — dehydration triggers overproduction.
Sensitive Skin
Build the routine slowly. Start with double cleanse, toner, and moisturizer only — let skin stabilize for two weeks before adding actives. Choose PHAs over AHAs for gentler exfoliation. Center your active ingredients on centella asiatica, beta-glucan, and ceramides before introducing niacinamide or Vitamin C. The probiotic skincare category is also worth exploring for sensitive skin — new bacteria strain research in 2026 shows significant results for calming reactive skin while improving microbiome diversity. See our overview of probiotic skincare bacteria strains and the microbiome for current evidence.
Glass Skin Makeup: How to Make It Last All Day
Glass skin as a makeup finish layers on top of the skincare routine rather than replacing it. After SPF, a single drop of liquid highlighter mixed into a tinted moisturizer or light-coverage foundation creates the glass skin makeup effect without heavy product. Avoid powder over the top — powder mattifies and kills the finish entirely.
For longevity, the glass skin makeup look sets best over a properly hydrated, well-primed base — which means the skincare routine beneath it is doing most of the work. A setting mist applied as a final step helps merge layers and extends wear without disrupting the finish. This is precisely why the glass skin routine is not just a skincare goal — it is the foundation of a more effective makeup approach.
Key Takeaways
- Glass skin is a skin condition built on smooth texture and deep hydration — not a product or filter.
- The routine requires two pillars: surface refinement (exfoliation) and layered hydration (toner, essence, serum, moisture).
- A healthy skin barrier is the prerequisite — repair it before chasing glass skin.
- Hyaluronic acid applied to damp skin, galactomyces essence, niacinamide serum, and ceramide moisturizer are the four highest-impact ingredients.
- SPF daily is non-negotiable — UV damage reverses every glass skin gain.
- Consistency over eight to twelve weeks produces foundational results; two to four weeks produces visible early improvement on already-healthy skin.