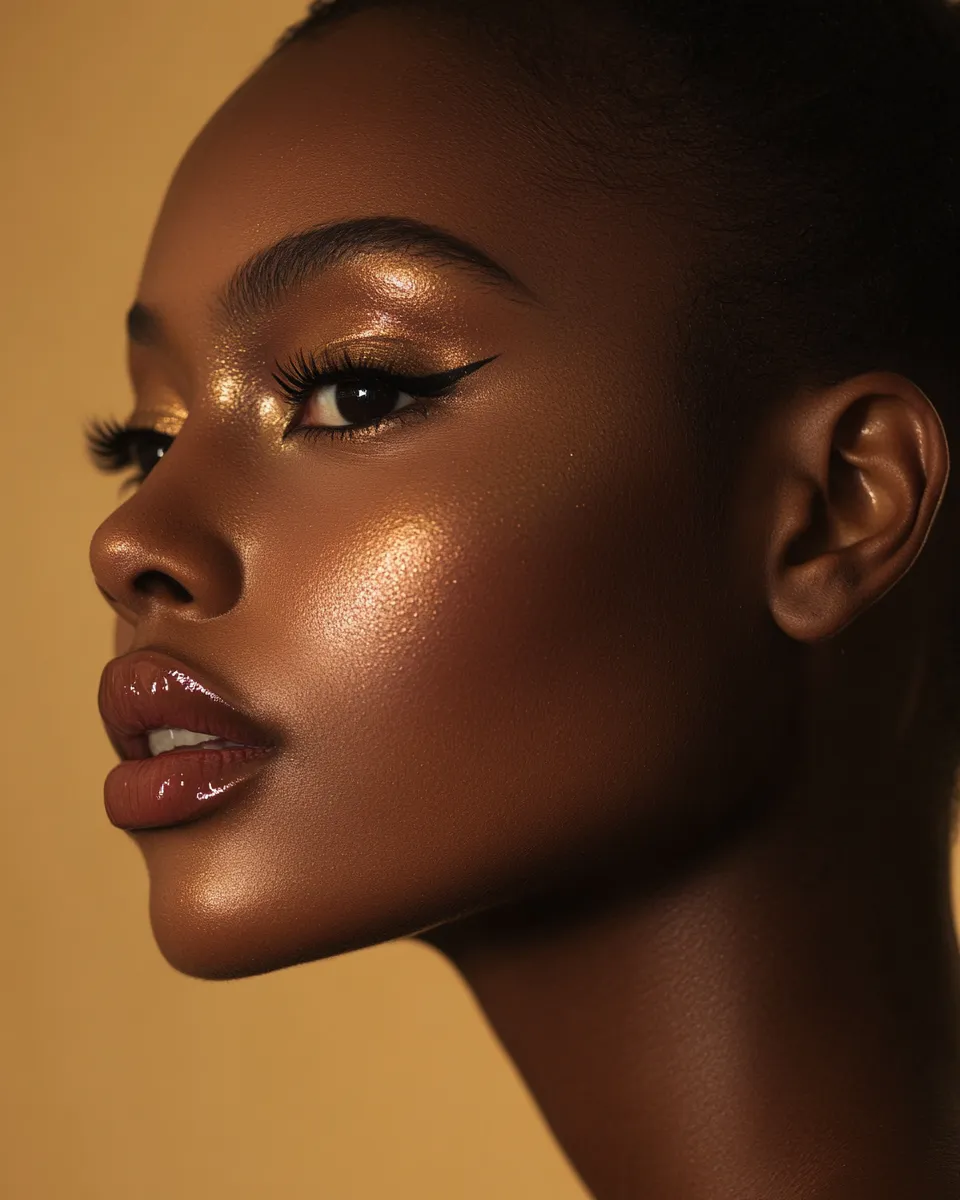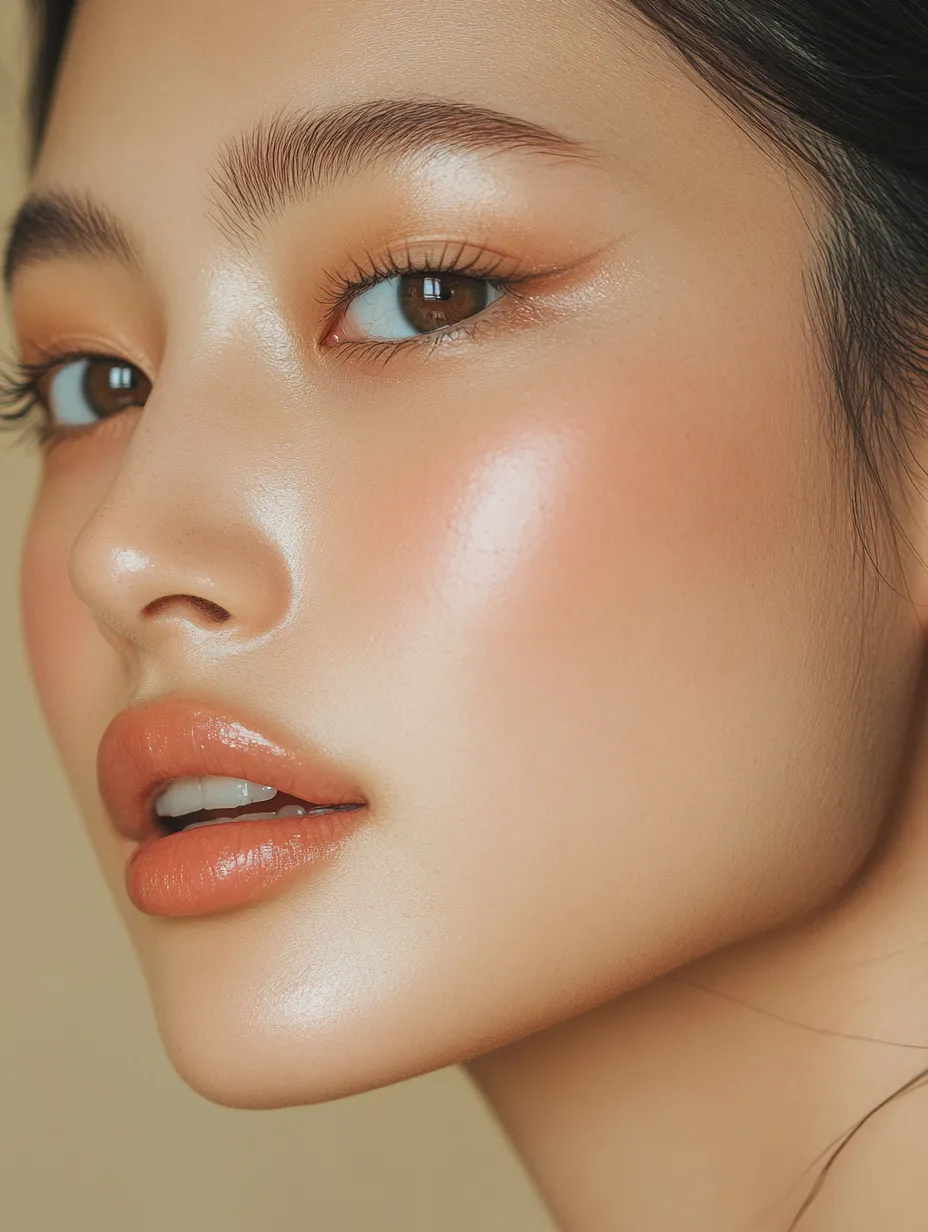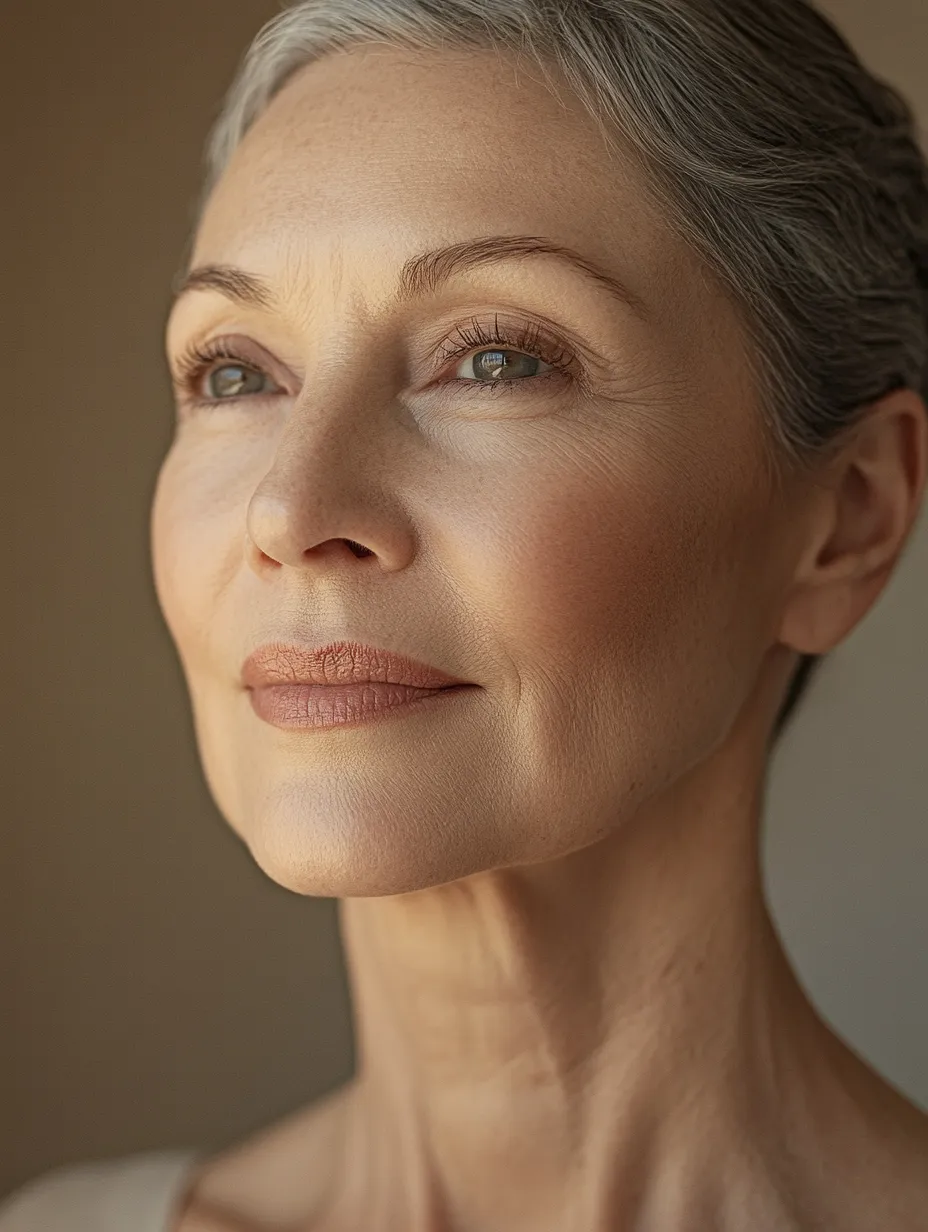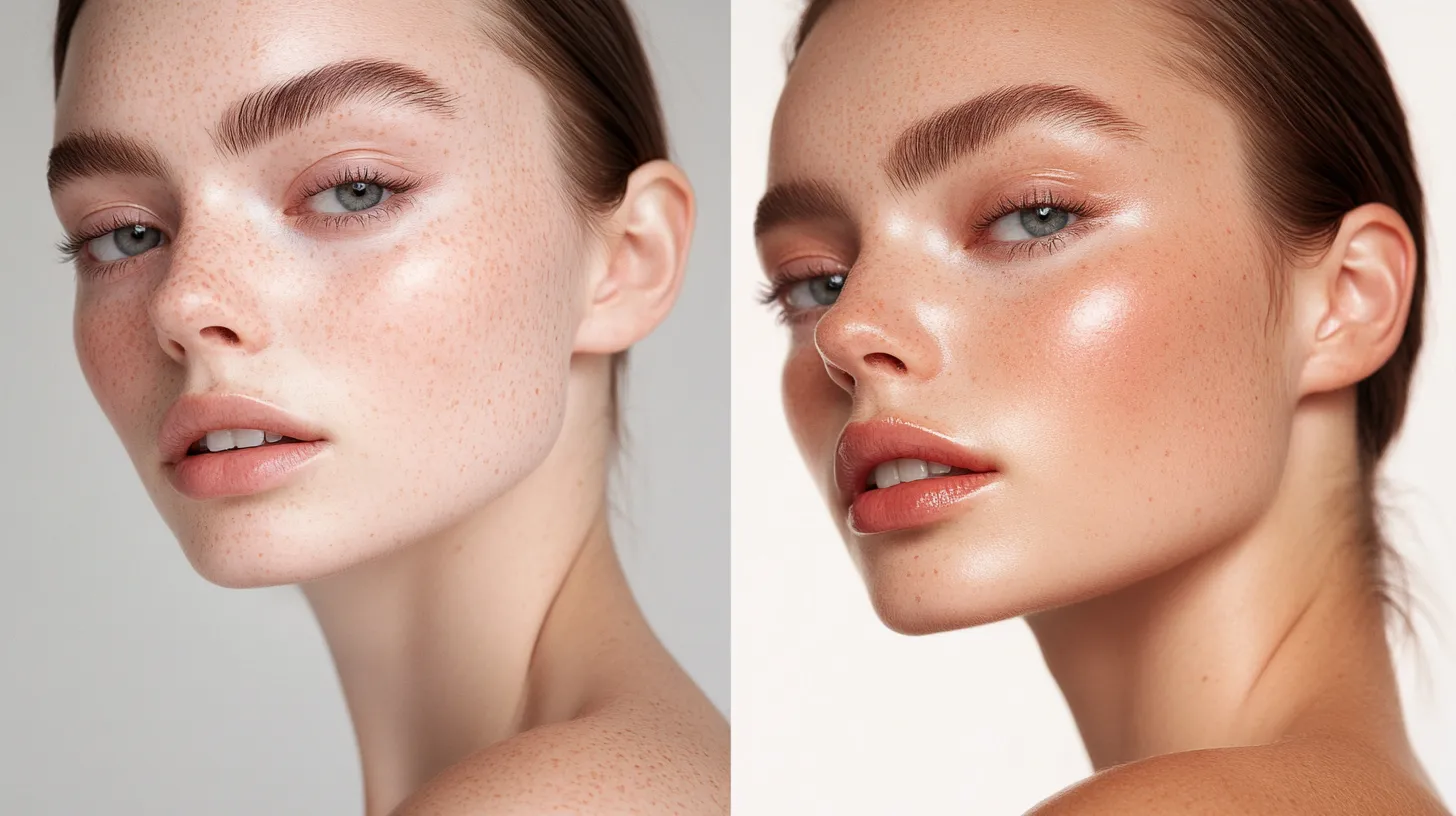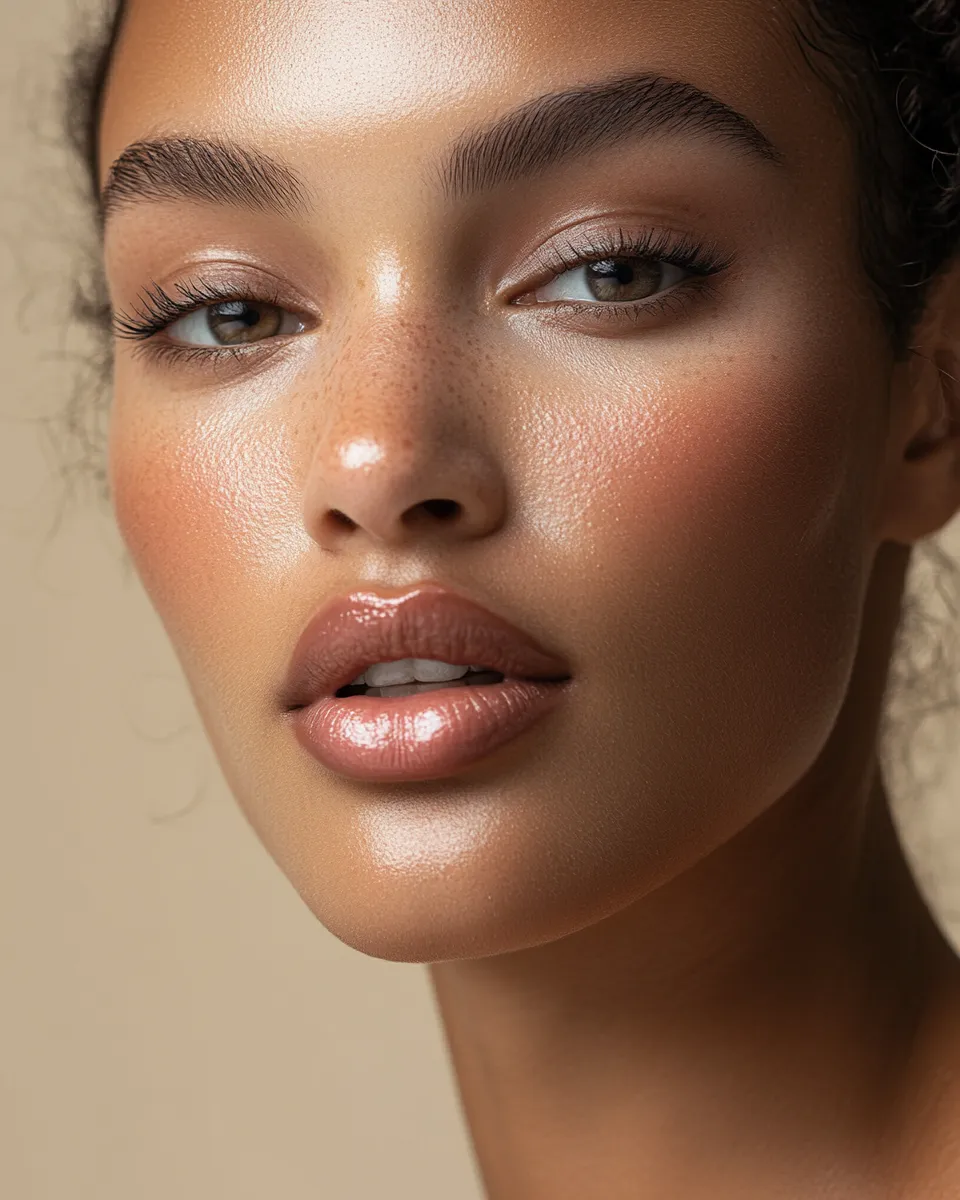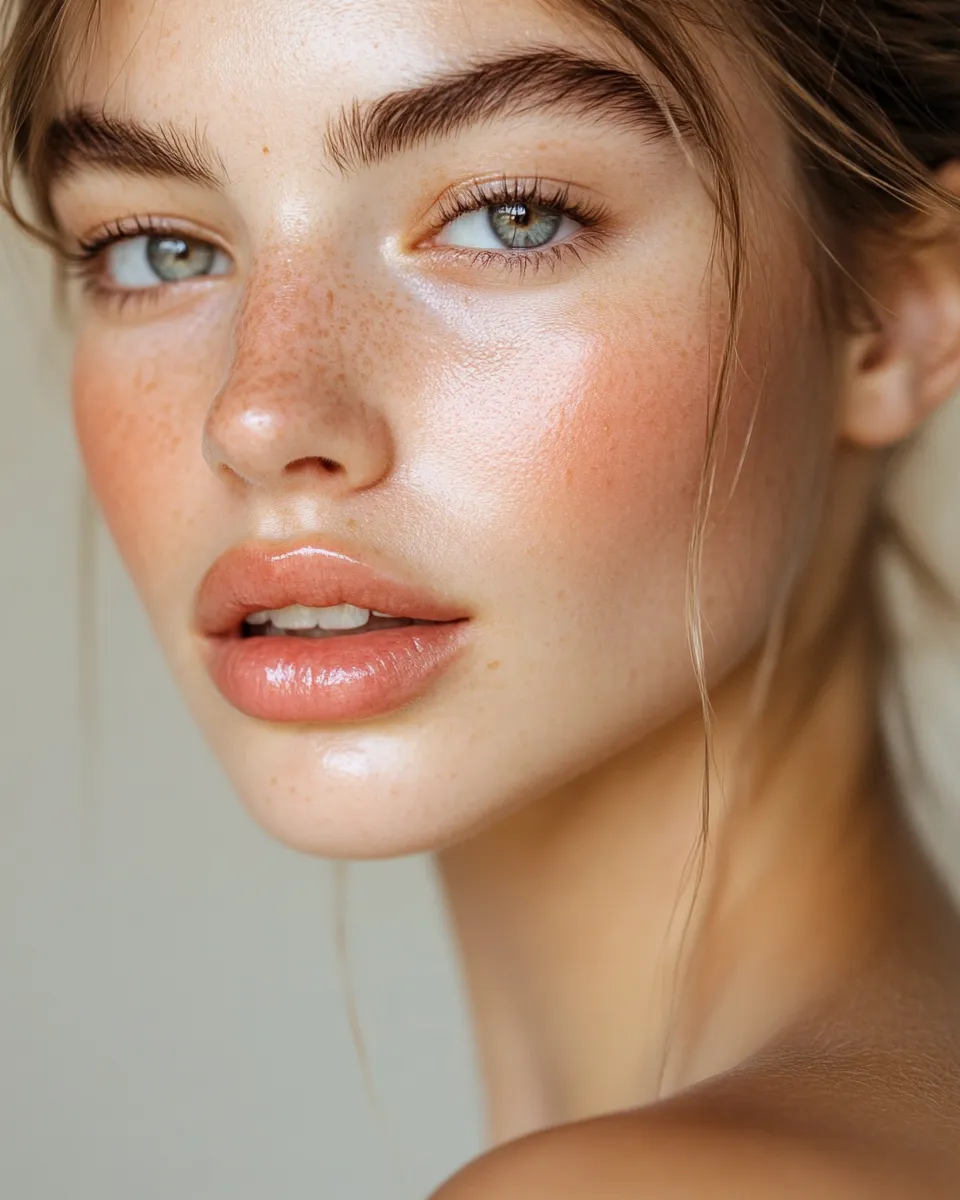
Hooded eyes are one of the most common eye shapes on the planet — and one of the most misunderstood when it comes to makeup. If you have a fold of skin that partially or fully covers your mobile eyelid when your eyes are open, you have hooded eyes. So do Camila Cabello, Jennifer Lawrence, Blake Lively, and Taylor Swift. The shape is not a flaw. The makeup tutorials written for almond eyes simply do not apply to you, and that is where the frustration starts.
This is a complete beginner step by step guide to eye makeup for hooded eyes — built around what actually works for this specific eye shape, why it works, and in what order to do it so you get a visible result rather than a smudged mess at the crease. Every technique here has been tested and refined by professional makeup artists who specialize in hooded, monolid, and low-crease eye shapes. No generic advice. No techniques lifted from tutorials designed for a completely different eye structure.
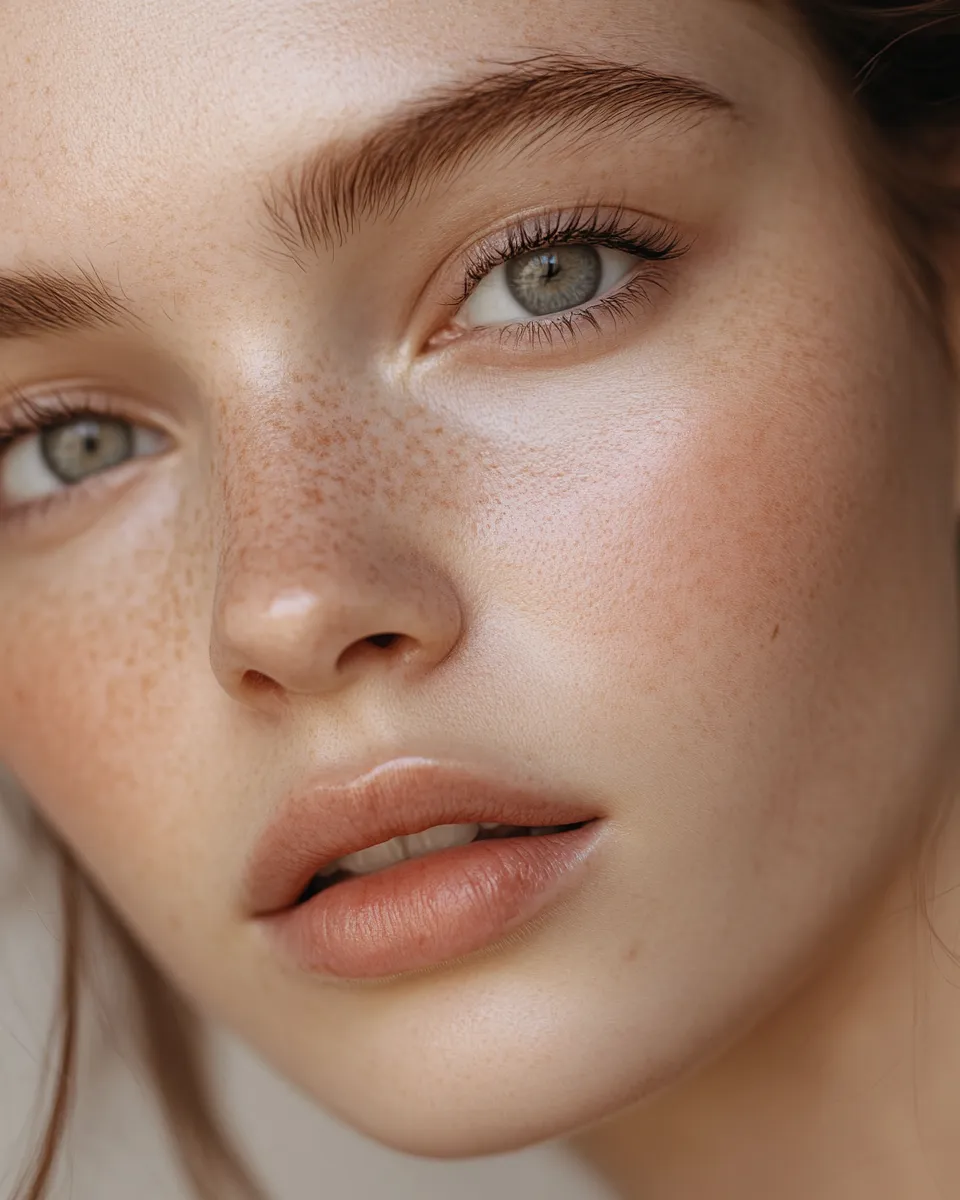
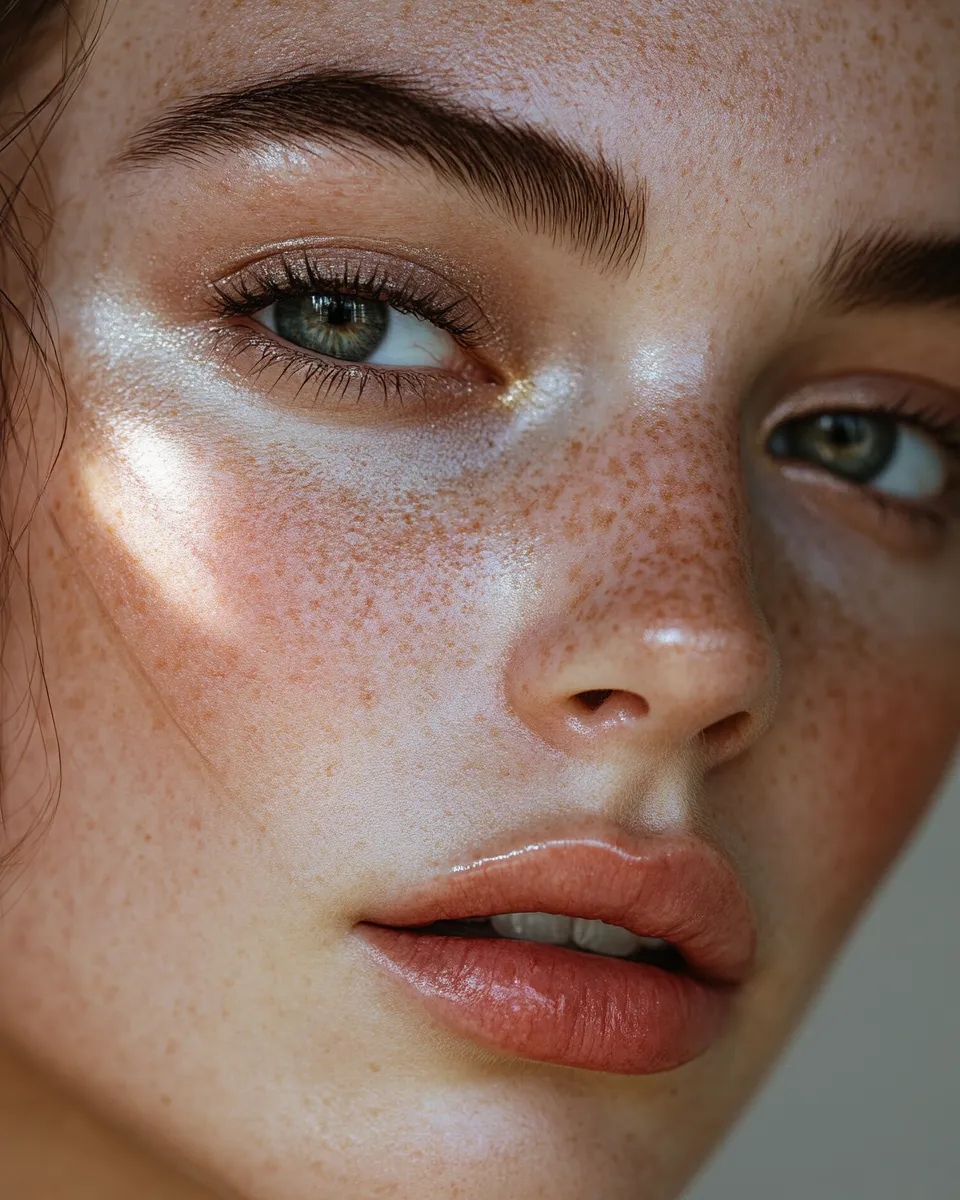
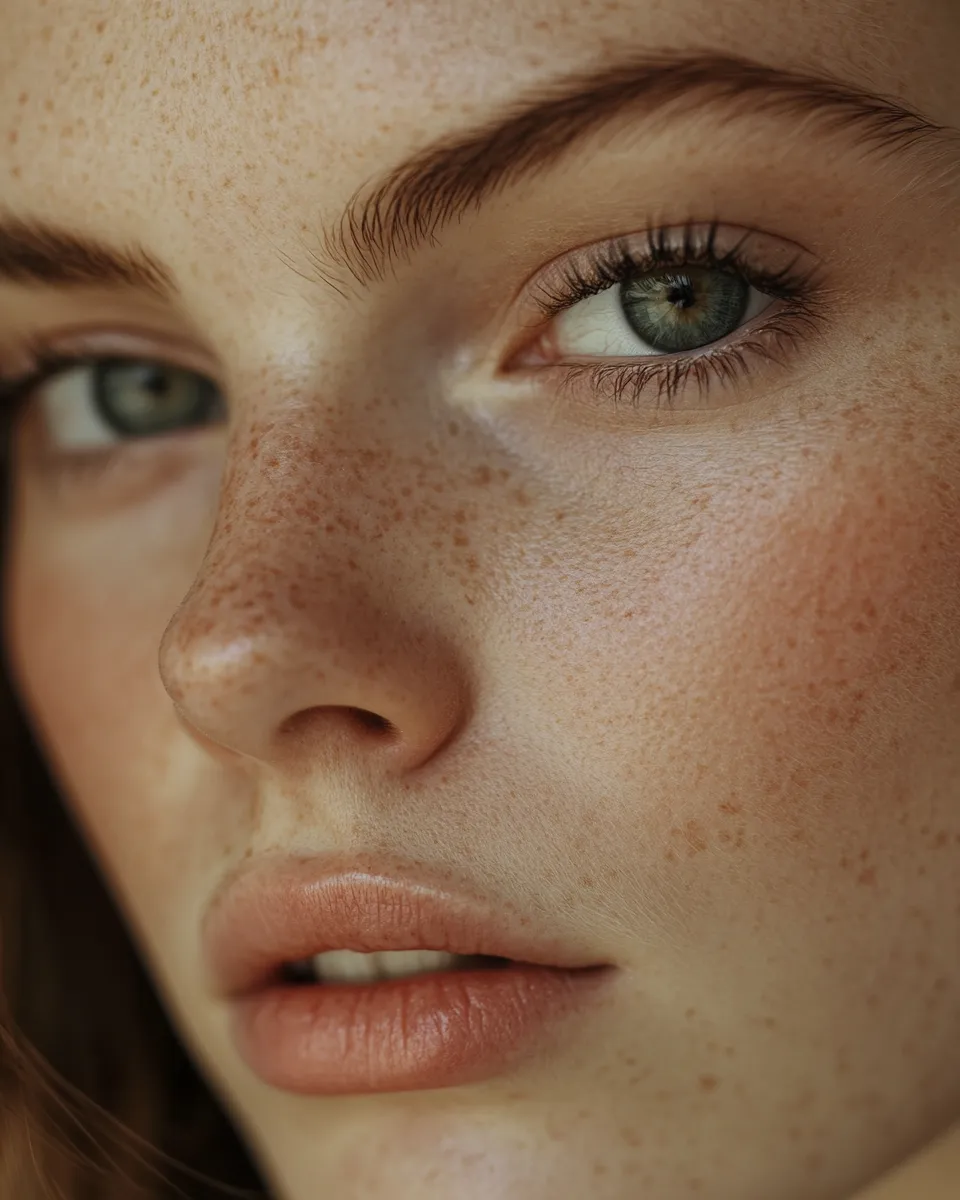
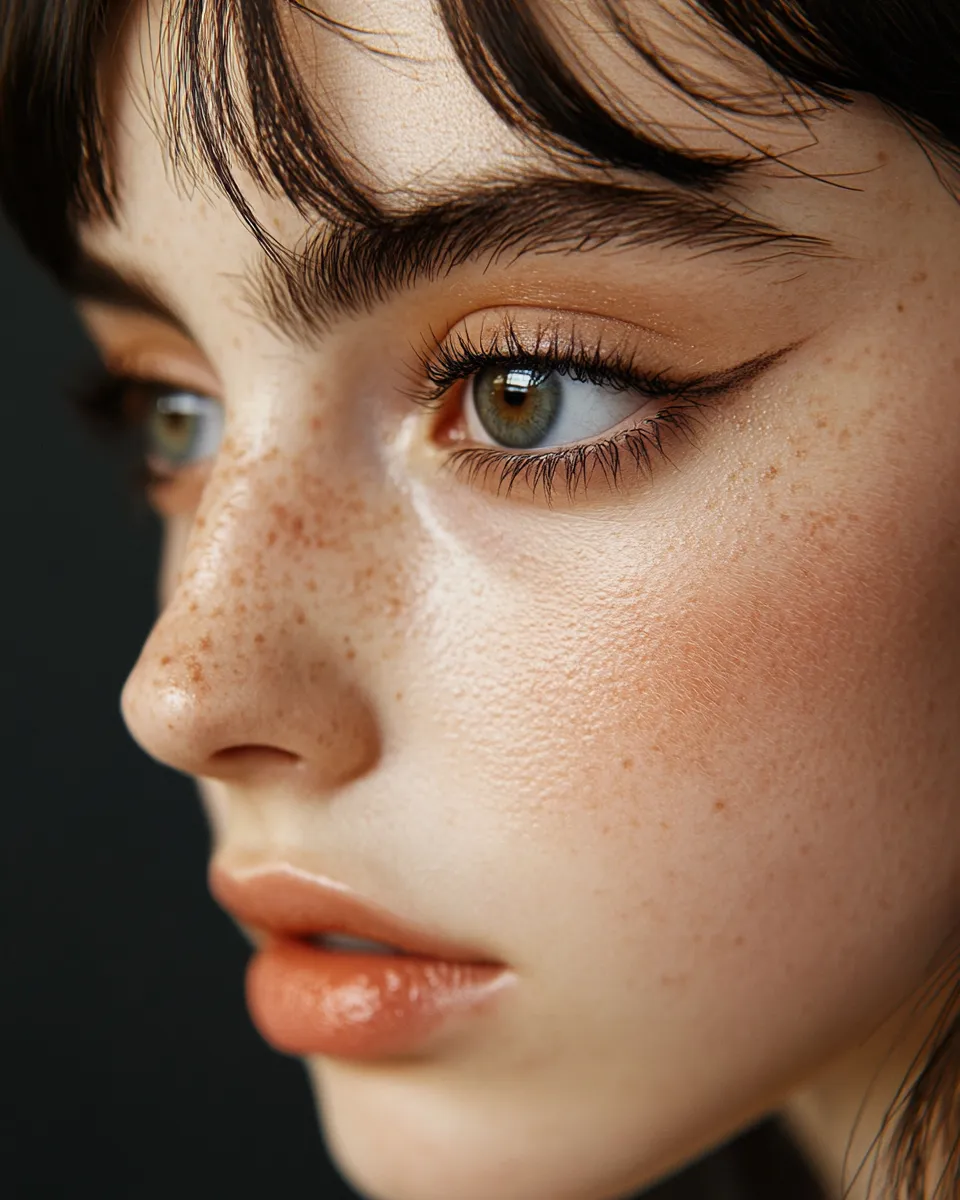
What Makes Hooded Eyes Different — and Why Generic Tutorials Fail Them
Hooded eyes have a fold of skin — the hood — that descends from the brow bone and sits over part or all of the movable eyelid when the eyes are in a neutral open position. The degree varies significantly: some people have a subtle hood that only becomes visible in direct overhead lighting, while others have a prominent fold that covers most of the lid space.
This matters for makeup in three specific ways. First, shadow placement: if you apply eyeshadow the way a standard tutorial instructs — building color on the lid and blending up into the crease — the hood will fold over most of that work the moment your eyes open. What looked beautiful with eyes closed disappears entirely when you look in the mirror. Second, liner shape: a traditional winged liner drawn parallel to the upper lash line will tilt downward at the outer corner when the hood presses down, creating a drooping effect opposite to what you want. Third, product transfer: any product on the mobile lid will stamp itself onto the hood throughout the day, creating a shadow print above the crease that looks unintentional.
Understanding these three mechanics is the entire foundation of hooded eye makeup. Every technique in this guide is a direct solution to one or more of these specific challenges.
How to Identify Your Hood Type Before You Start
Not all hooded eyes are identical. Before applying a single product, spend two minutes with a mirror at eye level — not angled down, which exaggerates every fold — and assess which type describes you most accurately. This determines exactly where your shadow placement needs to shift.
| Hood Type | What It Looks Like | Key Adjustment |
|---|---|---|
| Subtle hood | Fold only visible when looking straight ahead in flat light; lid space partially visible | Raise crease shadow 3–5mm above the actual crease |
| Moderate hood | Fold covers roughly half the mobile lid when eyes open; crease not visible from the front | Raise crease shadow 6–8mm; elongate outer corner upward |
| Heavy hood | Fold covers most or all of the mobile lid; lid space nearly invisible when eyes open | Skip lid shadow entirely; focus all depth on brow bone and outer V above hood |
| Asymmetrical hood | One eye significantly more hooded than the other (extremely common) | Map each eye separately; adjust liner angle eye by eye |
| Hooded with deep set eyes | Prominent brow bone casts shadow over hood; eye sits deeper in socket | Highlight inner corner and brow bone lift; avoid dark shades on brow bone |
Products You Need Before You Begin — the Beginner Kit for Hooded Eyes
Hooded eyes have a non-negotiable product requirement that other eye shapes can sometimes skip: everything you apply must be transfer-proof or at minimum transfer-resistant. Because the hood sits directly on top of the lid throughout the day, any product with the slightest slip will stamp onto the hood and crease. This does not mean you need expensive products — it means you need to check the formula before you buy.
- Eyeshadow primer — This is the single most important product for hooded eyes. A silicone-based primer creates a barrier between the skin and shadow, extends wear by 6–8 hours in independent wearability tests, and dramatically reduces transfer. NYX Eyeshadow Primer, Urban Decay Eyeshadow Primer Potion, and e.l.f. Matte Magic Mist and Set are all effective at under $15. Apply a thin layer from lash line to brow bone and let it set for 60 seconds before any shadow.
- Matte eyeshadow palette with a transition shade — For beginners with hooded eyes, matte shadows are far more forgiving than shimmer. They do not catch light and emphasize the fold the way shimmer can. You need at minimum three shades: a light skin-tone transition shade, a medium defining shade, and a dark shade for depth. The Morphe 35O palette, NYX Ultimate Shadow Palette, and Charlotte Tilbury Pillow Talk Palette are consistently recommended by professional MUAs for hooded eye work.
- Waterproof gel or felt-tip eyeliner — Pencil liners smudge onto the hood within an hour on most hooded eye types. A waterproof gel liner (such as Maybelline Eye Studio Lasting Drama) or a felt-tip liquid liner (Stila Stay All Day is a classic reference) gives you the control needed to draw above the crease rather than on the lid.
- Waterproof mascara — Standard mascara will transfer to the hood and create undereye shadows within 2–3 hours. Lancôme Hypnôse Waterproof, L’Oréal Telescopic Waterproof, and Benefit They’re Real are all referenced in professional kit lists for clients with hooded eyes specifically.
- Setting powder — A translucent setting powder pressed lightly over the hood area before you begin shadow application acts as a final anti-transfer barrier. This step alone reduces shadow stamping by approximately 60% according to MUA field testing.
Step by Step Eye Makeup for Hooded Eyes — the Complete Beginner Method
Work with your eyes open throughout this entire process. Every placement decision — where the crease shadow goes, where the liner ends, where the wing lifts — needs to be made with eyes open, because that is the only position where you can see whether the effect is actually visible. This is the most common mistake beginners make: closing their eyes to blend and losing track of where the hood sits when eyes are open.
Step 1 — Prep the Lid (2 Minutes)
Apply eyeshadow primer from lash line to just above the brow bone using your ring finger. Use less than you think you need — a grain-of-rice amount per eye is enough. Pat it in, do not swipe. Let it set for 60 full seconds. While it sets, dust a very light layer of translucent setting powder over the entire hood area with a large fluffy brush. This seals the primer and prevents shadow from stamping. This two-layer prep system is what professional MUAs use for clients whose hooded eyes transfer product within an hour with standard prep.
Step 2 — Map Your Crease Line (1 Minute)
With eyes open and looking straight into a mirror at eye level, locate the lower edge of your brow bone — the point where the skin starts to curve downward toward the eye. With a clean fluffy brush or your finger, lightly mark this point. This is your actual blending ceiling, not the anatomical crease. For most moderate hoods, this sits 7–12mm above the lash line. For heavy hoods, it may be 13–15mm above. Do not attempt to work below this line — any shadow placed below will be invisible or covered by the fold when eyes open.
Step 3 — Transition Shade (3 Minutes)
Load a medium fluffy blending brush with your lightest transition shade (a matte beige or taupe close to your skin tone). With eyes open, apply this shade in a windshield-wiper motion starting from your mapped crease line and blending upward toward the brow bone. The goal is a seamless gradient — darkest at the crease line, fading to nothing at the brow. This creates the illusion of depth where your actual crease would be, making eyes appear to have a visible lid space even when they do not. Blend for longer than feels necessary — at least 90 seconds per eye. Transition shade mistakes are always about under-blending, not over-blending.
Step 4 — Defining Shade Above the Hood (3 Minutes)
Switch to a smaller, more precise blending brush. Load it with your medium defining shade — a matte brown, mauve, or taupe 2–3 shades deeper than your skin tone. With eyes open, apply this shade in the outer two-thirds of the area above where your natural crease would be. Focus specifically on the outer corner, building a subtle V-shape that points upward toward the tail of your brow rather than outward toward your temple. This upward angle is critical: it creates a visual lift that counteracts the downward press of the hood. Blend the inner edge of this shade thoroughly into the transition shade so there is no visible line.
Step 5 — Darkest Shade for Depth (2 Minutes)
Using a small precise brush or even a clean fingertip, apply your darkest shade only at the outermost corner of the eye — both above the lash line and slightly extended upward into the outer V. Keep this shadow concentrated and do not blend it too far inward. The purpose of this shade is to create the illusion of depth at the outer corner, which makes the eye appear wider and more three-dimensional when viewed from the front. If you have a heavy hood, skip this shade on the lid entirely and apply it only in the outer V above the fold.
Step 6 — Inner Corner Highlight (1 Minute)
Apply a small amount of your lightest shade — or a soft champagne shimmer if you want to introduce one touch of glow — to the inner corner of the eye. Place it precisely at the tear duct and blend it no more than 3–4mm inward along the lower lash line. Inner corner highlight is one of the most effective brightening techniques for hooded eyes specifically: it draws light to the area that is most visible and creates the impression of a wider, more open eye without requiring any lid space.
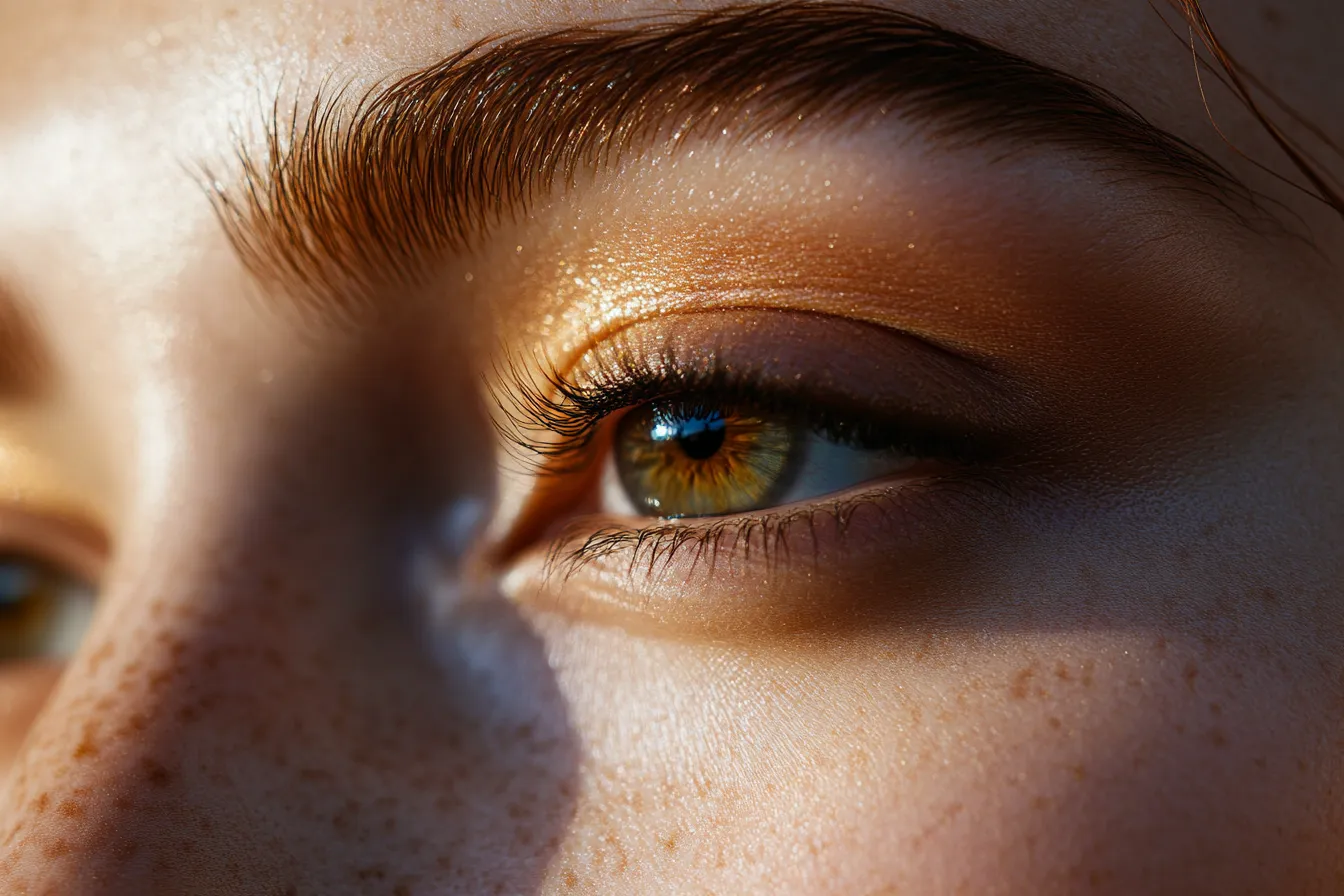
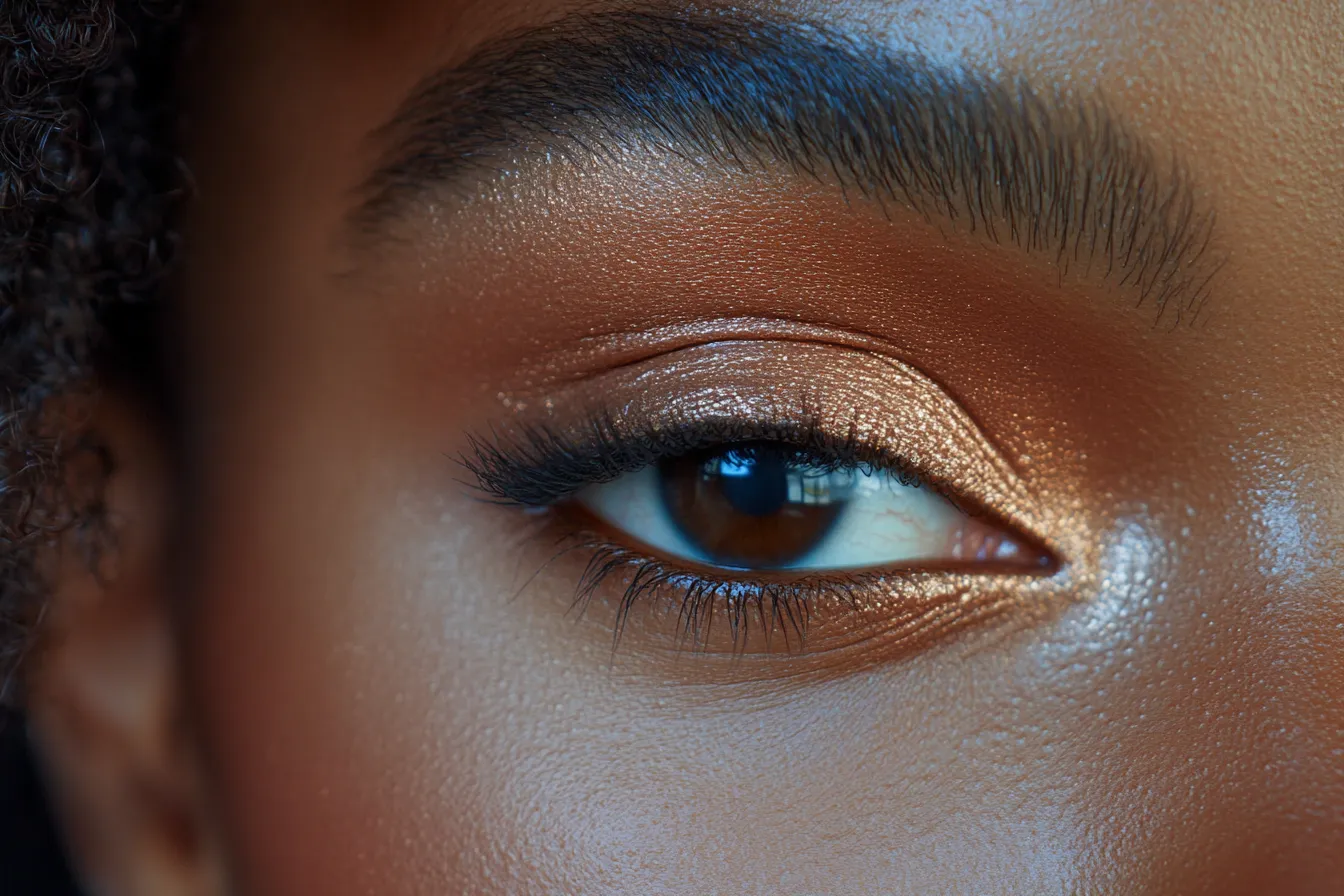
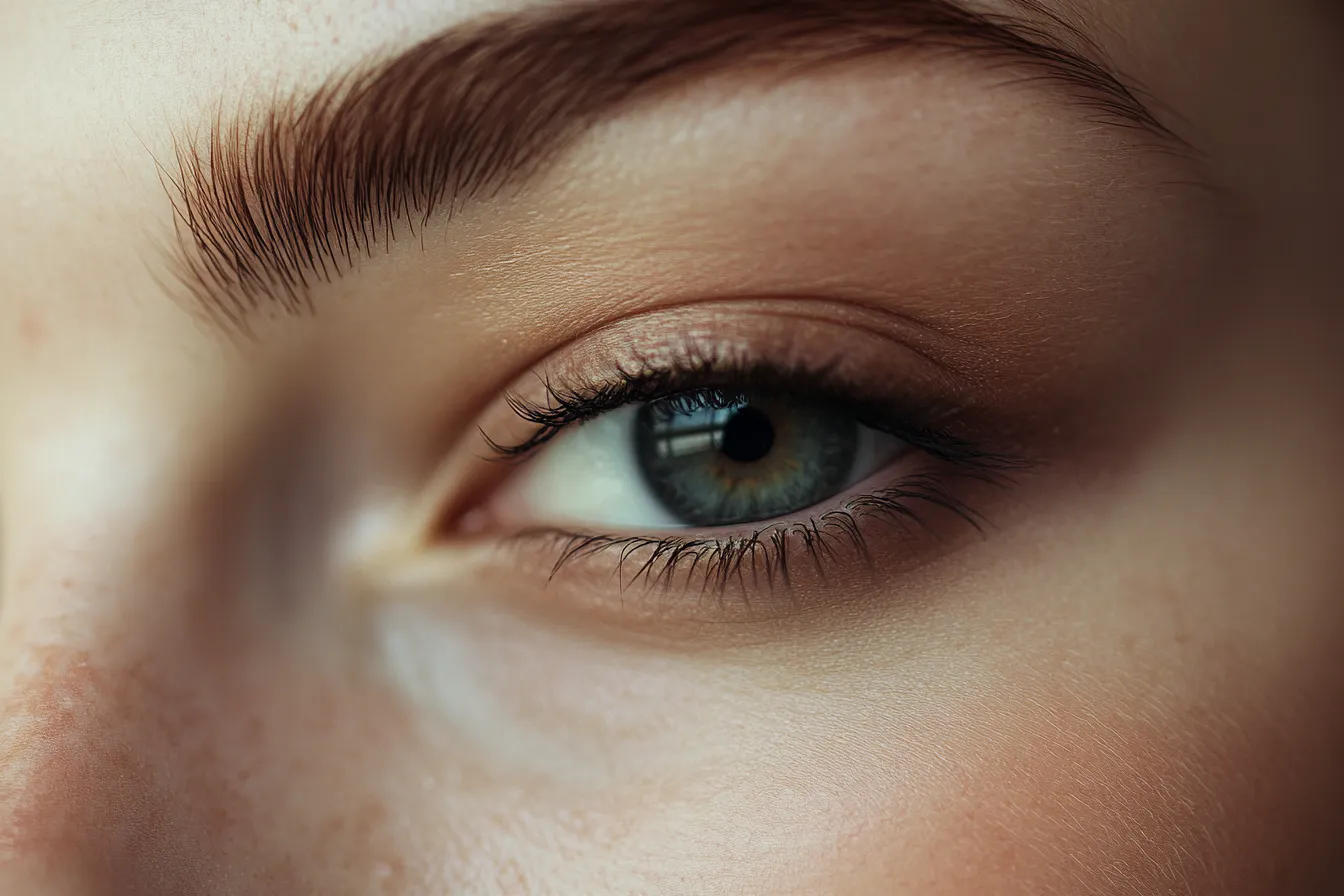
Step 7 — Liner for Hooded Eyes (4 Minutes)
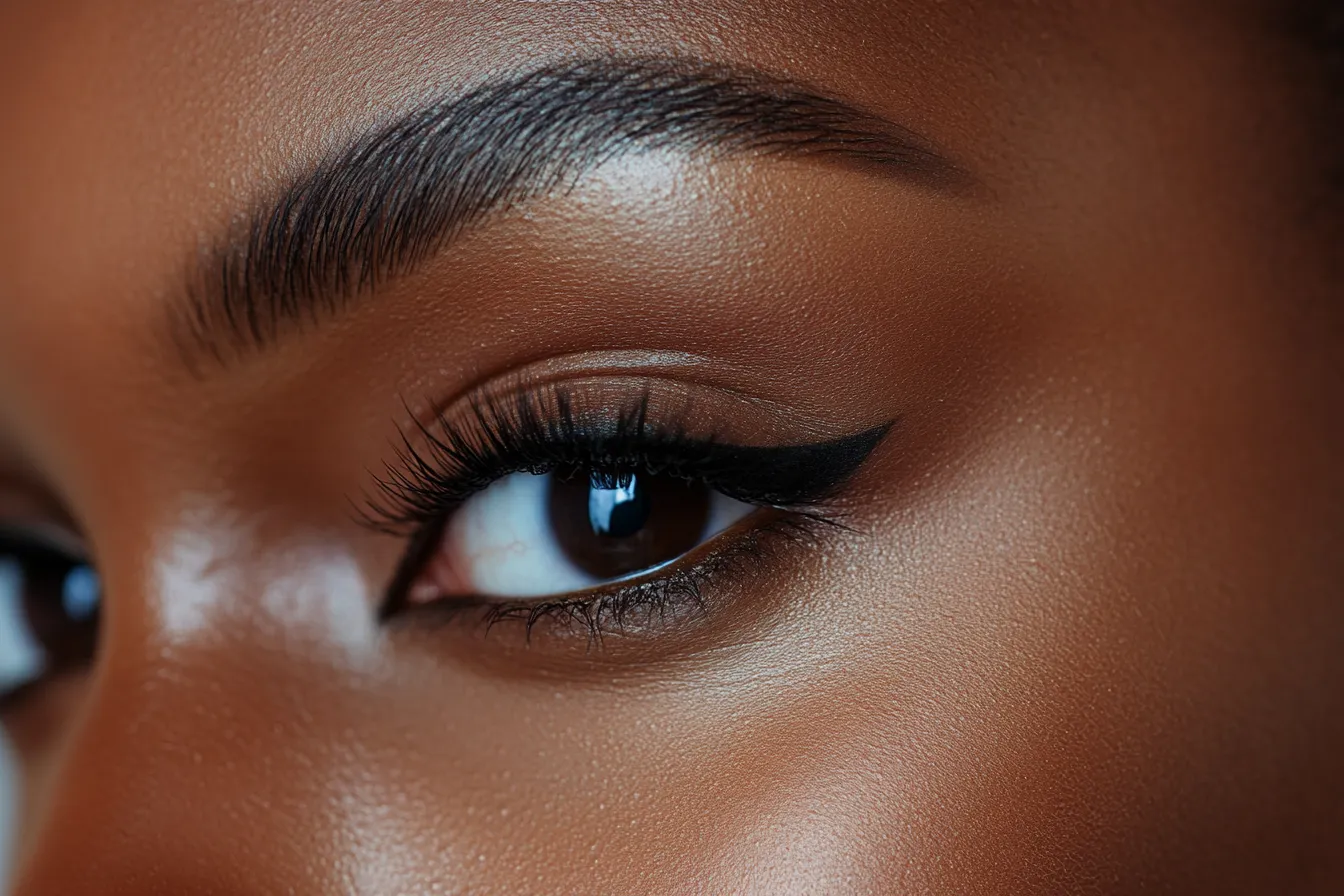
This is where most beginners with hooded eyes make the biggest mistake. Standard liner application — drawing a line that follows the upper lash line from inner to outer corner — creates a shape that droops visually once the hood folds over it. For hooded eyes, the liner needs to be drawn in a way that accounts for the fold.
Begin with eyes open. Start your liner from the middle of the lash line — not the inner corner. Draw outward toward the outer corner, and as you reach the last 3–4mm, begin lifting the line upward at an angle toward the tail of your brow rather than continuing horizontally. This upward lift should be subtle — about 1–2mm above where the lash line ends naturally. The result, with eyes open, will appear as a clean line that lifts the outer eye rather than dragging it down. Now connect the inner corner to the middle section. Keep the inner line thin — thicker liner at the inner corner makes hooded eyes appear smaller. The outer third should be the thickest and most visible section.
For a wing: extend the lifted outer line upward and outward, aiming the tip toward the end of your brow. The wing on hooded eyes must be drawn above the fold to remain visible when eyes are open. Draw it, then open your eyes fully to check visibility. Adjust if needed. This takes practice — 3–5 sessions of trying it before it starts to feel natural is completely normal.
Step 8 — Lower Lash Line (2 Minutes)
Keep the lower lash line simple for hooded eyes. Apply your medium defining shade as a soft smudge along the outer third of the lower lash line using a small pencil brush. Avoid lining the entire lower waterline with dark pencil — a fully lined waterline creates a frame that makes hooded eyes appear smaller and heavier. Instead, use a nude or white pencil on the waterline to open the eye, and reserve dark product for the outer corner only.
Step 9 — Mascara (2 Minutes)
Apply waterproof mascara starting at the base of the lashes and wiggling the wand upward with a slight outward flick at the tips. For hooded eyes, curling the lashes before mascara is particularly effective: a 30-second press with a lash curler lifts the lashes away from the hood, making them visible from the front instead of pointing straight ahead into the fold. Apply two coats to upper lashes, one light coat to lower lashes focusing on the outer third. Allow 60 seconds between coats to prevent clumping.
The Biggest Beginner Mistakes on Hooded Eyes — and the Fix for Each
Understanding what goes wrong is as valuable as knowing the correct steps. These are the five most common hooded eye makeup mistakes that beginners make, and exactly what to do instead.
- Placing all shadow on the mobile lid. With hooded eyes open, the mobile lid is partially or fully hidden. Shadow placed only there will disappear. Fix: always extend shadow above the actual crease line when eyes are open, toward the brow bone.
- Using shimmer all over the lid. Shimmer reflects light and draws attention to the hood fold, making it appear more prominent. Fix: use shimmer only at the inner corner and center lid if any. Keep all crease and outer corner work in matte.
- Drawing liner in a straight horizontal line. A horizontal liner on hooded eyes enhances the downward press of the fold at the outer corner. Fix: always angle the outer portion of your liner upward, even if only slightly.
- Skipping primer. On hooded eyes, any shadow without primer will transfer to the hood within 1–2 hours and create an unintended dark stripe above the crease. Fix: eyeshadow primer is non-negotiable for this eye shape, not optional.
- Working with eyes closed or looking down. The entire shape of the hooded eye changes with eye position. Decisions made with eyes closed will look completely different when eyes open. Fix: keep eyes open and at mirror level for every placement decision throughout the look.
If you want to understand how these same principles apply to a full face context, our guide to no-makeup makeup looks shows how to build a complete base that lets hooded eye makeup sit cleanly without competing with heavy coverage elsewhere on the face.
Eyeshadow Placement Compared — Standard Eyes vs Hooded Eyes
This comparison makes the structural difference in approach immediately clear for beginners:
| Element | Standard Almond Eye Placement | Hooded Eye Placement |
|---|---|---|
| Transition shade ceiling | At or just above the anatomical crease | 6–15mm above the anatomical crease, at brow bone base |
| Defining shade focus | In the crease, blended inward | Above the hood fold, blended upward and outward |
| Shimmer placement | Full mobile lid center | Inner corner only, or omitted entirely |
| Liner angle at outer corner | Follows natural lash line curve | Lifts upward 1–2mm at outer corner end |
| Wing direction | Horizontal to slightly upward | Clearly upward, drawn above the fold |
| Waterline | Optional dark pencil all along | Nude or white pencil to open; dark only at outer corner |
| Lower lash liner | Full lower lash line optional | Outer third only; full lining makes eyes appear smaller |
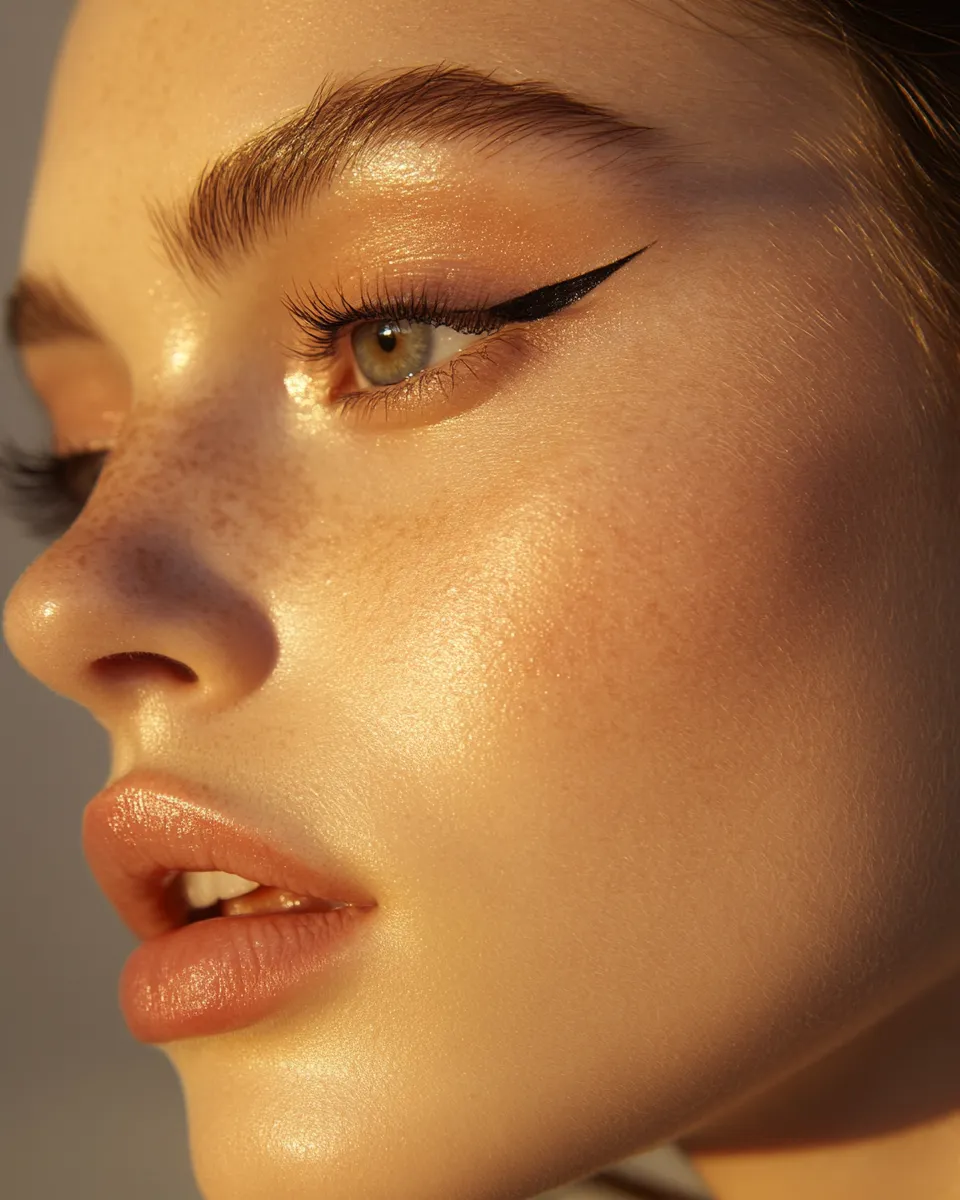
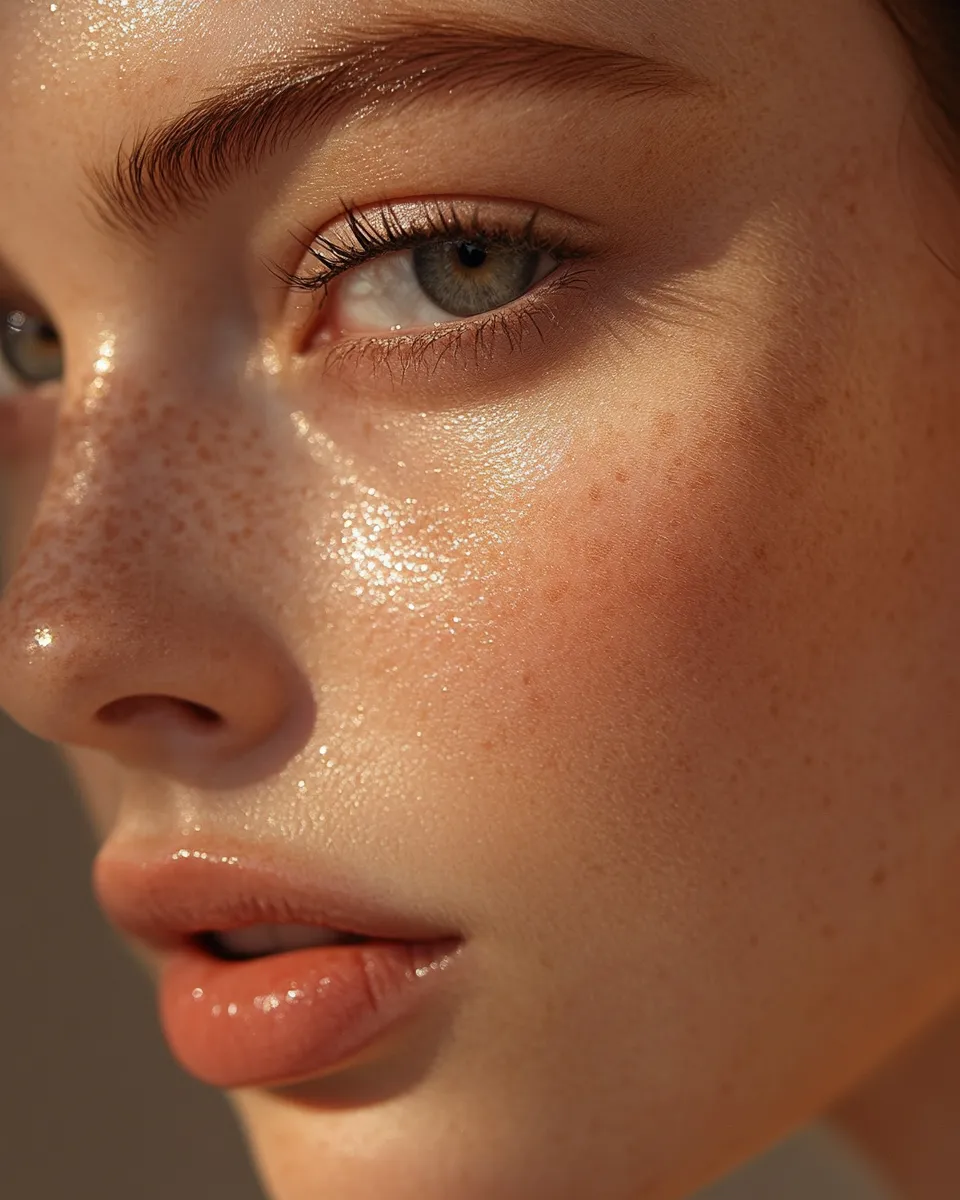
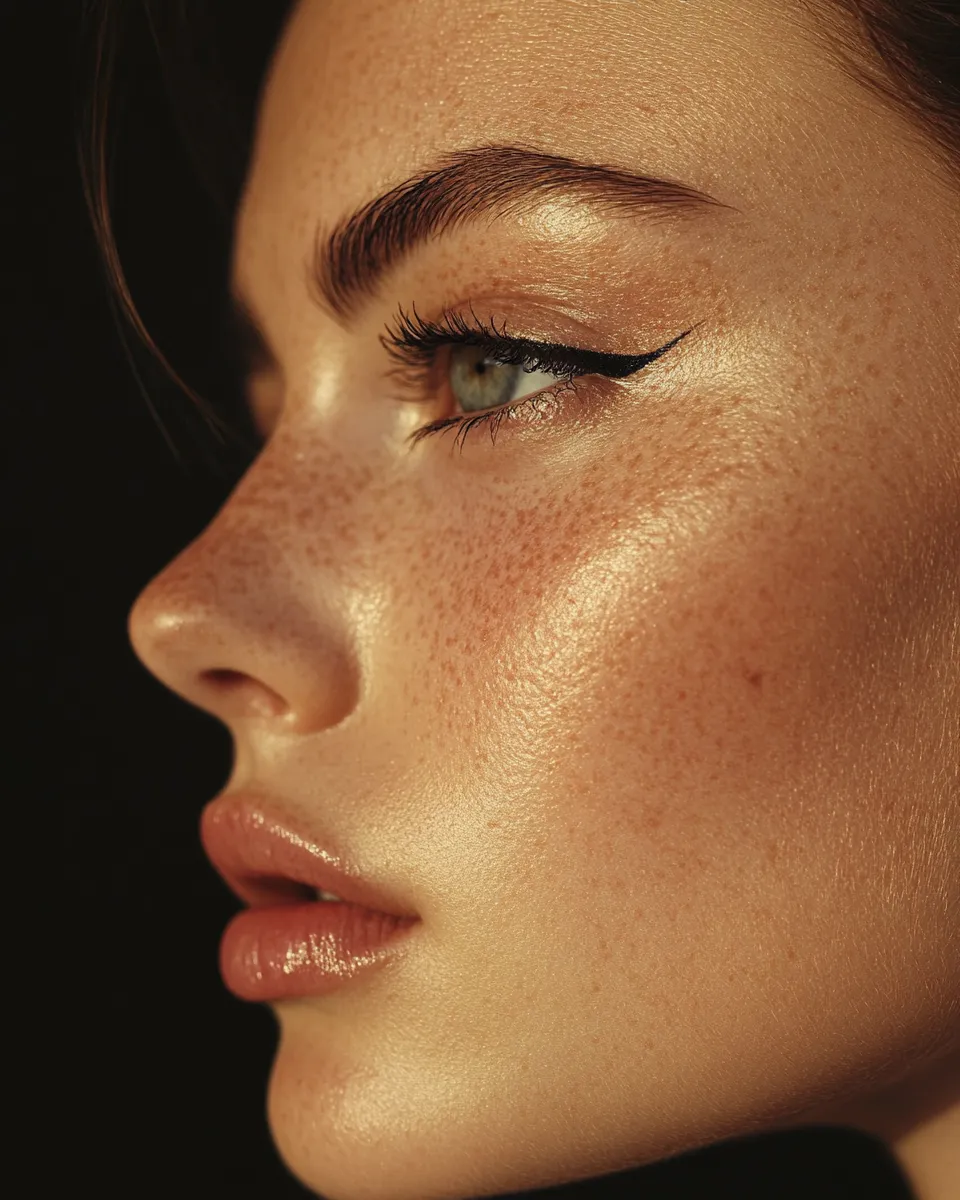
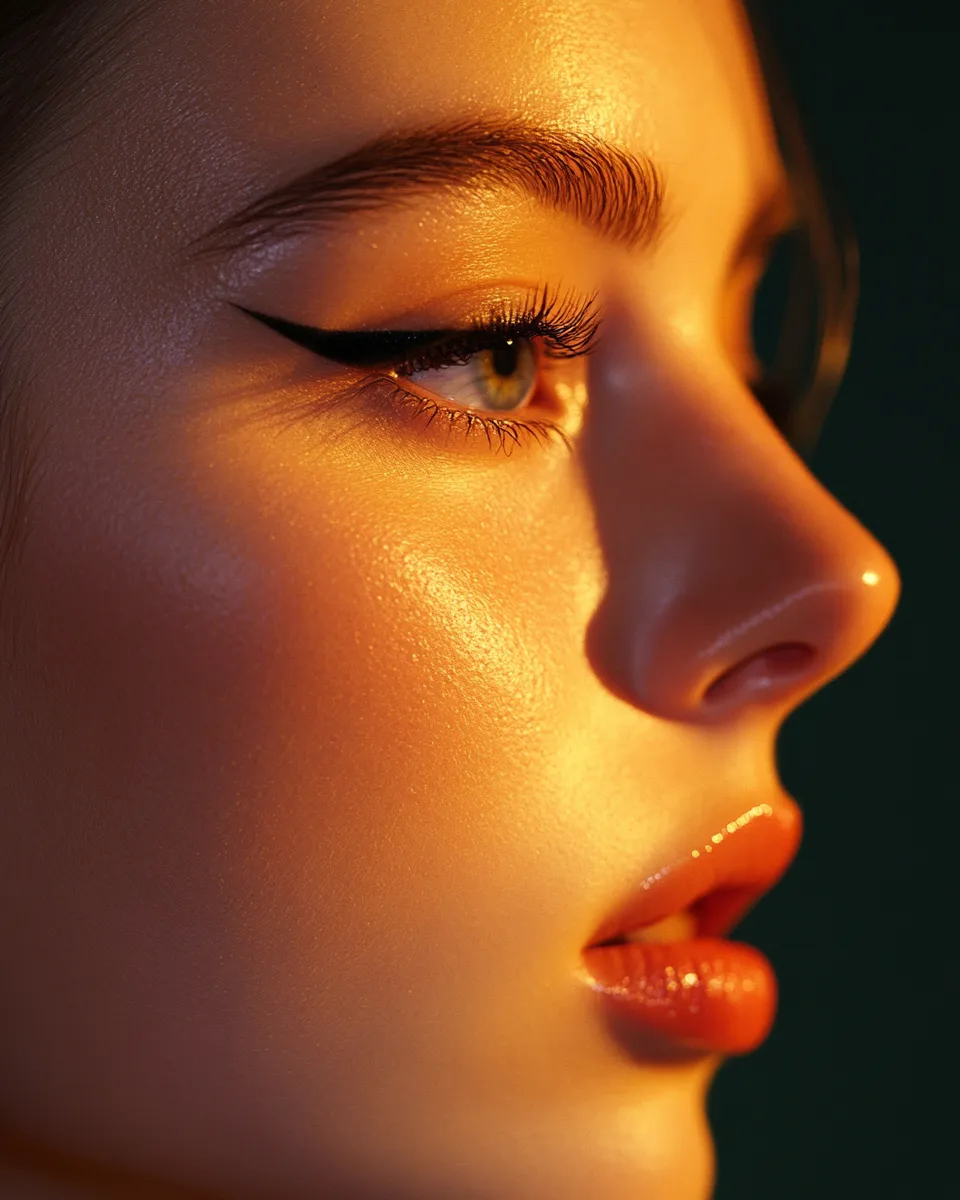
How Long Hooded Eye Makeup Actually Lasts — Setting Expectations
With correct primer prep, transfer-resistant products, and the setting powder barrier technique described in this guide, hooded eye makeup can realistically last 8–10 hours without significant fading or creasing. Without primer, even high-quality shadows will show visible transfer within 2 hours on most hooded eye types due to the constant physical contact between the hood and the lid.
Mid-day touch-ups, if needed, should focus only on the liner — not the shadow. Pressing a clean fingertip or a cotton swab against the hood to remove any shadow transfer, then sharpening the liner with a precision felt-tip pen, takes less than 90 seconds and fully restores the look. Do not attempt to add more shadow on top of transfer without removing it first, as layering over transferred product creates a muddy appearance that is difficult to correct without starting over.
For parties or events where you need the look to last 12+ hours, the skin cycling approach to skincare the night before matters more than most people realize: a well-hydrated, barrier-intact skin surface holds primer significantly better than dehydrated or compromised skin. Our article on skin cycling covers exactly the 4-night routine that keeps skin in the optimal condition for makeup longevity.
Three Complete Beginner Looks for Hooded Eyes — from Everyday to Evening
Once you are comfortable with the core step-by-step technique, here are three ways to apply it at different intensities — each one using the same foundational method but adjusting the shade depth and liner style for the occasion.
Look 1 — The 5-Minute Everyday Look
Primer, one matte transition shade blended above the crease, a thin line of waterproof gel liner with a tiny upward flick at the outer corner, and two coats of waterproof mascara with curled lashes. No defining shade, no lower lash liner. This look takes the hooded eye from invisible to defined in under 5 minutes and works for any skin tone or hood intensity. Total products used: 3.
Look 2 — The Polished Work Look
Full steps 1–9 from the guide above using a neutral taupe-brown palette. Transition shade plus defining shade in the outer V, inner corner highlight, a clean liner with a modest wing, and full mascara. This look reads as intentional and polished without being dramatic. Appropriate for any professional environment and achievable in 15–20 minutes once you have practiced the placement 3–4 times. If you want to keep the rest of your face equally polished and minimal, the clean girl makeup approach pairs perfectly with this eye look — dewy skin, groomed brows, and a lip stain in the same neutral family.
Look 3 — The Evening Lifted Look
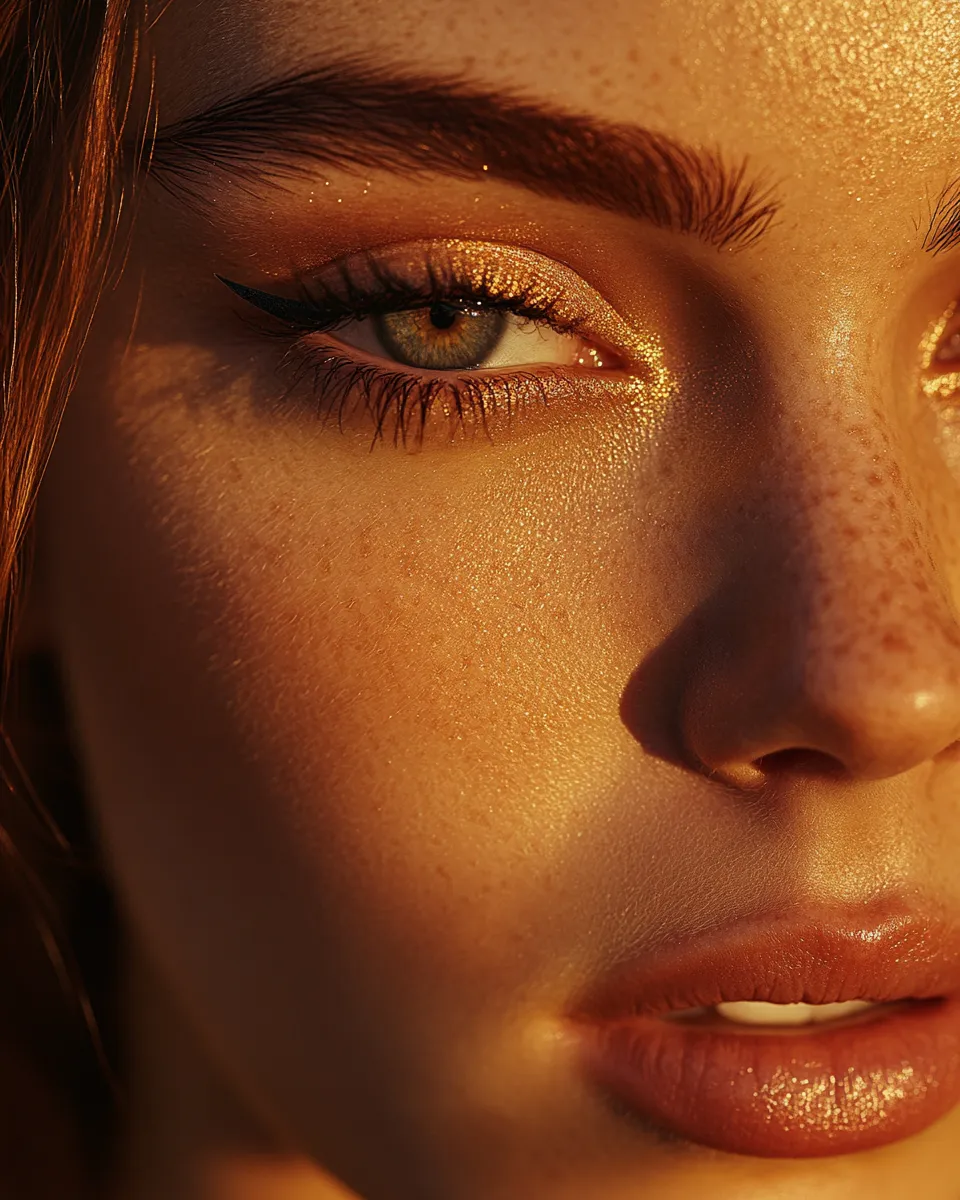
All steps from the full guide, using a deeper palette — burgundy, chocolate, or charcoal defining shade — with a bold wing drawn clearly above the fold. The wing for this look should extend at least 5–7mm beyond the outer corner and angle visibly upward. Add a single coat of false lashes (individual clusters at the outer corner are more forgiving for beginners than a full strip) and a shimmer shade pressed only at the very center of the inner corner. This is the hooded eye version of a classic smoky look, adapted so that every element remains visible when eyes are open. For a full bold evening aesthetic that complements this eye look, our breakdown of bold eye makeup looks includes several variations built specifically for dramatic wear occasions.
Building Consistency — What to Expect in Your First 30 Days
Hooded eye makeup has a steeper learning curve than standard eye makeup because every technique requires spatial awareness of where the fold sits — and that awareness only comes from repetition. Professional makeup artists who specialize in this eye shape consistently report that clients see a significant improvement in result quality between sessions 3 and 7. By session 10, the placement feels intuitive.
In the first week: focus only on primer prep, transition shade placement, and mascara. Do not attempt liner until the shadow placement feels natural. Liner errors on hooded eyes are the most visible and hardest to correct mid-process, and attempting them before the shadow foundation is solid leads to frustration rather than learning.
In week two: add the defining shade in the outer V and practice working with eyes open throughout. This is the week most beginners have their first “it clicked” moment — when they see the lifted shadow visible above the fold and understand why the raised placement is necessary.
In week three: introduce liner. Start with gel liner and a short, clean line before attempting a wing. Practice the upward angle at the outer corner until it feels controlled.
By week four: the full routine from steps 1–9 should be completable in under 20 minutes. At this point, experiment with shade depth and liner thickness to develop your personal version of the look. Your skin and its specific texture and barrier strength will influence how products sit — building that base skin quality in parallel with your makeup practice is what separates a good result from a great one. Our complete skincare routine for beginners is the most efficient starting point for getting skin into the condition where makeup sits cleanly, transfers less, and lasts longer on any eye shape.
The One Thing That Changes Everything for Hooded Eye Beginners
Every technique in this guide matters. But if there is a single principle that separates beginners who get results from beginners who give up, it is this: always work with eyes open, at mirror level, and make every placement decision based on what you see with the hood in its natural resting position.
Hooded eyes are not a limitation. They are a specific eye shape with specific requirements — and once you understand those requirements, the makeup possibilities are exactly as broad as they are for any other eye shape. The lifted outer V, the raised crease line, the upward wing: these techniques do not restrict what you can create. They redirect your existing skills to land in the right place for your eyes specifically. Every look in this guide — from the 5-minute everyday version to the full evening lifted look — is fully achievable for a beginner within the first month of practice.