Standard eyeliner tutorials were not written for monolid eyes. That is not an opinion — it is a structural fact. The classic liner techniques found in most beauty guides assume a visible crease, a distinct lid space, and an eye shape that keeps product on the lid surface rather than concealing it under a fold. Monolid eyes — eyes without a visible crease where the upper lid skin connects directly to the area around the orbital bone — operate entirely differently. Liner applied the standard way on monolid eyes disappears when eyes are open, creates heaviness rather than definition, and produces a downward drag at the outer corner that makes eyes appear smaller and more closed rather than open and lifted.
The eyeliner looks for monolid eyes that actually open them up exist — they are simply built on a completely different set of principles. Monolid eye shape is extraordinarily common: it is the dominant eye shape across East Asian, Southeast Asian, and Central Asian populations, and is also present in varying degrees across many ethnicities worldwide. Approximately 50 percent of the global population has some degree of monolid or low-crease lid structure according to ophthalmology classification data, making it statistically one of the most common eye shapes on earth. The shortage of specific technique guidance for this shape is a gap in mainstream beauty education, not a reflection of how challenging the shape is to work with.
This guide fills that gap entirely. Every liner technique here is built specifically for monolid eye structure — for the reality of how liner behaves on this lid type, where it goes when eyes are open versus closed, and which adjustments create the opened, lifted eye effect that standard techniques completely fail to deliver on monolid eyes.
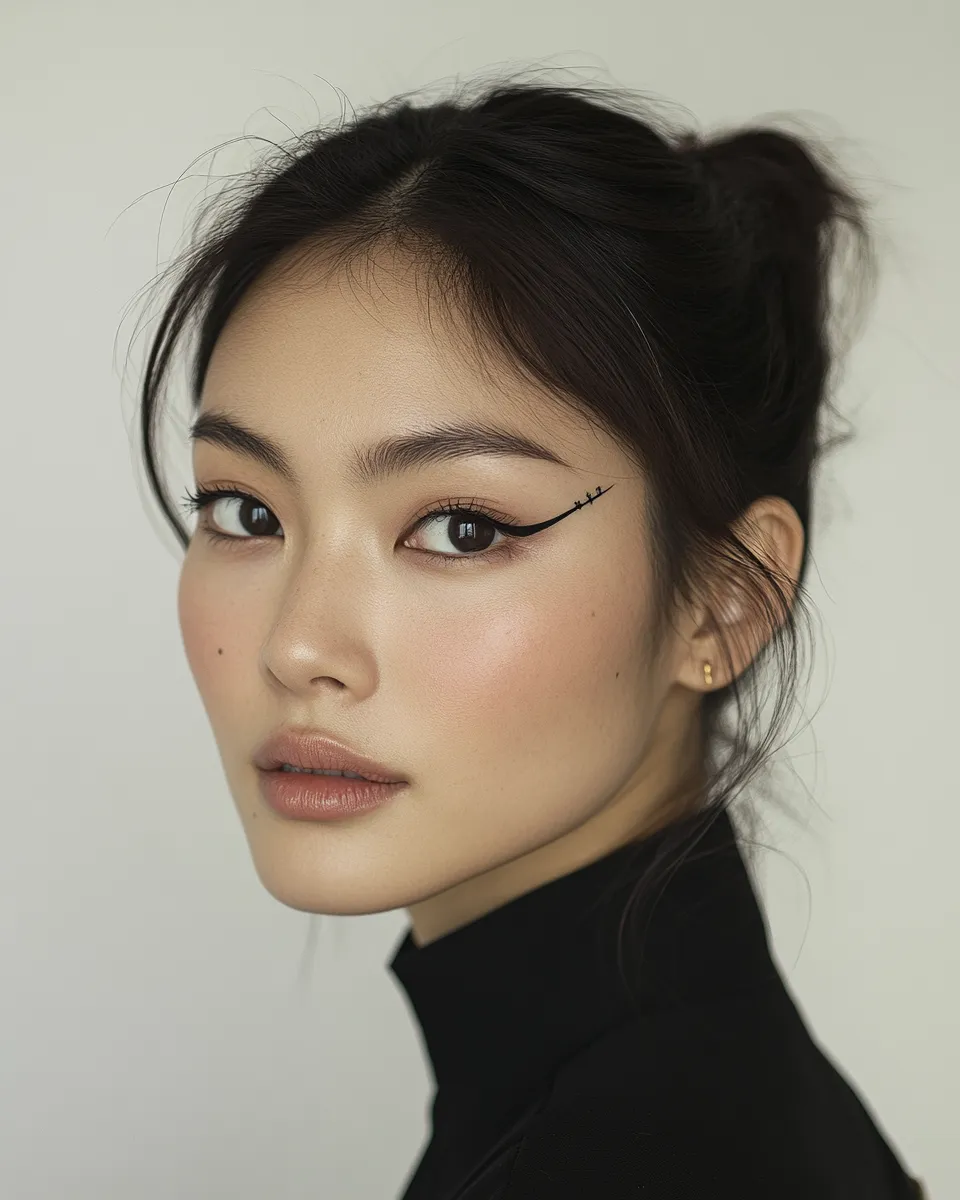
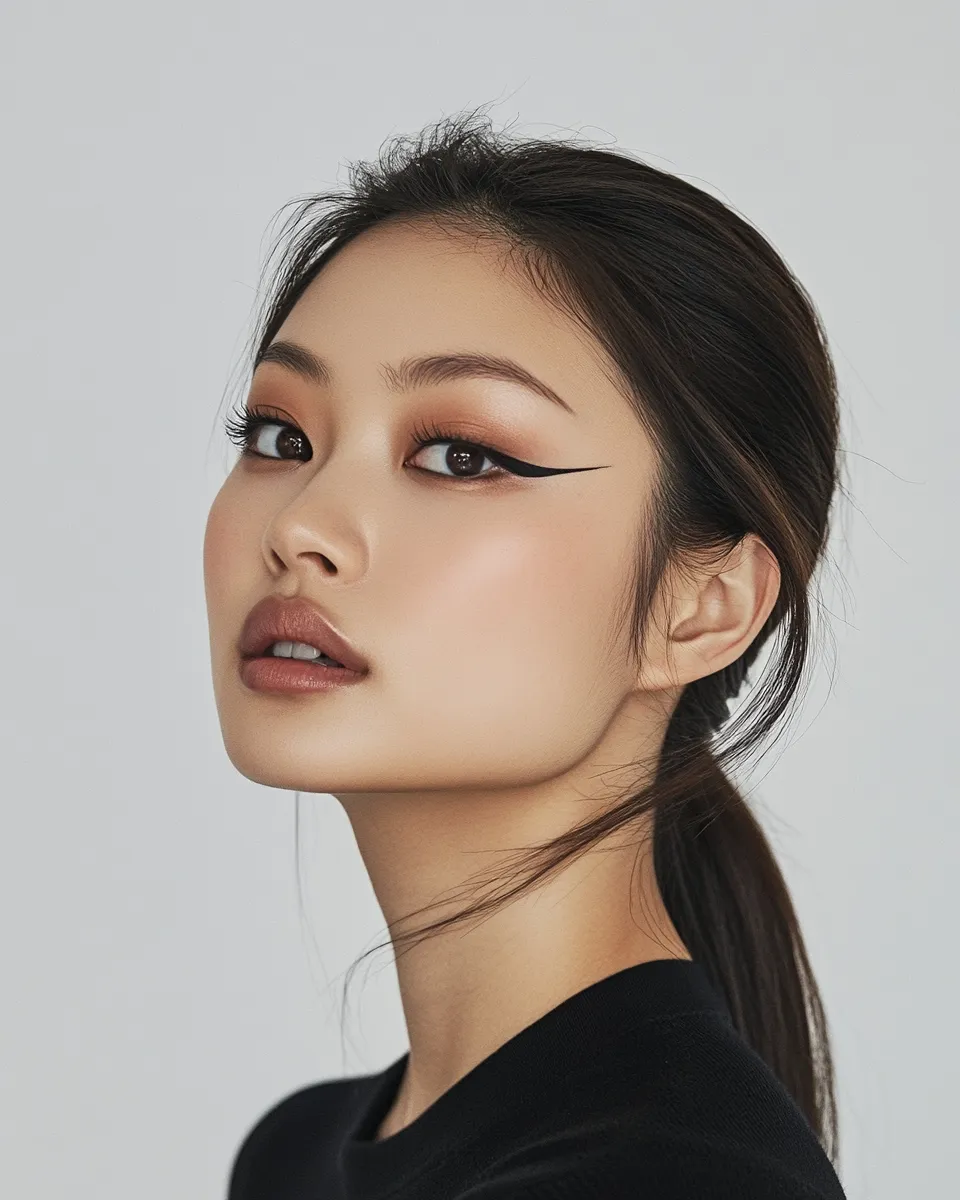
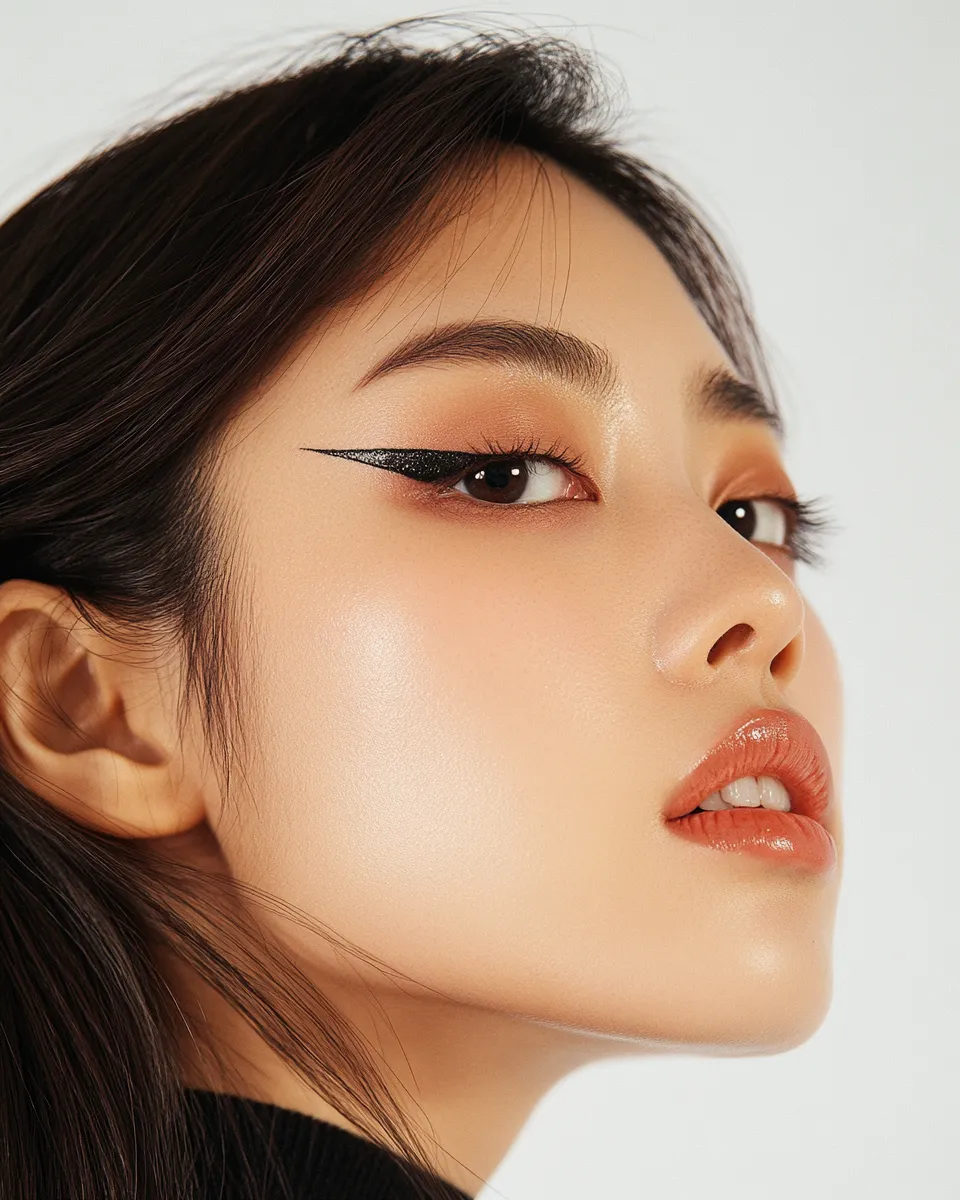
Understanding Monolid Eye Structure — Why Standard Liner Fails
A monolid eye lacks the supratarsal fold — the crease that creates a distinct separation between the lid and the skin above it in double-lid eye shapes. Without this fold, the skin of the upper lid connects continuously to the area beneath the brow, meaning there is no visible ledge or platform that holds liner in place and keeps it visible from the front.
This creates three specific challenges that standard liner tutorials never address. First, standard liner placed along the lash line disappears almost entirely when eyes are open — the lid skin covers it. Any liner drawn below the brow bone fold will be hidden once the eye is in its open, neutral position. Second, a thick upper line applied close to the lashes creates the impression of a heavier lid rather than definition, making the eye appear smaller and heavier rather than larger and more open. Third, a horizontal liner line at the outer corner on a monolid eye produces a downward visual angle as the lid skin presses over it, creating a drooping effect at exactly the point where a lift is most needed.
Every liner technique in this guide directly addresses these three failure points with a specific placement, angle, or format adjustment. The starting principle for all of them: liner on monolid eyes must be positioned to remain visible above the lid fold when eyes are open, which typically means drawing significantly higher than feels natural when eyes are closed.
The Four Eyeliner Looks for Monolid Eyes That Actually Work
These are not adaptations of double-lid techniques. Each one is designed from the ground up for monolid structure and produces a distinctly different eye effect depending on the occasion and look you want to achieve.
Look 1 — The Floating Liner
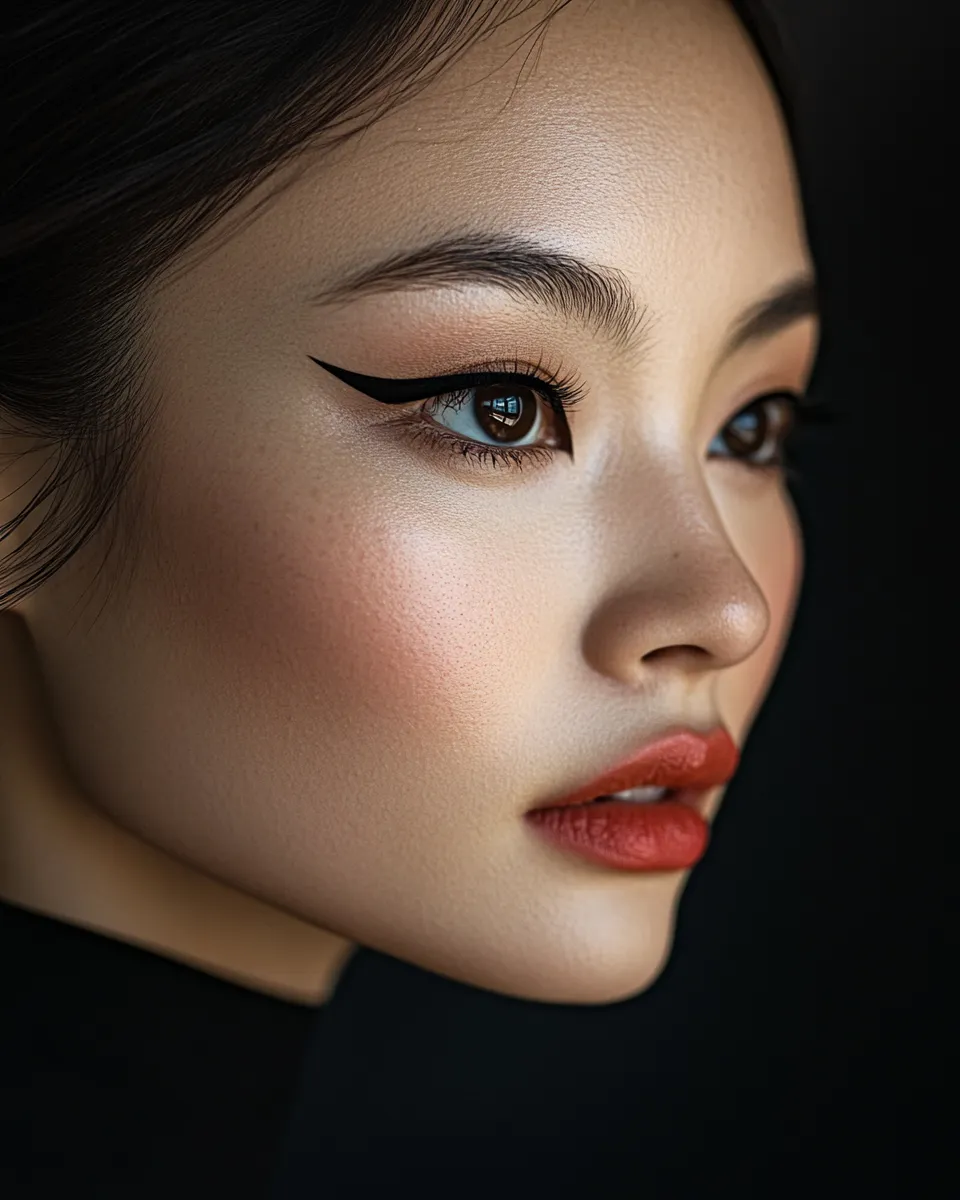
Floating liner is the monolid technique that changed how the global beauty community thinks about liner for this eye shape. Rather than applying liner on the lash line — where it will disappear under the lid fold when eyes open — floating liner is drawn in the space above the fold, as a freestanding line that floats on the visible lid space with a gap between the liner and the lash line beneath.
To execute: with eyes open, identify the lower edge of your brow bone — the point where the lid skin begins to descend. Draw a thin, clean line 1 to 2mm above the natural crease position, running from approximately the middle of the eye outward to the outer corner, then extending slightly upward into a short wing. The result when eyes are open: a clean, visible line that defines the eye from the front without being covered by the lid fold. The gap between the floating line and the lash line actually enhances the open-eye effect by creating visual space in the lid area. This technique gained significant traction after Korean beauty editorial teams began featuring it consistently in 2022 and it remains one of the most-searched monolid liner techniques in 2026.
Best liner formula for floating liner: a felt-tip liquid liner pen with a fine 0.1mm tip. Precision is essential because the line is visible in its entirety from the front and any wobble reads clearly. Kat Von D Tattoo Liner, Stila Stay All Day Liquid Liner, and the affordable Innisfree Powerproof Pencil Liner in liquid pen format are all consistent recommendations for floating liner work.
Look 2 — The Extended Upper Wing
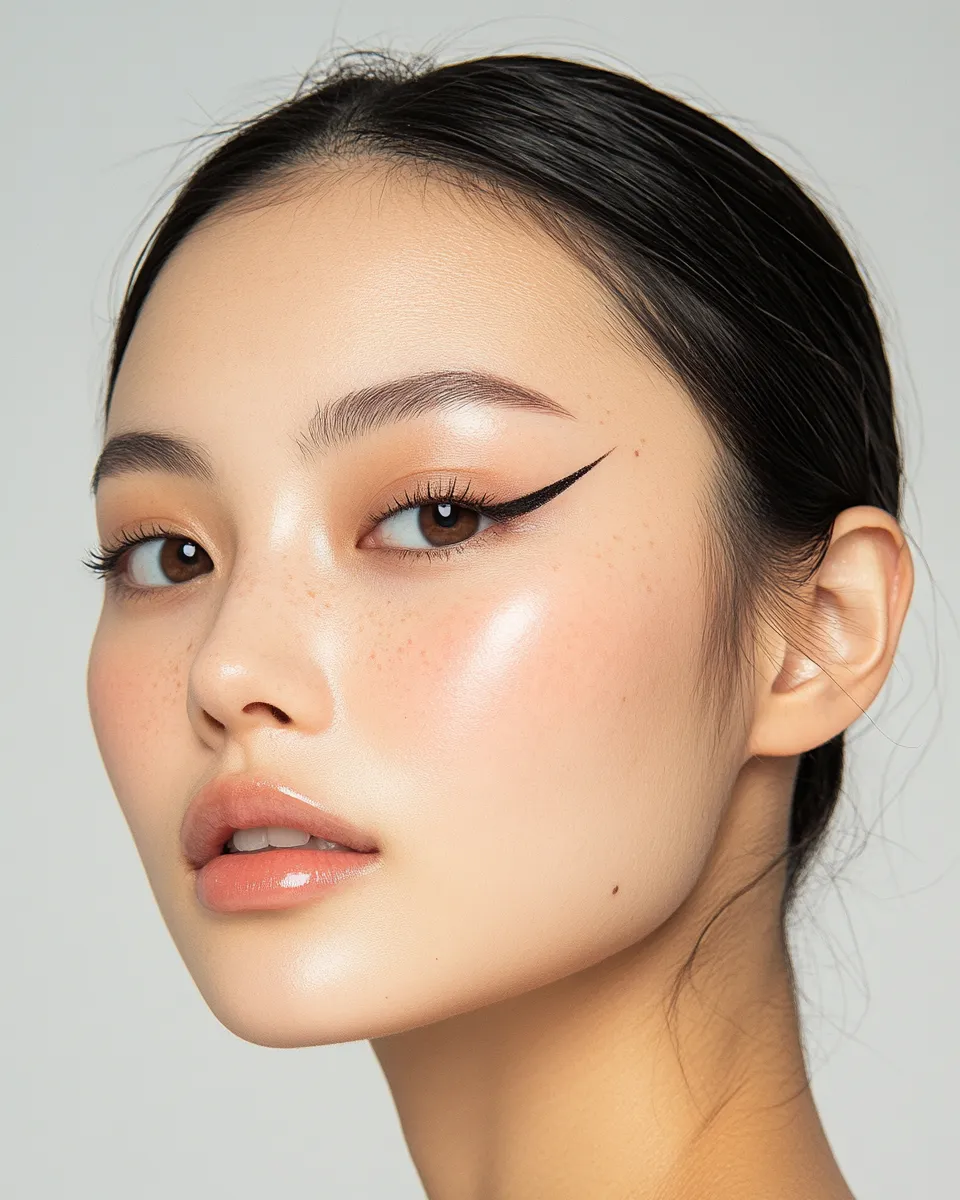
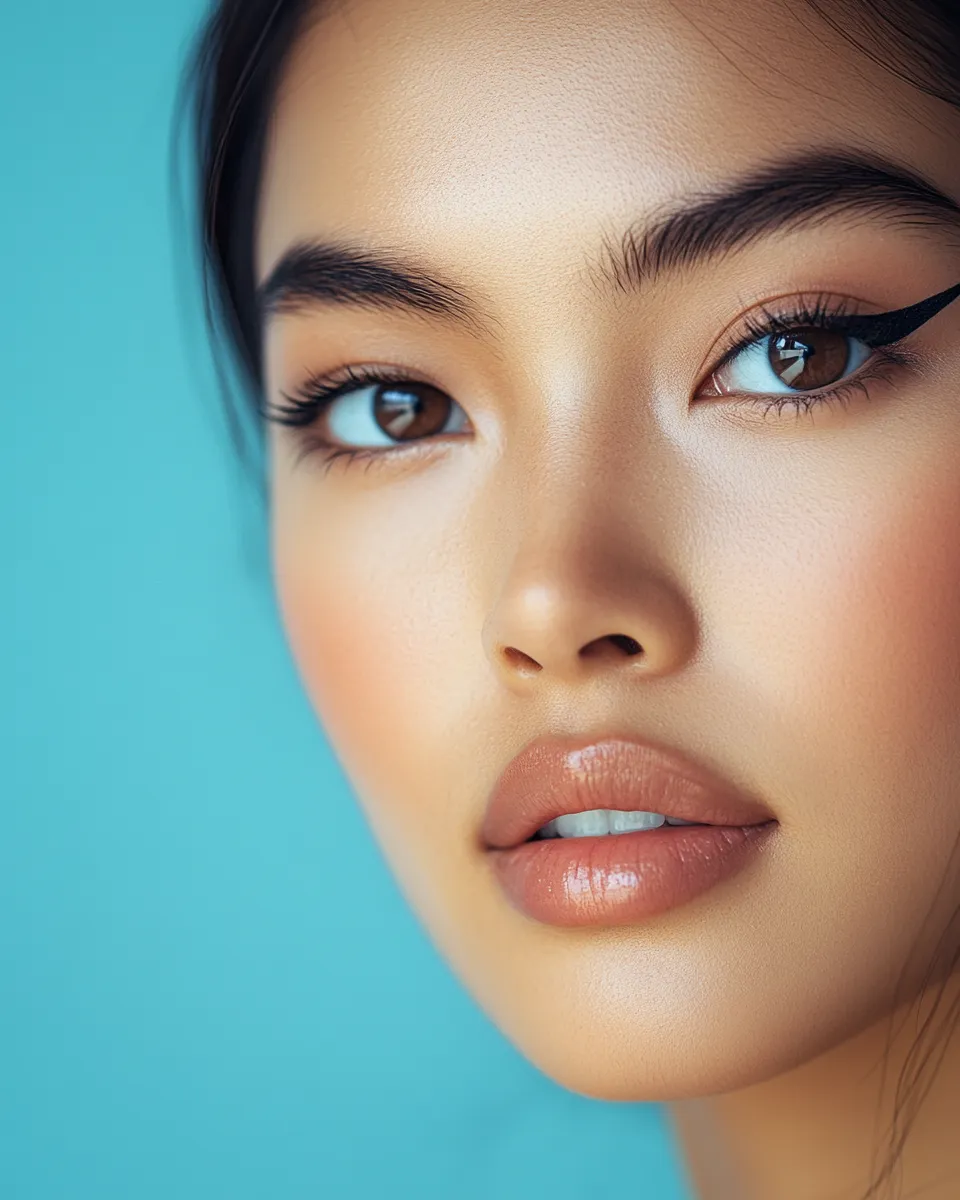
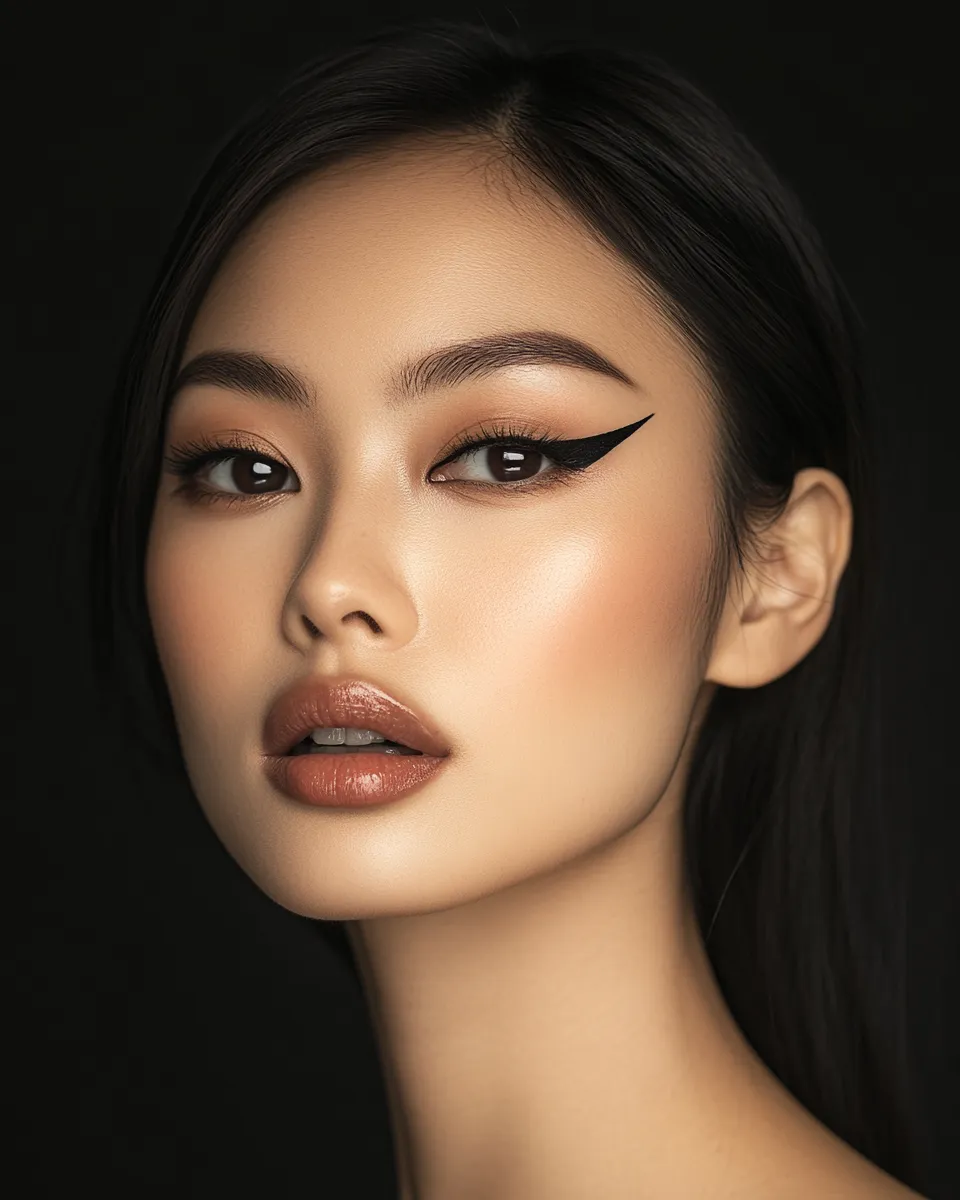
The extended wing is the monolid adaptation of the classic winged liner, and the key adjustment that makes it work on monolid eyes is both the angle and the starting point. On a double-lid eye, a wing begins at the outer corner and extends outward and slightly upward. On a monolid eye, this produces a downward-dragging effect because the lid skin folds over the starting point of the wing. The correction: start the wing before the outer corner, at approximately 70 to 75 percent of the way across the eye, and angle it steeply upward — toward the tail of the brow rather than horizontally outward.
The wing should be drawn with eyes open, checking the angle against the brow tail as you go. The line connecting the lash line to the wing body should be thin and close to the lashes from the inner corner to the wing starting point, thickening only at the outer section. The full wing, when eyes are open, should extend clearly above the level of the lid fold — any portion of the wing that sits below the fold level when eyes open will be invisible and only the tip will read, creating a disconnected effect. Drawing the wing at least 3 to 4mm above the outer lash line in its visible section prevents this. For anyone who also deals with a hooded brow bone in addition to a monolid structure, our complete guide to eye makeup for hooded eyes step by step covers how to combine the monolid wing technique with hooded brow adjustments for the most common overlapping eye type combination.
Look 3 — The Doubling Technique
The doubling technique uses two liner lines simultaneously — one close to the lashes and one floating above the fold — to create the visual effect of depth, dimension, and a visible lid space that mimics a double-lid appearance without any tape, glue, or adhesive product. This is the most dramatic of the opening techniques and the one most used in Korean and Japanese editorial makeup for monolid and low-crease eyes.
Apply a thin base line along the upper lash line using a waterproof gel liner. This line will be partially covered by the lid fold when eyes open, but its edge at the lash root creates the foundation of the look. Then, using a felt-tip liner, draw the floating line 2 to 4mm above the fold position with eyes open. The space between the two lines — the gap visible on the lid — creates a shadow effect that reads as lid depth. Extend both lines outward at the same angle, with the floating line extending slightly further and angling more steeply upward. The visual result is a significantly wider, more dimensional eye that appears to have a visible lid space from the front.
Look 4 — The Lower Lash Tightline with Nude Waterline
This technique works differently from the three above — instead of extending and lifting the upper eye, it uses the lower eye area to create the impression of openness and size. Apply a nude or white pencil liner to the waterline (the inner rim of the lower lid). This immediately makes the eye appear larger by expanding the visible white of the eye. Then apply a thin, dark liner along the outer third of the lower lash line only, smudging it slightly. The combination of a nude waterline and a defined outer lower corner creates the appearance of a much larger eye without requiring any precision upper lid work — making this technique the most forgiving for beginners and the most effective as a quick standalone approach when time is limited.
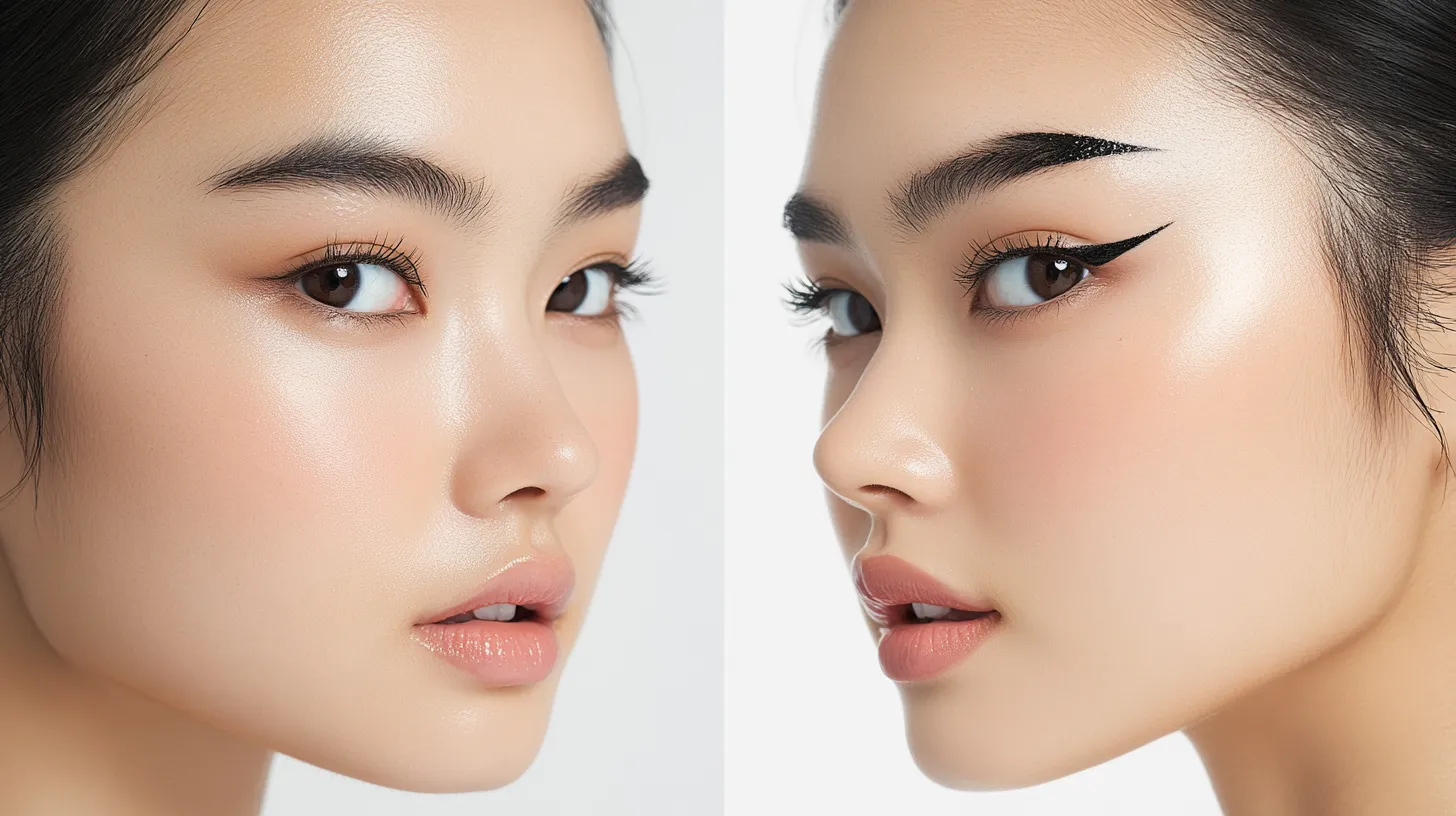
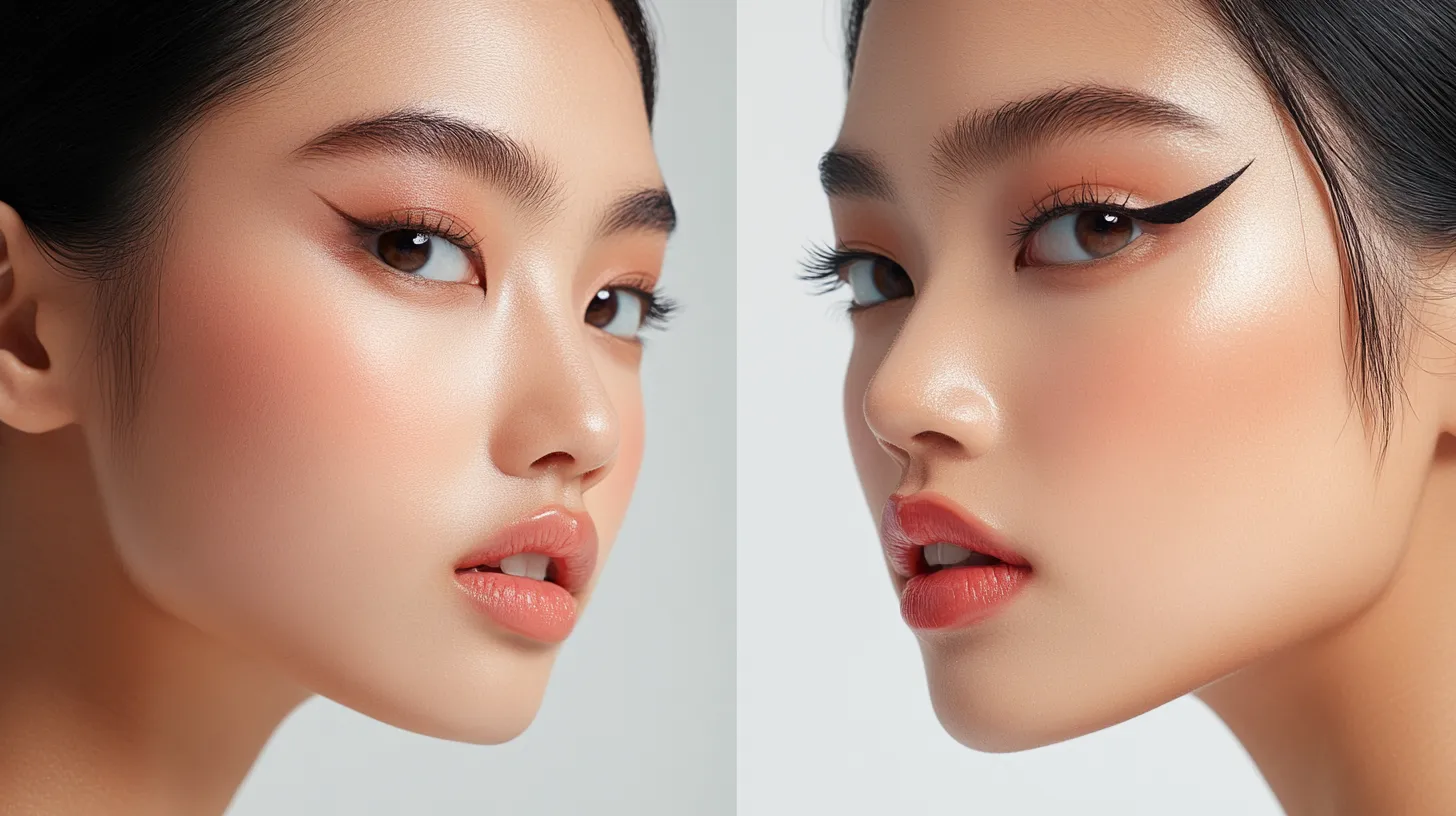
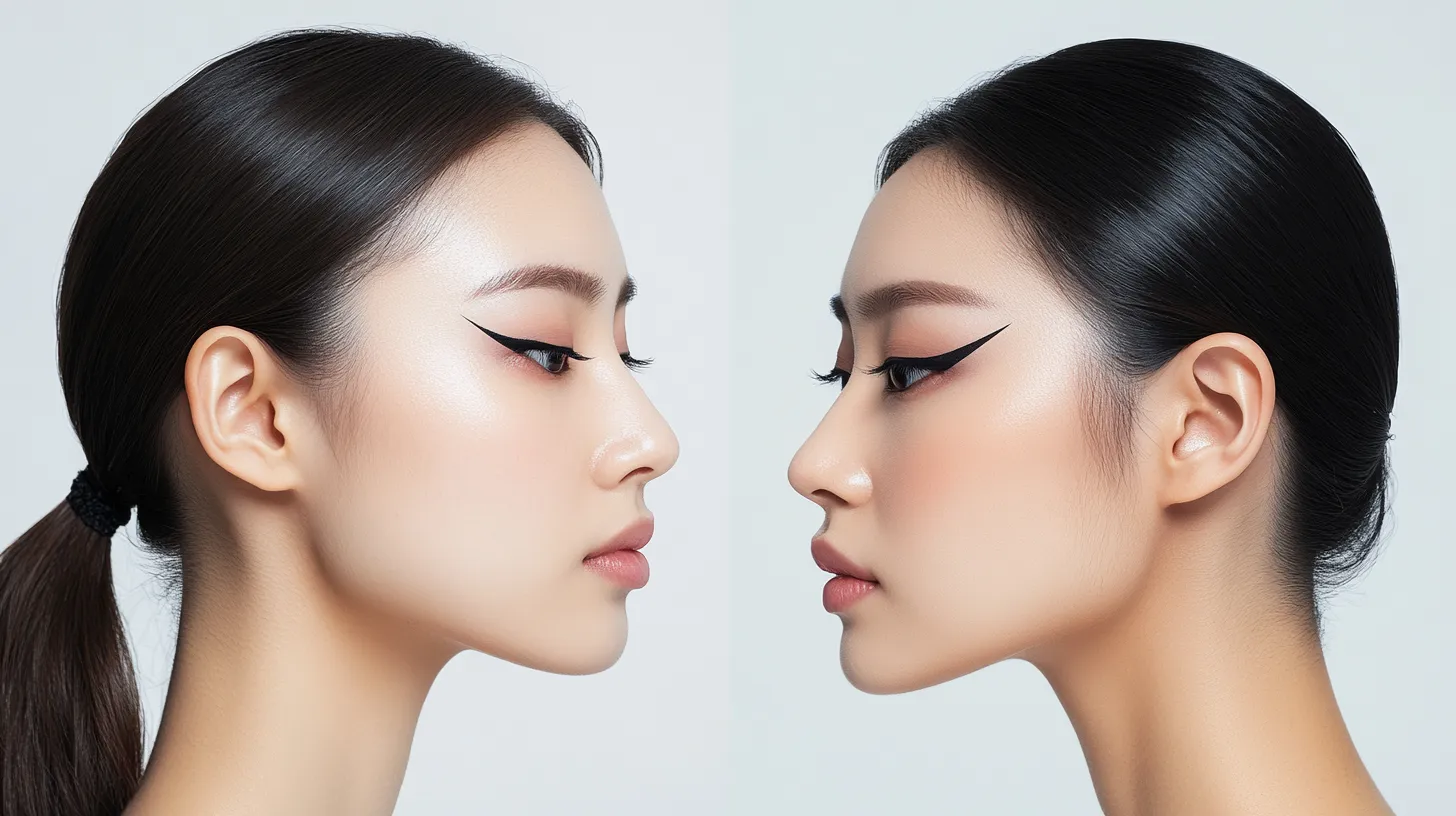
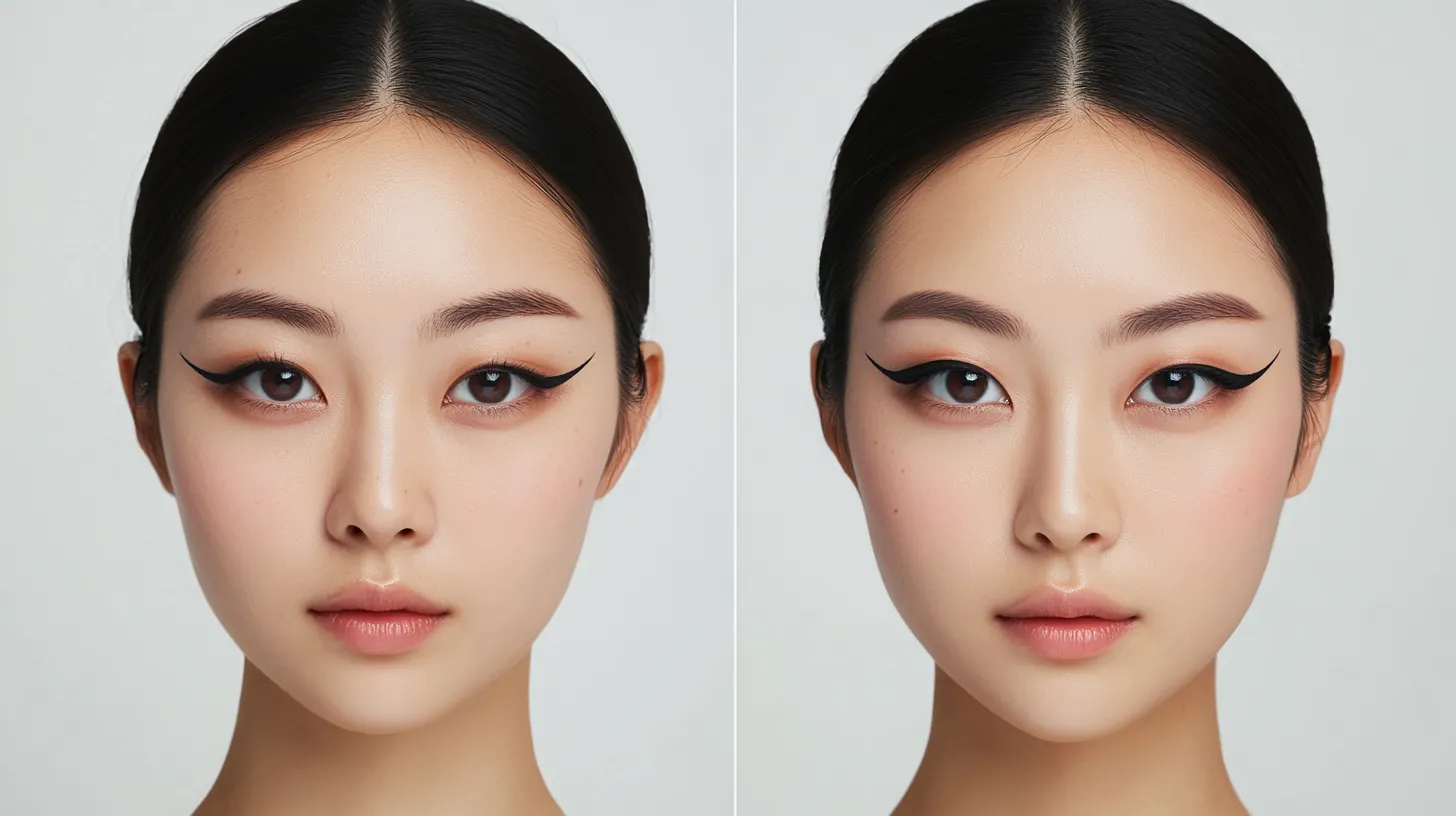
The Angles That Open Monolid Eyes — a Visual Guide
On monolid eyes, the angle of every liner element determines whether the result opens the eye or closes it. Getting these angles right is more important than the formula, the color, or the thickness of the line. Here is exactly which angles produce which results:
| Liner Element | Standard Angle (Wrong for Monolids) | Correct Angle for Monolid Eyes | Effect When Correct |
|---|---|---|---|
| Outer corner wing direction | Horizontal or following natural lash curve downward | Steeply upward toward brow tail, at least 30 to 45 degrees above horizontal | Lifts outer eye visually, counteracts lid weight |
| Wing starting point | At the outer corner of the eye | 70 to 75% across the eye, before the outer corner | Creates visible wing above the lid fold when eyes open |
| Floating line position | On the lash line (will disappear) | 1 to 4mm above the fold, drawn with eyes open | Line remains fully visible from the front at all times |
| Lower liner placement | Full lower lash line with dark liner | Outer third only with dark liner, waterline nude or white | Opens inner eye, adds dimension at outer corner only |
| Inner corner liner | Dark liner at inner corner to define | Avoid dark liner at inner corner — use highlight instead | Inner corner highlight opens the eye rather than closing it |
| Upper lash line thickness | Even thickness from inner to outer corner | Thin at inner corner, thickening only in the outer third | Creates illusion of larger eye without adding lid weight |
Liner Formulas That Work Best for Monolid Eyes — and Why
Formula choice on monolid eyes is more critical than on most other eye shapes for a simple mechanical reason: the lid skin folds over the liner throughout the day. Any formula that transfers, smudges, or has any slip will stamp itself onto the upper lid skin above the fold, creating a dark print line that was not part of the intended look. This means transfer-resistance and smudge-proof formulas are non-negotiable for monolid liner, not optional features.
- Felt-tip liquid liner (best for floating liner and precise wings): Offers the sharpest line and the most precise placement control. Must be completely waterproof and transfer-resistant. The Stila Stay All Day Waterproof Liner has been independently tested at 12-hour smudge resistance. Kat Von D Tattoo Liner is a consistent professional recommendation for monolid work because of its transfer-proof formula. The Innisfree Powerproof Eyeliner and the Clio Superproof Brush Liner are both Korean-market formulas specifically developed and tested for East Asian lid structures, making them particularly reliable for monolid use.
- Waterproof gel liner (best for the doubling technique and smudged lower liner): Gel liner has a slightly more forgiving application than liquid and is ideal for the base lash line in the doubling technique. It also smudges controllably before it sets, making it the correct formula for the outer lower lash line application. Maybelline Eye Studio Lasting Drama Gel Liner, Bobbi Brown Long-Wear Gel Liner, and the NYX Professional Makeup Gel Liner are all reliable. Key: allow gel liner to set fully for 60 to 90 seconds after application before opening or moving the eye — on monolid eyes, moving before the formula sets is the primary cause of transfer.
- Waterproof pencil liner (best for waterline and lower lash smudge): For the waterline technique, a pencil is the only format that applies comfortably to the inner rim. Nude pencils (Urban Decay 24/7 in Zero, NYX Jumbo Eye Pencil in Milk, e.l.f. No Budge Waterline Eyeliner in Nude) and white pencils are both effective for the opening effect. Allow 30 seconds of drying time on the waterline before blinking normally.
- Avoid: Kohl or kajal pencils without a waterproof label, loose pigment applied wet, and any non-waterproof liquid liner on monolid eyes. These will transfer within 30 to 60 minutes regardless of setting spray.
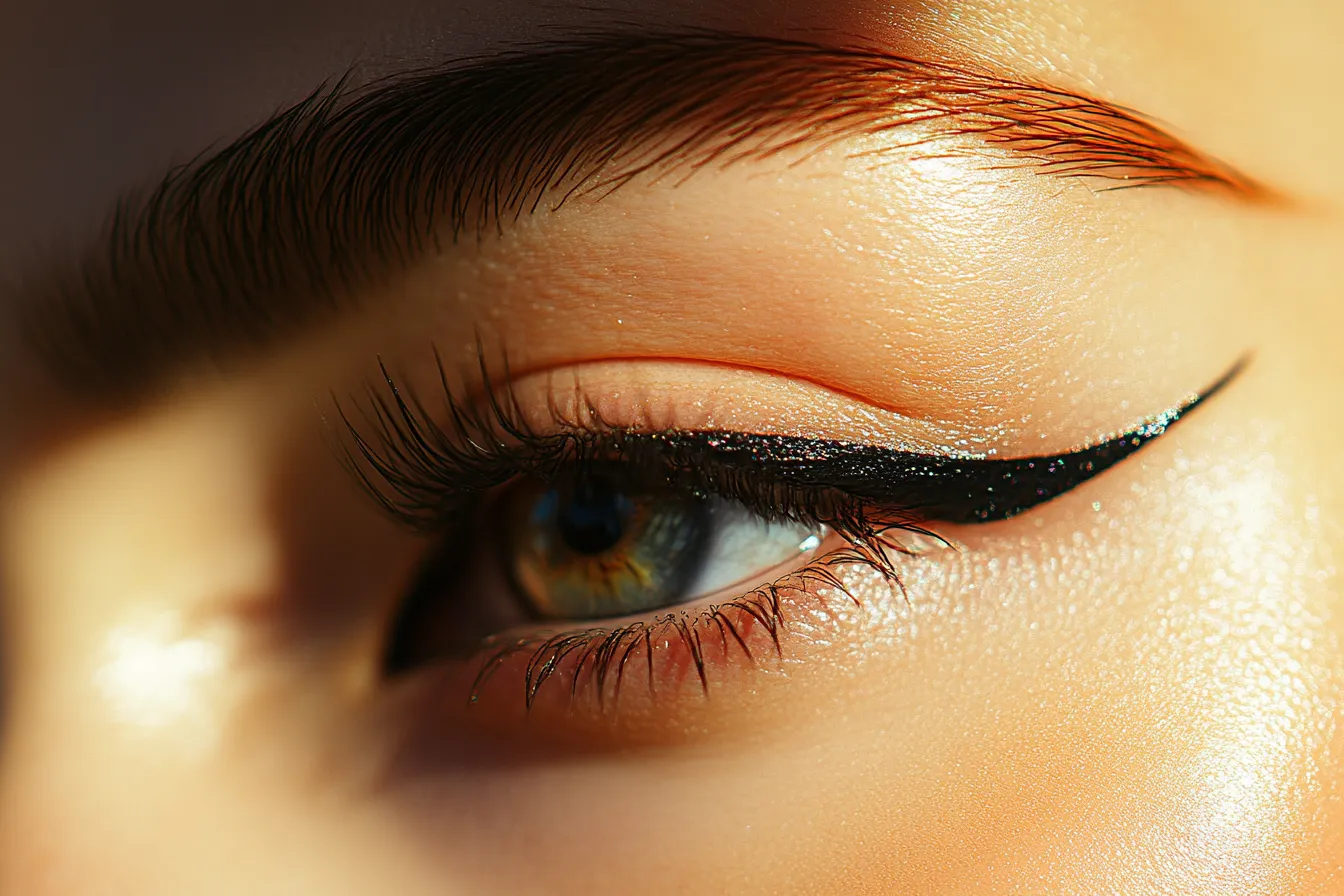
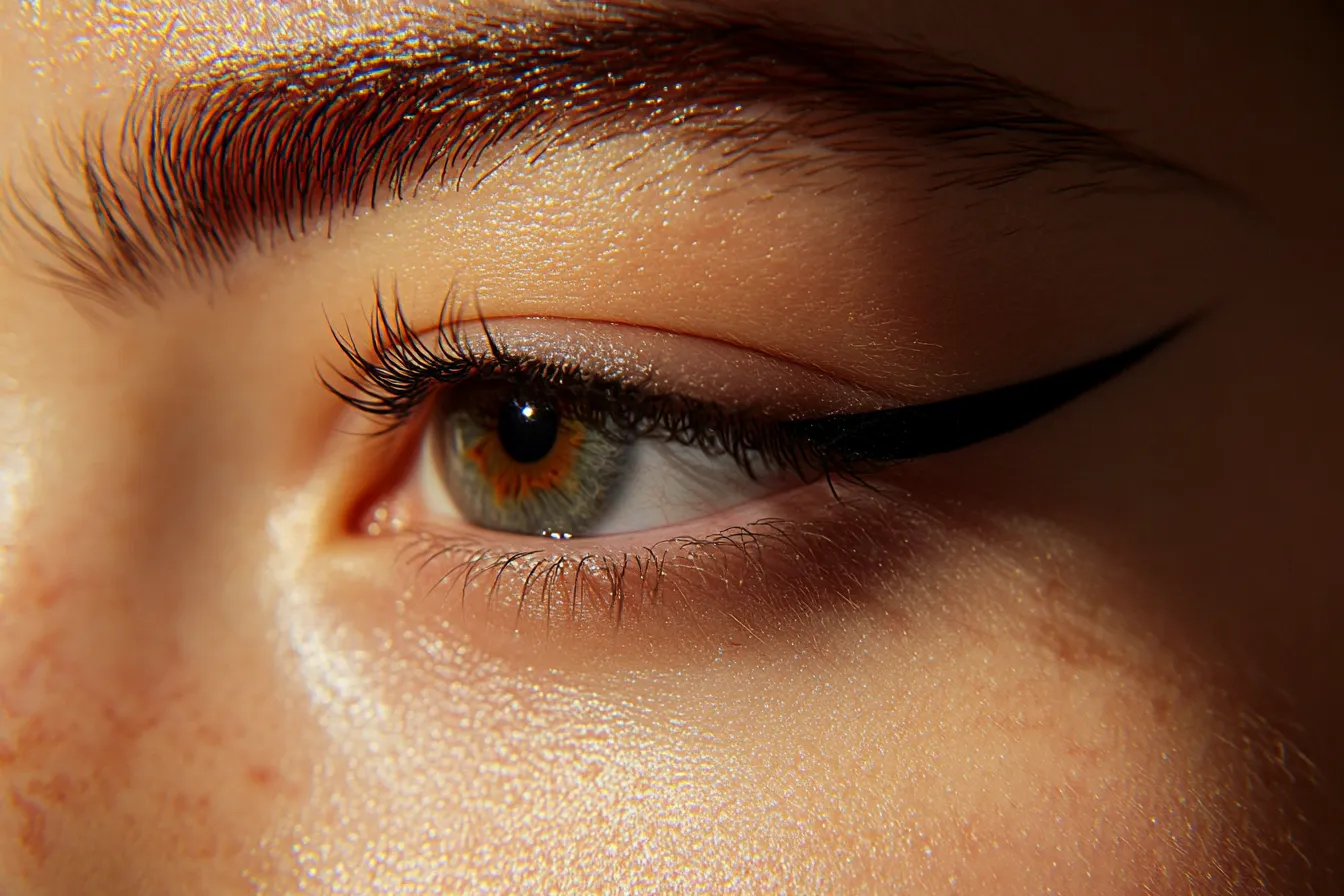
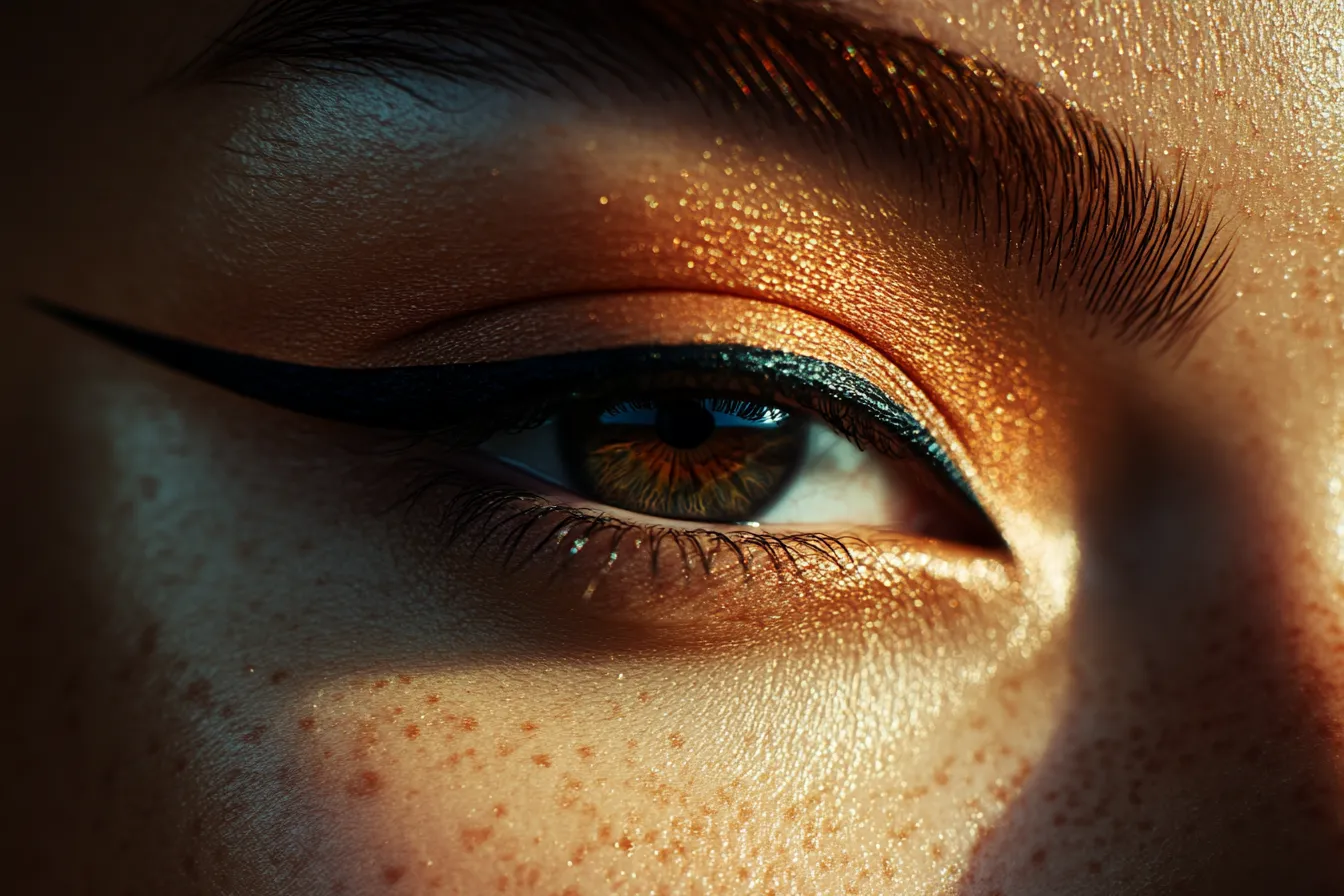
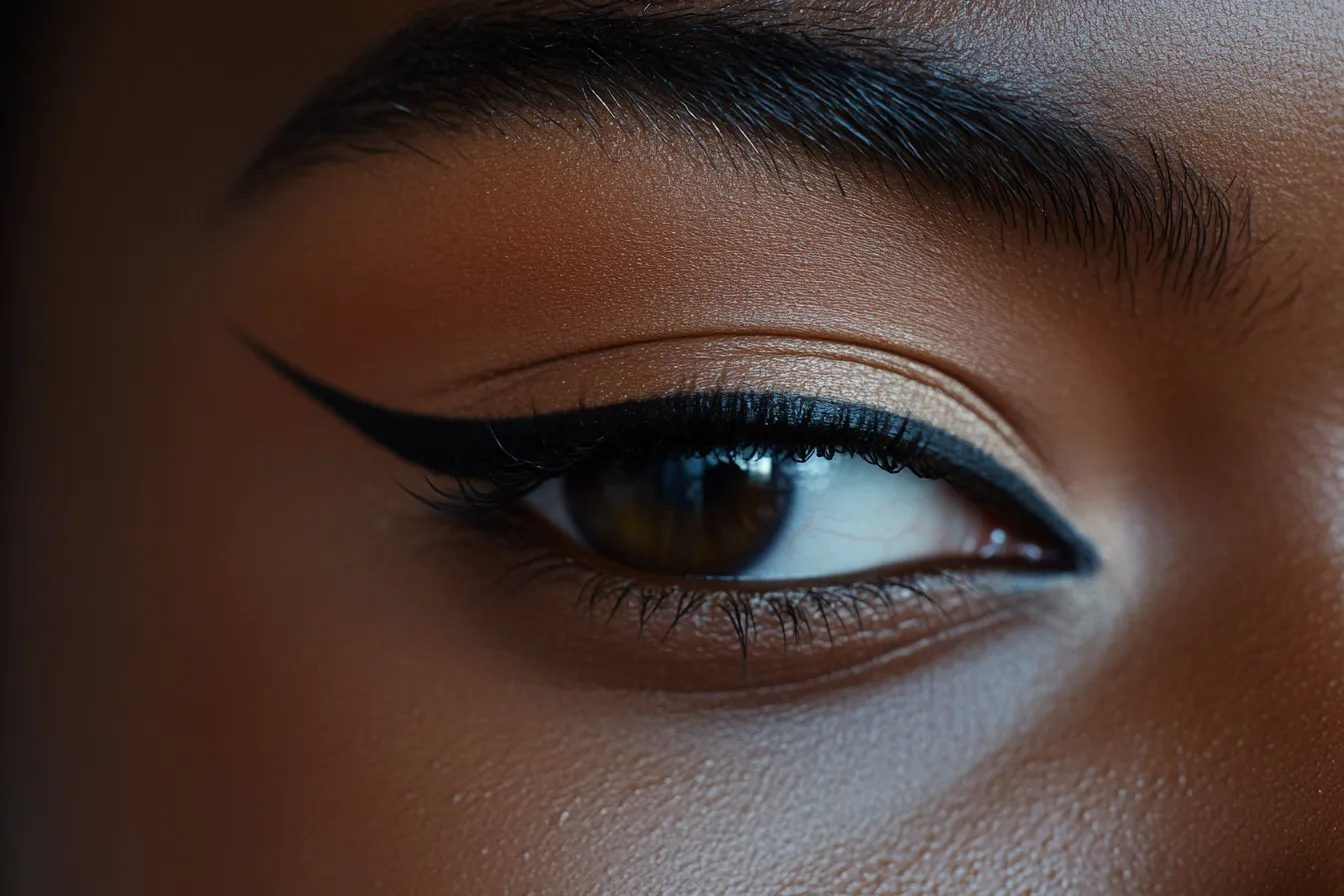
Step by Step — How to Do Floating Liner for Monolid Eyes
This is the most universally effective and beginner-accessible of the four monolid liner looks — the starting point for anyone new to working with this eye shape who wants an immediately visible result.
- Prime the lid (60 seconds). Apply a thin layer of eyeshadow primer from lash line to brow bone. This step is more critical on monolid eyes than on other eye shapes because the constant contact between the lid skin and the surface above the fold makes transfer the default outcome without a primer barrier. Allow 60 seconds to set.
- Set with a translucent powder (30 seconds). Using a flat brush, press a very thin layer of translucent or skin-tone powder over the primed area. This creates a second anti-transfer layer and gives the liner something to grip. On monolid eyes, this double-barrier prep system extends liner wear by 3 to 4 hours compared to liner applied directly to primed skin alone.
- Open your eyes fully and locate the fold line (30 seconds). Look straight into a mirror at eye level. Identify where the lid skin folds — the line where the skin creases or meets the upper lid. Everything below this line will be hidden when your eyes are fully open. Your floating liner will be drawn above this line.
- Mark the start and end points (30 seconds). With a fine eyeliner or pencil dot, mark two reference points on each eye while looking straight ahead: one at the midpoint of the eye (directly above the pupil), one at the outer corner. These dots confirm your liner will stay in the visible zone above the fold.
- Draw the floating line (2 to 3 minutes). Using a fine felt-tip liner, connect your reference points with a clean, thin line. The line should sit 1 to 2mm above the fold position when eyes are fully open — not touching the fold, floating above it. Work from the midpoint toward the outer corner first, then fill inward from the midpoint toward the inner corner if desired, keeping the inner section thinner and lighter. The outer section should be the thickest and most defined part of the line.
- Add the wing (1 to 2 minutes). Extend the outer end of the floating line upward toward the brow tail at a 30 to 45 degree angle above horizontal. The wing should be 4 to 6mm long for a natural effect, 7 to 10mm for a more graphic result. Draw the wing edge, then fill in the triangle between the wing and the floating line. Check the angle with eyes open before the formula fully sets and adjust if needed.
- Clean any edges (1 minute). Use a cotton bud dipped in micellar water or concealer to sharpen the bottom edge of the wing and correct any wobble in the floating line. On monolid eyes, clean edges are more visible than on hooded or double-lid eyes because the line is fully exposed from the front.
- Apply mascara (2 minutes). Apply one to two coats of waterproof mascara to upper lashes. On monolid eyes, curl lashes before mascara is essential — uncurled lashes point forward and can interfere with both the floating line and the wing. Use an eyelash curler before mascara application, holding for 8 to 10 seconds at the base of the lashes.
Total time: 8 to 12 minutes. The technique takes practice — most people find consistent results start to emerge between sessions 3 and 6 as the hand becomes familiar with drawing in the exposed lid space rather than at the lash line. If you are building a complete eye makeup routine around this liner technique and want to understand how shadow placement integrates with floating liner on monolid eyes, our detailed breakdown of eye makeup that lasts all day covers the full shadow-plus-liner system including primer techniques and placement that complement floating liner specifically: eye makeup looks that last all day.
Step by Step — The Extended Wing for Monolid Eyes
- Prime and set the lid as described in the floating liner steps above.
- Draw a thin baseline from inner corner to 70 percent across the eye using a gel liner and a fine brush or a felt-tip liner. Keep this line very thin — 0.5 to 1mm — as it will be partially covered by the fold and should not add heaviness to the closed lid appearance.
- Identify the wing starting point with eyes open. Look straight ahead and mark the point on the lash line at 70 to 75 percent across the eye. This is where the wing body will begin, positioned so that the upper edge of the wing sits above the fold level when eyes are open.
- Draw the wing body first. Starting from the marked point, draw the upper edge of the wing extending upward at 35 to 45 degrees toward the brow tail. The length should be at least 5mm — shorter wings on monolid eyes often disappear when the lid presses down. For a graphic or bold effect, extend to 10 to 12mm.
- Connect the wing to the lash line. Draw a line from the tip of the wing back down to the lash line at the outer corner, creating the wing triangle. Fill in the triangle completely. The body of the wing should be thickest at its midpoint.
- Check with eyes fully open before the formula sets. The full wing — including its base where it meets the lash line — should be visible above the lid fold. If any portion is disappearing, extend the wing upward by 1 to 2mm.
- Curl and mascara. Curl lashes, then apply two coats of waterproof mascara. For a more dramatic effect with the extended wing, false lashes applied at the outer corner only — three to five individual lash clusters placed at the outer corner lash line — reinforce the wing’s upward lift without adding weight at the inner corner.
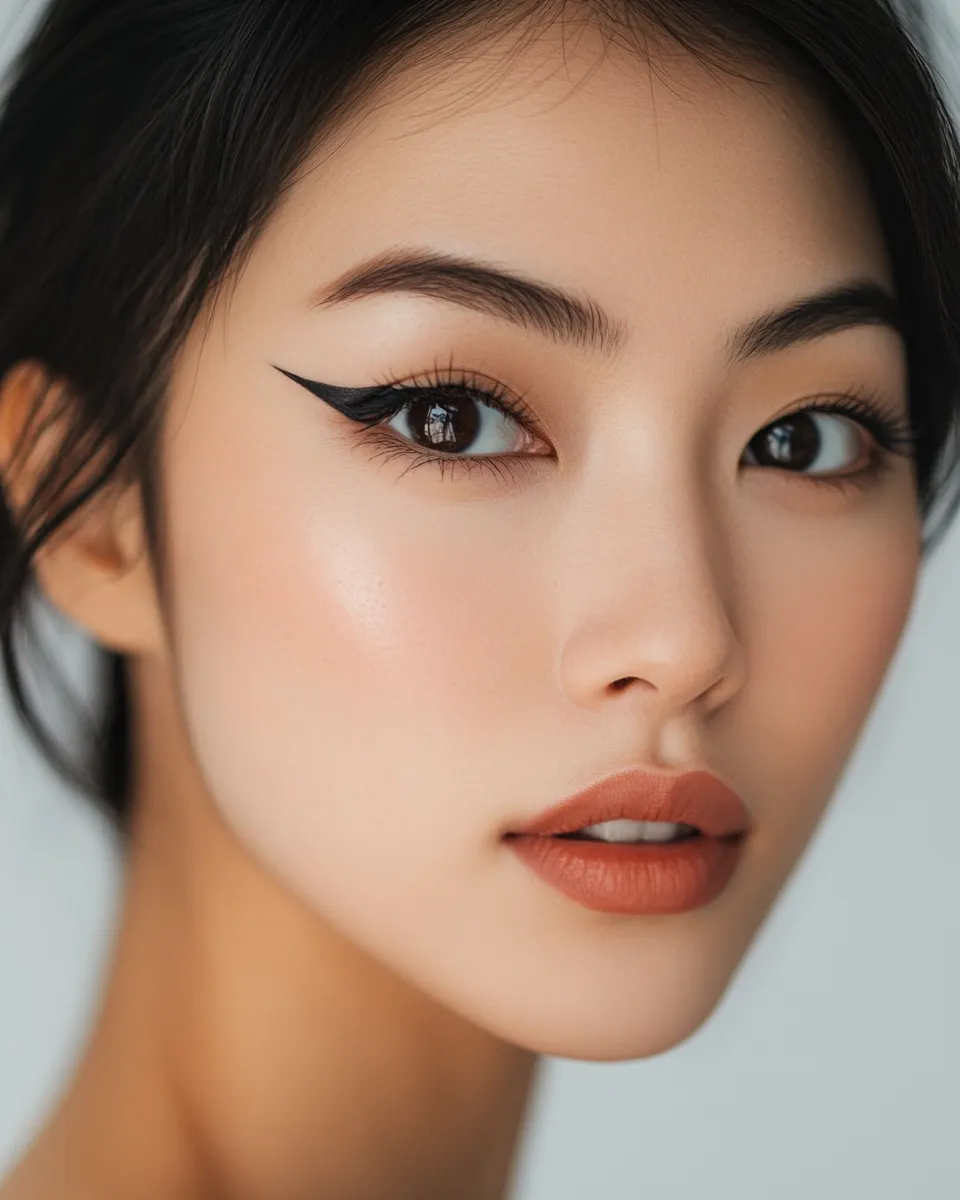
Eyeshadow That Works With Liner to Open Monolid Eyes
Liner on monolid eyes works best when the shadow around it is calibrated to support the opening effect rather than competing with it or creating visual noise that reduces the liner’s impact. The shadow strategy for eyeliner looks that actually open up monolid eyes follows three specific principles.
Keep the lid base light. A medium or dark shadow applied as a base across the entire visible lid area — which on monolid eyes means the space above the fold — will make the eye appear heavier and the liner less distinct. Use a skin-tone neutral or a light champagne as the lid base to keep the space clean and let the liner read clearly. This is the opposite of what many general eyeshadow guides recommend, where a medium transition shade on the entire lid is the starting point — on monolid eyes this approach fills the visible lid space with color and reduces the graphic impact of the liner.
Concentrate depth at the outer corner only. Apply a deeper shadow — a dark brown, a warm taupe, or a smoked charcoal — only at the outer V, in the space adjacent to and above the wing liner. This concentrates the visual weight at the point of lift rather than distributing it across the lid, reinforcing the upward direction of the liner and creating the three-dimensional opened effect that is the goal of all four techniques in this guide.
Inner corner highlight is essential. A small amount of champagne or white shimmer pressed at the inner corner of the eye, between the tear duct and the start of the liner, brightens the area most likely to appear closed or heavy on monolid eyes and creates an immediate widening effect that complements every liner look in this guide. This step alone — without any other change — makes monolid eyes appear noticeably more open and is one of the most effective single additions to any monolid makeup look.
For building a complete eyeshadow and liner routine that integrates correctly with either the floating liner or the extended wing technique, our complete step by step guide for beginners on eye makeup for hooded eyes step by step covers the shadow placement principles that overlap significantly with monolid eye technique — particularly the raised crease placement and the outer V depth strategies that apply to both eye structures.
Common Mistakes That Close Monolid Eyes Down Instead of Opening Them
These are the six most common liner and eye makeup mistakes on monolid eyes — each one is a direct cause of the heavy, closed, or drooping eye result that prompts most people with monolid eyes to look for better techniques in the first place.
- Drawing liner directly on the lash line without a floating component. On monolid eyes, a line drawn at the lash line without any floating or raised element disappears entirely under the fold when eyes open, contributing zero definition and adding lid weight visible only when eyes are closed.
- Horizontal or downward-angling wings. Any wing that angles horizontally outward or downward will be pressed into a drooping shape by the weight of the lid skin. The minimum upward angle for a wing to read as lifting on a monolid eye is 25 to 30 degrees above horizontal — steeper for heavier lids.
- Dark liner on the full waterline. Dark pencil applied across the entire inner waterline on monolid eyes creates a frame that visually shrinks the eye. The correct approach is nude or white on the waterline, with dark liner only at the outer corner if used at all on the lower waterline.
- Thick liner at the inner corner. Thick liner closest to the nose makes the eyes appear closer together and smaller. The inner corner of liner on monolid eyes should be the thinnest section — starting from barely a hairline and thickening progressively toward the outer corner.
- Skipping eye primer. Without primer, any liner on a monolid eye will stamp onto the upper lid skin above the fold within 1 to 2 hours, creating an unintended line that is often darker and less defined than the original application. On monolid eyes specifically, primer is the difference between a liner that lasts all day and one that needs to be corrected within an hour.
- Applying liner with eyes closed or looking down. The entire visible geography of a monolid eye changes depending on eye position. Every liner decision — where the floating line sits, where the wing starts, how high the wing rises — must be made with eyes fully open at mirror level. Liner decisions made with closed eyes will look entirely different when eyes open.
Liner Looks for Monolid Eyes Across Different Occasions
Each of the four core techniques scales differently for different contexts. Here is how to choose and adjust based on the occasion and the level of definition you want.
| Occasion | Recommended Look | Key Adjustment | Formula | Time Required |
|---|---|---|---|---|
| Everyday natural | Nude waterline + outer lower lash liner | Keep upper liner optional or very thin at lash base only | Nude waterline pencil, dark pencil for outer lower | 2 to 3 minutes |
| Office / professional | Floating liner, thin and precise | Wing short (4mm), line thin (0.5 to 0.8mm), neutral palette | Fine felt-tip liquid liner | 8 to 10 minutes |
| Date night / evening | Extended wing | Wing 8 to 10mm, deepened outer corner shadow, individual lash clusters | Felt-tip liquid over waterproof gel base | 12 to 15 minutes |
| Editorial / creative | Doubling technique | Both lines drawn with contrasting colors or floating line in graphic color | Gel base line, liquid felt-tip floating line | 15 to 20 minutes |
| Quick touch-up | Nude waterline only | Single product, applied in under 30 seconds | Nude waterline pencil | Under 1 minute |
Building the Liner Into a Complete Monolid Eye Look
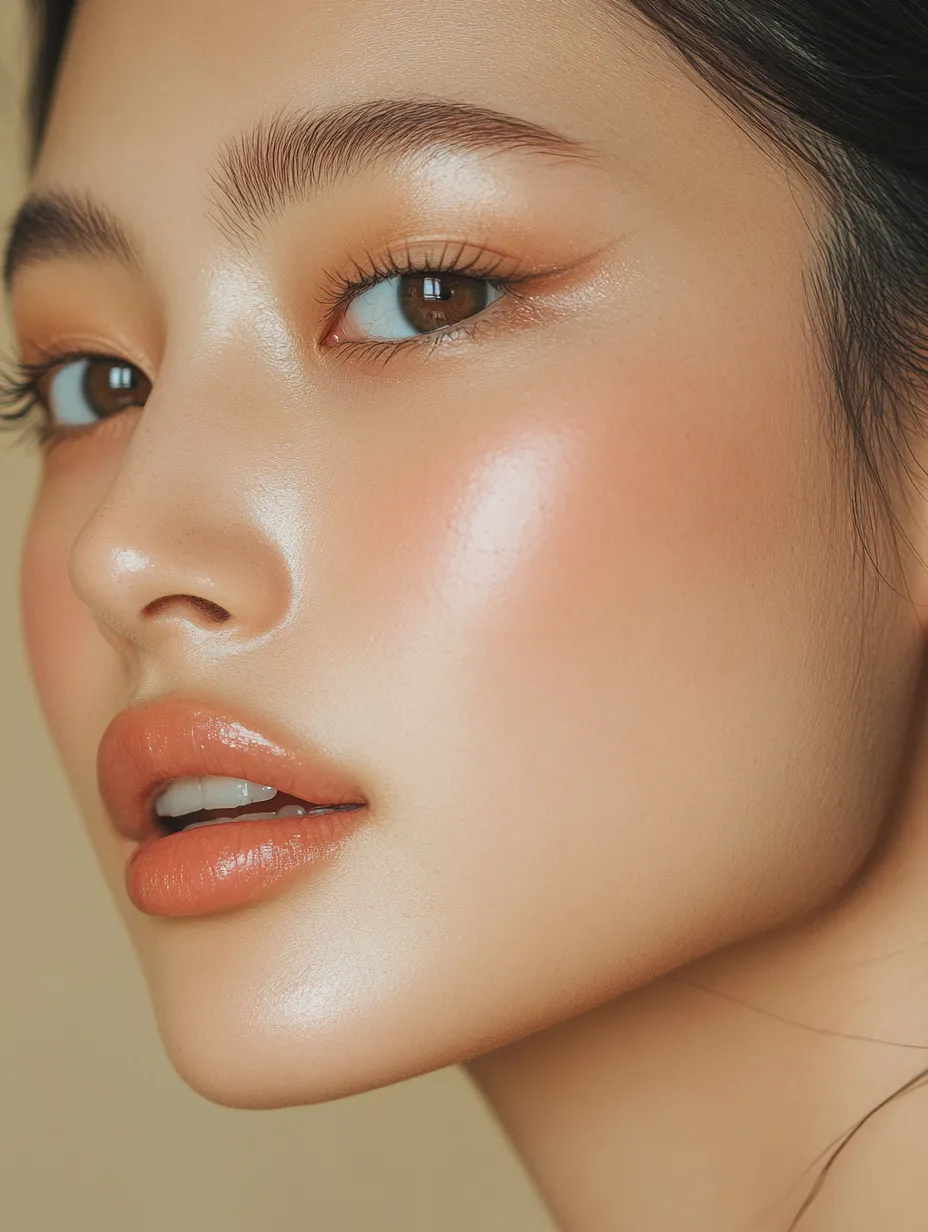
The four liner techniques in this guide are each more effective when they sit within a complete eye makeup context that supports the opening effect at every level. Here is how to build the full look around whichever liner technique you choose.
Base and primer: The foundation your eye makeup sits on determines how long it lasts and how cleanly the liner reads. A face primer that controls oil will prevent the lid skin from becoming tacky throughout the day, which reduces the transfer of any formula that the lid contacts. Our complete office makeup look that lasts 8 hours covers the exact primer and base system that keeps all eye makeup — including monolid liner — in place through a full workday, including the double-barrier technique of primer plus powder under liner that is particularly important for monolid eye longevity.
Brow grooming: On monolid eyes, the brow is more visible as a defining facial feature than it is on double-lid eyes — because the lid area has less visual texture (no crease, no visible lid fold from the front), the brow carries more of the framing work. A defined, slightly arched brow draws the eye upward and reinforces the lifted effect of the liner techniques in this guide. A softly arched brow is more flattering for monolid eyes than a straight brow — even a minimal arch at the peak creates a visual lift that complements the upward liner angles.
Skincare as the foundation: Liner behaves better on well-hydrated, smooth skin — and the lid skin on monolid eyes is thin and sensitive. Building a consistent skincare routine that maintains the barrier health of the skin around the eyes directly improves liner adhesion and longevity. For anyone who wants to build that foundation systematically, our skincare routine for beginners covers the exact sequence and ingredient choices that create the skin baseline that supports high-performance eye makeup — including the niacinamide and ceramide steps that specifically improve skin texture and reduce the transfer-prone oiliness that affects liner on monolid lids particularly.
The Technique Is the Product — What Actually Opens Monolid Eyes
The single most important insight from everything in this guide is that the eyeliner looks for monolid eyes that actually open them up are defined entirely by placement and angle, not by the product category, the brand, or the color. A standard black liner applied at the correct height with the correct wing angle will open a monolid eye more effectively than a high-end formula applied in the standard way at the lash line where it will disappear under the fold.
The floating line above the fold. The wing angled at 30 to 45 degrees upward toward the brow tail. The wing starting point at 70 to 75 percent across the eye rather than at the outer corner. The nude waterline that expands the visible white of the eye. The inner corner highlight that creates brightness where the eye most needs to appear open. These are five techniques that cost nothing beyond the products you likely already own, and each one produces a visibly different result on monolid eyes from the first time it is applied correctly.
Practice each technique separately before combining them. The floating liner alone is a complete and striking look. The extended wing alone is a complete look. The nude waterline alone transforms the eye. Once each technique is comfortable individually, combining two or three of them into a single routine builds the most effective and dimensional monolid eye result — an eye that reads as fully open, distinctly defined, and genuinely lifted from every angle, exactly as intended.