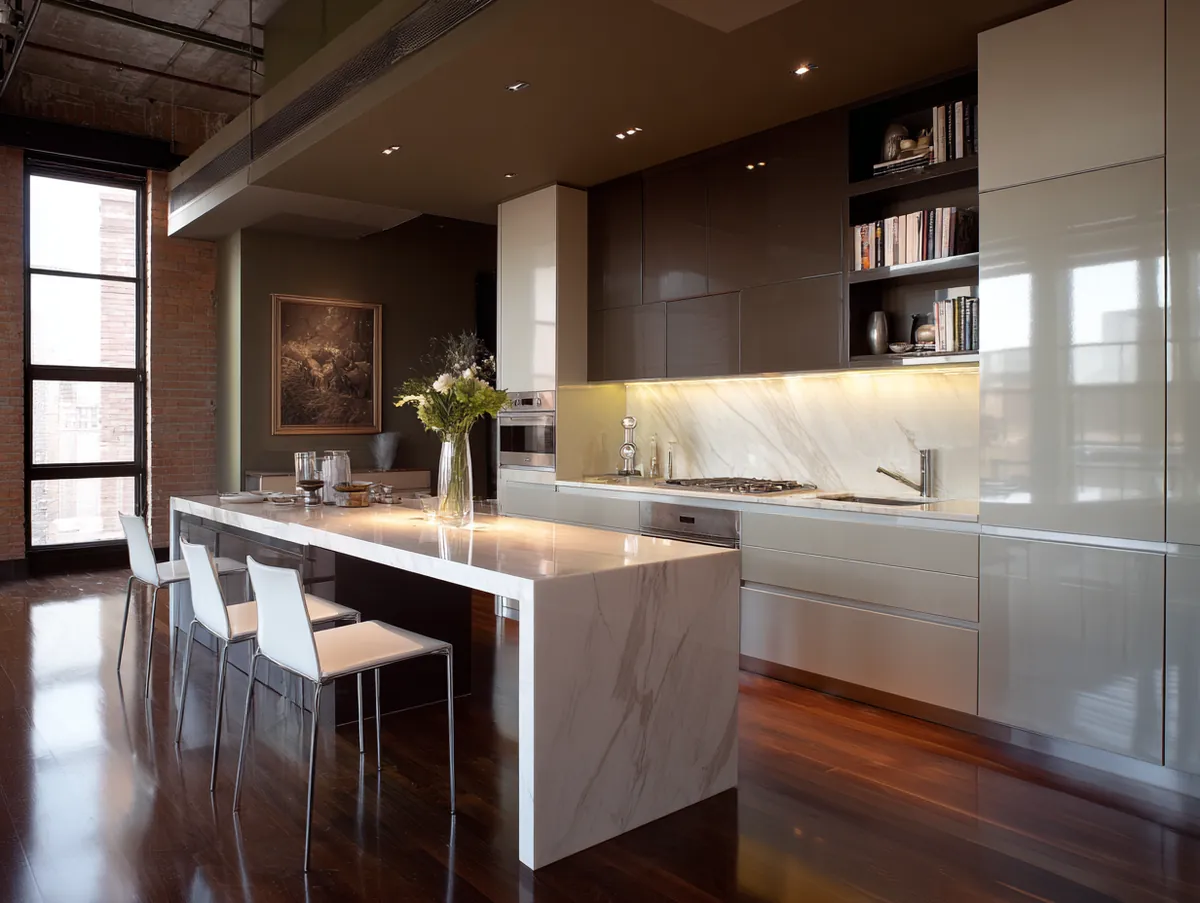
An industrial chic kitchen gets its character from the walls first, with exposed brick, matte steel or raw concrete doing the heavy lifting while cabinets and fixtures stay simple. Does the look still work in an ordinary house rather than a converted warehouse? Yes, because thin veneers and microcement now copy factory surfaces with far less depth and weight. Interior brick facades typically cost $10–$60 per sq ft installed, steel panels about $4–$8, and microcement roughly $8–$15. Pick one of those three materials for a single feature wall before buying anything else.
Brick reads warm, steel reads sharp and concrete reads calm, so the right choice depends on what the room already holds. A kitchen with oak floors and copper pans can carry dark metal, while a white kitchen with stainless appliances usually needs brick to stop it feeling like a lab. Think of the feature wall as a leather jacket over a plain T-shirt: one tough layer is enough, two start to look like a costume. Start with the wall you see first from the doorway, because that is where the material earns its cost.
- Interior brick facades run about $10–$60 per sq ft installed, so a 100 sq ft feature wall lands near $1,000–$6,000.
- Thin brick is roughly 1 inch thick vs about 4 inches for standard veneer, a big difference on a wall that already holds cabinets.
- Steel wall panels typically cost $4–$8 per sq ft installed, while zinc and copper climb to $15–$30.
- Microcement averages about $8–$15 per sq ft in US estimates and can go over existing tile without demolition.
- Warm 2700K filament bulbs flatter brick and rust tones, while cooler light flattens texture.
- One hero wall beats two competing raw materials on adjacent walls.
Exposed Brick That Warms an Industrial Chic Kitchen
A brick kitchen wall is the most forgiving way into industrial style, because uneven clay and mortar hide splashes, chips and age. National cost data puts an interior brick facade at $10–$60 per sq ft installed, and Angi’s brick wall cost breakdown lists a 100 sq ft interior facade at roughly $1,000–$6,000. Real brick vs thin veneer is the first fork, since standard veneer is about 4 inches thick while thin brick sits closer to 1 inch. Ask for thin veneer on any wall that already carries cabinets, outlets or a window frame.
Red brick vs whitewashed brick changes the whole palette of a modern brick kitchen design. Classic red-brown tones pair with black cabinetry and stainless steel, while limewash or white paint pulls the room toward a lighter loft feel; painting adds about $2–$5 per sq ft and staining about $1–$4. Is painting a waste of real brick? Only on reclaimed or handmade units, where the color variation is the whole point. Test any finish on a small patch near the floor before committing the full wall.


Brick near a range needs protection, because clay and mortar soak up grease the way a sponge soaks up coffee. Waterproofing sealant typically adds $2–$10 per sq ft and turns a set-in stain into something a damp cloth can lift. Unsealed brick vs sealed brick is a five-year difference in how the wall looks. Never leave raw brick bare directly behind a cooktop; seal the whole backsplash zone or put clear glass over it.
Lighting finishes the job, and LED filament bulbs at 2700K and around 450 lumens give brick the warm, low glow it was made for. Hang pendants low enough that light grazes the wall instead of washing it flat from the ceiling. The same brick-and-steel palette carries well into the next room, as these bold drapery designs for living room walls of brick and steel show with heavy fabric and black iron rods. Swap any cool-white bulb near brick for a 2700K one before buying new fixtures.
Matte Black Metal Panels Against Warm Wood Shelving
Metal wall panels give industrial kitchen design its sharpest edge, especially in matte black with visible rivets. Steel panels typically run $4–$8 per sq ft installed, corrugated profiles about $5–$8, and seamless concealed-fastener panels up to $16. Exposed fasteners vs concealed fasteners is the real style decision: rivets read factory floor, hidden fixings read modern gallery. Choose exposed rivets only if the cabinets stay plain, or the wall turns busy.
Is steel too cold for a family kitchen? Not when it shares the wall with wood, which works like a wool lining inside a steel-toed boot. Open oak or walnut shelves break up the dark surface and give rustic cookware a stage. Steel siding is often rated for around 50 years, so the panels will outlast several rounds of shelving and dishware. Fix shelf brackets into the studs behind the panel, never into the metal skin alone.


Dark gray vs true black matters more on metal than on any other surface. Black absorbs light and shrinks a small kitchen, while charcoal or graphite keeps the factory mood without the cave effect; zinc at roughly $15–$20 and copper at $20–$30 per sq ft add a warm patina instead. Don’t install glossy black steel behind a sink, because every water spot shows like chalk on a blackboard. Pick a matte or brushed finish for anything within splash range.
Natural light changes metal through the day, so window position should guide where the panels go. A panel opposite a large window bounces daylight back into the room, while one beside it shows rivets and seams in raking light. A kitchen with one small north-facing window rarely suits more than 1 metal wall. Put metal on the wall that faces the window and keep the darkest corner for wood or brick.
Concrete and Microcement for a Dark Gray Kitchen
A concrete accent wall gives a dark gray kitchen the calm, unfinished backdrop that industrial style was built on. Poured concrete is rare indoors, so most kitchens use microcement, a cement-and-resin coating that US cost guides put at about $8–$15 per sq ft installed, with some markets quoting $16–$23. Microcement vs a concrete block wall is the usual comparison: blocks run about $10–$20 per sq ft and add bulk, while the coating goes on in thin layers. Choose microcement whenever the wall already exists and only the surface needs to change.
Can it go straight over old tile? Often yes, and skipping tile removal saves days of dust and a demolition bill. Visible trowel marks are part of the appeal, like brushstrokes on a canvas, and a skilled applicator can make them subtle or bold. Don’t hand this job to a general painter, because the finish depends on hand technique across several thin coats. Ask to see a finished wall in person, not just photos, before signing.


Neutral gray makes copper, brass and wood look richer, which is why concrete pairs so well with open metal shelving and copper pans. Cool gray vs warm greige is the tone choice: cool gray suits black counters and stainless steel, while greige softens oak cabinets and leather stools. A protective sealer near cooking zones usually needs refreshing every 2–3 years. Put the reseal on the calendar the day the wall is finished, like a car’s oil change.
Texture only shows when light hits it from the side, so a troweled wall under flat ceiling light looks like plain gray paint. Large windows do this job by day, and a strip light or wall washer mounted close to the surface takes over after dark. A 2700K source keeps the gray warm, while colder light turns it toward a parking garage. Add one grazing light before adding any shelf or art to a concrete wall.
Industrial Kitchen Style in Old Lofts and Printing Houses
Industrial kitchen style looks most convincing in buildings with a working past, such as an old printing house, a mill or a warehouse loft where brick and beams are already in place. In those spaces the job is restoration rather than decoration, and with mason labor at about $70–$110 per hour, repairing original brick is often a better spend than covering it. Original vs new brick is an easy call there, since century-old units carry color shifts no veneer fully copies. Keep every original wall you can, even if it needs repointing.
What about a new-build house with flat drywall? There the industrial look kitchen comes from layering, much like assembling an outfit from a few strong pieces instead of one loud suit. A feature wall, open shelving, factory pendants and dark hardware together carry most of the effect. Never fake brick with printed wallpaper behind a cooktop, because heat and grease lift the seams fast. Follow the order below so each step builds on the last.
- Choose one feature wall in brick, metal or concrete and budget it per sq ft before anything else.
- Swap ceiling bulbs for 2700K LED filament lamps of about 450 lumens, often rated near 15,000 hours.
- Add one run of open wood-and-metal shelving instead of an extra upper cabinet.
- Switch handles and taps to matte black or graphite so they echo the wall.
- Keep cabinet fronts flat and plain, letting the raw wall stay the loudest surface.
Don’t Do This
- Don’t order 4-inch standard veneer for a wall that only needs the look; 1-inch thin brick does the same visual job.
- Don’t leave brick unsealed behind the range; sealant at $2–$10 per sq ft is cheaper than a stained wall.
- Don’t mix 2700K and cool-white bulbs in one sightline; the walls will look like two different rooms.
- Don’t put glossy black steel within splash range of the sink.
- Don’t skip the microcement reseal; near the cooktop it is due every 2–3 years.
Brick vs Metal vs Concrete for an Industrial Chic Kitchen Wall
Choosing a wall finish for an industrial chic kitchen comes down to budget, depth and upkeep. Steel is the cheapest entry at $4–$8 per sq ft, while brick has the widest spread at $10–$60 because labor and veneer type swing the price. Which one ages best? Brick and steel shrug off decades of use, while concrete coatings ask for a reseal every 2–3 years. Read the table like a menu with prices, then decide by the column that matters most in your kitchen.
The same trade-offs follow these materials outdoors, and this brick vs concrete exterior comparison sets durability, maintenance and cost side by side for house fronts. Indoors the stakes are smaller, since a 100 sq ft kitchen wall is a fraction of a facade. Don’t pick a kitchen material just because it matches the outside of the house. Let the cooktop and the light, not the street view, make the call.
| Wall finish | Installed cost per sq ft | Depth added | Upkeep | Look | Best pairing |
|---|---|---|---|---|---|
| Thin brick veneer | $10–$60 (materials $3–$8) | About 1 in | Seal near cooktop, $2–$10 per sq ft | Warm, textured | Black cabinets, 2700K pendants |
| Standard brick veneer | $10–$60 | About 4 in | Seal near cooktop, $2–$10 per sq ft | Solid, authentic | Open lofts, old buildings |
| Steel panels | $4–$8 (concealed-fastener up to $16) | Thin sheet | Wipe clean, rated around 50 years | Sharp, graphic | Oak shelving, concrete counters |
| Zinc or copper panels | $15–$30 | Thin sheet | Patina develops over time | Warm metal | Dark gray cabinets, brass taps |
| Microcement | $8–$15 (some markets $16–$23) | A few mm | Reseal every 2–3 years | Calm, troweled | Black counters, copper cookware |
| Concrete block | $10–$20 | Full block width | Seal against grease | Heavy, raw | Large open kitchens |
The Raw Wall Verdict
One raw feature wall does more for an industrial chic kitchen than three half-finished ones. Steel panels at $4–$8 per sq ft are the budget entry, microcement at $8–$15 sits in the middle, and brick spans $10–$60 depending on veneer and labor.
Pick brick when the room needs warmth, and choose 1-inch thin veneer over 4-inch standard units on walls that already hold cabinets. Seal the backsplash zone for $2–$10 per sq ft so grease never sets.
Pick matte metal when the kitchen already has wood and copper to soften it. Charcoal beats pure black in small rooms, and zinc or copper at $15–$30 per sq ft trades cold edge for patina.
Pick microcement for a dark gray kitchen with an existing wall that only needs a new skin, and plan a reseal every 2–3 years. Light all three finishes with 2700K bulbs, because warm light is what turns a raw wall from warehouse into kitchen.