A garden hose left full of water will freeze, expand and split, so the fix for a garden hose in late November is simple: turn off the spigot, disconnect the hose, drain every bit of water out of it, and coil it somewhere that stays above freezing. If a hard freeze is forecast and the hose is still attached, do it today.
Most of the damage happens at the ends and in the nozzle, where water pools, and at the outdoor faucet itself. Handling the hose and the tap together takes about fifteen minutes and saves a replacement in spring.
Why timing matters in late autumn
Family Handyman advises winterizing right after the first light frost but before the hard freezes, which it places in late October or early November for much of the US. By mid-November, many regions are past that point, so a hose still lying across the lawn is already at risk.
Hose material changes the stakes. Thin-walled expandable hoses are the most vulnerable, because their casings are slim and crack easily. Standard vinyl hoses turn stiff and brittle in the cold, and bending them then can crack the wall.
Quick Tips
- Close the spigot first, then open the nozzle to release pressure.
- Unscrew the nozzle, sprayer and any splitter before storing them.
- Drain the hose along its full length, not just from one end.
- Store everything indoors, above freezing.
Shut off, disconnect and drain
Turn the outdoor spigot clockwise until it stops, then squeeze the nozzle trigger to release the pressure left in the line. Unscrew the nozzle and, if several hoses are joined, separate them. A pair of pliers helps with fittings that have been on all season.
To drain, lay one end lower than the rest and work the water toward it. On flat ground, lift the far end to shoulder height and walk the hose through your hands so a high loop pushes the water out. Tom’s Guide also notes that any spray mechanism should be drained by hand, since water sits inside it.
If the hose has already frozen solid, do not force it to bend. Connect the two ends together, carry it indoors to thaw, and only then drain and coil it.
Coil and store without kinks
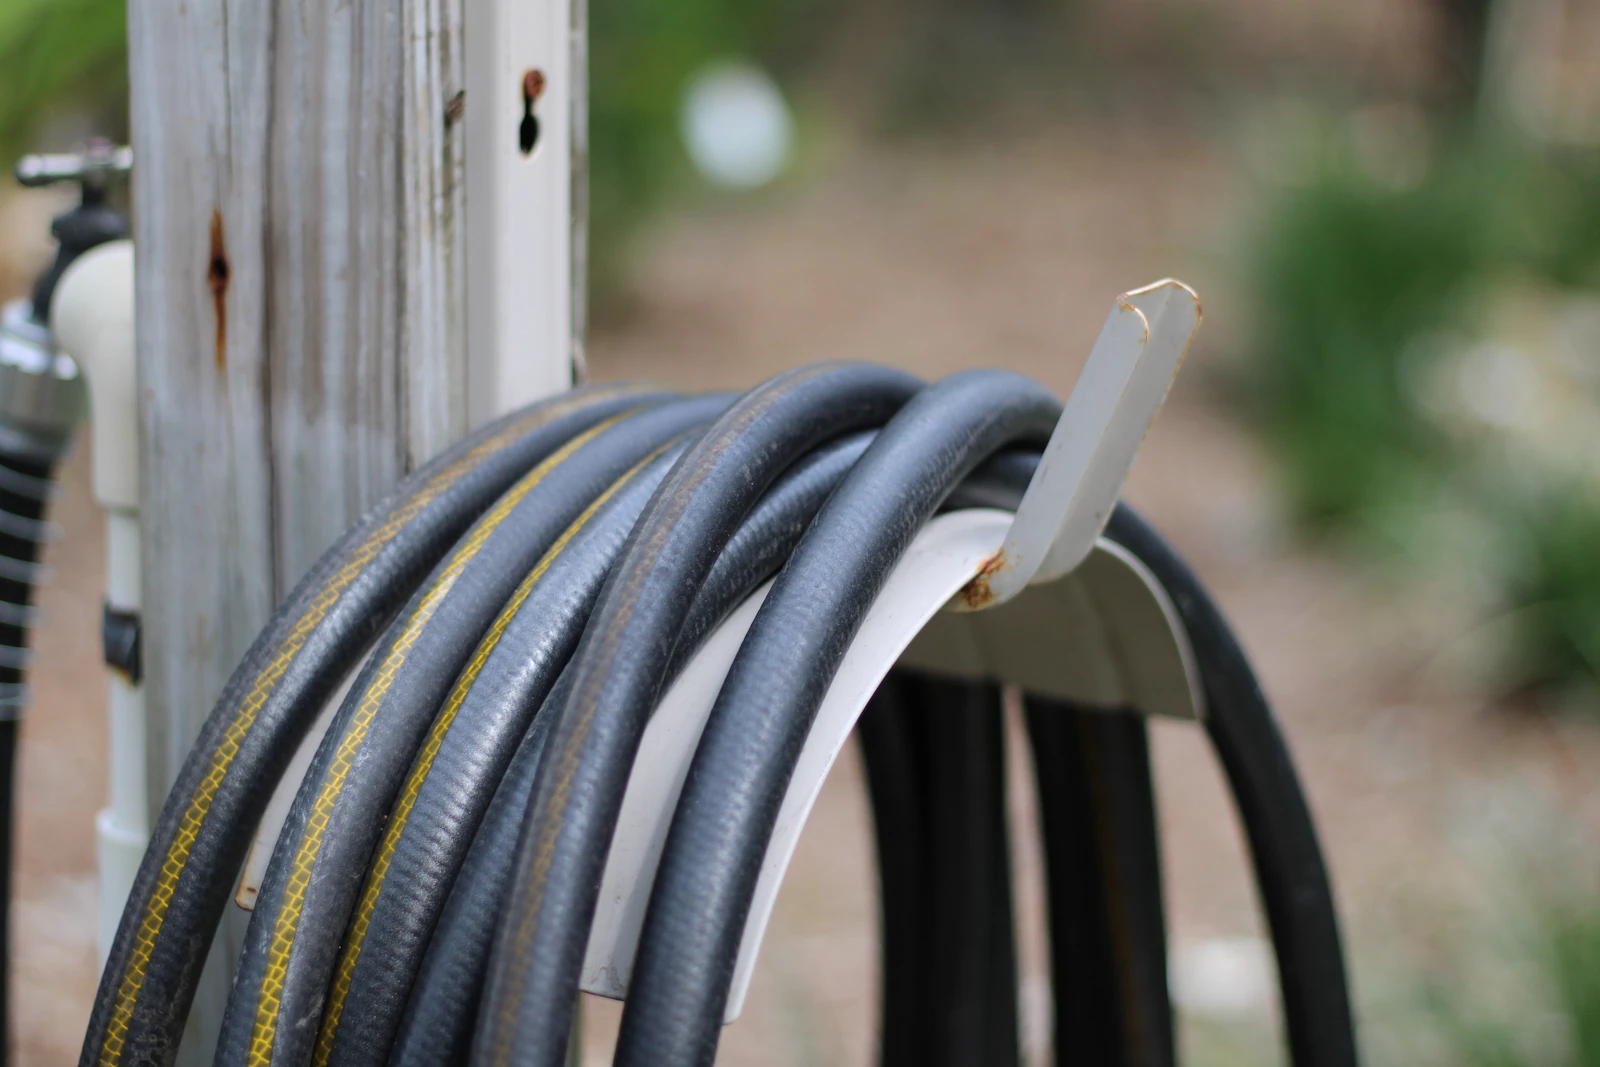
Make loose circles roughly two to three feet across and tie them with twine or a strap. Piled hose develops kinks that can become permanent, depending on the material. A wall hook, a hose hanger or a high shelf keeps it off the floor and away from rodents.
The storage spot matters as much as the draining. A garage works only if it stays above freezing; an unheated shed in a cold climate does not. Keep nozzles and fittings in a bin next to the hose so they are easy to find in spring.
Protect the outdoor faucet too
A hose that is put away neatly does not help if the tap behind it freezes. Lowe’s outlines the routine: shut the supply valve to the outdoor line (often in a basement or crawl space), open the outside tap to drain what remains, then fit an insulated cover, available in foam or rubber. Check for a leaky faucet first, because a dripping tap is more likely to freeze.
Foam pipe insulation or heat tape on exposed pipes adds some protection, but Tom’s Guide cautions that heat tape may not be enough in seriously cold weather. If a tap freezes every winter, Lowe’s points to a frost-proof faucet as the lasting upgrade.
The same end-of-season thinking applies to the rest of the yard. If you are also deciding how to put vegetable beds to rest, see the comparison of raised beds and corten steel planters.
Freeze-resistant hoses and their limits
Some hoses are sold as cold-weather models, built with layered rubber or polymer walls. Family Handyman quotes an expert saying such hoses stay flexible below 0°F, but also warns there is no guarantee they survive being left full of water. Manufacturer claims, such as a stated working range of -40°F on one brand’s product page, describe flexibility, not immunity from bursting.
A common mistake is trusting a cold-rated hose and leaving it attached to a tap that is still on. The hose may stay supple while the water trapped behind it freezes and cracks the faucet or the fitting. Drain and disconnect it anyway.
Getting the hose ready for spring
When warm weather returns, check the hose before it goes back on the tap. Look along its length for cracks, bulges and worn fittings, and replace the rubber washers inside the couplings if they have flattened or split, since a failing washer is a common cause of leaks at the tap.
Attach the hose with the nozzle off, open the tap slowly and let the water run for a moment to flush out dust and any insects that moved in. A hose that has been stored coiled loosely and dry usually comes out of winter in the same shape it went in, which is the whole point of the effort now.