The most practical kitchen cladding ideas share one trait: a sealed, non-porous face that sheds grease with a single wipe. Six materials do this well, namely porcelain, ceramic, toughened glass, stainless steel, acrylic and high-pressure laminate. Each one cleans with warm water and mild soap, so the real decision comes down to heat, budget and how many seams you want to scrub. Pick the surface first and the color second.
Budget is the clearest dividing line. Typical installed prices run from $12–$45 per square foot for ceramic tile up to $22–$75 for glass tile, and a standard 20–40 square foot backsplash usually lands between $900 and $3,500. Heat is the second filter, because glass and steel sit happily behind a gas hob while acrylic tops out around 80°C and needs distance. Match those two numbers to your cooking habits before looking at a single sample.
Does easy cleaning mean zero maintenance? Not quite, because grout lines, cut edges and brushed finishes still collect dirt at different speeds. The sections below compare every option on cost, heat tolerance and cleaning effort, with a table that puts all six side by side. Use it as a shortlist, not a mood board.
Quick Scan
- Porcelain absorbs 0.5% water or less, so stains stay on the surface instead of soaking into the tile.
- Ceramic costs $12–$45 per sq ft installed vs $16–$60 for porcelain, the cheapest tiled route.
- Toughened 6 mm glass is approved behind every hob type, while acrylic is rated to only about 80°C.
- Stainless steel panels run $20–$60 per sq ft and suit serious cooks, but show every fingerprint.
- HPL laminate resists dry heat around 180°C and one 4×8 ft sheet covers 32 sq ft.
- Fewer seams beat any spray: one 12×24 tile replaces 16 subway tiles of 3×6 size.

Stainless Steel Owns the Wall Behind the Hob
Stainless steel is the cladding for kitchen walls that takes the most punishment from heat and grease. Installed panels typically cost $20–$60 per square foot, with materials alone around $10–$30, which puts steel above ceramic but below premium glass tile. Think of it as the cast-iron pan of wall finishes: built for heat, indifferent to splatter, never delicate. It earns its price where the burners run hot every night.
The trade-off is visual, not structural. Polished steel shows fingerprints and water spots far faster than matte tile, so a brushed or textured finish hides daily smudges much better. Is steel worth it for a kitchen that mostly reheats leftovers? Usually not, since the constant wiping outweighs the heat benefit when the hob rarely goes past a simmer. Choose it for a wok station or gas range, not for a coffee corner.

Reflective steel also bounces light around narrow galley layouts, a similar effect to how glass wall panels brighten modern interiors. A single sheet from countertop to cabinet base, usually 28–32 inches tall, avoids the joints where grease collects. Skip small stainless mosaic tiles behind the hob, because every tiny square adds four more edges for grime to grip. One sheet always beats a hundred little pieces.


Ceramic Tile Still Wins on Budget Kitchen Wall Finishes
Among kitchen wall finishes, ceramic tile remains the budget benchmark every other option gets measured against. Average installed costs sit at $12–$45 per square foot, with materials often just $2–$10, against $16–$60 for porcelain. That gap adds up to several hundred dollars on a typical 30 square foot backsplash. Spend the savings on a better installer rather than a pricier tile.
The glaze does the cleaning work, while the clay body underneath stays thirsty. Glazed wall tile usually falls into the non-vitreous class, meaning the body can absorb more than 7% and up to 20% of its weight in water. Treat the glaze like the shell of an egg: perfect until chipped, porous right beneath. Never attack it with abrasive pads that can dull or nick the surface.

How do you cut grout cleaning without changing material? Go bigger on tile size and tighter on joints. A 4×12 tile covers almost three times the area of a 3×6 subway tile, so the wall carries far fewer grout lines, and a mid-tone grout hides light staining. Order 10–15% extra tile so a cracked piece can be swapped without hunting for a discontinued batch.


Glass Splashbacks Make the Easiest Wall Panels to Clean
Glass splashbacks are the easy to clean wall panels for kitchens that come closest to zero grout. A single sheet of 6 mm toughened glass covers the zone between worktop and cabinets without a single joint, and one squeegee pass clears it. It behaves like a car windscreen: smooth, hard and quick to rinse. Order it as one piece whenever the wall length allows.
Heat tolerance is where glass beats plastic outright. Manufacturers rate toughened splashbacks from about 220°C up to 400–470°C depending on the product, which is why they are approved behind gas, electric and induction hobs. Glass tile in smaller formats costs roughly $22–$75 per square foot installed, the highest range among tiled options. Check the toughening standard, such as BS EN 12150 in the UK, on every quote.

Can you drill a socket hole after delivery? No, toughened glass cannot be cut or drilled on site, so every outlet and edge must be templated after cabinets and worktops are fitted. A mirror version runs about $480–$780 installed and doubles the light in a dark kitchen, although it shows splashes faster than back-painted color. Never order glass from measurements taken before the worktop goes in.


Acrylic Panels Trade Heat Tolerance for a Lower Price
Acrylic sheets rank among the most affordable low maintenance wall cladding panels, and from across the room they look almost identical to glass. Painted acrylic is commonly sold in 3–6 mm thicknesses and weighs far less than glass, so one person can lift and glue a full panel. Suppliers describe it as roughly 10 times more shatter-resistant than glass. It suits renters and weekend makeovers better than any tiled option.
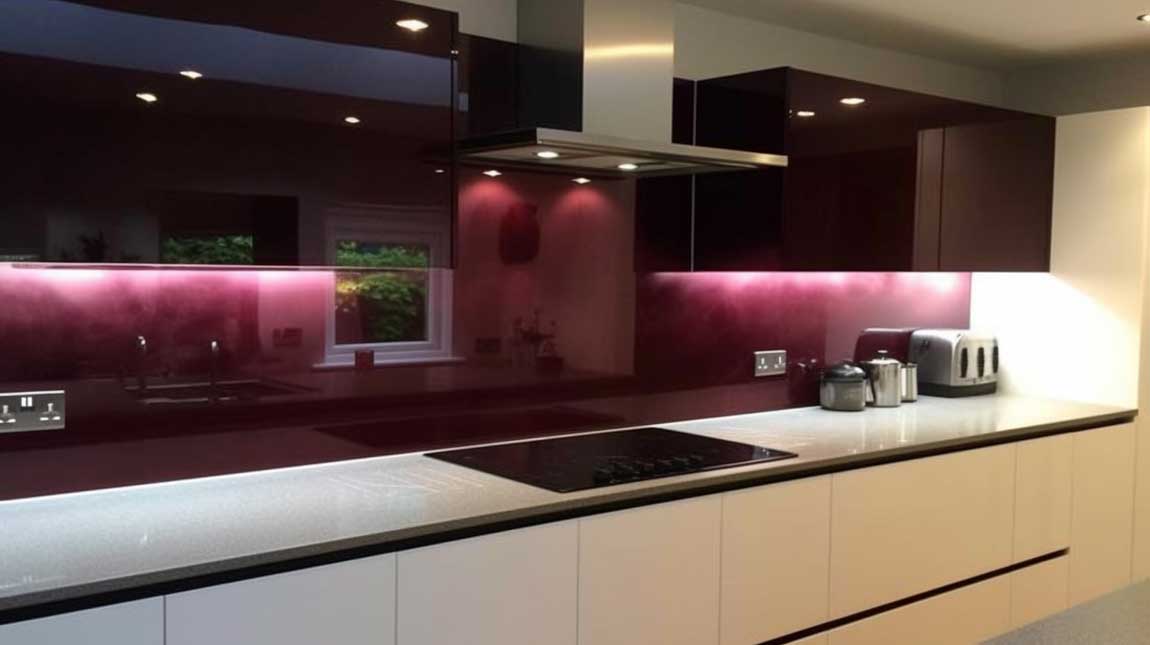
The weak spot is temperature. Typical acrylic sheets carry a service range of –40°C to 80°C, and suppliers advise against fitting them behind gas or electric hobs at all. Behind induction, a gap of about 50 mm between hob and panel is the usual minimum. Treat acrylic like a raincoat rather than an oven glove: great against splashes, useless against flame.

Scratches are the second compromise. Acrylic is softer than glass, so a gritty sponge leaves haze within weeks, while plastic polish and a microfibre cloth keep the gloss intact. Does it move with temperature? Yes, acrylic expands more than tile or stone, so leave a small gap at the edges rather than jamming panels tight. Reserve acrylic for sink walls and prep zones, away from the cooktop.


Laminate Cladding Brings Wood and Stone Looks Without the Fuss
Laminate is the smartest way of cladding kitchen walls in an oak, marble or concrete look without the weight or the sealing. Decorative HPL sheets are typically around 0.8 mm thick and come in 4×8 ft formats, so one sheet covers 32 square feet, enough for many standard backsplashes. Picture a worktop turned on its side: the same tough skin, now on the wall. Pick a textured matte finish if fingerprints bother you more than splashes.
Heat and stain ratings are better than most people expect. Quality HPL is tested to EN 438 and resists dry heat around 180°C on the surface, compared with roughly 80°C for acrylic. The face shrugs off coffee and tomato sauce, but cut edges stay the weak point, because the core beneath can swell if water sits on it. Seal every edge and joint with silicone before the first splash lands.
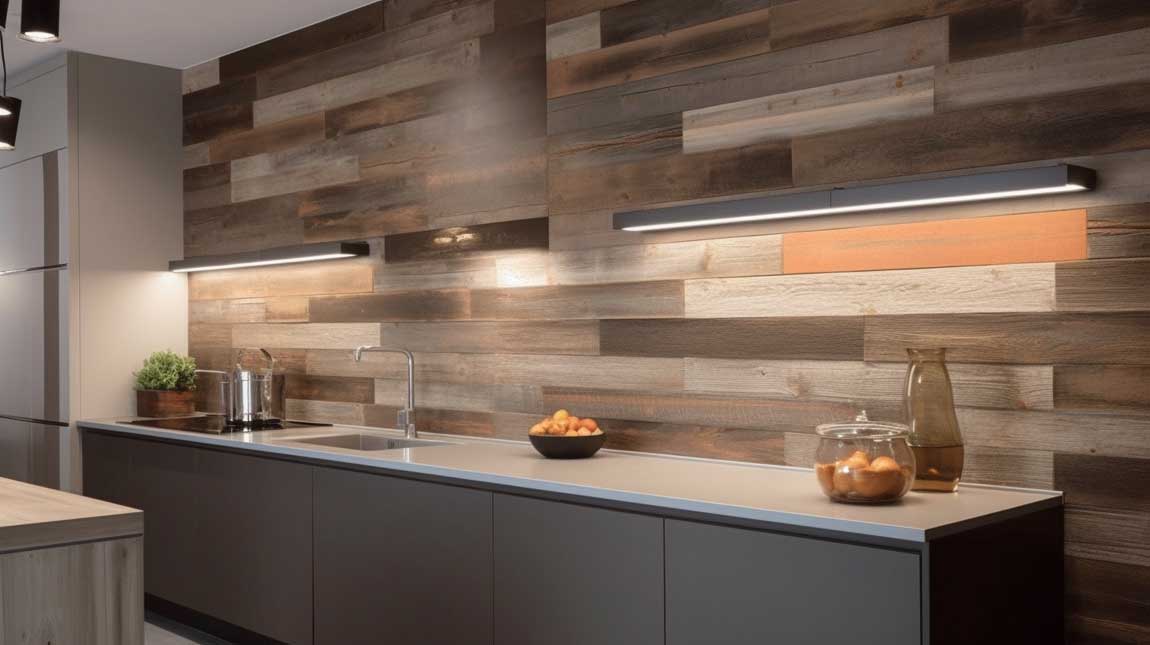
Installation errors cost more than the material itself. Uneven walls, skipped primer and too little adhesive make panels lift, a pattern explained in common wall panelling mistakes that ruin a clean finish. Is laminate fine directly behind a hob? Keep a toughened glass or steel insert in that zone and run laminate everywhere else. Add a 10–15% buffer when ordering sheets for cuts and future repairs.


Porcelain Tile Tops the List of Kitchen Cladding Ideas
Porcelain is the long-term winner among kitchen cladding ideas when durability matters more than upfront price. Under ANSI A137.1, porcelain must absorb 0.5% water or less, against up to 20% for many glazed wall-tile bodies. Installed cost runs $16–$60 per square foot, partly because cutting dense porcelain takes more labor. Pay the premium once and expect the wall to outlast the cabinets.

Large formats are where porcelain pulls ahead of ceramic. A 12×24 tile covers 2 square feet in one piece, 16 times the area of a 3×6 subway tile, so the grid of grout lines nearly disappears. Rectified edges allow much narrower joints than cushion-edge tile, which is like trading a cobbled street for a paved road. Ask for rectified stock if cleaning time is your main goal.
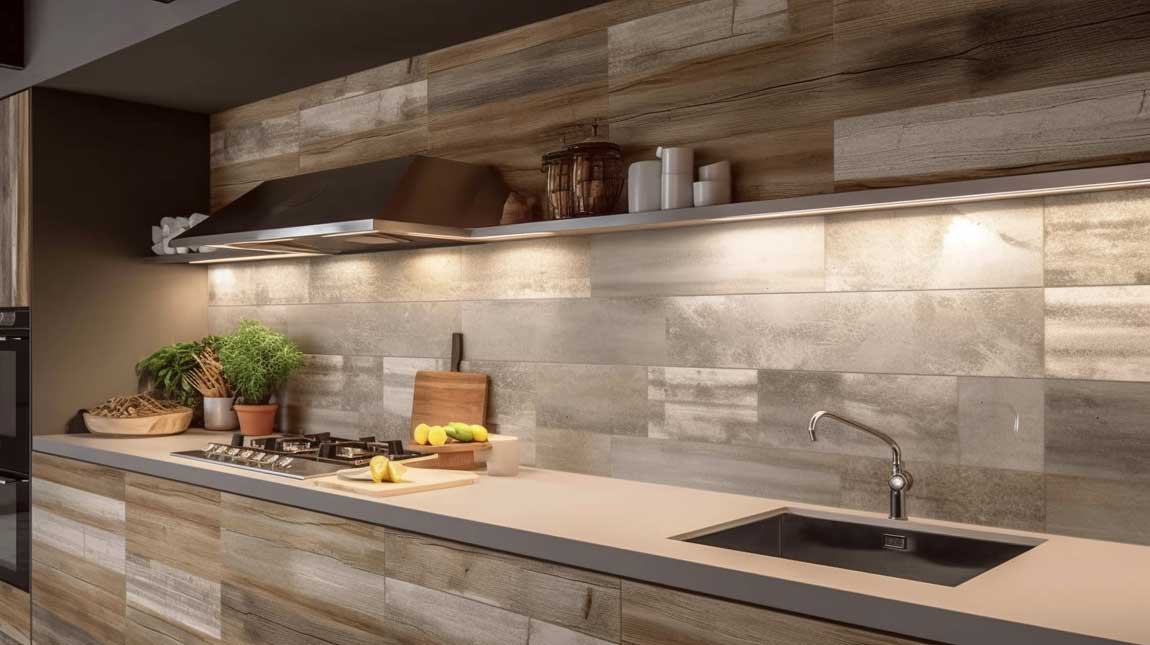
Is porcelain overkill for a small kitchen? Not when the tile continues behind the hob and sink, the two zones that take the most abuse. Do not buy polished porcelain for a busy cooking wall without testing a sample, since high gloss shows streaks faster than satin or matte. A matte slab-look tile gives the closest thing to a stone wall at a fraction of the $70–$180 per square foot that quartz slabs cost.

Compare Kitchen Wall Cladding Ideas Side by Side
Kitchen wall cladding ideas only make sense once cost, heat and cleaning effort sit in one view. The table uses typical installed ranges from Block Renovation’s kitchen backsplash cost breakdown plus manufacturer heat ratings. On a 30 square foot run, the gap between the cheapest sensible choice and the most expensive one is often about $2,000. Read across the row for your hob type before comparing prices.
| Material | Installed cost per sq ft | Heat tolerance | Water absorption | Cleaning effort | Best zone |
|---|---|---|---|---|---|
| Ceramic tile | $12–$45 | High (fired clay) | Glazed face sealed, body up to 20% | Low, grout needs a brush | Full backsplash on a budget |
| Porcelain tile | $16–$60 | High (fired clay) | 0.5% or less | Very low with 12×24 formats | Busy family kitchens |
| Toughened glass | $22–$75 (glass tile) | 220°C to 470°C by product | Non-porous | Very low, one squeegee pass | Behind any hob type |
| Stainless steel | $20–$60 | Very high | Non-porous | Daily fingerprint wipe | Gas ranges and wok stations |
| Acrylic panel | Below glass, 3–6 mm sheets | –40°C to 80°C | Non-porous | Low, but scratches easily | Sink walls, 50 mm from induction |
| HPL laminate | Sold per 4×8 ft sheet (32 sq ft) | About 180°C surface | Face sealed, edges vulnerable | Low, keep joints dry | Prep walls and long runs |
Clean Kitchen Wall Cladding Without Damaging the Finish
How to clean a kitchen wall depends less on the cleaner and more on the surface underneath. Glass, steel and porcelain need only warm water with a little dish soap, while acrylic, rated to about 80°C, should never meet a steam cleaner pushing vapour at 100°C or more. Think of it like washing a car: the paint survives the soap, but a gritty sponge leaves swirl marks. Keep a separate microfibre cloth for softer panels so grit never travels between surfaces.
- Glass: spray a mild cleaner, then squeegee from top to bottom in one pass to avoid streaks.
- Stainless steel: wipe along the grain with a damp microfibre cloth, then buff dry.
- Porcelain and ceramic: wipe the tile face after cooking and scrub grout with a soft brush and pH-neutral cleaner.
- Acrylic: mild soap and water only, finished with plastic polish; skip ammonia-based glass sprays.
- Laminate: damp cloth on the face, then dry edges and joints straight away.
Don’t Do This
- Don’t fit acrylic behind a gas or electric hob: its 80°C limit sits far below what an open burner throws at the wall.
- Don’t scrub glazed ceramic with scouring pads, since a nicked glaze exposes a body that can absorb up to 20% water.
- Don’t run 3×6 subway tile behind the hob if cleaning time matters: a 12×24 porcelain tile covers the same area with 16 times fewer pieces.
Grout is the real dirt magnet on any tiled wall, and cement grout stays porous unless it is sealed. Should you seal it? Yes for cement grout behind the hob, while epoxy grout costs more but resists stains without sealing. A large-format porcelain wall with 2 square feet per tile needs a fraction of the brush work of a 3×6 subway wall. Choose epoxy grout for the 28–32 inch strip right behind the cooktop.
Pick the Wall Before the Look
Porcelain and toughened glass give the lowest-effort kitchen wall of the six, with porcelain absorbing 0.5% water or less and glass clearing in a single squeegee pass. Both also handle hob heat without special clearances. Start there unless the budget says otherwise.
For tight budgets, ceramic at $12–$45 per square foot installed undercuts porcelain at $16–$60 and still cleans with one wipe of the glaze. Put the savings toward a skilled installer and larger 4×12 tiles.
Match the hob zone first. Glass and stainless steel belong behind gas burners, while acrylic, rated to 80°C, works only on sink walls or 50 mm away from induction.
Seams decide cleaning time more than any spray. One 12×24 tile replaces 16 subway tiles, and one 4×8 ft laminate sheet covers 32 square feet with no grout at all.