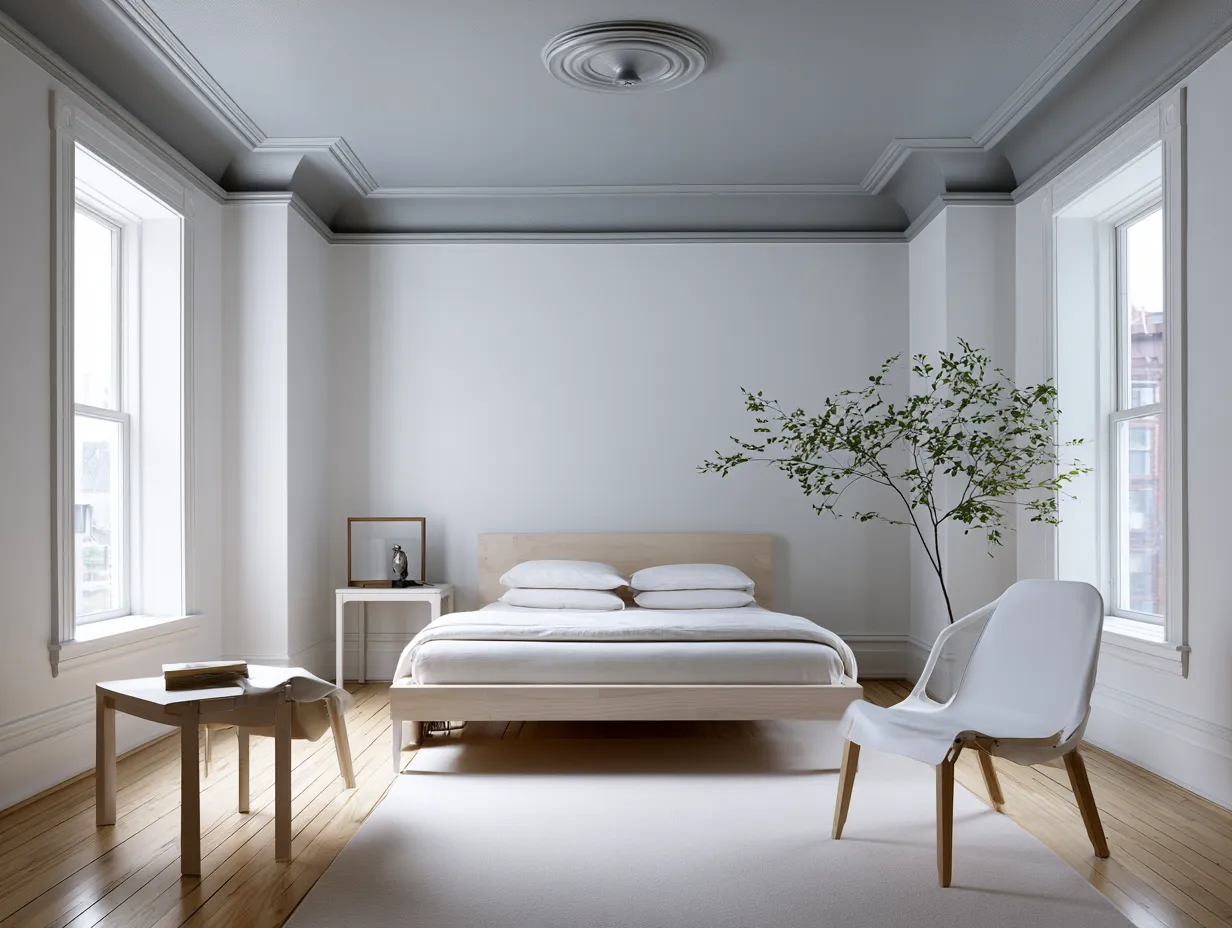
Plywood ceiling design has moved well past the “budget alternative” label — today it’s a deliberate architectural choice that shows up in architect-designed homes, thoughtful renovations, and rooms where the ceiling is meant to compete with the furniture. The material costs between $2.50 and $5 per square foot (materials only, per Fixr), which makes it one of the few finishes that can genuinely look expensive without costing that way.
What makes it work is the grain. Each panel carries a surface texture that drywall and plaster simply cannot replicate — wood tones that shift under different lighting conditions, and joints that, when planned carefully, become part of the visual logic of a room. The five spaces below show what that looks like in practice across a living room, bedroom, kitchen, rustic interior, and home office.
The range here is intentional. A geometric bedroom ceiling has nothing in common with a recessed-lighting kitchen installation — different panel layouts, different lighting strategies, different finishes. Seeing all five together makes it easier to identify which approach fits a specific room rather than defaulting to whatever looks most dramatic in a photo.
- A contemporary living room where natural plywood tones work with a neutral palette and modern fixtures
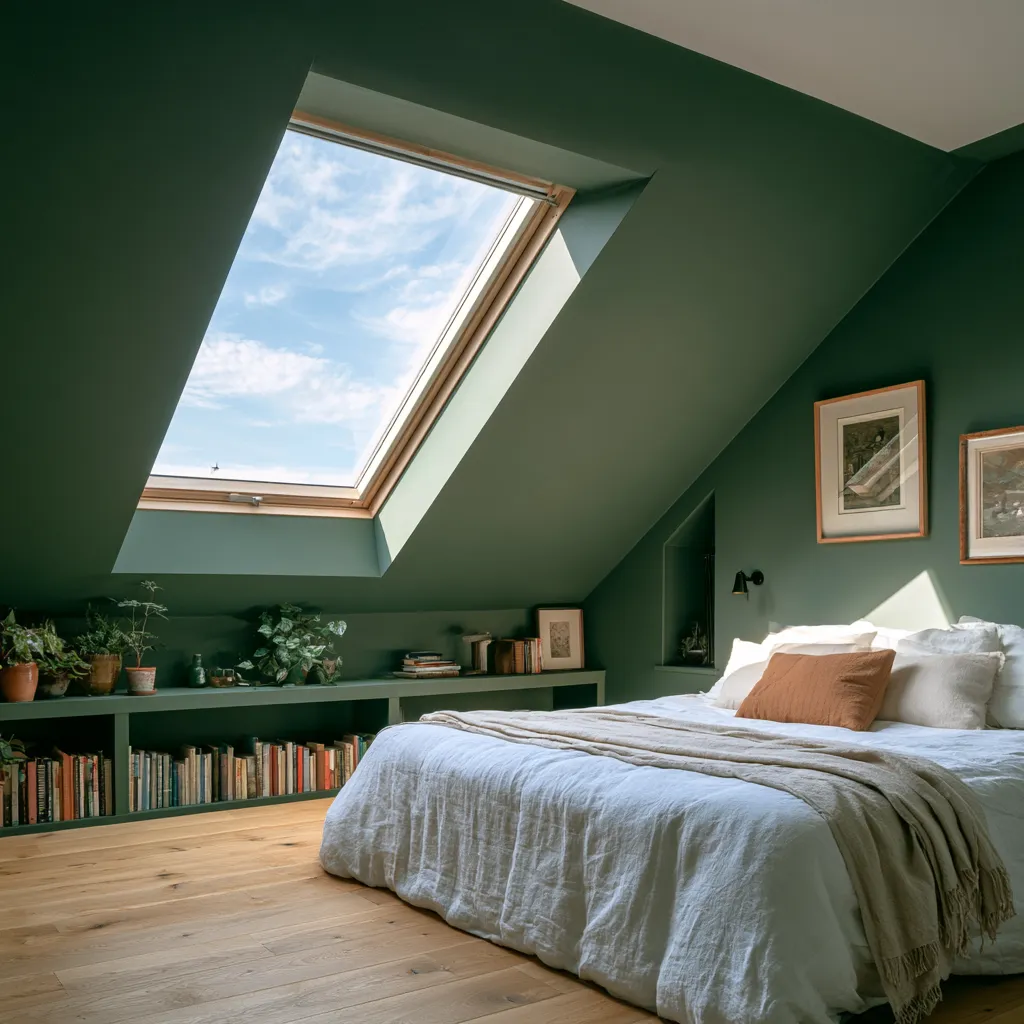
- A bedroom with a geometric panel layout that creates shadow and depth without repainting a single wall
- A kitchen where recessed lighting is positioned to highlight wood grain rather than wash it out
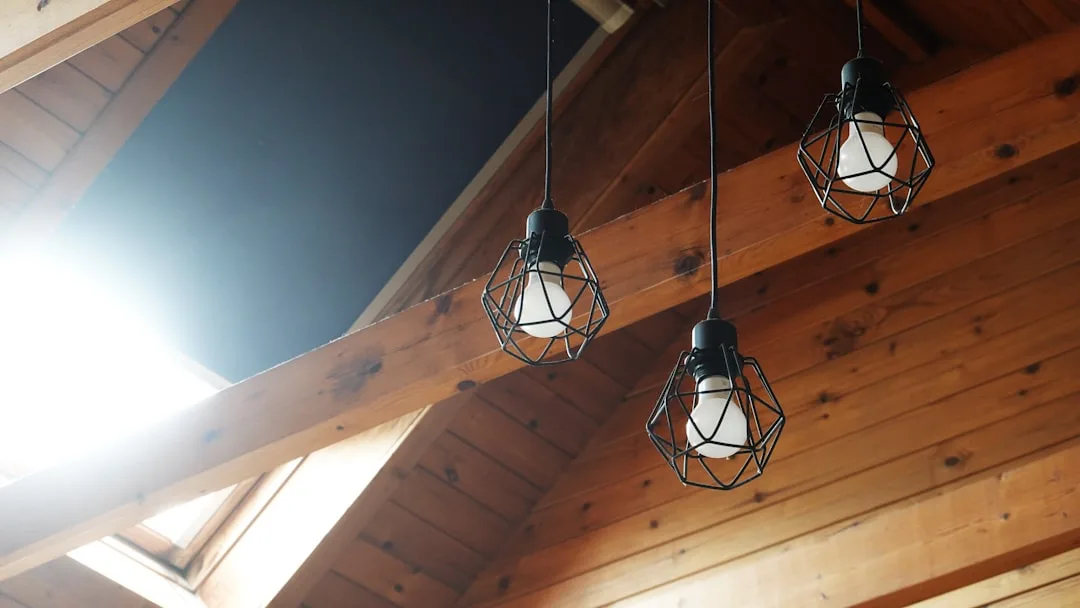
- A rustic living room pairing plywood panels with exposed structural beams
- A home office that integrates built-in storage directly into the ceiling plane
- Verified costs, spacing rules, and panel material options to plan your own project
What a Living Room Plywood Ceiling Design Actually Changes
Living room plywood ceiling design changes the acoustic quality of a space before it changes anything visual — wood absorbs sound differently than painted drywall, and a room with a wood ceiling tends to feel quieter and less reflective even at the same dimensions. The visual shift follows: panel joints and grain run in a direction, and that direction pulls the eye across the room the same way flooring does, giving the space a sense of orientation it wouldn’t otherwise have.
A 4×8 sheet of PureBond birch from Home Depot runs around $70 per sheet — enough to cover roughly 32 square feet before waste. For a standard 12×14 living room ceiling (168 square feet), plan for seven to eight sheets, plus adhesive, fasteners, and finish. The total installed cost for mid-range plywood with professional labor typically lands between $3.50 and $8.50 per square foot according to Design Transition Studio, putting a 168 sq ft project in the $590–$1,430 range for materials alone.


The panels here run parallel to the longest wall — this is the standard recommendation for rooms under 15 feet wide, because it elongates the perceived depth. Stylists recommend finishing the wood with a matte water-based polyurethane rather than oil-based varnish; oil-based finishes yellow over time, which shifts the warm birch tones toward orange and fights against cooler furniture palettes. Don’t try to fill every joint — visible seams are part of the design language, not a flaw to hide.
Does the wood species matter as much as people think? For ceiling applications, the answer is mostly no — grain visibility matters more than species hardness, since ceiling panels take no foot traffic. Birch and pine are the practical choices. Birch provides a tighter, more even grain for a cleaner look; pine has wider, more pronounced rings and reads warmer. The wrong move is staining a budget pine panel to look like walnut — the grain pattern gives it away immediately and the whole ceiling reads fake.
Geometric Plywood Ceiling Design Patterns for Bedroom Depth
Geometric plywood ceiling design in a bedroom works because the ceiling is the one surface a person actually stares at — horizontal furniture blocks most walls at eye level, but the ceiling is always visible from the bed. A geometric panel layout — chevron, herringbone, grid offset, diagonal strips — turns that surface into something worth looking at rather than something painted white by default.
The interplay between panel direction and fixed lighting is the mechanical heart of this approach. Panels laid diagonally create shadows that shift throughout the day as natural light changes angle; this is the room-as-sundial effect that flat ceilings cannot produce. What angle of light makes the grain pop most? For bedrooms with east-facing windows, morning light hits diagonally placed panels at a low angle and makes the texture three-dimensional. Evening artificial light positioned parallel to the grain direction flattens it — position pendant or recessed lights perpendicular to the grain run for maximum visual texture at night.


The warm, earthy tones of plywood complement linen bedding and terracotta accents in a way that painted ceilings simply don’t — wood reads as part of the material palette rather than a separate surface you’re looking up at. For more on pairing plywood with bedroom wall treatments, the plywood interior wall cladding ideas on this site show how ceiling and wall applications can work as a unified system rather than competing elements.
Recessed Lighting and Plywood Ceiling Design in a Kitchen
Kitchen plywood ceiling design paired with recessed lighting is a functional pairing that solves a real problem: kitchens need a lot of task light, but most light fixtures look awkward against raw wood surfaces. Recessed cans sit flush with the panel face and disappear into the wood plane — the light appears to come from the ceiling itself rather than from a fixture attached to it.
Spacing matters more here than in any other room. The standard formula is ceiling height divided by two to get fixture spacing: an 8-foot kitchen ceiling calls for recessed lights spaced roughly 4 feet apart. For kitchen work zones specifically, the National Kitchen and Bath Association recommends 50 lumens per square foot for prep areas — a standard 10×12 kitchen needs approximately 12 to 15 recessed fixtures total (per PacLights). That’s a meaningful pre-install calculation because the cut-through pattern in the plywood determines the joint layout, and the two systems need to be coordinated before a single panel goes up.


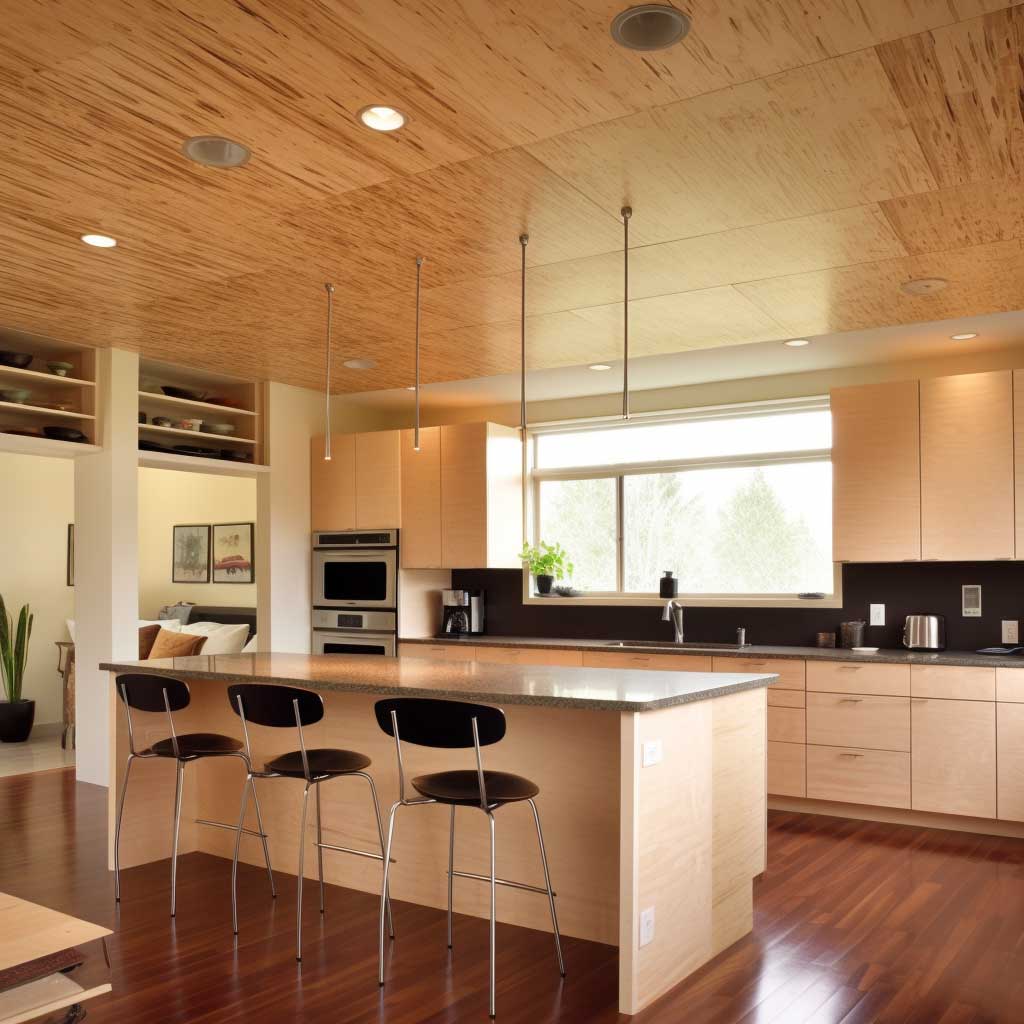


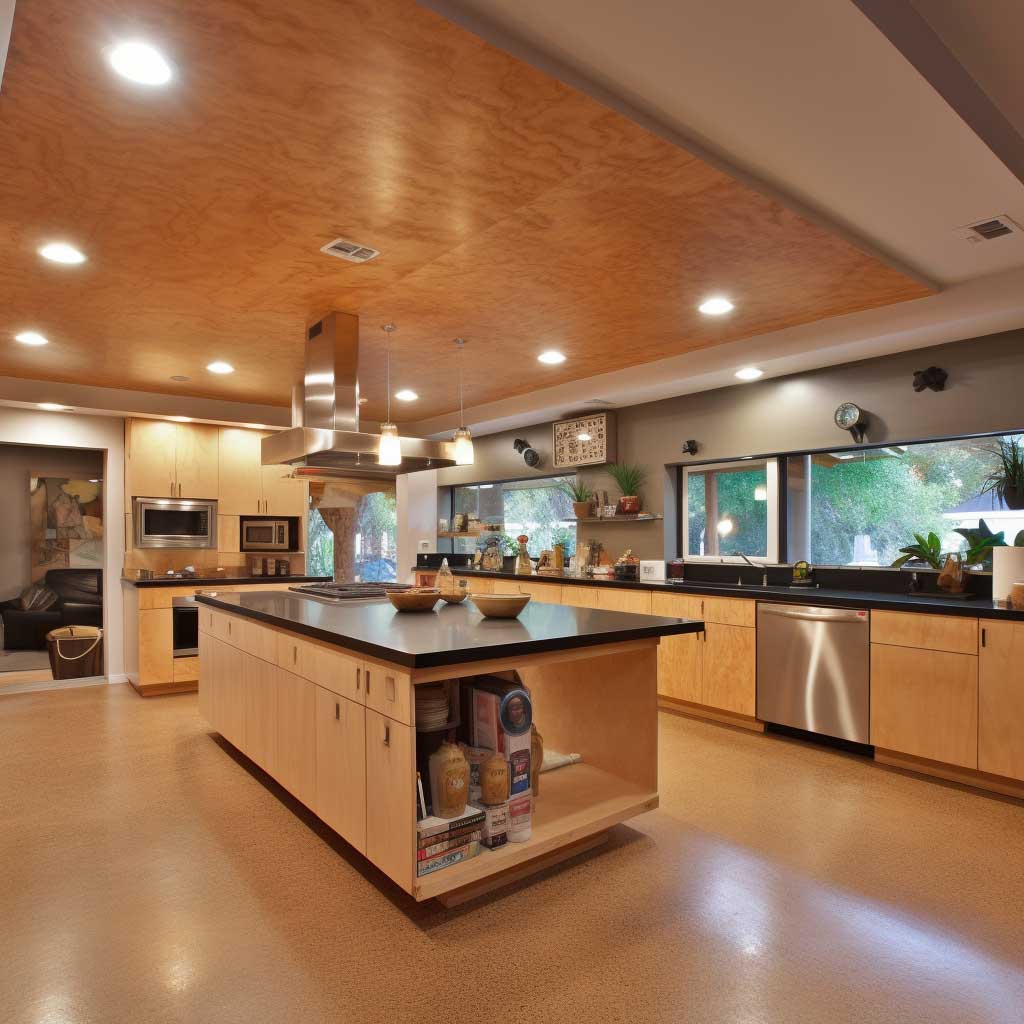
Think of the recessed lighting plan like a stencil laid over a map of the room: the counter line, the island, and the sink all mark specific task zones that need their own fixture clusters, with ambient perimeter lights filling in around them. Position island fixtures 30 inches apart along the island run, and keep counter fixtures 18 inches back from the cabinet face — that placement ensures the beam hits the counter surface rather than the cabinet door. Avoid placing any recessed can directly over a panel joint; the circular trim ring doesn’t seal properly over seams and will gap over time as the wood moves seasonally.
Plywood holds recessed can hardware securely without requiring ceiling joists directly above every fixture, which is one reason contractors prefer it over drywall for kitchens with complex lighting layouts. The material also takes a low-sheen polyurethane finish that handles kitchen moisture without warping — a flat or matte finish absorbs humidity and can raise the grain within a year. You can read more about how plywood works across interior surfaces, including the wall applications that pair naturally with a plywood ceiling.
Exposed Beams Pull the Plywood Ceiling Design Into Rustic Territory
Plywood ceiling design with exposed structural beams works in rustic living rooms because the material pairing is honest — the beams carry the load, and the plywood panels between them acknowledge that structure rather than hiding it. This is the opposite design logic from a smooth drywall ceiling where all the structure is concealed; here, the ceiling reads like the underside of a floor, which is exactly what it is.
Beam box kits — the kind that wrap over structural lumber to widen the visual profile — typically cost $20 to $80 per piece (per Fixr), and a 14-foot living room ceiling might use six to eight of them depending on the spacing. The plywood field panels between beams are where the material choice matters: try a lightly wire-brushed pine panel rather than sanded birch in rustic applications, because the wire brush opens the grain and makes the wood look older and more textured without any staining required.


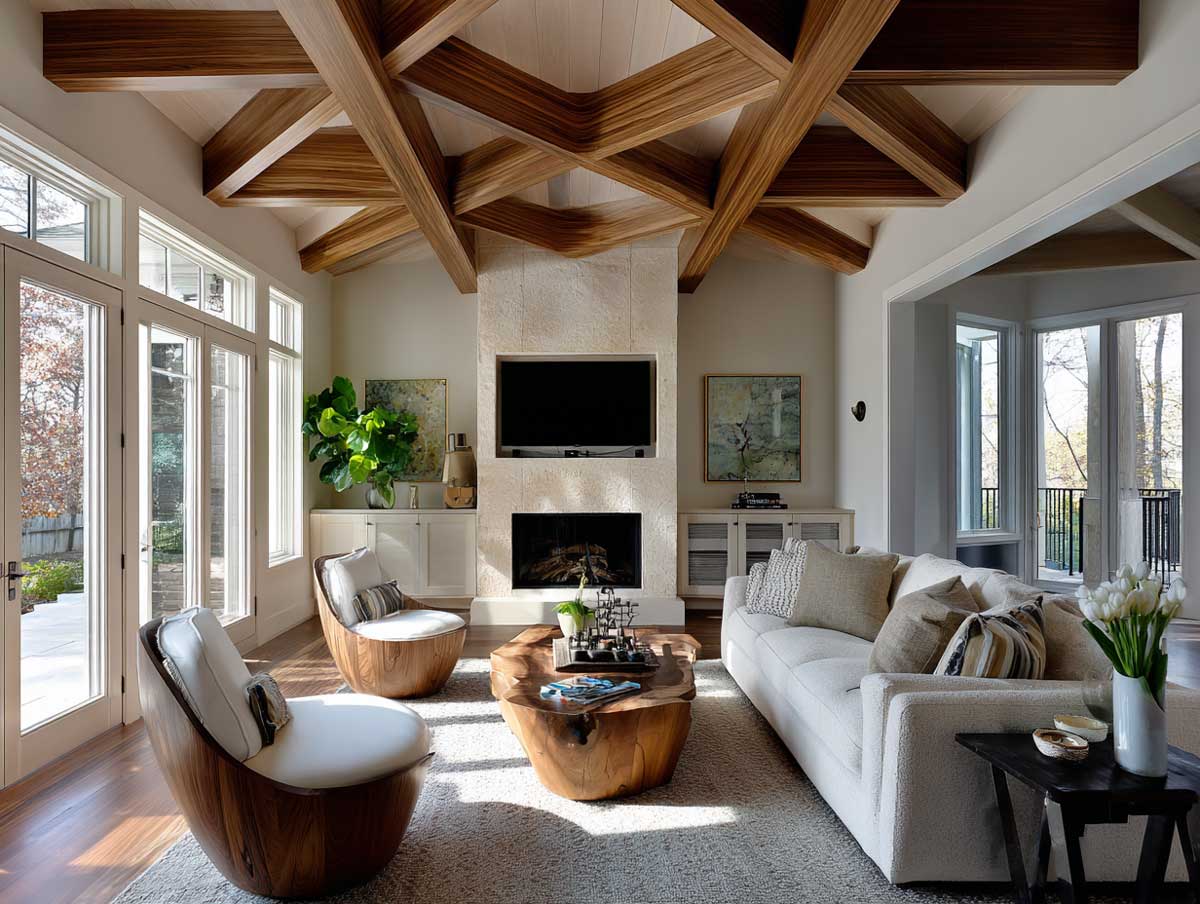


The fireplace and ceiling work together here in a specific way: wood on the ceiling references the same organic material vocabulary as stone around the hearth, and the two surfaces anchor the room without the ceiling competing with the fireplace wall for visual attention. The risk in rustic applications is over-staining — dark walnut stain on pine panels looks like a costume, not a material. A light amber or natural oil finish lets the species speak for itself, and the species is already warm enough. The only thing dark stain adds in this context is weight the room doesn’t need.
Storage Built Into the Plywood Ceiling Design for a Home Office
A home office plywood ceiling design that incorporates built-in shelving uses the ceiling plane the same way a library uses its walls — as storage infrastructure that reads as architecture rather than furniture. The shelving alcoves are framed into the ceiling structure before any panels go on, which means the final result looks continuous rather than added-on. Floor-to-ceiling bookshelves can cost $1,000 to $3,000 freestanding; integrating shelving into a coffered ceiling structure typically costs between $3,000 and $4,500 for a 150-square-foot room (per HomeAdvisor), with the plywood ceiling panels representing the most cost-efficient portion of that budget.
The trick with ceiling-integrated storage is keeping the shelf depth proportional to the ceiling drop. A shelf that drops 18 inches from the ceiling plane in a room with 8-foot ceilings leaves 78 inches of headroom — acceptable for a seated workspace but psychologically tight for someone who stands to reach for materials frequently. Fourteen inches of drop is the practical ceiling in most standard-height home offices; deeper than that and the storage starts to feel like a bunker overhead. What does the shelf height do to the acoustics? Wood-lined overhead surfaces actually help — they break up the parallel ceiling-floor reflection that causes voice echo in rectangular rooms, which matters in a home office used for video calls.


The plywood panels carry the same finish as the shelving faces — this continuity is what makes the storage feel architectural rather than tacked on. Painting the shelf interiors a contrasting color (dark charcoal or forest green) while keeping the structural plywood natural is a detail that makes the books and objects read as display rather than clutter, without adding a single extra material to the project. Avoid applying heavy decor objects on ceiling-height shelves in seismic zones without securing them — an 18-inch deep shelf at 7.5 feet is essentially a catapult for anything not braced.
| Application | Panel Layout | Recommended Finish | Key Watch-Out |
|---|---|---|---|
| Living Room | Parallel to longest wall | Matte water-based poly | Don’t mix plywood grades |
| Bedroom (Geometric) | Diagonal / offset grid | Natural oil or matte lacquer | Align lights perpendicular to grain |
| Kitchen | Standard grid, coordinated with recessed cans | Low-sheen poly (moisture) | Never place a can over a seam |
| Rustic + Beams | Field panels between beam bays | Amber oil, no dark stain | Keep beam and panel tones within same family |
| Home Office (Storage) | Coffered with integrated alcoves | Matches shelving face finish | Max 14-inch shelf drop at 8-ft ceiling |
For a broader look at how plywood transitions from ceiling to wall surfaces in a unified interior, Fixr’s cost guide on ceiling material options breaks down plywood against MDF, pine, oak, and walnut — useful benchmarking if the budget conversation is still open. Fixr’s coffered ceiling cost guide covers per-square-foot ranges for every major material.
Bottom Line
Plywood is the ceiling material that rewards specificity over aspiration
Panel direction, lighting angle, finish type, and seam layout are the four decisions that separate a plywood ceiling that looks considered from one that just looks unfinished. Material cost runs $2.50–$5 per square foot — the time investment is in the planning, not the budget.
Match the grain run to the room’s longest axis for open living spaces. In bedrooms and offices, break that rule deliberately and at a specific angle you can explain.
Save this post before you source your first panel sheet — the lighting and finish notes are the ones most contractors won’t volunteer.