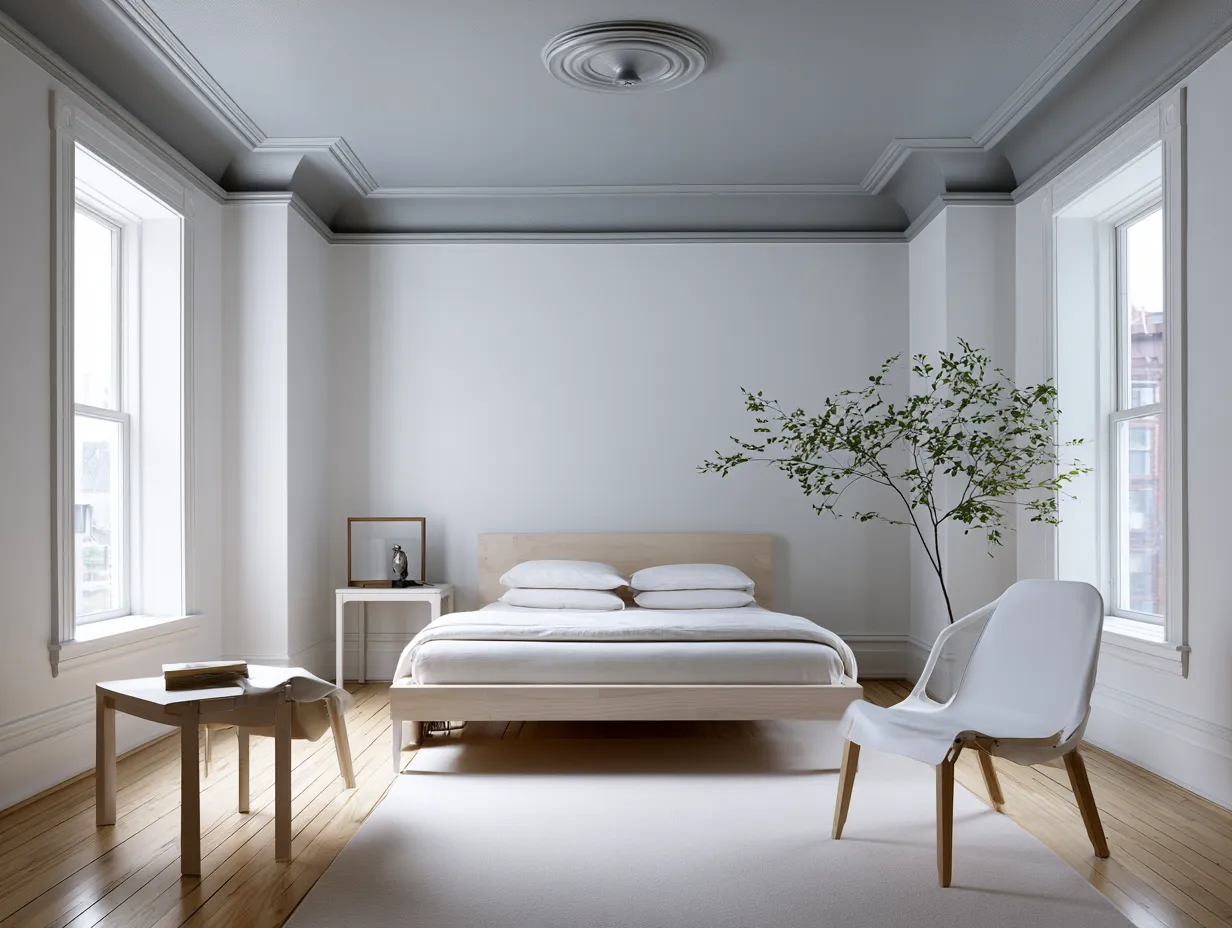
Ceilings have become the fifth wall. For decades, homeowners painted them white and moved on, treating overhead surfaces as utility rather than design. Statement ceiling molding flips that entirely—architectural trim now commands attention in the same way a fireplace or accent wall once did.
The shift began in 2024 when interior designers like Kelly Wearstler and Amber Interiors started showing ceilings as venues for color, texture, and form. By mid-2026, this trend has crystallized into a specific approach: installing bold molding profiles that create shadow lines, depth, and unexpected visual interest.
Why now? Cost constraints. Open floor plans and growing living spaces mean fewer walls to design. Ceilings offer square footage nobody thinks about—and statement molding delivers luxury impact without the budget of a full kitchen renovation.
Crown Molding Profiles Create Shadow Architecture
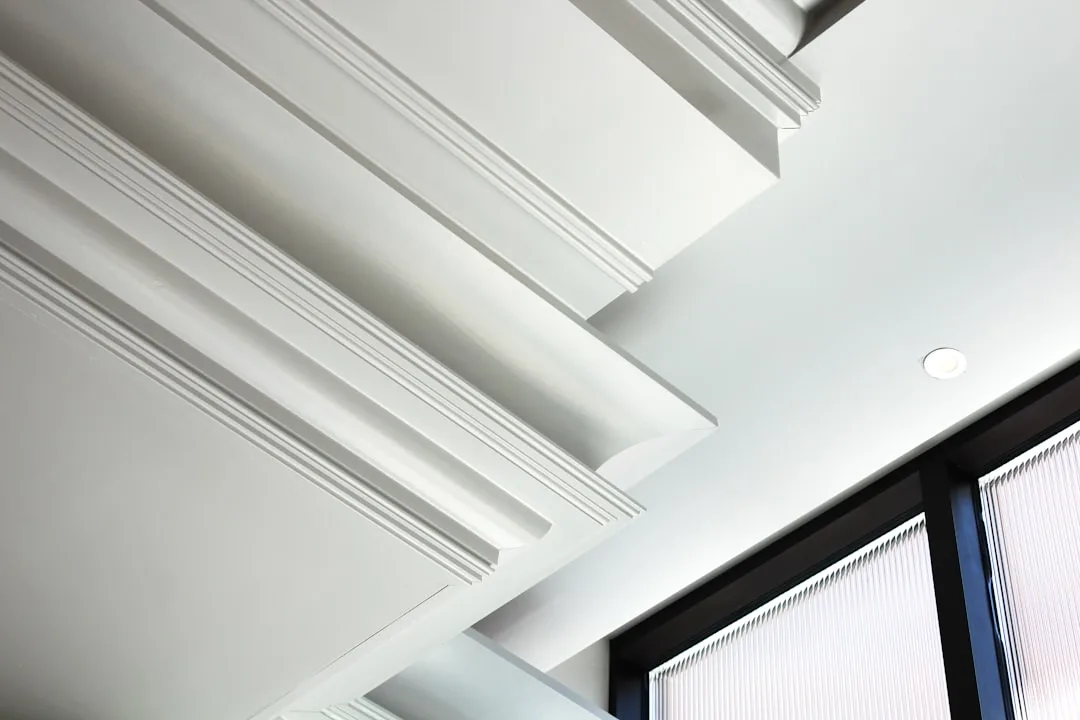
Metrie, a Canadian millwork manufacturer, reports that traditional crown molding orders have risen 34% year-over-year through Q2 2026. But the profile matters enormously. Standard 2-inch cove molding no longer reads as distinctive; designers are layering 4- to 6-inch profiles, often stacked in two or three tiers.
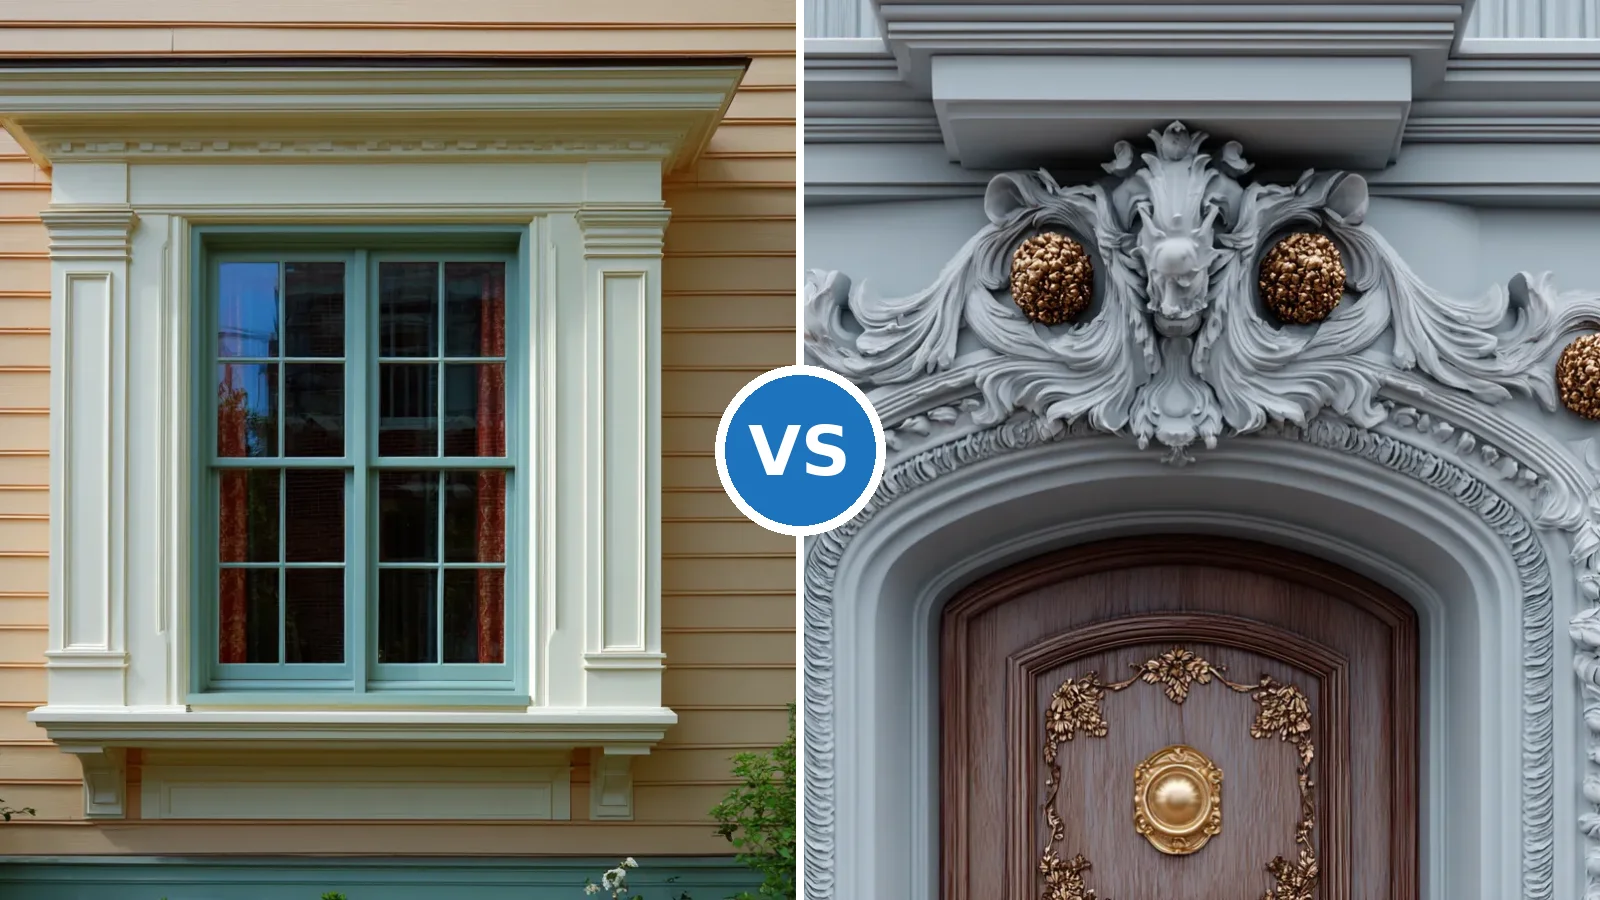
The layered approach works because each profile casts a shadow line on the wall below it. This shadow creates perceived depth—the room feels taller, more structured. Painted in the same color as the wall, the molding reads as pure architecture. Painted in contrast (dark molding against light walls, or vice versa), it becomes a frame.
Installation depth matters too. Molding installed 12 inches down from the ceiling, rather than flush at the joint, emphasizes the architectural gesture.
Quick Tips
- Measure your ceiling height before selecting profile depth—rooms under 8 feet need thinner profiles to avoid a compressed feeling.
- Paint molding the same color as walls for minimalist integration, or choose a contrasting tone for maximum graphic impact.
- Always prime wood molding before final paint to prevent tannin bleed, especially if using light colors.
- Install molding parallel to walls, not following existing trim inconsistencies; use a laser level for accuracy.
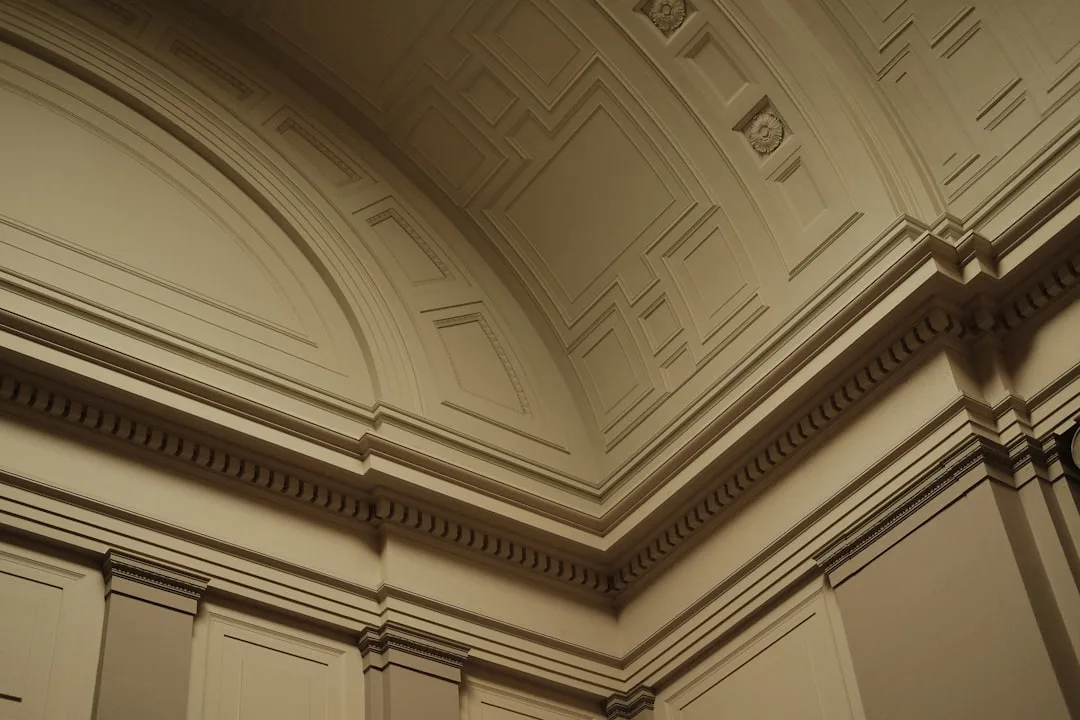
Cove Ceiling Designs Replace Flat Planes
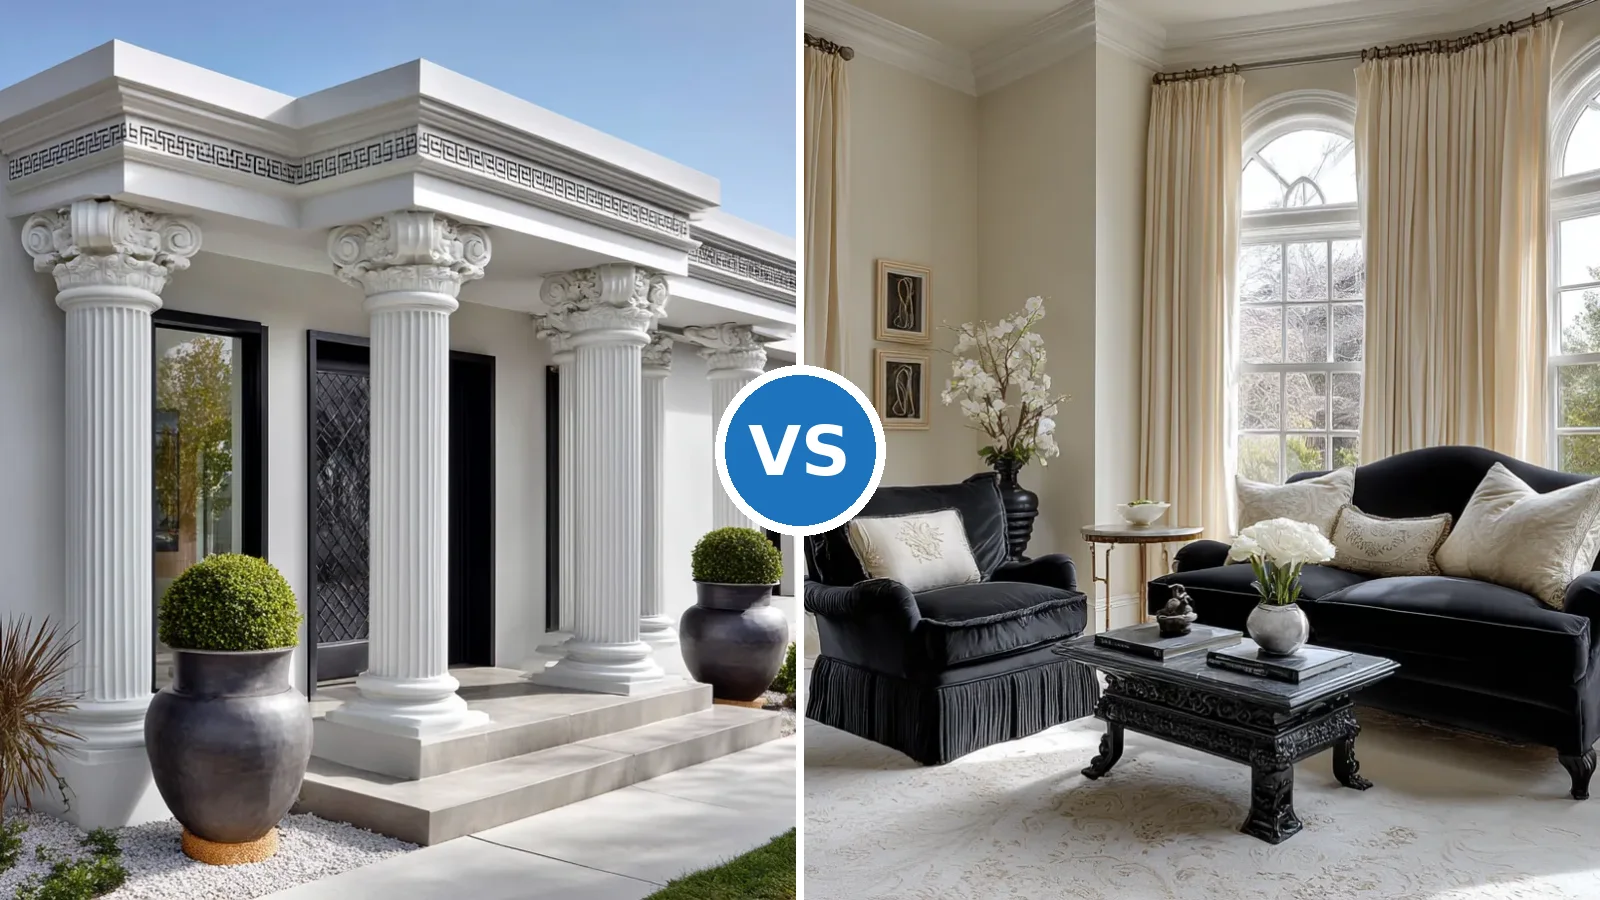
Cove molding—curved, concave profiles—has emerged as the preferred statement technique among high-end residential projects. Unlike sharp crown angles, cove curves create softer visual lines while still providing dramatic shadow depth.
Material Selection for Lasting Molding Installation
The choice between solid wood, engineered wood, and composite molding fundamentally affects both durability and aesthetic outcome. Solid hardwood moldings—typically oak, pine, or maple—offer authentic grain patterns and can be stained to match existing woodwork, though they require careful acclimation to room humidity before installation. Engineered wood products provide dimensional stability and resist warping in high-moisture environments like kitchens and bathrooms, making them ideal for homeowners seeking low-maintenance solutions.
Composite and urethane moldings have gained traction in contemporary interior design because they accept paint finishes flawlessly and won’t splinter or crack over decades. For those interested in cohesive interior schemes, how to build a beautiful home with stylish interiors by designing with a purpose emphasizes the importance of selecting molding materials that complement your overall design vision. Budget constraints often dictate material choice, but investing in quality profiles—regardless of material—ensures your installation remains a focal point rather than a maintenance burden.
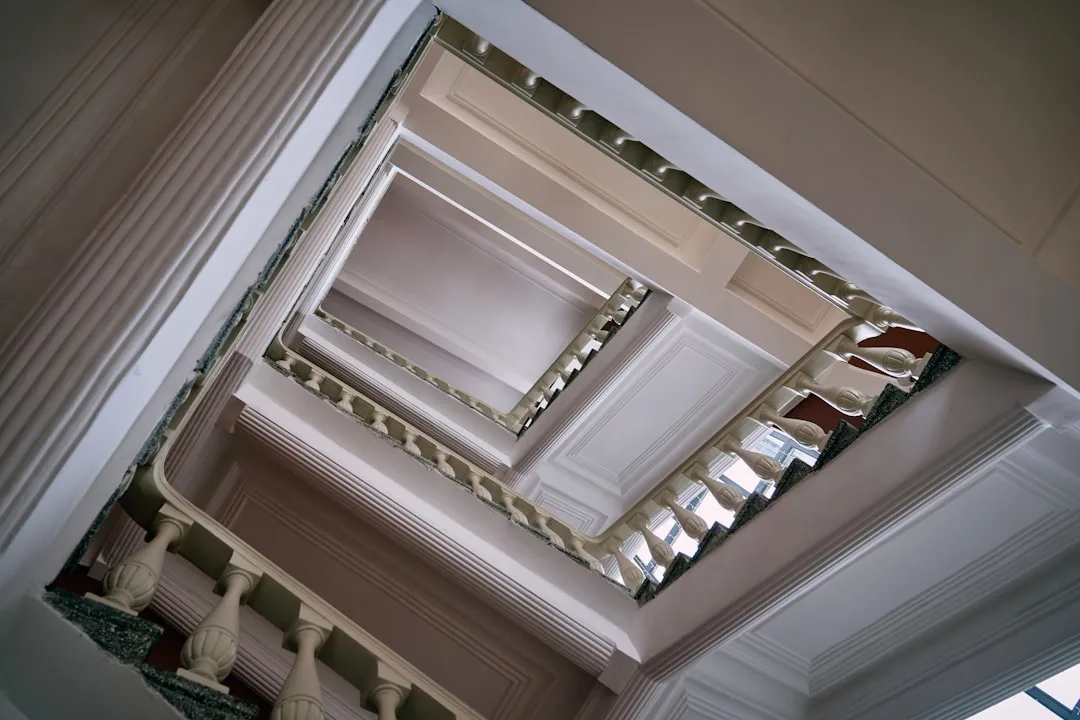
Lighting Techniques That Enhance Molding Details
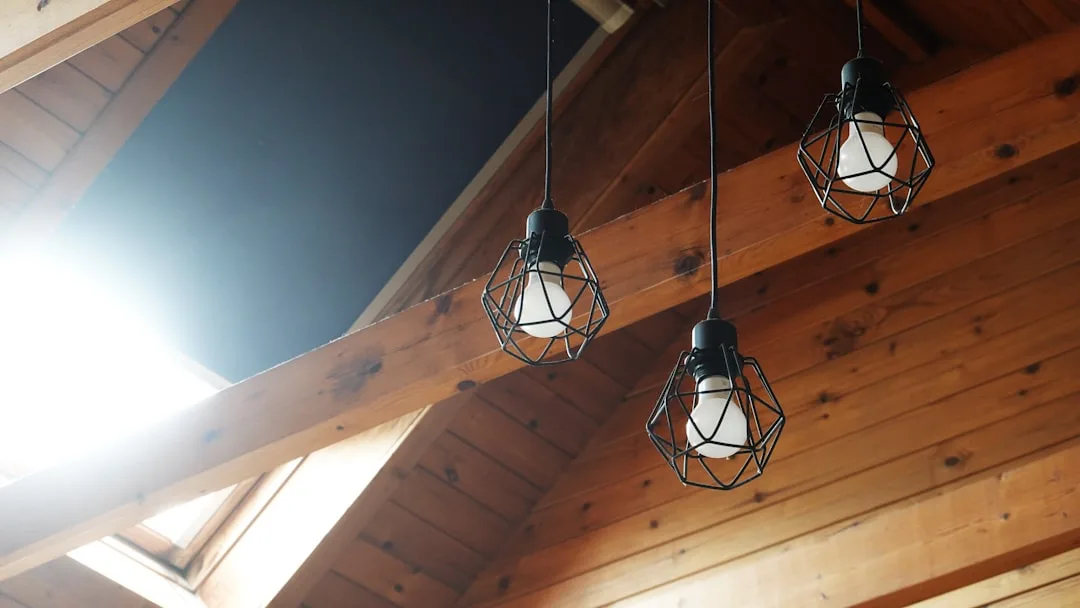
Strategic lighting placement transforms molding from simple trim into architectural sculpture. Uplighting directed at crown or cove molding creates dramatic shadow patterns across ceilings, particularly effective in living rooms and formal dining spaces where evening entertaining occurs. Recessed lighting positioned 12 to 18 inches away from molding profiles casts subtle highlights without creating harsh glare or uneven brightness.
Dimmer switches provide flexibility to adjust shadow intensity based on mood and occasion. Warm color temperature bulbs (2700K to 3000K) enhance the natural grain of wood moldings and complement warm paint palettes, while cooler temperatures (4000K) work better with modern, minimalist designs. Avoid placing light sources directly behind molding, as backlighting obscures the profile’s dimensional character and defeats the visual purpose of installation.
Molding Integration With Contemporary Bedroom Design
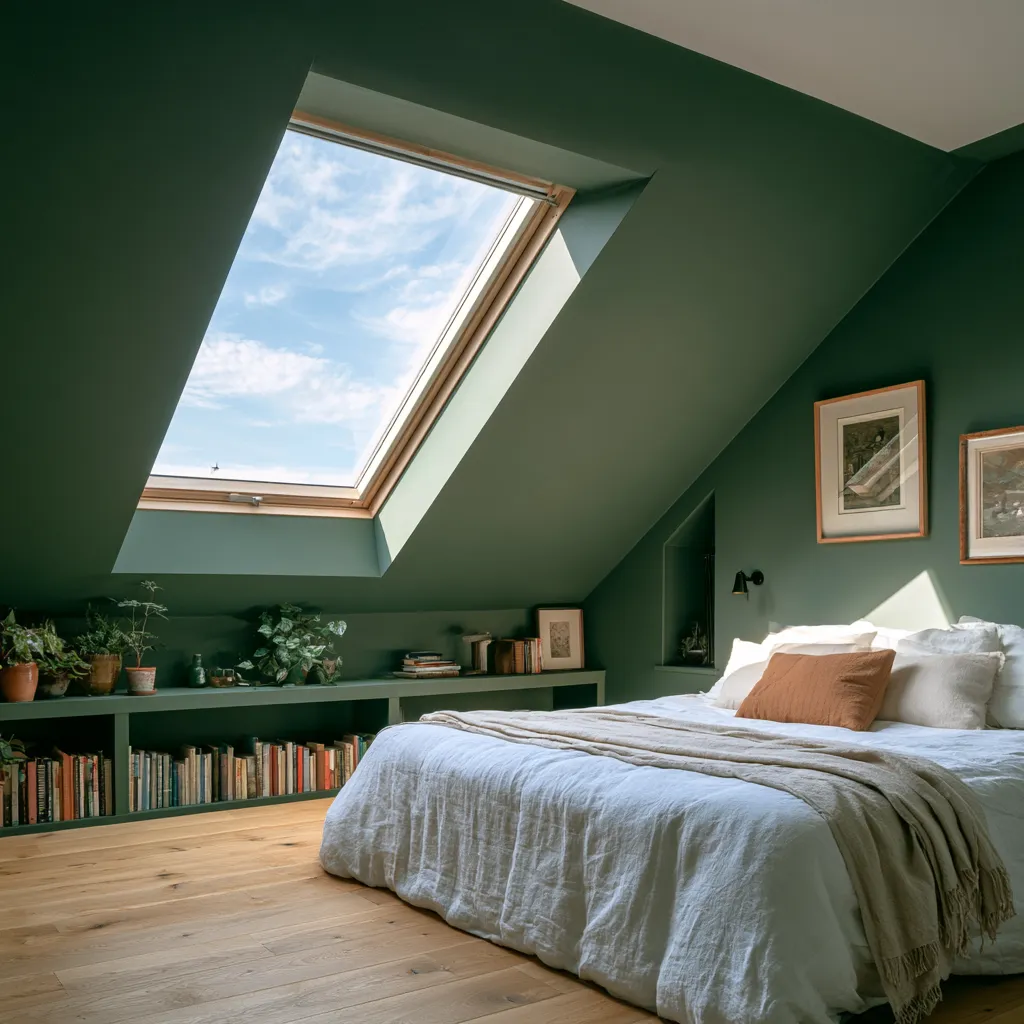
Modern bedrooms benefit from refined molding applications that create visual interest without overwhelming intimate spaces. Minimalist crown molding—shallow profiles in 2 to 4 inches—frames ceilings elegantly while maintaining the clean aesthetics contemporary design demands. Bedroom-specific approaches include wainscoting on accent walls, which grounds the eye and creates cozy psychological effects, particularly in master suites with cathedral or vaulted ceilings.
For those exploring cohesive bedroom design philosophy, discovering Japandi bedroom design for zen interiors demonstrates how molding choices influence the overall tranquility of sleeping spaces. Subtle shaker-style or flat-panel molding aligns with Japandi and Scandinavian aesthetics, while traditional curved profiles suit transitional or eclectic bedroom styles. The key consideration remains proportionality—molding profiles should occupy no more than 15 percent of wall visual weight to maintain the restful atmosphere essential to bedroom environments.
Planning Your Crown Molding Project: Practical Tools
These resources cover the hands-on steps that come right after design decisions: calculating saw angles, ordering the right amount of material, and settling on a paint approach for your molding.
How do I figure out the miter and bevel angles for my miter saw before making any cuts?
How do I measure the room correctly so I order the right amount of molding and avoid wasted cuts?
Should I paint the molding the same color as my walls, or use a contrasting shade — and what finish works best?