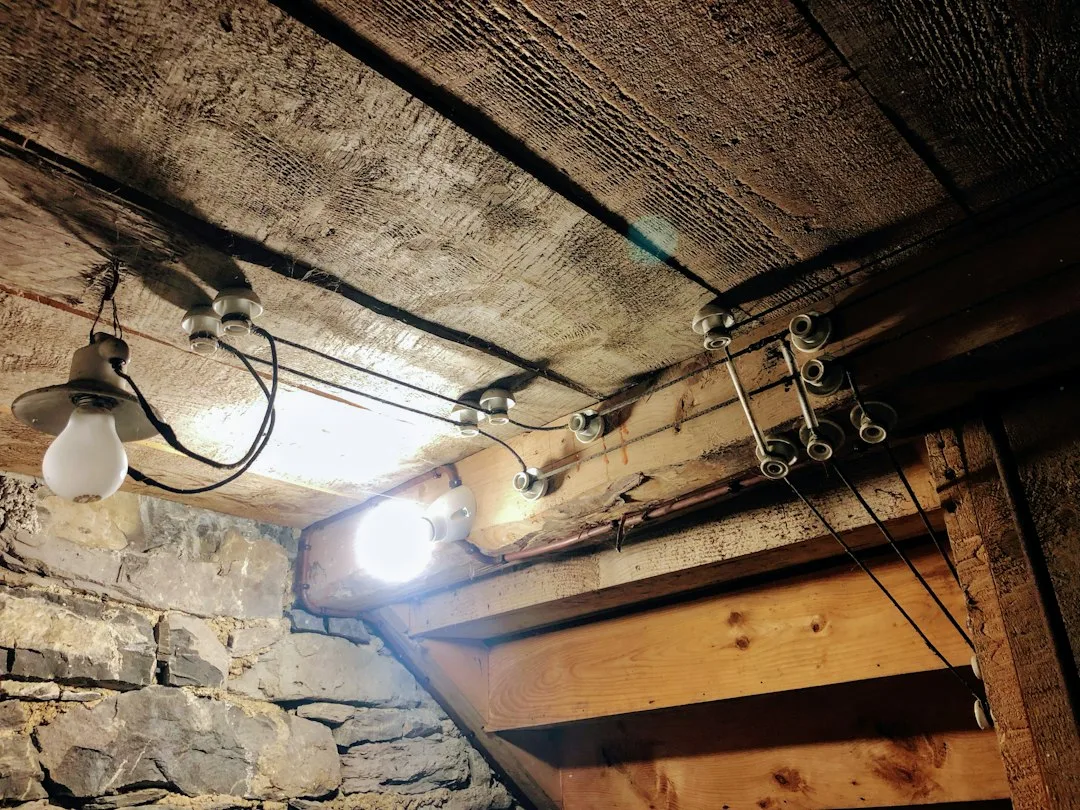
Basement ceiling moisture damage operates invisibly until joists soften, fasteners corrode, and mold spores colonize the wood above your head. Unlike basement walls where water pooling is obvious, ceiling dampness hides inside framing cavities where warm indoor air meets cold rim joists—the exact thermal boundary where condensation thrives. September’s temperature swings between 70°F afternoons and 45°F nights create perfect conditions for this hidden problem to accelerate. The basement ceiling moisture damage crisis spreads fastest in homes built before 2000 that never sealed the rim joist cavity or installed proper vapor control.
This is not a problem you see first and fix later. By the time you notice soft spots or paint bubbling, wood decay has already advanced months into the joist depth. The cost shifts from $500 in prevention to $3,000+ in structural repair within a single heating season.
Rim Joist Sealing Stops the Primary Moisture Source
The rim joist—the band of wood connecting foundation to floor frame—sits at ground level where outdoor humidity and indoor warm air collide. Dow Chemical’s Styrofoam rim board and closed-cell spray foam products dominate this application because they block vapor while providing insulation value. If you have an unsealed rim joist, outdoor humidity moves through the concrete rim into wood cavities at rates of 15-30 grams per square meter daily, depending on humidity differential.
Proper sealing starts with spraying 1.5 to 2 inches of closed-cell polyurethane foam directly onto the rim joist and band board, then capping the foam with paintable sealant. This creates a continuous vapor barrier that reflects condensation back toward the cooler rim joist surface—where it drains downward into the foundation rather than into wood.
Many homeowners stop at foam alone. That’s the first critical mistake—foam without a paint or sealant cap allows airflow through the foam’s open cell structure on the interior side, defeating the vapor control goal entirely. Seal the foam with 100% acrylic latex sealant rated for masonry, not spray-on caulk.
Quick Tips
- Inspect rim joists in September before heating season begins—moisture problems accelerate when furnaces run and create interior-to-exterior temperature difference.
- Use a moisture meter on wood joists: readings above 20% water content indicate active moisture migration requiring immediate intervention.
- Closed-cell spray foam costs 2–3× more than fiberglass batts, but prevents the precise failure mode that destroys basement ceilings.
- Never tape foam seams with contractor tape alone; paint seams with two coats of sealant for durable vapor control.
Vapor Barriers and Finish Layer Selection Control Interior Moisture Migration
Once rim joists are sealed, attention shifts to the ceiling cavity itself, where interior humidity rises from ground-level concrete. A 2-mil polyethylene vapor barrier stapled to the underside of joists blocks 85-90% of vapor moving upward from the basement slab. This is not the same plastic sheeting you use for dust containment; basement ceiling vapor barriers must be polyethylene rated for continuous interior use, stapled every 12 inches with overlap seams sealed with compatible tape.
On top of the vapor barrier, install gypsum drywall rated for below-grade moisture exposure. USG’s Mold-Tough or National Gypsum’s Aqua-Tough drywall replaces conventional drywall in basements because the gypsum core resists mold colonization while the paper facings are treated to slow moisture absorption. Standard drywall fails in basements within 2-3 years of ceiling exposure to humidity spikes above 65%.
| Finish Material | Moisture Resistance | Best Use |
|---|---|---|
| Mold-Tough Drywall | High—mold-resistant core | General basement ceilings |
| Vinyl-Faced Fiberglass Batts | Medium—vapor retarder facing | Insulation only, not finish |
| Drop Ceiling Tiles (fiberglass) | Low—absorbs moisture quickly | Not recommended for basements |
| Rigid Foam Board | Very High—closed-cell structure | High-moisture areas near slab |
The Mistake: Insulating Before Sealing the Rim Joist
Ninety percent of failed basement ceiling jobs follow the same pattern: a contractor adds fiberglass insulation and drywall to an unsealed rim joist, trapping moisture inside the cavity. The insulation holds moisture, the rim joist never dries, and mold colonizes the joist within six months. The homeowner assumes the new drywall created the problem, but the real failure was skipping the vapor control strategy.
A real example: A home in Baltimore with a 1970s foundation used standard fiberglass batts in the rim joist cavity, covered by drywall installed in 2015. By spring 2026, the joist showed soft wood at the rim where nails failed to hold rim board fasteners. Inspection revealed zero sealant between foam and the rim board—just exposed foam open to interior air.
Repair cost $2,800 for selective joist replacement plus rim board reinforcement. Prevention would have cost $400. Always seal the rim first, install vapor barriers second, then finish with moisture-resistant drywall or rigid foam.

Active Dehumidification Maintains Long-Term Moisture Control
Sealed basements still experience humidity spikes during spring thaw and after heavy rainfall when groundwater pressure increases below the slab. A basement dehumidifier running continuously during March through May removes ambient moisture before it can migrate upward into ceiling cavities. Frost King or Ivation brand dehumidifiers sized for your basement square footage (typically 50-70 pints per day for finished basements) cost under $400 and reduce humidity from 70% to 45-50%, creating an environment where mold cannot establish.
Connect the dehumidifier drain line to a basement floor drain or sump pump discharge, not to a standing bucket—standing water becomes a secondary humidity source. Run the unit continuously during high-humidity months rather than on a timer, because moisture spikes happen overnight when exterior temperature drops.
This approach pairs with structural waterproofing described in Elevating Your Living Space Through Architectural Innovation and Home Improvement to create comprehensive moisture defense. Most homeowners focus on floor-level waterproofing but ignore ceiling cavities where humidity accumulates silently.
Monitoring Systems Detect Moisture Before Visible Damage Appears
Modern homeowners install wood moisture sensors in rim joist cavities and attic spaces to track conditions continuously. Devices like ThermoPro or AcuRite wireless monitors send alerts when wood moisture content exceeds 18%, triggering immediate investigation before structural damage develops. A sensor kit costs $50-80 and provides monthly data showing moisture trends across seasons.
For Upgrade Your Home with These 3 Improvement Projects, adding two moisture sensors to the basement ceiling system during renovation costs almost nothing but prevents expensive callbacks. Insurance companies increasingly recognize this as a legitimate damage prevention measure—some policies offer small premium reductions for homes with continuous moisture monitoring in high-risk areas.
The real trend in September 2026 is treating basement ceiling moisture as a systems problem: seal the entry point, control vapor transmission, finish with moisture-resistant materials, maintain humidity levels mechanically, then monitor conditions constantly. Single-solution approaches fail. Multi-layer strategies last.
Related Topics