By mid-2026, crawl space vapor barriers have moved from specialty contractor work into mainstream renovation consciousness. Homeowners are discovering that moisture trapped beneath their homes doesn’t just damage the crawl space—it rises through rim joists, wall cavities, and insulation, degrading indoor air quality and feeding mold growth on living room ceilings they never see coming. A properly installed crawl space vapor barrier isn’t a quick fix; it’s a foundation-level decision that blocks the source of 70% of basement and lower-floor moisture problems before they become expensive remediation projects.
Why Crawl Space Vapor Barriers Matter More in 2026
The National Association of Home Builders reported in early 2026 that crawl space moisture-related callbacks dropped significantly in regions where builders switched to sealed barrier systems. Moisture naturally wicks upward through soil—it’s physics, not opinion. Without a proper vapor barrier, a crawl space can release 12-18 gallons of water per 1,000 square feet annually into the structural cavities above.
This isn’t abstract. Real damage: rotted rim joists, compromised structural capacity, mold on the underside of first-floor joists, and compromised HVAC ductwork efficiency. When homeowners finally discover soft spots in their basement rim or dark staining on wooden beams, the barrier has failed or never existed.
Modern vapor barriers—typically 6-mil or thicker polyethylene or composite materials—create a continuous membrane between soil moisture and your home’s framing. The key word is continuous. Single-layer plastic over half the crawl space, or unstapled edges, defeats the purpose entirely.
Quick Tips
- Overlap barrier seams by at least 12 inches and seal with waterproof tape—this prevents moisture from creeping through gaps.
- Extend the barrier up foundation walls at least 12 inches to block lateral moisture entry points.
- Install barrier before adding insulation, ductwork, or plumbing—you cannot retrofit it cleanly.
- Combine barrier installation with sump pump and perimeter drain assessment; barriers work best alongside drainage control.

Material Options and Installation Specifications
Three barrier types dominate professional installation in 2026: standard polyethylene sheeting (6-mil), reinforced composite barriers (10-mil or thicker with mesh backing), and reflective barriers designed for thermal reflection. Standard 6-mil polyethylene costs less but tears more easily during installation and ages faster—within 10 years, UV and temperature cycling make it brittle.
Reinforced composite barriers, available from manufacturers like CleanSpace and Crawlspace Solutions, incorporate scrim netting that prevents puncture and degradation. These barriers typically come in 500-square-foot rolls and spec a lifespan of 25+ years. The trade-off is 40–60% higher material cost than standard sheeting.
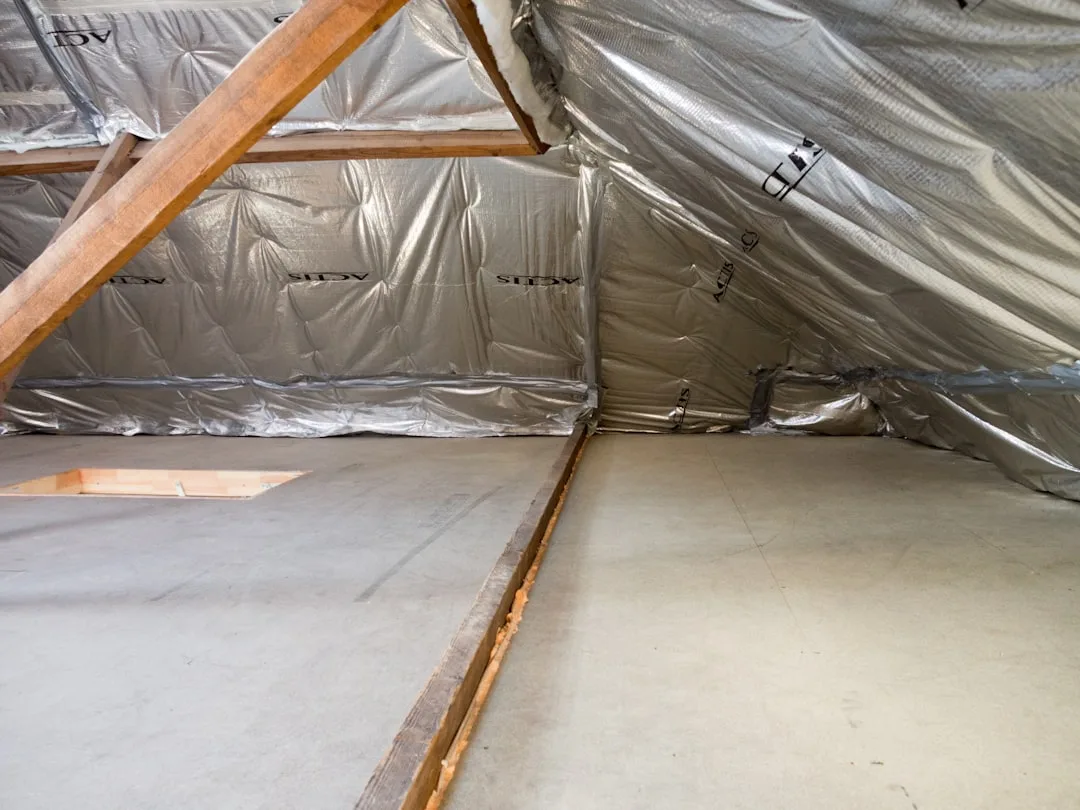
Reflective vapor barriers, often with a white or aluminum surface, bounce radiant heat from the soil back downward—a secondary benefit that reduces crawl space temperature fluctuation and slightly improves upper-floor climate control efficiency. Installation method matters enormously: staple every 12 inches around perimeter, never leave exposed nail holes, and seal all penetrations (pipes, electrical conduit) with compatible caulk or gaskets.
| Barrier Type | Thickness/Material | Typical Lifespan |
|---|---|---|
| Standard Polyethylene | 6-mil film | 8-12 years |
| Reinforced Composite | 10-mil + mesh | 25+ years |
| Reflective Barrier | Multi-layer reflective | 20+ years |
The Most Common Crawl Space Barrier Mistake
Here’s what homeowners and budget contractors repeatedly get wrong: they install a vapor barrier but leave crawl space vents open or fail to address standing water. Picture this—a contractor lays down a beautiful 10-mil barrier, seals the edges perfectly, and then the homeowner (or the original builder) leaves two foundation vents cracked open for air circulation. Humid air from outside enters directly into the crawl space, condenses on cold water pipes and rim joists above the barrier, and mold blooms anyway.
Alternatively, they install the barrier over damp soil without grading or drainage prep. Moisture pools on top of the barrier, seeps under the edges, and eventually the barrier floats or degrades. A vapor barrier is not a waterproofing system; it’s a moisture diffusion block that works best with dry conditions beneath it.
Correct approach: seal all vents with foam inserts (or close vents entirely if your crawl space encapsulation budget includes a dehumidifier), ensure soil slopes away from the foundation, and install the barrier after the crawl space is dry or fitted with a sump pump and perimeter drain.
Measuring Moisture Impact and ROI
A 2,000-square-foot crawl space with a proper vapor barrier and dehumidification upgrade typically costs between $3,000–$6,500 depending on soil condition, accessibility, and regional labor rates. Homeowners report indoor humidity drops from 60–70% to 40–50% within 30 days of barrier installation and dehumidifier operation.
Energy savings from reduced humidity load are modest but measurable—HVAC systems no longer work overtime to dehumidify moist air entering through foundation cavities. Insurance companies increasingly offer small premium reductions (1–3%) for homes with documented crawl space encapsulation, and appraisers note encapsulated crawl spaces as a condition upgrade when homes are sold.
More tangible: homeowners stop discovering mold spots on basement ceilings, stop replacing rotted rim joist sections, and preserve the structural integrity of their foundation for decades. Over the 20–30 year life of a reinforced barrier, avoiding one $15,000 rim joist or foundation repair pays for the entire encapsulation project multiple times over.
Pairing Barriers with Broader Moisture Control
A vapor barrier is one component of a crawl space strategy, not the entire solution. Professional crawl space encapsulation adds sump pump installation, perimeter drainage matting, dehumidification, and sealed vents—all working in concert. Moisture enters from three directions: upward through soil, laterally through foundation walls, and downward from above-grade sources.
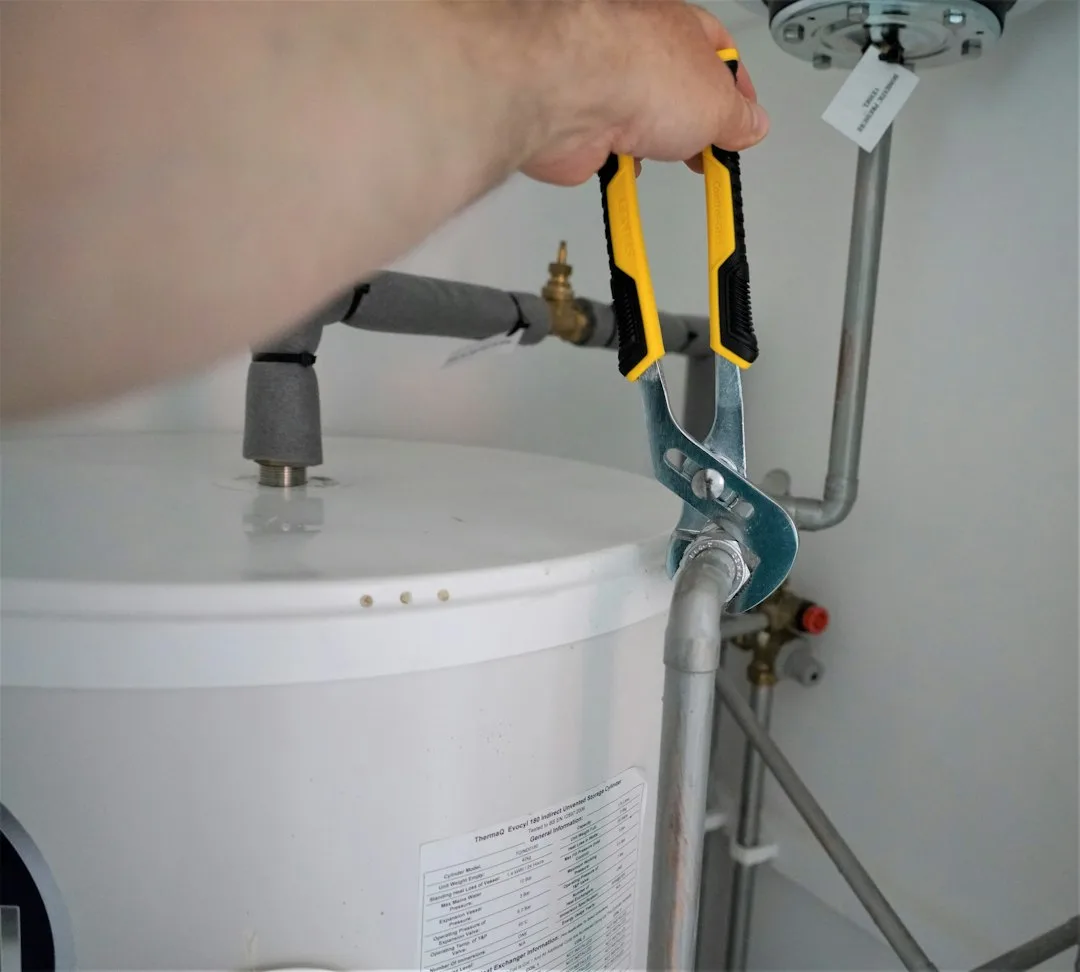
Your barrier handles upward diffusion. DIY plumbing maintenance: Tips and tricks for a healthy home plumbing system helps prevent leaks that drip onto the crawl space floor, while The Benefits of Professional Junk Removal at Home clears old materials that trap moisture and block air movement. Perimeter drain systems and sump pumps handle standing water, while sealed vents stop humid air infiltration.
Homeowners who upgrade just the vapor barrier without addressing perimeter drainage or vents often see limited results—a $2,000 barrier investment yields minimal benefit if water is pooling three feet away or humid air is pouring through unsealed vents. The entire system must work together for moisture control to be effective and lasting.
Why Crawl Space Barriers Are Trending Now
Three converging factors explain the 2026 surge in crawl space barrier adoption: rising insurance claims related to mold and structural moisture damage, increased media attention to indoor air quality and basement health, and the growing availability of professional encapsulation services in mid-tier markets that previously only had specialty contractors.
Homebuyers in 2026 ask more questions about crawl space condition than they did five years ago. Sellers who can document vapor barrier installation and regular moisture monitoring gain negotiating advantage—it signals competent foundation stewardship. For existing homeowners, the barrier represents a one-time, durable investment that eliminates a category of recurring problems.
As more homeowners face mold remediation costs and structural repairs caused by neglected crawl space moisture, vapor barrier installation has shifted from luxury encapsulation to standard foundation maintenance—the same category as gutter cleaning and downspout extension. It’s the move that stops hidden damage before it starts.