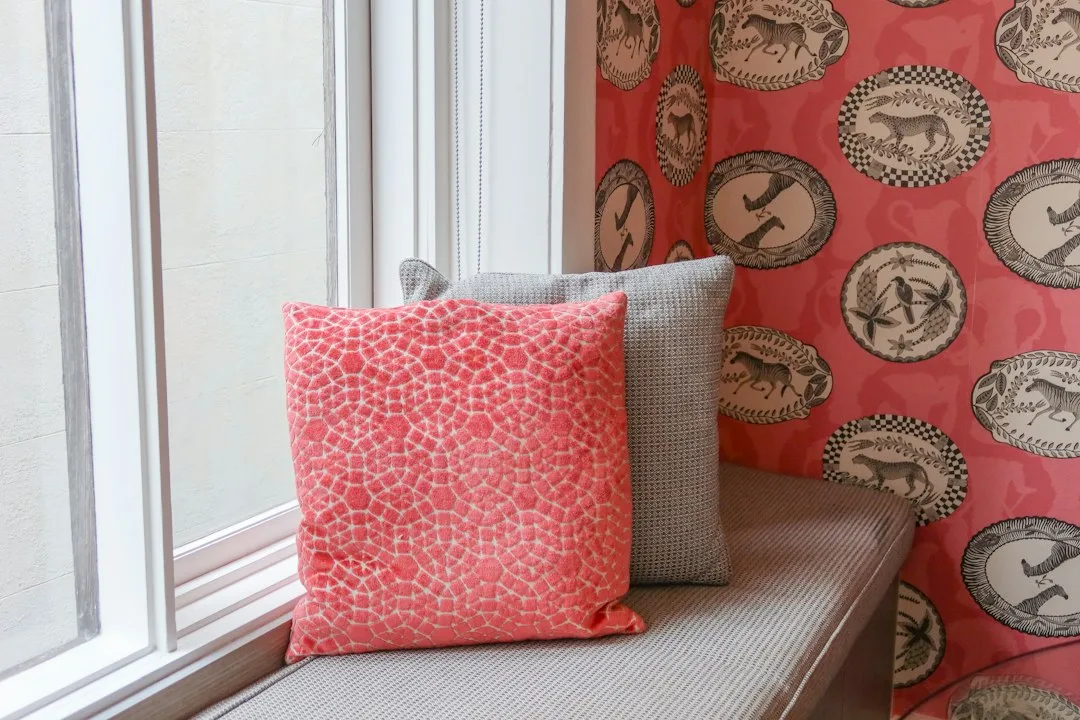
Walk into most small-home renovations finished this year and you will find a built-in window seat tucked under a tall sash, cushioned and stacked with throw blankets. The built-in window seat is coming back into small living rooms because it gives a room a place to sit without spending a single square foot of floor.
Why the Built-in Window Seat Is Coming Back
Small living rooms run out of wall space long before they run out of light. A window is often the one spot that nothing else can use, and a window bench turns that dead zone into a daily perch. Designers have been pulling sofas away from walls to open up circulation, and a window seat fills the gap without adding a piece that blocks the path.
The appeal is also practical. Bench seating under a window keeps the view, adds storage underneath, and reads as architecture rather than furniture. It sits comfortably beside the trim and wall-paneling trends that make a room feel finished, which is why it keeps showing up in renovation plans.
Quick Tips
- Measure the sill height and the wall depth before you cut anything.
- Aim for a seat depth of 16 to 20 inches so you can sit with your back to the wall.
- Add a 3 to 4 inch cushion to lift the seat to a comfortable height.
- Keep at least one clear sitting zone on top at all times.
Setting Depth, Height and Cushion Thickness
Most window seats fail on proportion before they fail on materials. A seat that is too shallow feels like a ledge, while one deeper than about 24 inches swallows the sill and makes sitting awkward for anyone with a short back. Aim for a seat depth of roughly 16 to 20 inches so a person can sit with their back against the wall and their feet flat on the floor.
Seat height matters just as much. Standard seating sits around 17 to 18 inches, so a bench that finishes near sofa height feels natural. Add a foam or upholstered cushion of about 3 to 4 inches on top. Measure the sill first, because a very low window may force a seat that looks too tall.
| Build Method | Best Fit | Watch For |
|---|---|---|
| Plywood box with painted face frame | Custom depth in a room with straight walls | Needs careful sanding and caulking |
| IKEA Kallax cube base with plywood top | Renters and quick weekend builds | Cube depth is fixed, so pad the top |
| Upholstered bench with hinged lid | Storage for blankets and toys | Hinges need a soft-close stay |
| Floating shelf seat | Minimal rooms with a high sill | Needs solid blocking inside the wall |
Materials That Stand Up to Daily Sitting
Window seats take more punishment than they appear to. The cushion bleaches in strong sun, the sill collects dust, and the top gets leaned on by shoes and bags. Solution-dyed acrylic fabrics such as Sunbrella hold their color under bright light, which is why you see them on outdoor furniture and increasingly on indoor cushions.
Paint is the other decision. Benjamin Moore Advance is a waterborne alkyd enamel that levels well and wipes clean, so it suits the face frame and any drawer fronts. Sherwin-Williams Emerald is another durable interior option for trim work. Use a satin or semi-gloss sheen on anything you will wipe down, and go flatter on the wall behind.
The Mistake That Turns a Seat Into a Shelf
The most common mistake I see is building the seat as a box and then stacking it with things. A homeowner in a two-bedroom flat fills the top with books, a plant and a basket, then wonders why nobody sits there. Within a week the seat becomes a shelf, and the room loses the one spot it was meant to gain.
Fix it with a rule before you build. Decide on one function, sitting or storage, and keep at least 16 inches of seating width clear on top. Put storage underneath behind doors or in baskets, and let the cushion be the only soft layer.
Building a Window Seat Without a Full Carpentry Crew
You do not need a joiner to get a good result. IKEA’s Kallax shelving unit, sold in several cube sizes, can serve as a base: place two cubes side by side, add a plywood top, and pad it with a cushion. Doors can be added to the cubes for a closed look, while open cubes work well for shoes or magazines.
Anchor the unit to the wall with the supplied fixings, because a loaded seat can tip. Check that the top sits level with the sill edge so the cushion does not slide. For a broader view of building a home that reads as considered, see how to build a beautiful home with stylish interiors by designing with a purpose.
Trim and Finish Details That Make It Look Built In
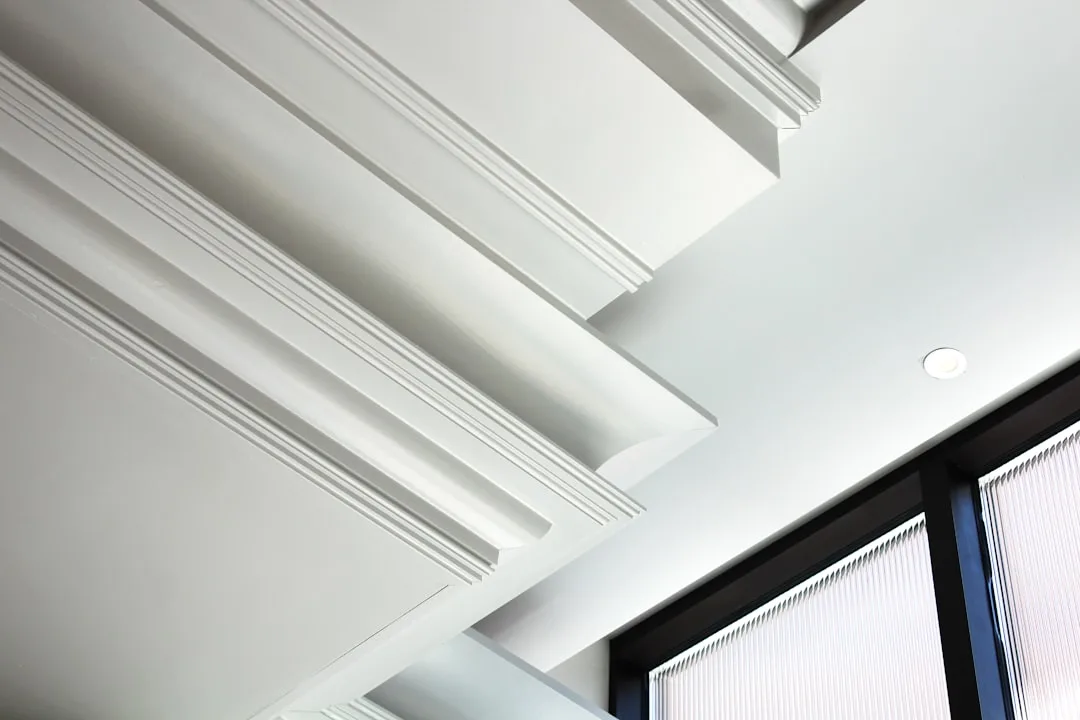
A window seat looks like a fixture when the trim is handled properly. Add a flat or shaker-style face frame, then run a simple casing or cap moulding along the top edge. Those profiles match the decorative trim used around doors and ceilings, so the seat ties into the rest of the room.
Caulk every joint before painting, then sand lightly between coats. Keep the seat and window casing in the same color family so the eye reads one continuous unit. A warm white in a satin finish usually works better than stark white, which makes the cushion look grey by comparison.
When a Window Seat Is the Wrong Choice
Not every window suits a seat. A sill set very low can make the bench too low to be useful, and a radiator directly underneath creates heat problems for the cushion. Check the heating outlet and the sill height before you commit to a design.
Also consider the door swing and the path to the window. If the seat blocks a radiator or an inward-opening door, you will feel it every day. A simple test is to stand where the seat would sit and open every nearby door.