Easy hairstyles for medium hair at a wedding are the ones that survive four hours of dancing, a hug from the mother of the bride, and humidity without looking like something fell apart. I’ve shown up to three weddings this year with medium-length hair and tested every shortcut that exists. The gap between “looked good in the mirror at 2pm” and “survived cocktail hour” is exactly where most styling tutorials fail you. Medium-length hair sits in a sweet spot — long enough for a real updo, short enough that you don’t need professional extensions to fake volume.
You’ll notice the styles here have something in common: they use the hair’s natural weight instead of fighting it. Heavy gels and pomades are what kill medium-length styles by hour two. Lightweight products like Kenra Platinum Silkening Mist ($28) or a simple spritz of Oribe Superfine Hair Spray ($46) work with the texture rather than pinning it into submission. Pick one style, prep your tools the night before, and skip the hairspray mountain at the end — that’s the actual formula.
What you’ll find in this post:
- Twisted half-up waves — the style that works with bright hair colors
- Braided low bun — formal weddings, zero pins coming loose
- Soft curled ponytail — 20 minutes, holds all day
- Which products actually keep medium hair in place at a wedding
- The fascinator question: which styles support an accessory
- Hairstyle picks for over-50 wedding guests with medium-length hair
Twisted Half-Up Waves and Why the Color Matters More Than the Curl
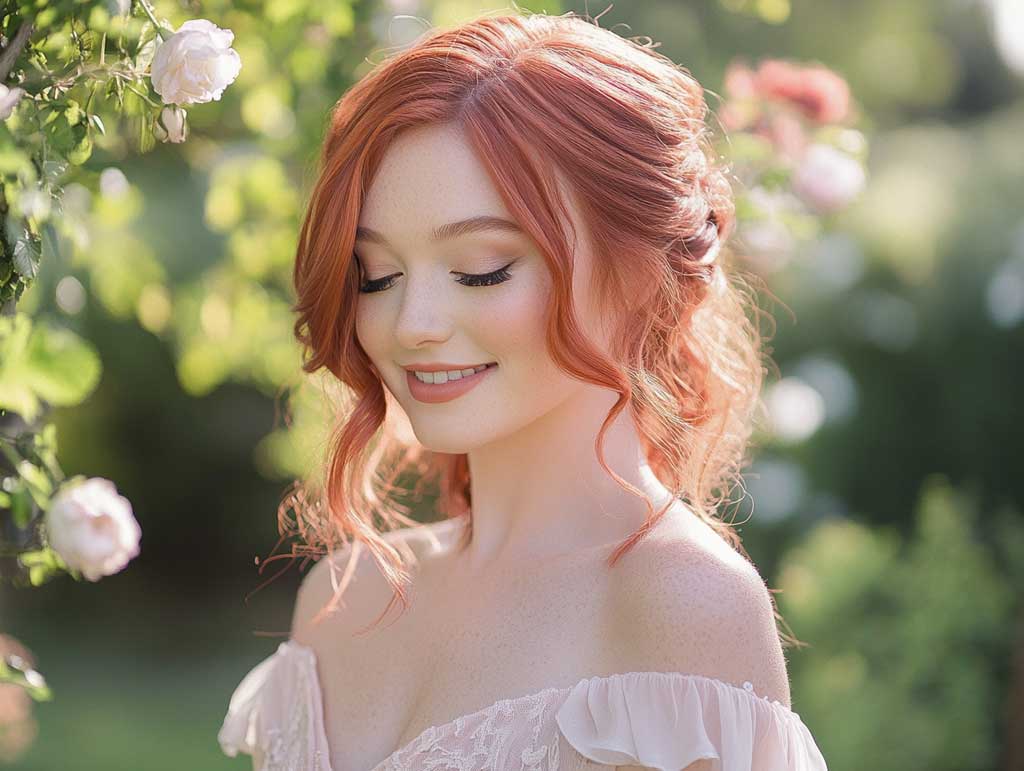
Soft waves pinned back at the crown are my go-to for outdoor weddings in warm weather. The twisted half-up keeps hair off your neck without the commitment of a full updo, and the curls that fall loose at the back look intentional rather than accidental. I’ve done this on red hair, caramel blonde, and a full cherry-red dye job — the deeper the color, the more the twist catches light and adds dimension without needing product. Bright tones like cherry or terracotta actually make the style look more finished than natural brown would, because the color variation reads as intentional styling.
Start with a medium-barrel curling iron — the 1-inch size from Hot Tools (around $30) creates the right wave size for shoulder-length hair. Let every curl cool before you touch it. The mistake I see most often is pulling curls apart too early, which turns waves into frizz. Once cool, run your fingers through once, take two sections from the front temples, twist toward the back, and pin with a single decorative clip at the crown. Don’t use bobby pins here — they slip on wavy hair and you’ll spend the ceremony poking your scalp back into place.


What doesn’t work: flat-ironed hair before the curl. I tried it thinking it would give a cleaner wave — it just made the curls drop faster because the shaft had no texture to grip. Go in on second-day hair or prep with a light texture spray like Living Proof Dry Volume Blast ($32) on freshly washed strands before curling. The slight grip of unwashed hair actually holds curl shape twice as long. You’ll notice the style photographing differently in outdoor versus indoor light — outside, the soft waves catch sun and look deliberately tousled; inside under venue lighting, the same style reads clean and polished.
For a wedding guest wearing a fascinator, this is one of the two styles in this post that can accommodate one cleanly. Place the fascinator at the twist point rather than pinning it into the loose curls below — it sits flat against the gathered section and stays put without an army of additional pins. I borrowed this trick from a milliner at a Dublin hat shop and it works every single time.
Braided Low Bun — Formal Weddings Require It, Humidity Destroys Everything Else
A braided low bun is the style I’d wear to a black-tie or church ceremony with medium hair, full stop. It stays in position from ceremony through dinner through the last dance, and it looks like you spent an hour on it when the actual process takes closer to fifteen minutes once you’ve done it twice. The braid detail wrapped around the bun is what separates this from a generic low bun — it adds enough visual complexity that people assume it was professionally done. Electric blue hair, dark brunette, or silver-gray all photograph dramatically well in this style because the braid accentuates the multi-tonal depth of colored or highlighted hair.
Part the hair to one side. Braid a thin section along the hairline on the heavier side — keep it loose, not tight against the scalp, or it pulls uncomfortably by hour three. Gather everything else into a low ponytail at the nape, twist into a bun, and secure with four to five bobby pins crossed in an X pattern. Wrap the braid around the bun base and tuck the tail under — one pin holds it. Pearl hairpins from KITSCH ($12 for a pack) slid into the bun itself are the right finishing touch. Skip the metallic claw clip on top of this style. It competes with the braid detail and makes the whole thing read “rushed” instead of “considered.”


Does this work on straight hair without natural texture? Yes, but you need a little help. Braid on hair that has a salt spray or dry shampoo worked through it — Batiste Dry Shampoo ($9) is fine, nothing fancy required. Slippery, freshly washed hair makes the braid unravel at the tail within thirty minutes. The low bun itself holds better on hair that has some grip to it. I once showed up to a summer wedding having washed my hair that morning, tried this exact style, and spent the ceremony feeling the bun slowly migrate sideways. Prep texture is not optional.
For women over 50 attending a wedding with medium-length hair, this style is especially worth considering. The low placement avoids the pulled-tight look that ages harshly on anyone; the soft braid wrap reads as polished rather than severe. If your hair has some silver or highlighted tones, those actually show up more beautifully in a braided structure than they do in loose styles — the braid cross-sections catch the color variation in a way that feels like a feature, not a flaw. You can find more styles specifically cut for this hair length at mid-length layered hair ideas on ArtFasad.
Don’t do this: Don’t attempt a braided low bun on hair shorter than collarbone length. If the hair doesn’t reach the nape comfortably when gathered, the bun will sit too high and too small, looking like a knob rather than a considered updo. Don’t substitute the wrapped braid with a scrunchie “for ease” — it reads casual against a formal style and defeats the visual point of the look. And don’t skip the bobby pins in favor of a single elastic around the bun base — elastic alone lets the bun droop by the third hour, no matter how tight you start.
Soft Curled Ponytail — Twenty Minutes, Stays Put, Photographs from Every Angle
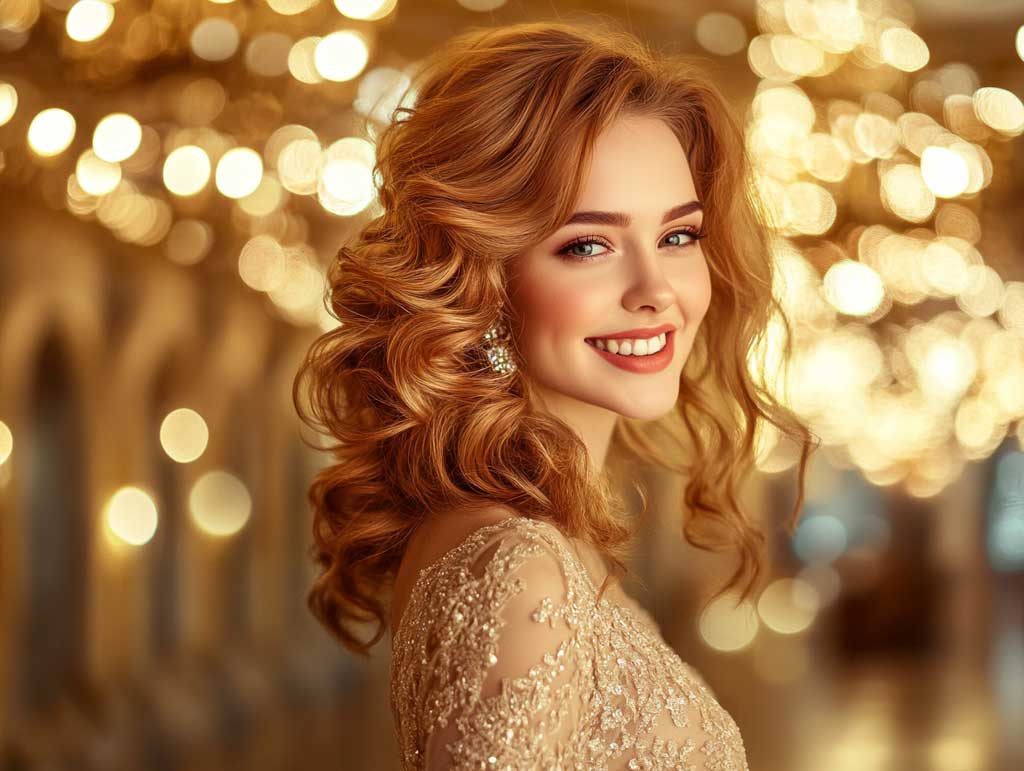
A curled ponytail is what I’d tell anyone to do when they have medium-length hair, a morning wedding, and no professional appointment booked. It takes twenty minutes flat, holds through a full reception, and looks genuinely elegant rather than “I ran out of ideas.” Honey-gold and warm blonde tones glow in a soft curled ponytail — the curls catch light and give the hair a radiance that darker shades in this style don’t quite match. Is it the most editorial choice in this post? No. Is it the one I’d actually recommend to someone who has to drive two hours to the venue and will need to look good arriving? Absolutely.
Curl every section first, then build the ponytail. This is the order most people reverse, and reversing it collapses the curls at the crown where the elastic sits. Use a 1.25-inch barrel — the Conair Curl Secret runs about $40 and does the job without burning the ends. Tease the crown section lightly before pulling everything back. Mid-height is the right position for this ponytail: high enough to look intentional, low enough to stay balanced with the curls at the tail. Wrap a small piece of hair around the elastic and pin it underneath. One spritz of a flexible-hold spray — not firm-hold — and you’re done. The tail should bounce when you move, not stay stiff and helmet-like.


Paired with small drop earrings — think gold hoops or simple pearl drops rather than chandeliers — this ponytail leaves the neckline clean and lets your outfit read at full effect. I’ve worn this with everything from a midi slip dress to a structured blazer over wide-leg trousers, and it works with both without looking like it was styled for the other. The styling logic here is almost mechanical: the ponytail lifts the face, the curls add softness, the wrapped elastic signals effort without fuss. Think of it like a good trench coat — it doesn’t demand attention but it makes everything else look more intentional. For more styles that use medium-length structure the same way, the romantic wedding hairstyles for medium hair roundup on ArtFasad covers several variations worth bookmarking.
The one scenario where this falls flat: straight hair without any natural wave or texture. The curls collapse faster on very fine, sleek hair, and the ponytail starts looking undone in the wrong way by hour two. If your hair is naturally straight and fine, add a texturizing mousse like Moroccanoil Curl Defining Cream ($34) before curling to give the barrel something to grip. Fine-hair guests at weddings consistently overlook this step and then blame the curling iron when the real problem was prep. The Knot has a useful breakdown of what medium-hair wedding guests can skip on product — theknot.com/content/wedding-guest-hairstyles — and their point about avoiding heavy gels on mid-length hair matches exactly what I’ve found in practice.
Final take
Medium hair at a wedding is a decision, not a default.
The three styles here share one characteristic: they work with the weight and movement of mid-length hair instead of trying to imitate what longer hair does naturally. Twisted half-up waves for soft settings, braided low bun for formal ones, curled ponytail when time is short and the result still needs to land.
None of them require a stylist, a $200 product arsenal, or hair longer than your collarbone. They do require prep the night before and the right holding product for your specific texture.
Save this post before your next wedding invite lands.
Related Topics
FAQ
What are the easiest wedding guest hairstyles for medium length hair?
Which medium hair styles work for wedding guests over 50?
Can I wear a fascinator with medium length hair at a wedding?
How do I keep a wedding guest hairstyle in place on shoulder length straight hair?
What hairstyle works for both a daytime and evening wedding with medium hair?
How do simple hairstyles for weddings with medium hair differ from formal ones?
Complete guide
Wedding Hairstyles for Every Length Role and Vision
Brides, bridesmaids, guests, mothers of the bride — all in one place