A residential rain garden is a shallow, planted depression engineered to collect and filter stormwater runoff from your patio, roof gutters, and surrounding hardscape. Unlike a standard drainage ditch, outdoor rain gardens for patios are designed as intentional landscape features—they hold water temporarily (12 to 48 hours), allow it to infiltrate the soil, and support native perennials and shrubs that thrive in periodic moisture. This trend exploded between 2024 and 2026 because homeowners realized their patios were bleeding water and eroding soil while also sending pollutants into storm drains. A rain garden fixes both problems at once and looks intentional.
Why rain gardens matter for modern patio design
The Environmental Protection Agency published data showing that residential landscape runoff contributes significant nutrient pollution to waterways. A typical patio or driveway creates impervious surface that accelerates water velocity during rain events, forcing drainage systems to work harder and causing localized flooding in low spots. Rain gardens intercept this flow before it becomes a problem.
Real-world numbers matter here: a properly sized rain garden can absorb 1 to 2 inches of rainfall within 24 hours, reducing peak stormwater discharge by 30 to 40 percent compared to piping water directly to storm drains. That translates to less erosion at patio edges, fewer mosquito breeding pools, and higher property resilience during heavy weather. Municipalities in the Pacific Northwest and Midwest have made rain gardens mandatory for new construction since 2022, which drove mainstream adoption.
Homeowners are embracing them because they solve a real problem and create visual interest without the sterile look of a conventional drainage trench. The investment in a professional installation ranges widely but typically costs less than relocating soil, installing catch basins, or regrading the entire yard.
Quick Tips
- Size your rain garden to capture at least the first 1 to 1.5 inches of rainfall from the roof or patio watershed
- Dig 6 to 12 inches deep depending on soil permeability; clay soils need shallower gardens with amended soil
- Use native sedges, black-eyed Susans, Joe-Pye weed, and native shrubs that tolerate both wet and dry periods
- Install an underdrain or gravel layer if your soil is clay-heavy and drains slower than 1 inch per hour
- Maintain a 3-foot setback from foundation walls to prevent water from migrating toward basement drainage
Designing rain gardens that integrate with patio zones
Soil preparation and drainage requirements for rain garden success
The foundation of any effective rain garden lies in proper soil preparation. Before installation, conduct a simple percolation test by digging a hole approximately 12 inches deep, filling it with water, and measuring how long it takes to drain completely. Soil that drains at least 1 inch per hour works well for rain gardens, though you may need to amend clay-heavy soils with compost or sand to improve infiltration rates. Native topsoil mixed with 30 to 40 percent organic matter creates an ideal growing medium that supports both water retention and plant establishment.
If your existing soil fails the percolation test, consider installing an underdrain system using perforated pipe and gravel. This approach allows excess water to move laterally through the soil profile rather than pooling indefinitely, which can damage plant roots and create mosquito breeding grounds. The underdrain typically sits 12 to 18 inches below the rain garden surface and connects to your property’s existing stormwater system or daylight outlet where water can safely discharge.
Native plant selection for rain gardens in diverse climates
Choosing the right plants determines whether your rain garden will thrive or struggle through drought and wet periods. Native species adapted to your regional climate naturally tolerate the wet-dry cycling that characterizes rain gardens. In eastern North America, plants like Joe-Pye weed, New York ironweed, and native sedges perform exceptionally well, while western regions benefit from plants such as California buckwheat and desert marigold. Combining flowering perennials with native shrubs and grasses creates visual interest while maximizing stormwater infiltration across different soil depths.
Layering plant heights ensures efficient water capture and creates habitat for pollinators. Taller plants like nine-bark shrubs work well at the garden’s perimeter, mid-height perennials occupy the center zone, and low-growing sedges and groundcovers frame the edges. This vertical structure also helps slow water movement through the garden, giving soil more time to absorb runoff before it drains to lower levels or the underdrain system.
Integration with patio and hardscape design
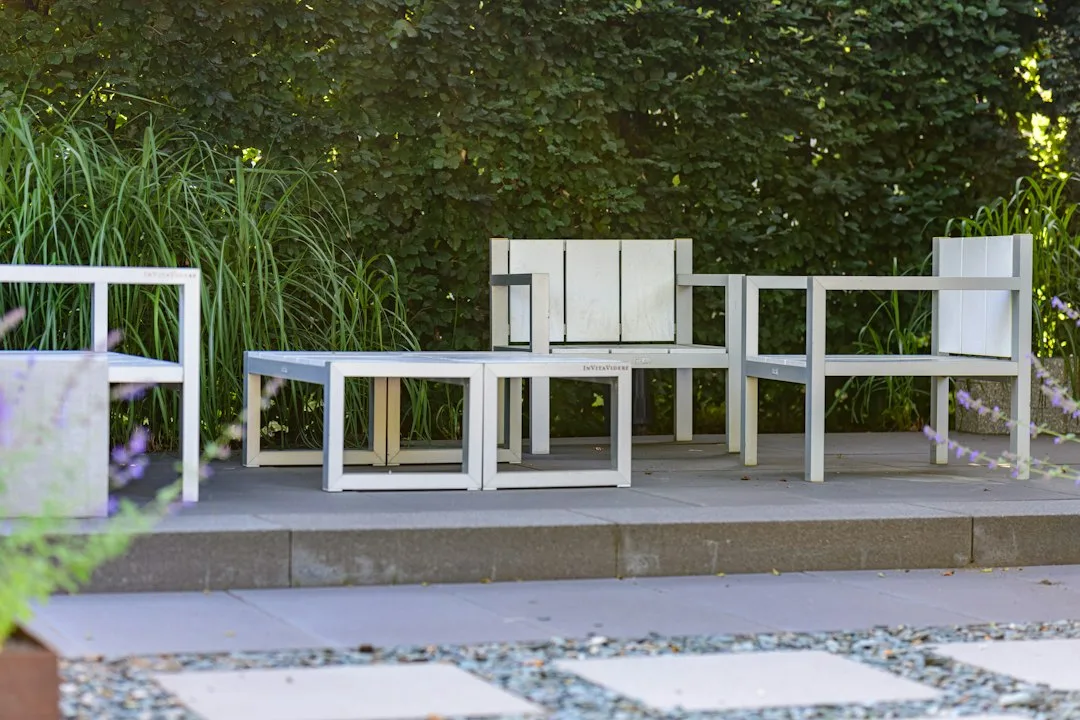
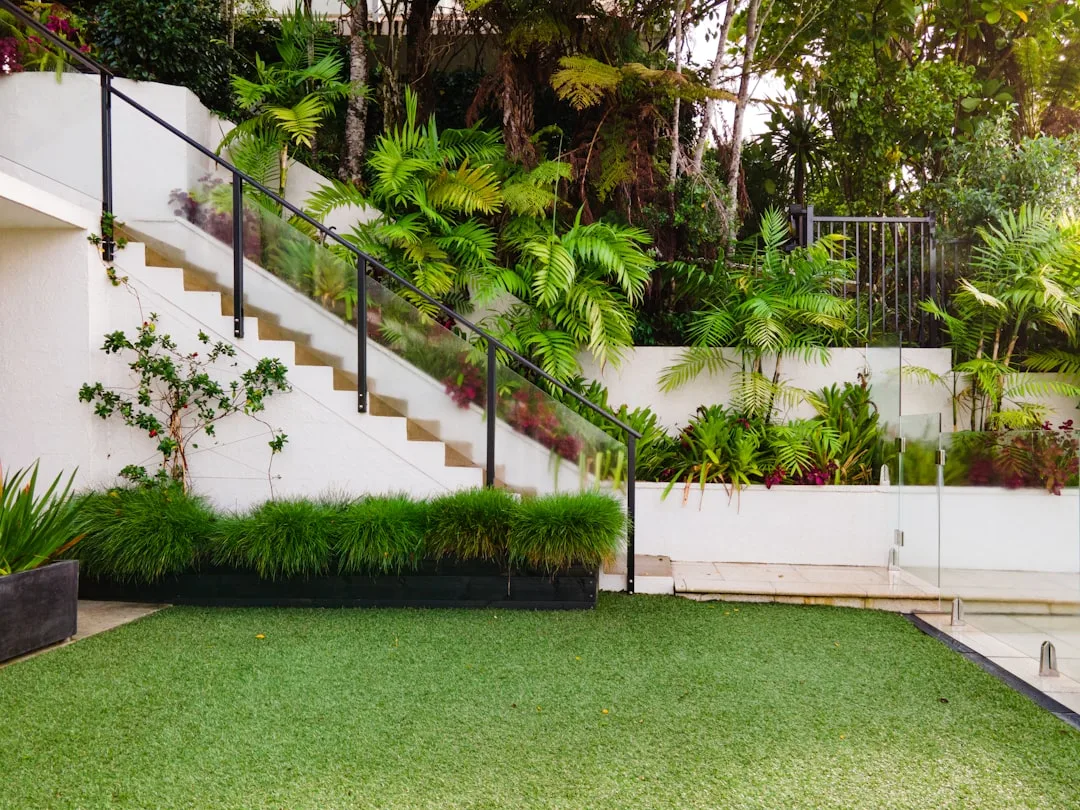
Rain gardens positioned adjacent to patios create functional beauty while managing water runoff from roof and patio surfaces. A Beautiful Single Story House with Patio Yard demonstrates how thoughtful placement of rain gardens can soften hardscape edges while directing water away from foundations and toward planted zones. Position the rain garden 3 to 5 feet away from patio corners to allow maintenance access and prevent water from ponding near seating areas during heavy storms.
Design considerations should include creating clean edges between the rain garden and patio using stone borders, permeable pavers, or low wooden frames. These visual boundaries help guests understand the rain garden’s purpose while preventing soil from migrating onto patio surfaces during installation and maintenance. A Concrete House Idea With Patio Style Courtyard shows how hardscape materials can complement rain garden aesthetics when thoughtfully positioned within the overall landscape plan.
Maintenance practices throughout the seasons
Rain gardens require minimal maintenance once established, but seasonal attention ensures optimal performance. In spring, remove any winter debris and inspect plants for winter damage. Mulch the garden bed with 2 to 3 inches of wood chips or shredded leaves to suppress weeds, retain soil moisture during dry periods, and create a finished appearance. Avoid piling mulch directly against plant stems, which can promote rot and pest problems.
Summer and fall maintenance focuses on weeding and monitoring water drainage after storms. Plants should be actively growing and establishing deep root systems during their first two growing seasons; provide supplemental water during extended dry periods to support establishment. In fall, resist the urge to cut back native perennials and grasses until spring; standing plant material provides winter habitat for beneficial insects and adds visual interest to the landscape. Late fall is an excellent time to add additional mulch if needed and inspect the rain garden for erosion or sediment buildup that may indicate drainage issues requiring correction.
Tools for Planning and Building Your Patio Rain Garden
Practical resources to use after you’ve decided to install a rain garden: a sizing calculator, a plant selector, and a drainage troubleshooter for the surrounding hardscape.
How do I calculate the right size for my rain garden based on my roof and patio area?
Which native plants will actually survive wet-dry cycles in my state and soil type?
My patio still pools water after storms — what drainage component should I add alongside the rain garden?